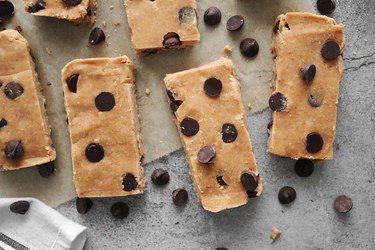
Protein bars are a tasty and convenient way to fuel up on protein. But store-bought versions can cost a pretty penny, especially if you eat them often. Try this chocolate chip cookie dough protein bar recipe instead. It's a great way to customize your protein bars according to your needs and preferences. For example, many bars contain allergens like almonds and peanuts, but making your own allows you to use a substitute like cashew butter. Plus, this particular recipe mimics the flavors of cookie dough without ingredients like eggs or butter. Here's how to make it yourself.
Video of the Day
Things You\’ll Need
-
1 cup coconut flour
-
1 cup vanilla protein powder
-
4 tablespoons coconut sugar, beet sugar or maple syrup
-
Pinch of salt
-
1 cup non-dairy milk
-
2/3 cup nut butter
-
4 tablespoons coconut oil, melted
-
1 teaspoon vanilla extract
-
1/2 cup dark chocolate chips (mini or regular)

Tip
To make this recipe vegan, use plant-based protein powder and vegan chocolate chips.
Step 1
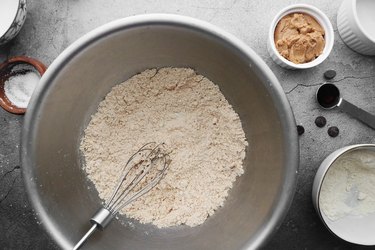
In a large bowl, combine the coconut flour, protein powder, salt and sugar.
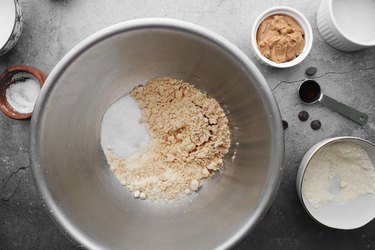
Mix until combined.
Step 2
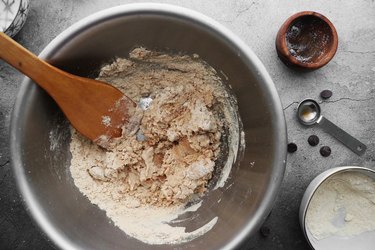
Add the nut butter, milk, vanilla extract and coconut oil. Mix with a spatula, spreading the nut butter to evenly distribute it.
Step 3
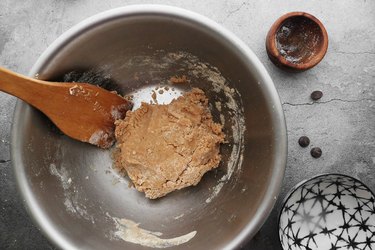
Continue mixing the dough. Eventually, you'll need to use your hands to combine the ingredients. The dough should hold together like clay. If it's too dry, add a bit of milk. If it's too wet, add some coconut flour.
Step 4
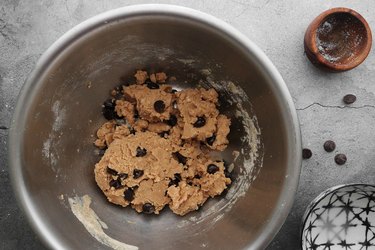
Add the chocolate chips, then fold and press the dough to incorporate.
Step 5
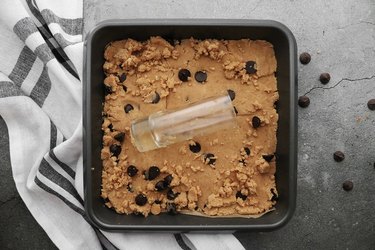
Transfer the dough to an 8×8" dish or pan lined with parchment paper. Firmly press the dough into an even layer, filling in the gaps with smaller chunks. You can use a small cylindrical item, like a shot glass, to flatten the dough.
Step 6
Continue rolling and pressing until the dough is evenly dispersed. Press in extra chocolate chips, if you'd like.
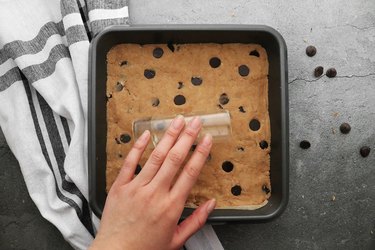
Chill in the refrigerator for at least 6 hours or overnight.
Tip
If you're in a rush, store the dough in the freezer for 1 hour.
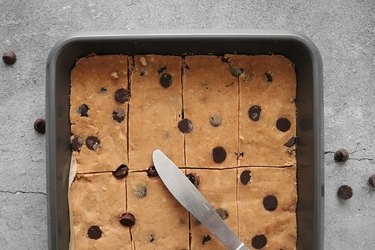
Step 7
Once the dough has chilled, slice into 8 bars. You can also cut the dough into smaller bite-sized squares.
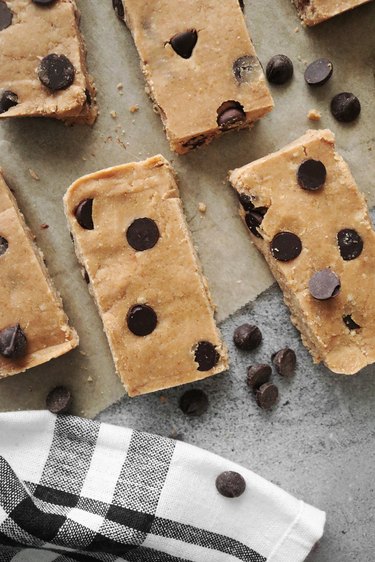
Store your homemade protein bars in the refrigerator. Enjoy!

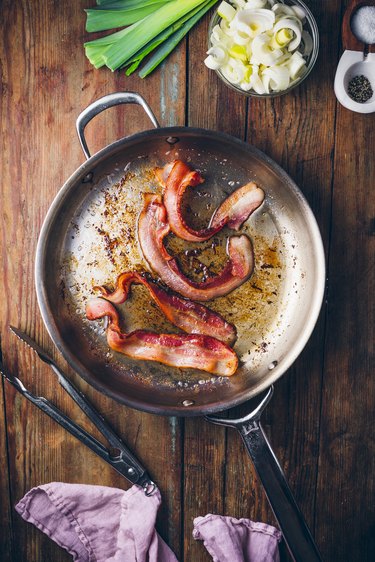 Cooking bacon
  Cooking leeks
 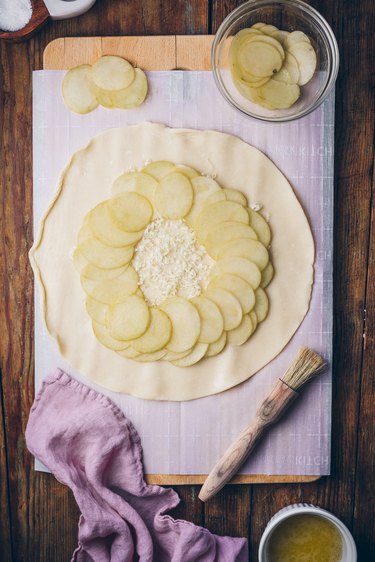 Layering potatoes
 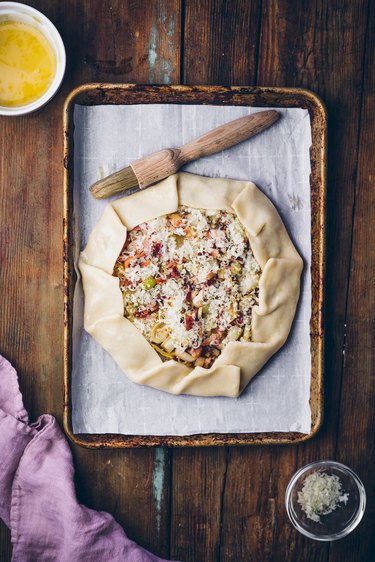 Brushing with egg wash
 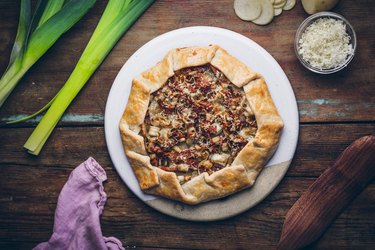 Bacon, Potato & Leek Galette
 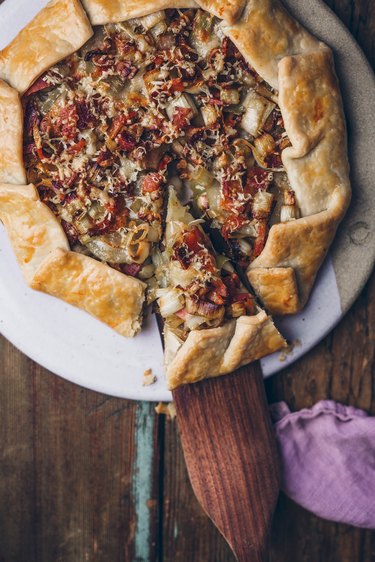 Finished galette