Things You\’ll Need
-
Coarsely ground, fresh coffee
-
Boiled water
-
Coffee press
 Use a Coffee Press
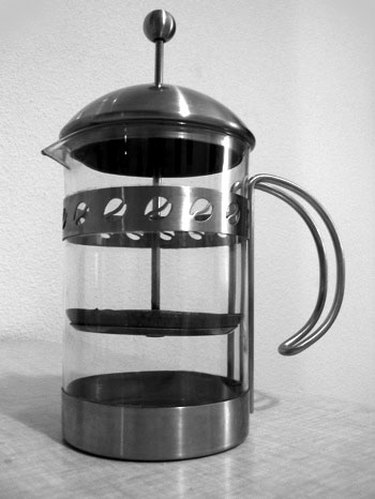
Coffee press, French press, or press pot–call it what you will. It's a gadget that's easy to use and makes a delicious cup of rich coffee. Because there is no paper filter to absorb natural oils and flavors, pressed coffee has a more distinct flavor than drip coffee. And unlike drip coffee, a coffee press brews coffee with a more dense consistency.
Video of the Day
Step 1
Grind your beans if they're not already ground. While finely ground coffee beans are ideal for espresso drinks, it is much more effective to use coarsely ground beans in a French press.
Step 2
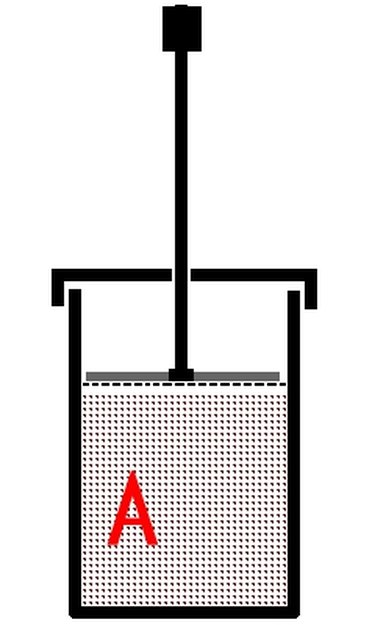
Remove the filter from the pot. Add one rounded tablespoon of ground coffee per four ounces of water to the pot.
Step 3
Boil water. Slowly pour over the coffee grounds in the pot so all the grounds are saturated. Be sure to add the right amount of water for the amount of coffee you used. You may need to stir the mixture to make sure the grounds are loose and not clumping.
Step 4
Place the filter and lid on the pot. For smaller presses, ones that make only one or two cups, allow the coffee to steep for two or three minutes. For larger presses, allow the coffee to steep about four minutes. With practice you'll be able to determine how long it will take to steep the coffee to your preference.
Step 5
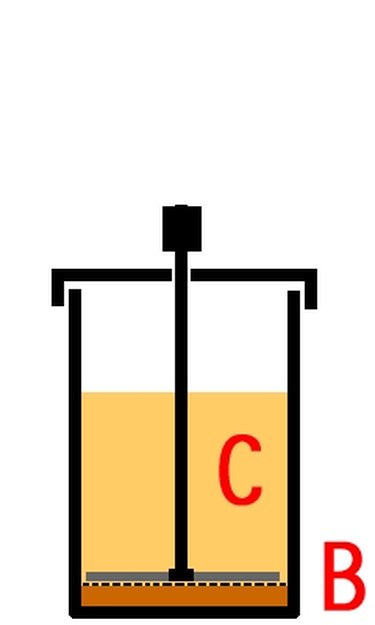
Filter out the grounds. When the coffee has steeped to your liking, press the plunger down to the bottom of the pot to filter out the grounds. Use a slow, steady and straight hand. This is why you'll want the coarser grounds, fine ones will elude the filter and muck up the coffee. If the filter slips to the side it could cause coffee grounds to sneak into the brew.
Step 6
Pour and enjoy! As you're pouring your coffee, make sure to hold on to the lid to keep the grounds at the bottom of the pot in place.
Tip
If your coffee develops a bubbly foam on top it is because there is high carbon dioxide content in your beans. It may indicate that your beans are freshly roasted and haven't had the requisite few days to "cure." To avoid bitterness, don't allow coffee to steep more than 20 minutes. Coffee presses can also be used to brew loose leaf tea.

 Consume water.
 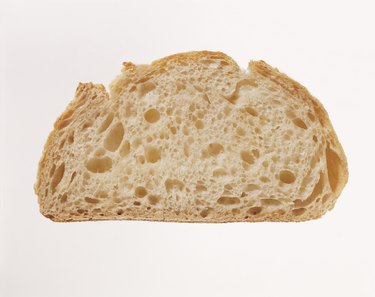 Slice of bread.
  Consume one drink at a time.
  Walking can help release alcohol.


 Step 1
  Step 2
  Step 3
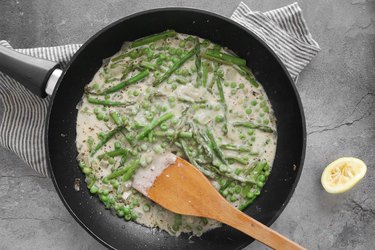
  Step 4