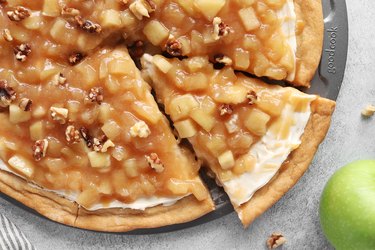
If you're a fan of apple pie, you're going to love this dessert pizza. It features a sugar cookie crust topped with creamy frosting, chopped nuts and apple pie filling — lots of it! The pizza also calls for caramel sauce, which adds a rich and buttery flavor to the dish. Enjoy it during the fall and winter holidays or whenever you're craving a sweet treat.
Video of the Day
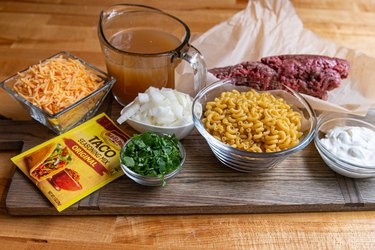
Things You\’ll Need
-
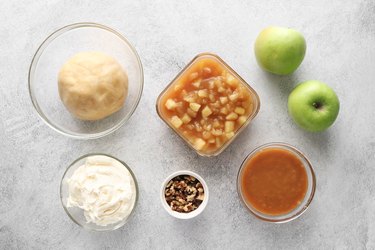
1 batch sugar cookie dough
-
2 cups(16 ounces)
cream cheese frosting
-
2 1/4 cups apple pie filling
-
1/3 cup chopped walnuts or pecans
-
1/2 cup caramel sauce, plus more as needed
Tip
Feel free to use homemade or store-bought cookie dough.
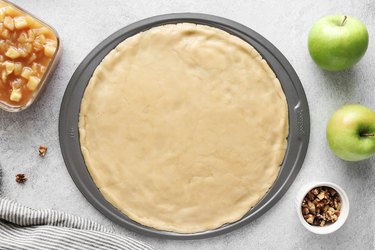
Step 1
Preheat the oven according to the sugar cookie recipe's directions. Meanwhile, press the dough onto a nonstick pizza pan, spreading it into an even layer.
Tip
To make this step easier, break up the dough into large chunks and then flatten each piece with a floured rolling pin. Add the pieces to the pizza pan and then press them together with your fingers.
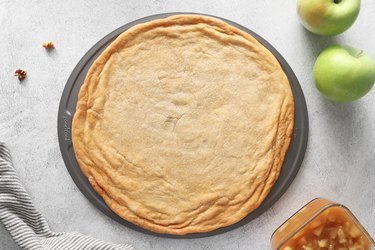
Step 2
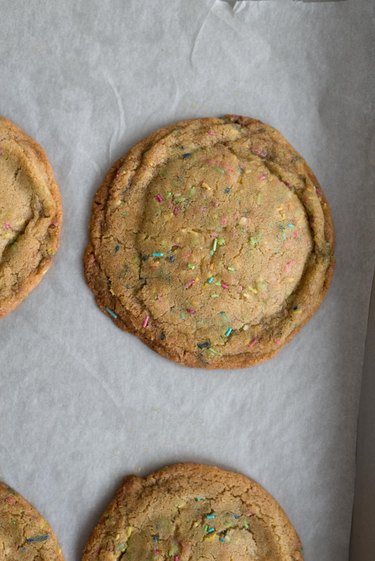
Bake until the edges are golden brown and the center starts turning gold. The exact timing will depend on your recipe, so be sure to keep a close watch on the cookie.
Let it cool for about 1 hour.
Step 3
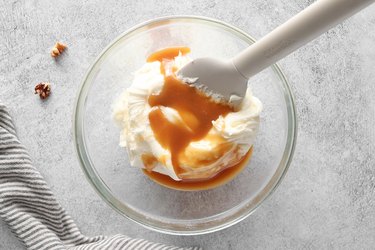
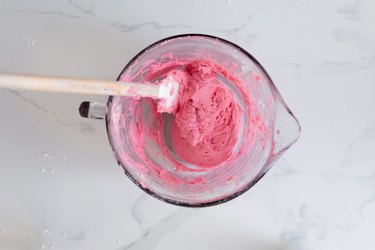
In a bowl, combine the cream cheese frosting and 1/4 cup caramel sauce. Taste it and add more caramel sauce if you'd like.
Step 4
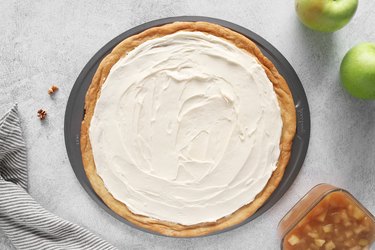
Spread the frosting onto the cooled cookie.
Step 5
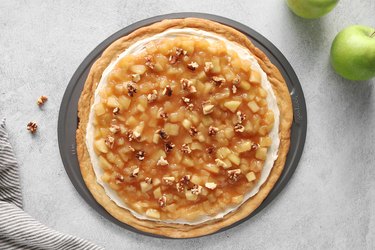
Top with apple pie filling and chopped walnuts.
Step 6
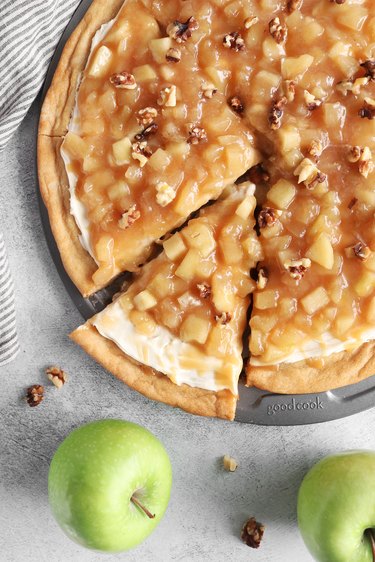
Drizzle caramel sauce on top and then slice with a pizza cutter. Enjoy with vanilla ice cream or as is!


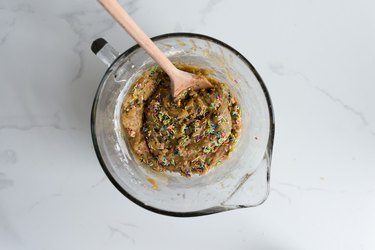


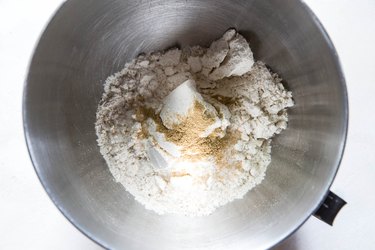 Add dry ingredients to a mixer or mixing bowl
 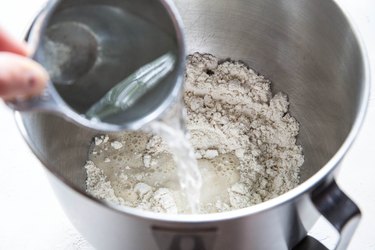 Add the water and mix to form dough.
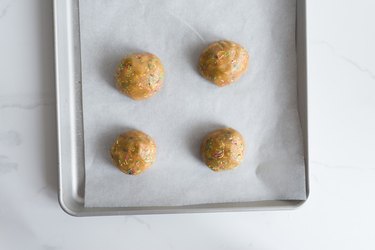
  Form dough into a ball.
 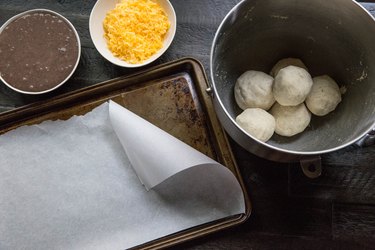 Roll the papusa dough into 6 balls.
 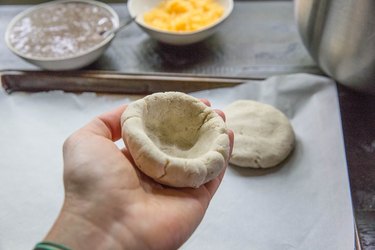 Form papusa dough into a well.
 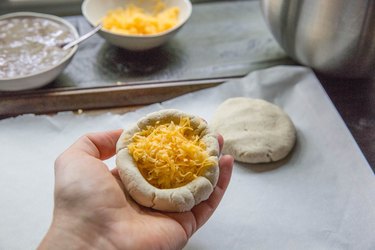 Add the cheese
 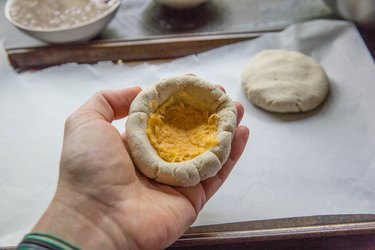 Press the cheese into the well.
 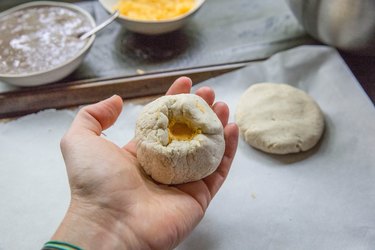 Close the dough over the cheese
 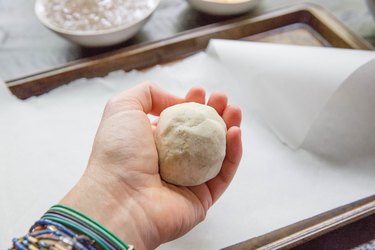 Keep folding dough over the filling until you have a ball.
 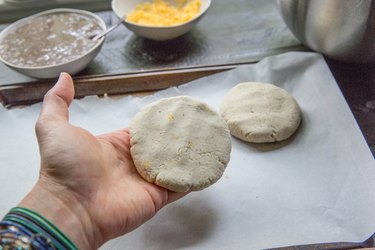 Press dough into a disc.
 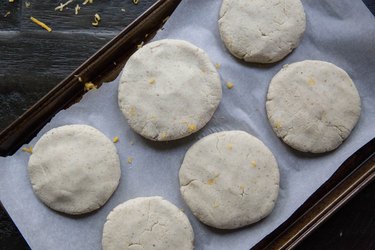 Repeat for all of the papusa dough.
 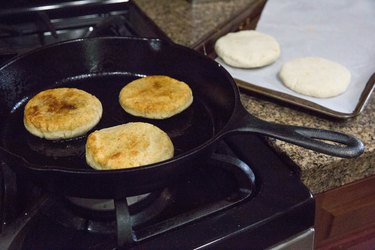 Fry the papusas in oil
 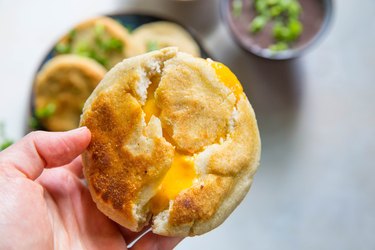 Crispy cheese papusa
  Serve papusas with salsa