 1 of 20
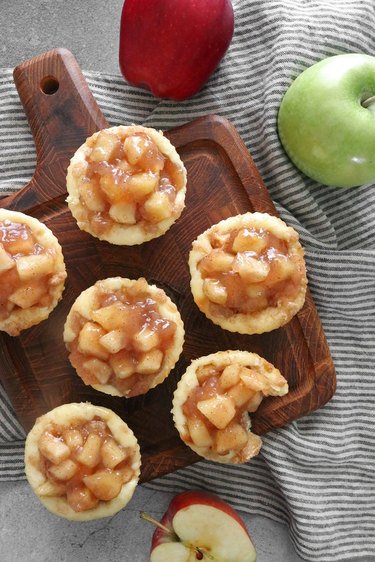
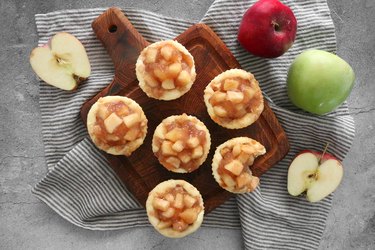
Admit it. When scrolling through your Instagram feed, you've been mesmerized by images of ultra-trendy breakfast options shared by food bloggers and brunch connoisseurs. Whether they consume these delicious treats isn't the point — the question is how do they create them? Well, wonder no longer. Grow your own Instagram following and stay true to those healthy living goals, by whipping up one of these tasty breakfast recipes.
Image Credit: eHow 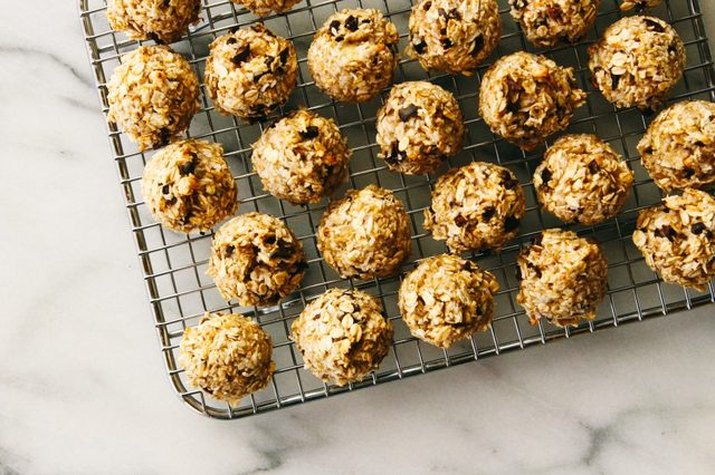 2 of 20
Coconut Breakfast Cookies with Cacao Nibs
Don't be fooled by their appearance. These cookies aren't the sugar-laden variety Katie Couric ordered you to resist. With bananas, coconut and oatmeal, this recipe reads as an updated, on-the-go take on your favorite childhood breakfast.
Image Credit: Ashlae Warner  3 of 20
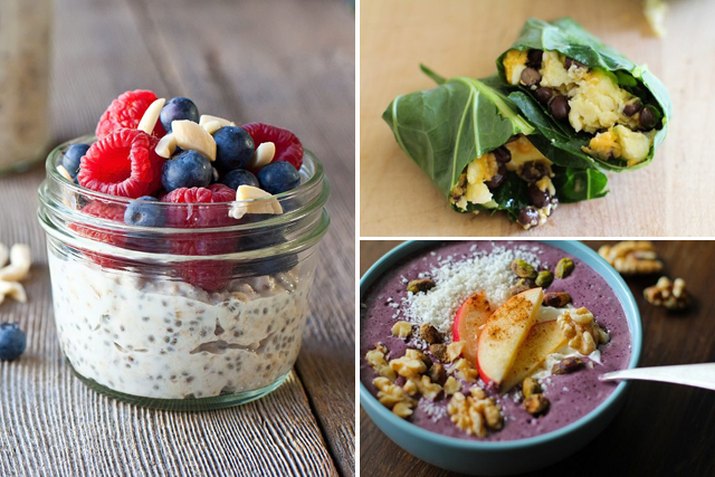
Overnight Oatmeal
Speaking of childhood memories, how about taking your bowl of oatmeal to the next level? If you haven't heard of overnight oatmeal, you need to try it now. How could you ever be late for work again when your breakfast is "cooking" itself as you sleep?
Image Credit: Julia Mueller 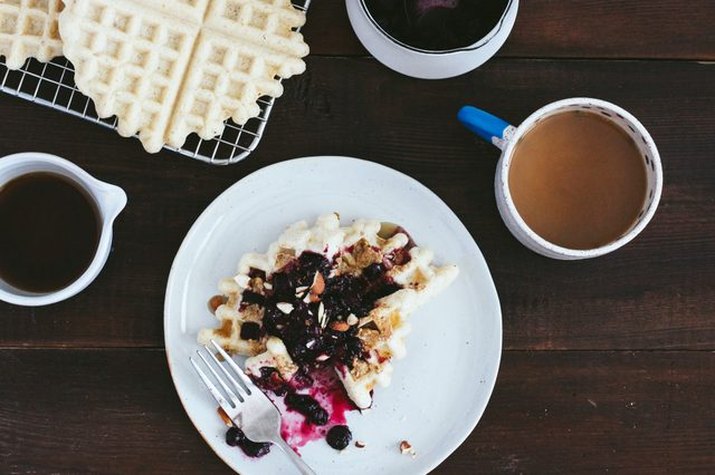 4 of 20
Gluten-Free Waffles with Berry Compote
Slightly more complicated than an overnight breakfast option, these gluten-free waffles are a delicious, yet decadent recipe perfect for serving up on those stay-at-home weekend mornings. Basically, when time isn't an issue.
Image Credit: Ashlae Warner 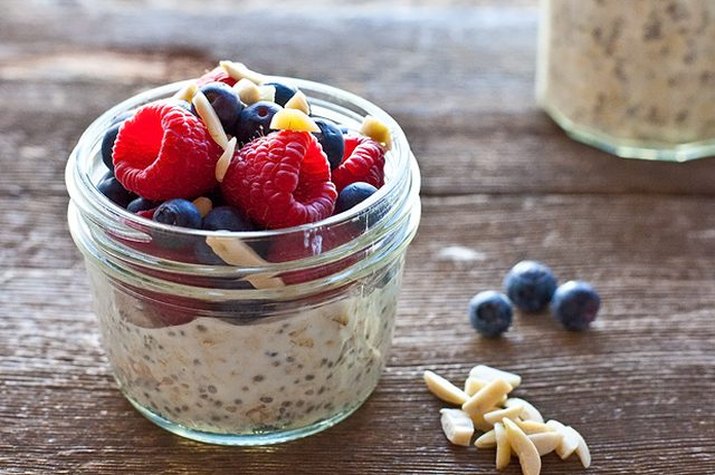 5 of 20
Overnight Oat and Chia Pudding
Looking for another breakfast-while-you-sleep recipe? Try this chia seed pudding. One recipe garners four servings — a perfect meal to make Monday night and enjoy the remainder of the week. Meal planning at its easiest.
Image Credit: Sala Kannan 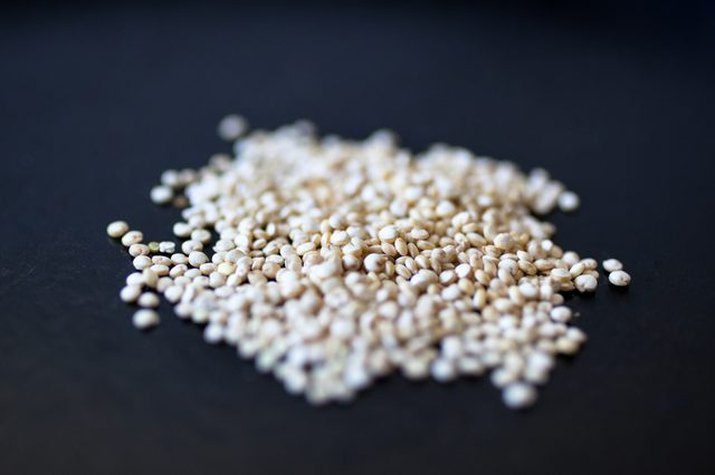 6 of 20
Quinoa Flakes
If you love quinoa, but haven't tried it for breakfast, you're missing out. It's surprisingly easy to cook the quinoa, and since it's a simple grain with a nutty flavor, it pairs well with a variety of sweet yet typical breakfast toppings, like brown sugar, honey or cinnamon.
Image Credit: Angela Wenum/Demand Media 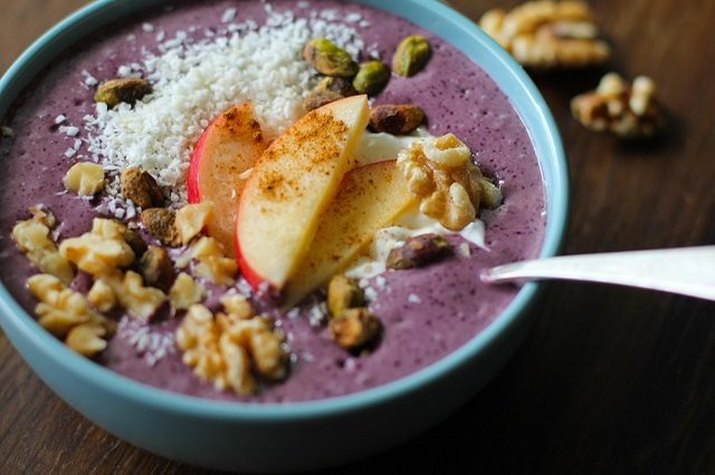 7 of 20
Acai Bowl
You probably "liked" pictures of this pretty breakfast before you even knew what it was called, but acai bowls are a delicious invention with a superfood component: the acai berry. All you have to do is blend a few packets of acai berries with some frozen fruits, nut milk, granola and bananas to make a yummy and picturesque meal.
Image Credit: Julia Mueller  8 of 20
Chocolate Protein Overnight Oats
Want an oatmeal breakfast packed with a bit more protein? Try chocolate protein overnight oats made with cacao powder, oats and protein powder, for extra hunger-fighting power.
Image Credit: Ashlae Warner  9 of 20
Overnight Pull-Apart Bread
Sadly, we can't argue for the healthiness of this super delicious overnight bread recipe. However, we can tell you that it's definitely worth any small effort to make this decadent breakfast — especially as an AM treat for your overnight or weekend guests. But be forewarned: Once they try this bread, they'll never want to leave.
Image Credit: Thalia Ho 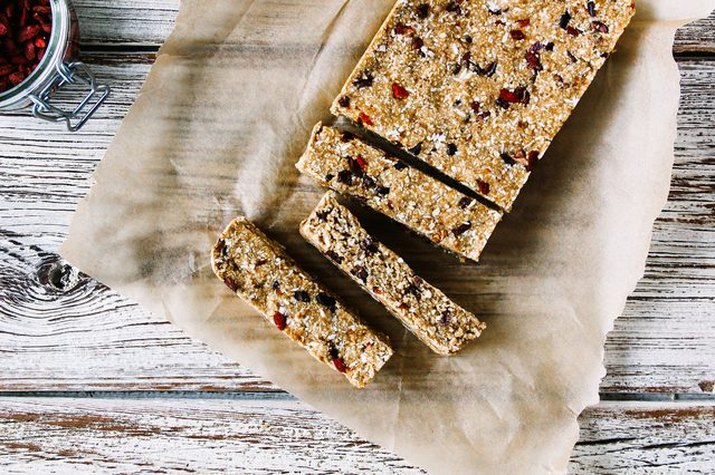 10 of 20
Goji Berry and Cacao Nib Oat Bars
Goji berries are another small-but-powerful superfood which makes them the perfect ingredient to add to travel-size breakfast bars. And guess what? One batch makes eight bars, which is a lot faster, cheaper and healthier than many similar fast food breakfasts.
Image Credit: Ashlae Warner 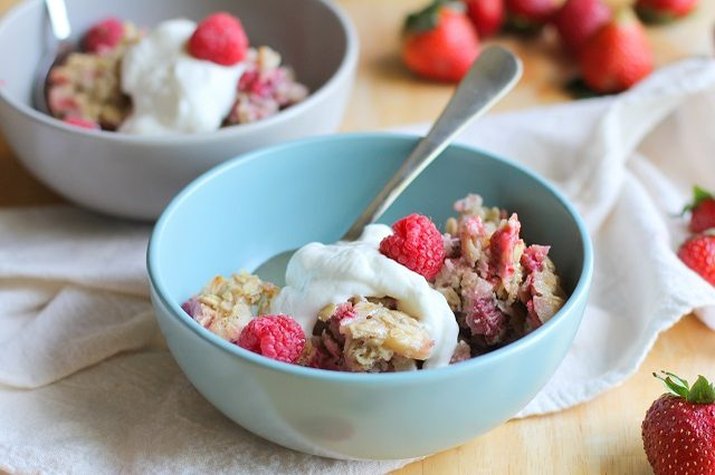 11 of 20
Baked Oatmeal
Not only can you make oatmeal over night, you can also bake it! To try it out, follow these simple instructions. The recipe takes just a few more ingredients than your typical oatmeal breakfast, including cinnamon, vanilla and eggs.
Image Credit: Julia Mueller 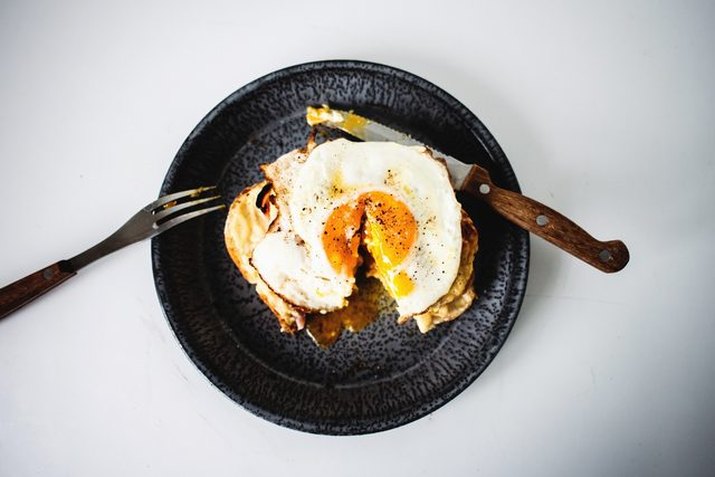 12 of 20
Croque Madame
It may sound like a fancy French dish, but in actuality this is a super rustic French dish; Croque Madame is a variation on the classic ham and cheese sandwich. The main difference? It's covered in a smooth and creamy bechamel sauce and topped with a gooey egg. It's picture-worthy and drool-worthy — the perfect combination.
Image Credit: Thalia Ho 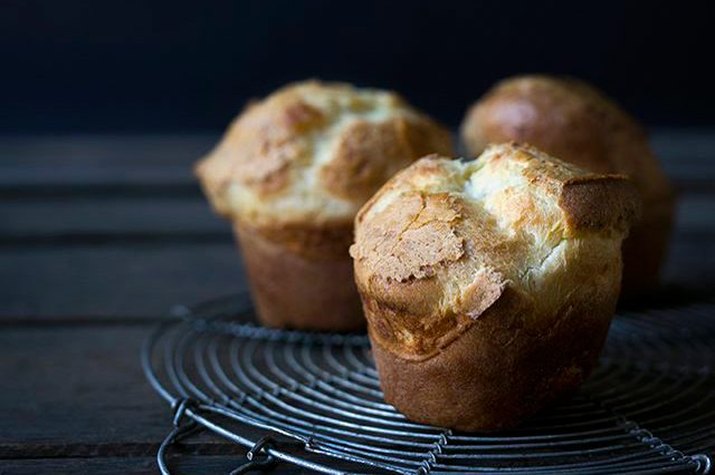 13 of 20
Popovers
The delicate popover is both a delicious addition to a holiday meal and a decadent morning one-off. However, rather than overcomplicate and mess it up, this recipe shows you how to hack it using a muffin tin.
Image Credit: Jennifer Farley 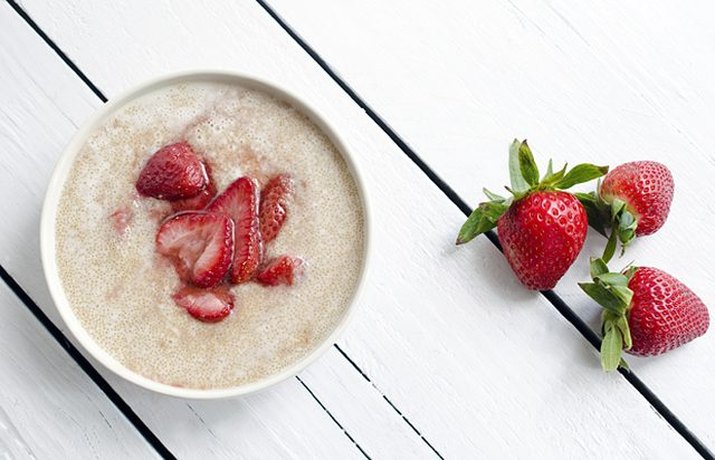 14 of 20
Roasted Strawberry Amaranth Porridge
If you're getting a bit tired of oatmeal, try this high-fiber, high-protein amaranth porridge recipe. Though amaranth is the suggested grain, you can swap it out for any whole grain (think brown rice or quinoa).
Image Credit: Jennifer Farley 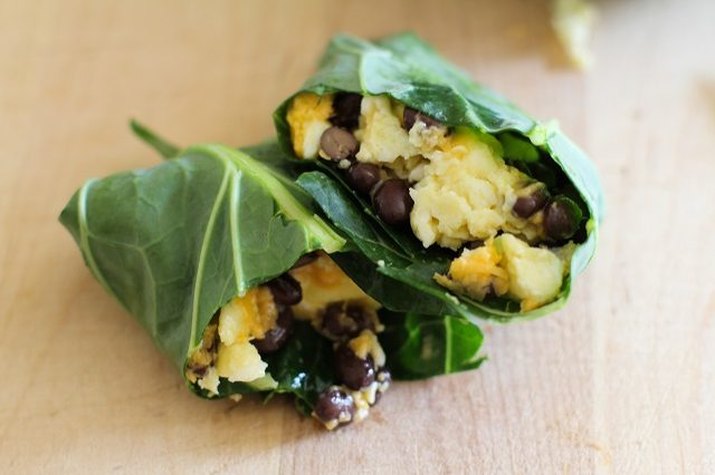 15 of 20
Low-Carb Breakfast Burrito
Get rid of the unnecessary carbs, while still enjoying the delicious parts of your favorite breakfast burrito with this recipe. If you're also looking to snap a few healthy 'grams, make sure to get the preparation phase too. With all the healthy ingredients that go into this burrito, it's a #cleaneating, #healthyinspo dream.
Image Credit: Julia Mueller 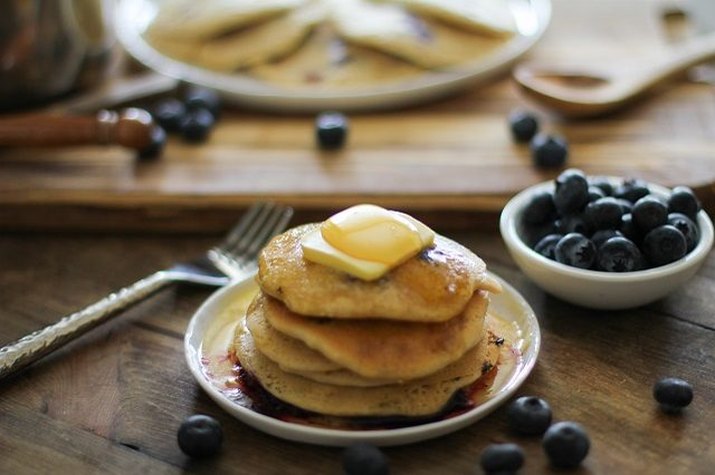 16 of 20
Healthy Blueberry Pancakes
You'll never feel guilty for enjoying pancakes again when you try this healthy blueberry recipe, which swaps your standard flour and butter for almond flour and butter.
Image Credit: Julia Mueller  17 of 20
Eggs Baked in Tomatoes
If you've avoided trying the trendy "eggs baked in avocados" breakfast due to a latex allergy, try baking your eggs in tomatoes instead. Not only is it a rainbow of veggie goodness, it's also makes for a fairly pretty picture.
Image Credit: Julia Mueller 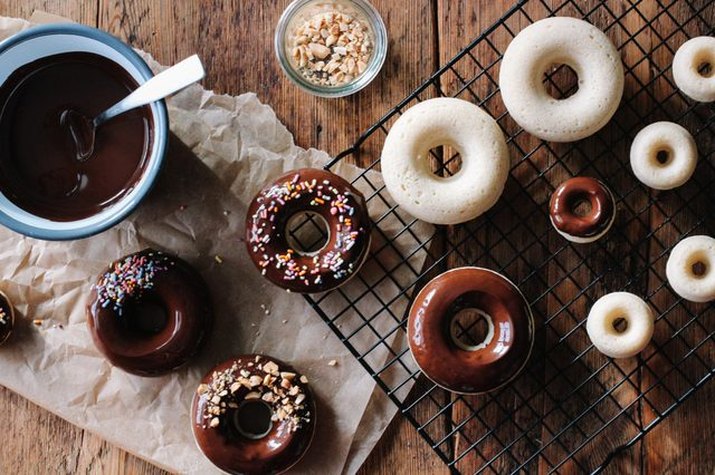 18 of 20
Baked Chocolate Glaze Donuts
You don't need to trek to a cafe to enjoy gourmet donuts. Enjoy your favorite glazed delights from the comfort of your home, using your own ingredients, and capture all the beautiful step-by-step, snap-worthy moments.
Image Credit: Ashlae Warner 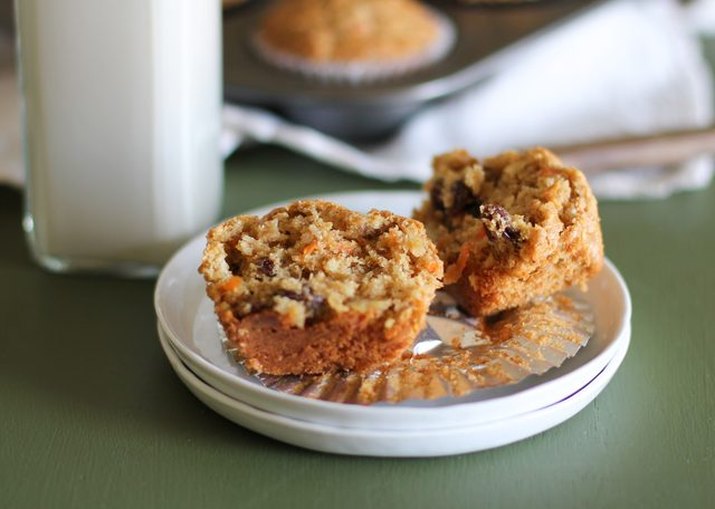 19 of 20
Morning Glory Muffins
This delicious recipe makes a batch of 12 muffins consisting of grated carrot, apple, raisins, walnuts and shredded coconut. Add a touch of butter and serve to guests over brunch.
Image Credit: Julia Mueller 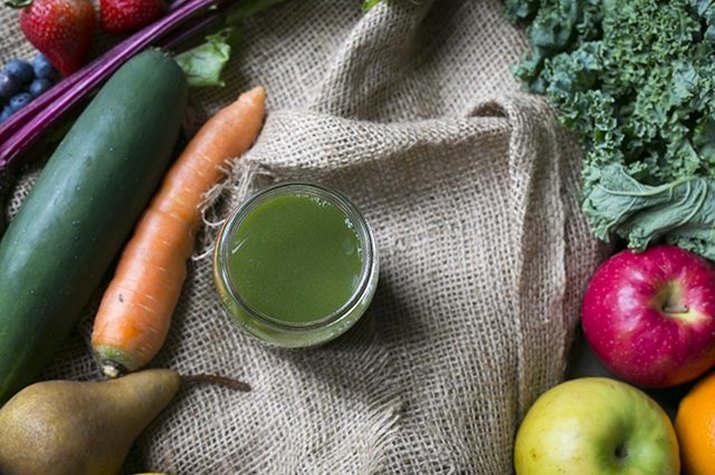 20 of 20
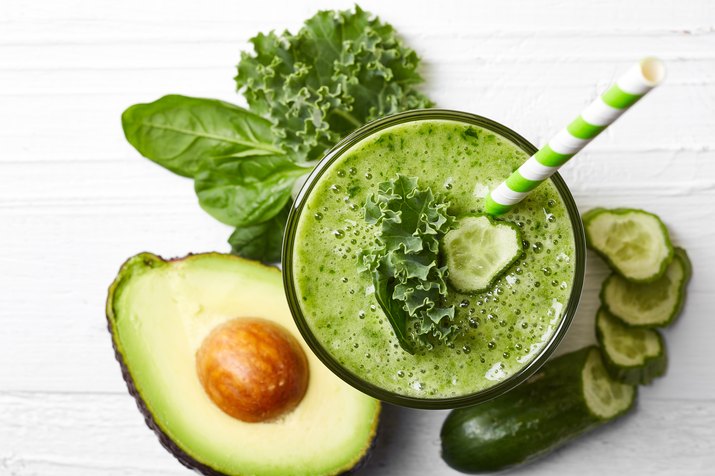
Tasty Green Juice
Juicing isn't just a craze, it's also delicious. Snap a few pics as you press a variety of fruits and veggies to make a delicious green juice. Pour the juice into your favorite water bottle for a no-mess, travel-friendly breakfast option.
Image Credit: Jennifer Farley

 Julia Mueller/Demand Media Image Credit: Julia Mueller
  Julia Mueller/Demand Media Image Credit: Julia Mueller
 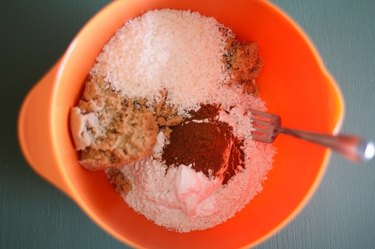 Julia Mueller/Demand Media Image Credit: Julia Mueller
 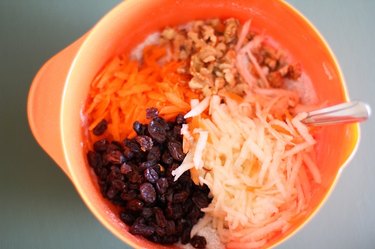 Julia Mueller/Demand Media Image Credit: Julia Mueller
  Julia Mueller/Demand Media Image Credit: Julia Mueller
  Julia Mueller/Demand Media Image Credit: Julia Mueller
 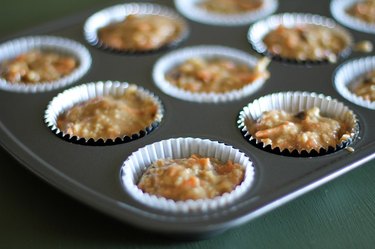 Julia Mueller/Demand Media Image Credit: Julia Mueller
 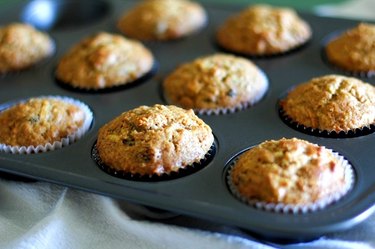 Julia Mueller/Demand Media Image Credit: Julia Mueller
 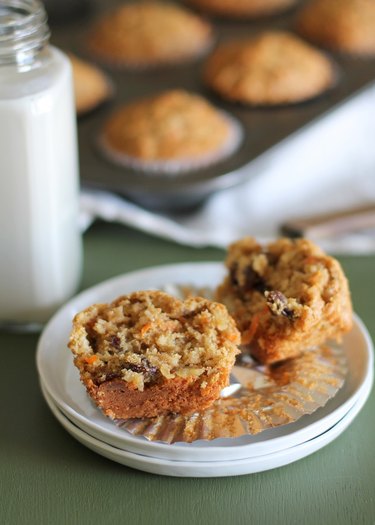 Julia Mueller/Demand Media Image Credit: Julia Mueller


 2 of 10
  3 of 10
  4 of 10
  5 of 10
  6 of 10
  7 of 10
  8 of 10
  9 of 10
  10 of 10