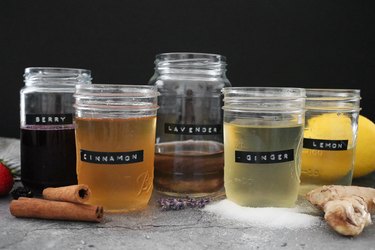
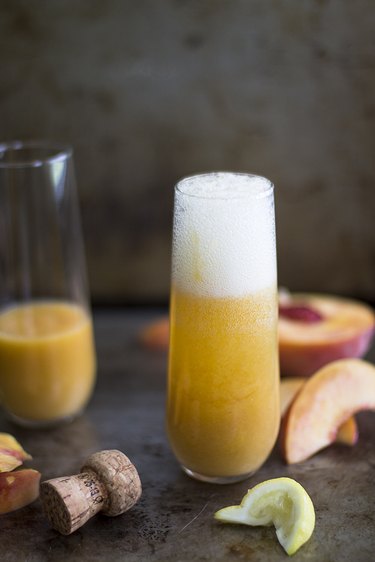
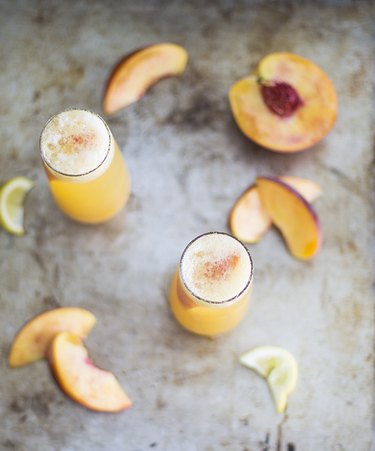
Simple syrup, also known as sugar syrup, is super easy to make at home. As a liquid sweetener, it's perfect for cocktails, iced lattes, baked goods and more. You can even flavor simple syrup by infusing it with other ingredients. (DIY flavored seltzer, anyone?) Read on to learn how to make a basic simple syrup, along with five fun variations.
Video of the Day
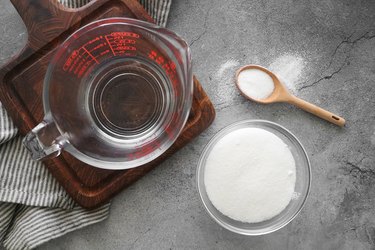
Basic Simple Syrup Recipe
Tip
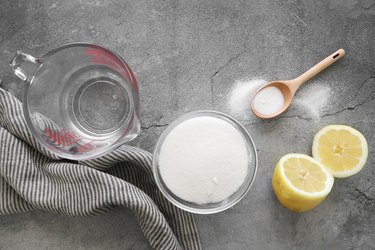
One recipe makes about 1 cup of simple syrup. If you'd like to make a smaller or larger batch, simply divide or multiply the ingredients as needed. Just be sure to use equal parts of water and sugar.
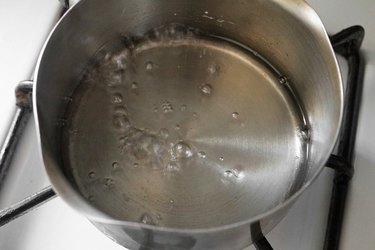
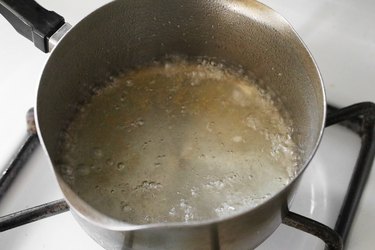
Step 1
In a small pot over low heat, combine the water and sugar. Heat for 5 minutes, mixing occassionally until the sugar dissolves. Increase the heat and gently boil for 15 minutes.
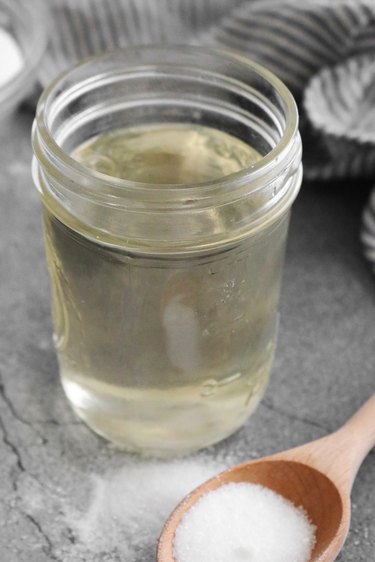
Step 2
Let cool. Transfer to a clean air-tight jar and store in the refrigerator for about 4 weeks.
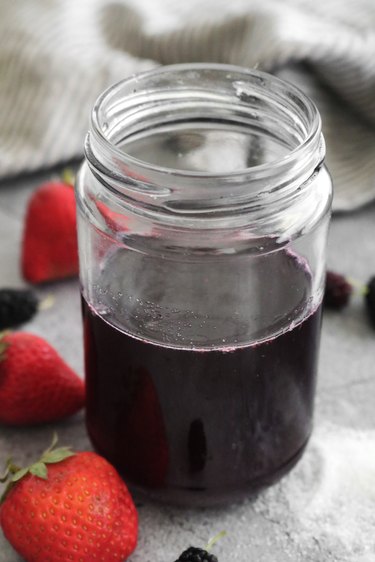
Berry Simple Syrup
-
1 cup water
-
1 cup sugar
-
1 teaspoon lemon juice
-
2 cups berries of choice

Step 1
Add the berries, water and sugar in a small pot over low heat. If using strawberries, slice them into fours.
Heat for 5 minutes, stirring occassionally until the sugar dissolves. Increase the heat and gently boil for 20 minutes. Mash the berries with a large fork.

Step 2
Let cool. Strain into a bowl, pressing on the berries with a large spoon. You can save the berries for a smoothie or baked goods.
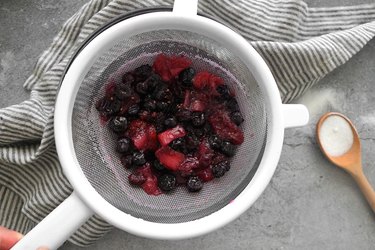
Step 3
Transfer to a clean air-tight jar. Since the syrup is made with fresh berries, it will last for about 1 week in the refrigerator.
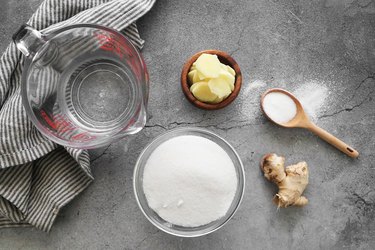
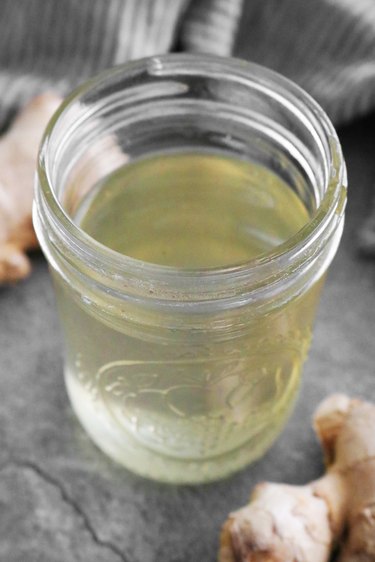
Ginger Simple Syrup
-
1 cup water
-
1 cup sugar
-
1/3 cup fresh ginger, thinly sliced
Step 1
Over low heat, combine the water, sugar and ginger in a small pot. Heat for 5 minutes, mixing occassionally until the sugar dissolves. Increase the heat and gently boil for 15 minutes.

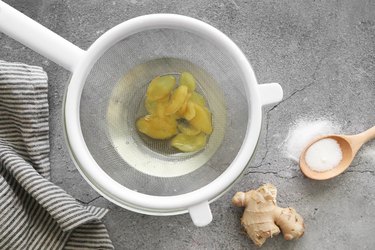
Step 2
Let cool. Strain the syrup into a bowl.
Step 3
Transfer to a clean air-tight jar. Store in the refrigerator for 1 week.
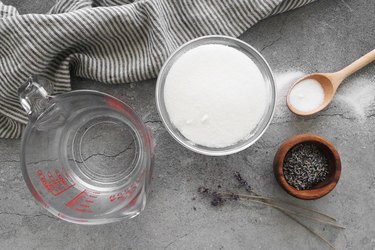
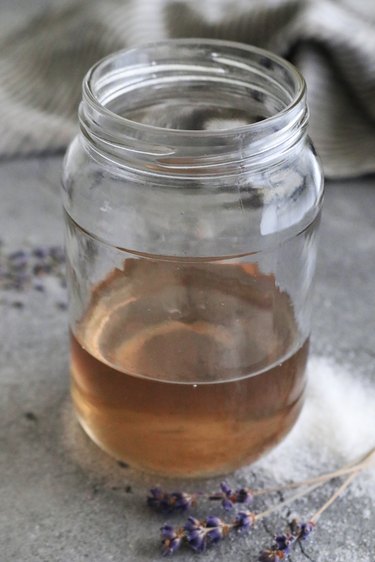
Lavender Simple Syrup
-
1 cup water
-
1 cup sugar
-
2 tablespoons dried culinary lavender
Step 1
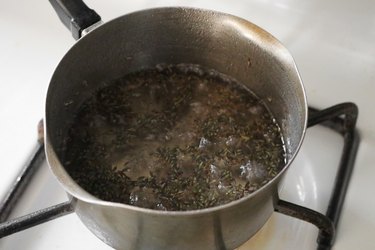
In a small pot over low heat, add the water, sugar and lavender. Heat for 5 minutes, mixing occassionally until the sugar dissolves. Increase the heat and gently boil for 15 minutes.
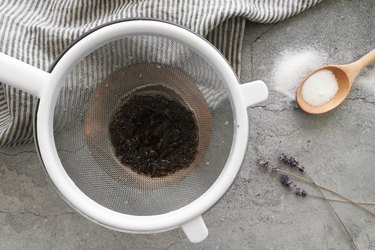
Step 2
Let cool. Strain the syrup into a bowl.
Step 3
Transfer to a clean air-tight jar. Store in the refrigerator for 1 week.
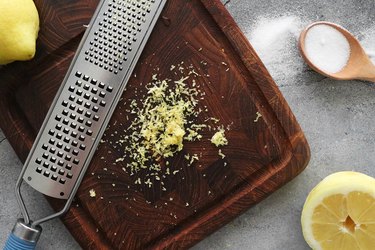
Lemon Simple Syrup
-
1 cup water
-
1 cup sugar
-
1 lemon
Step 1
Zest the lemon. Take care to avoid the bitter white pith.
Step 2
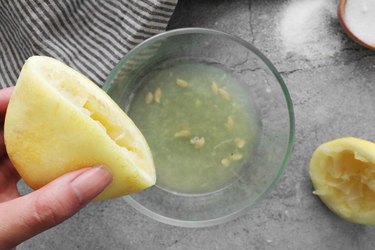
Juice the lemon and discard the seeds.
Step 3
In a small pot over low heat, combine the water, sugar, lemon zest and lemon juice. Heat for 5 minutes, stirring occassionally until the sugar dissolves. Increase the heat and gently boil for 15 minutes.
Step 4
Let the syrup cool. Strain into a bowl.

Step 5
Transfer to an air-tight jar. Store in the refrigerator for 1 week.

Cinnamon Simple Syrup
-
1 cup water
-
1 cup sugar
-
4 cinnnamon sticks

Step 1
Over low heat, combine the water, sugar and cinnamon sticks. Heat for 5 minutes, stirring occassionally until the sugar dissolves. Increase the heat and gently boil for 15 minutes.

Step 2
Let cool and remove the cinnamon sticks. Transfer to a clean air-tight jar. Store in the refrigerator for 1 week.


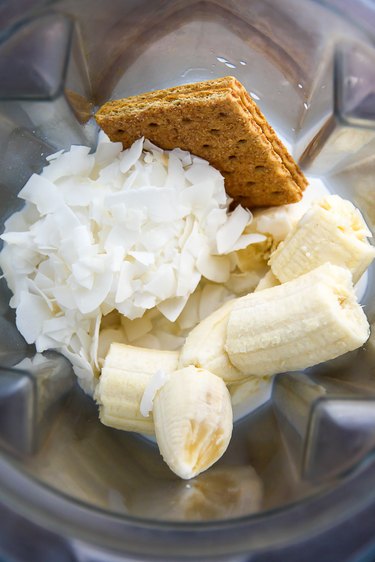


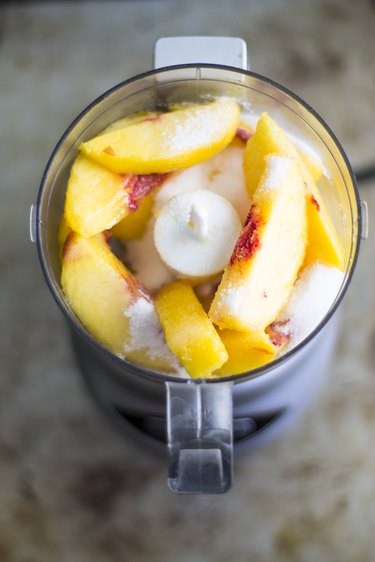
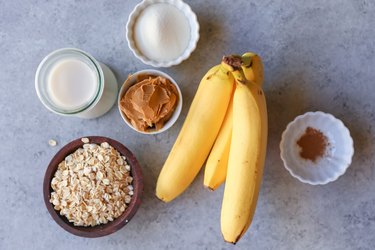 Assemble shake ingredients
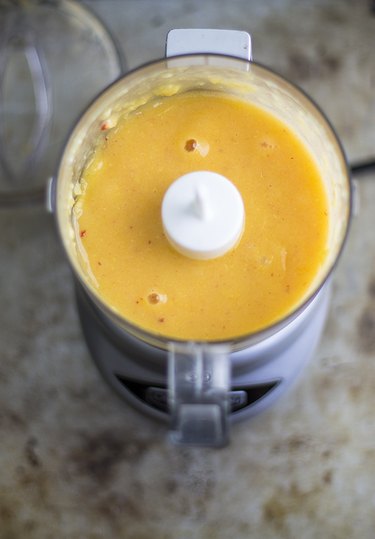
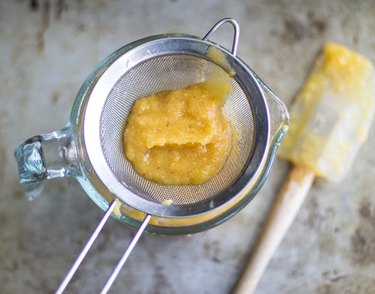
 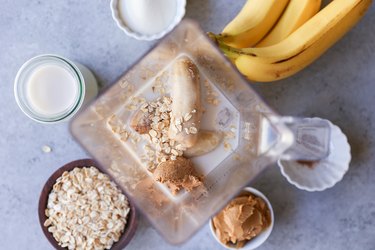 Blend shake ingredients together
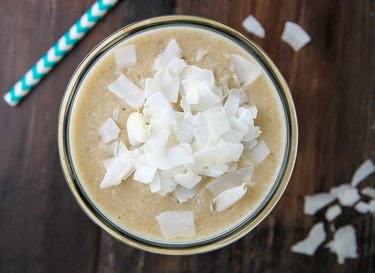
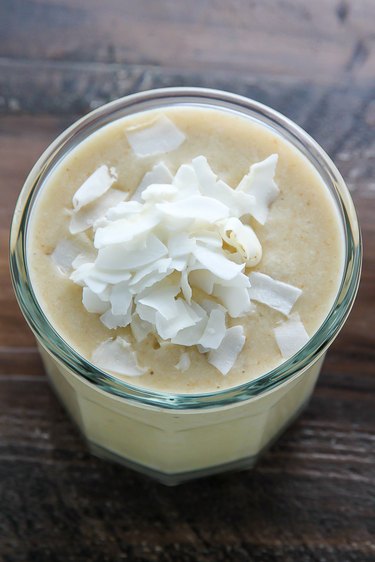
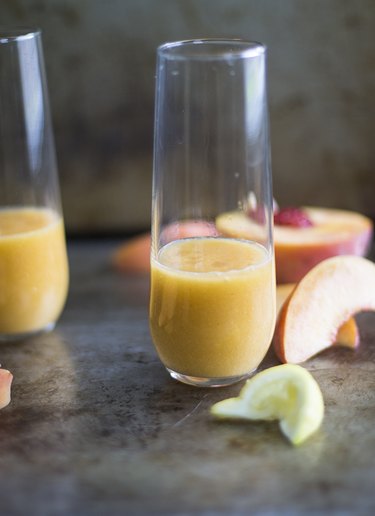
 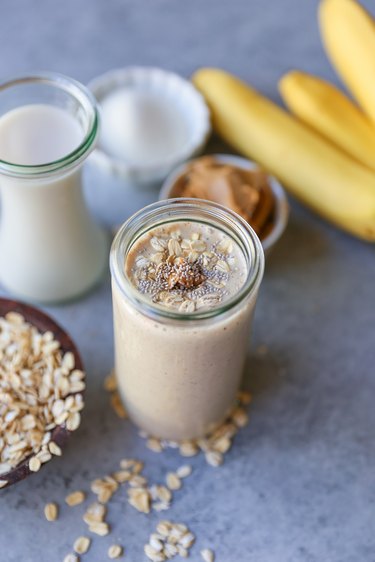 Serve and enjoy


 Chop the onion
  Saute the onion over medium heat
 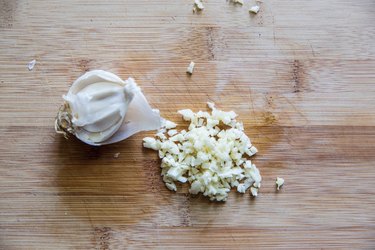 Chop three cloves of garlic.
 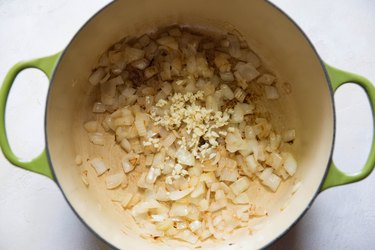 Add the garlic and saute.
 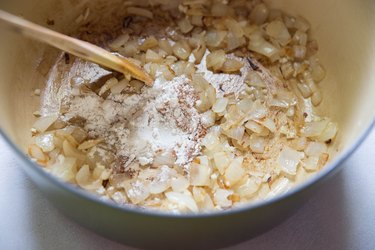 Stir in the flour, nutmeg and sea salt
 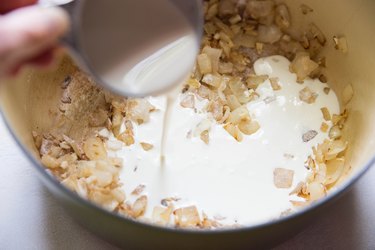 Add the heavy cream.
 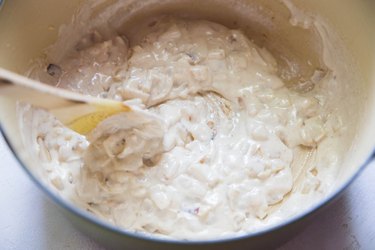 Stir until thick sauce forms.
 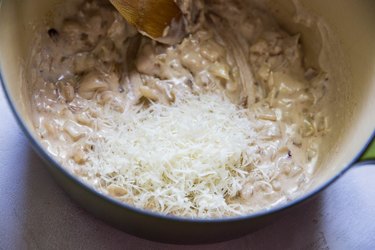 Stir in the Parmesan cheese
 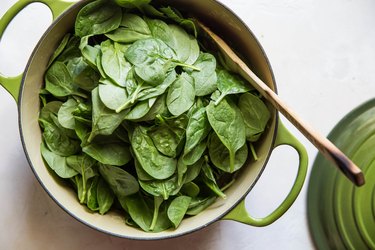 Add the fresh spinach to the pot.
 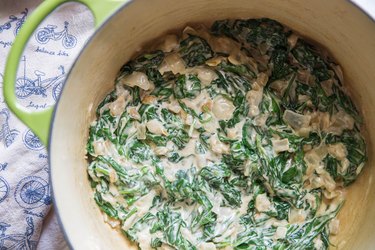 Continue cooking until spinach has wilted.
 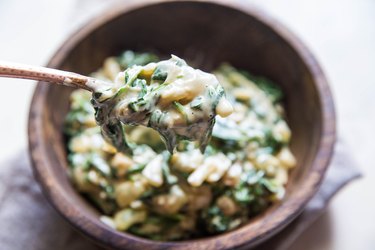 Taste creamed spinach for flavor.
 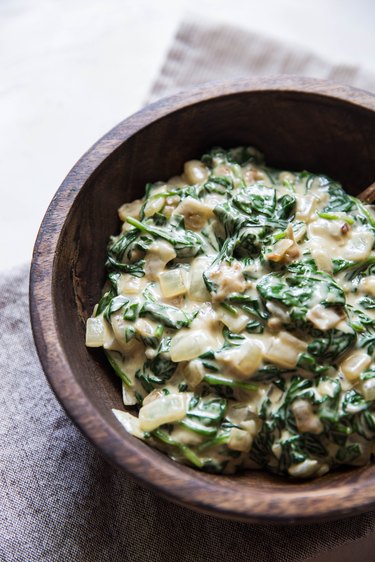 Serve creamed spinach and enjoy