A sweet treat right out of the jar, home-canned crabapples are easy to process. These miniature apples should be picked from the tree for canning purposes — crabapples that have dropped to the ground are bruised and damaged and will not stand up to canning. Crabapples that have ripened in the sunshine often have superior sweetness and more blush on the skin. Use a long-handled fruit picker to reach the highest fruit. About 1 pound of crabapples yields a 1-quart jar.
Prepare the Fruit
Wash the crabapples, using a gentle brush if necessary to ensure that the stem area is clean. Examine each apple for bruises and insect damage. Trim away any damaged areas.
Video of the Day
With a paring knife, cut a small conical shape to remove the blossom end. The blossom end contains enzymes that cause mushy fruit. Leave the stems intact.
Poke about four holes in the skin of each crabapple with a toothpick or ice pick to allow the syrup to penetrate.
Drop the cleaned fruit into a bowl of cool water to which you've added 1 teaspoon of pure ascorbic acid powder per gallon of water or six crushed 500-milligram vitamin C tablets per gallon. The ascorbic acid bath prevents discoloration.
Tip
The stems help the apples maintain their shape. Stems also serve as little handles to pick up the fruit from a serving tray. Remove the stems after opening the jar for use, if you wish.
Prepare the Jars and Lids
Wash the jars in hot, soapy water and rinse. Leave the jars immersed in hot water, or simmer them in the canner at 180 degrees F until you're ready to fill them. Alternatively, wash the jars in the dishwasher on a full cycle and leave them in the unopened dishwasher until ready to use.
Wash the jar lids and rings in hot, soapy water and rinse. Place them in a pan or bowl and cover them with boiling water. Leave the lids in the hot water until you fill the jars. Boiling the lids in a pan on the stovetop can over-soften the rubber and cause failed seals during processing.
Cook the Syrup and Fruit
Make a light syrup of 1 1/2 quarts of water and 3 cups of sugar. Stir them together in a pan large enough to accommodate all the crabapples. Heat the syrup, stirring until all the sugar dissolves. Add the crabapples, stir them into the syrup, and simmer for about 5 minutes to heat the fruit — the apples should not become soft.
Spoon the crabapples into the prepared jars leaving a 1-inch headspace. When all the jars are filled with fruit, transfer the hot syrup into a pitcher and fill the jars to 1/2 -inch below the rims. Insert a thin plastic spatula or plastic knife along the sides of the jars to allow air bubbles to escape.
Wipe the threads and rims of the jars with a clean, damp cloth. Arrange the lids and hand-tighten the rings firmly, just until you meet resistance. Don't over-tighten the rings.
Process the Jars
Fill the canner half full with hot water. Place the filled, lidded jars on the rack and lower them into the canner. The water level should be at least 1 inch above the tops of the jars; add more hot water if necessary. Put the lid on the canner. As soon as the water boils, begin timing the processing. Seven quarts of crab apples require 25 minutes of processing.
Life the rack from the canner. Remove the jars with jar lifters and place the hot jars on a wire baking rack or on towels on the counter in a place where they won't be disturbed. Allow the jars to cool for several hours or overnight. You'll hear the lids "pop" as the seals complete during the cooling stage.
After the jars are completely cool, remove the rings from the jars. Test the lid seals by gently lifting the edges of the lids. They should be firmly stuck to the rims of the jars.
If a jar lid is loose, refrigerate the jar and eat the crabapples within 2 or 3 days.
Store the jars in a dark cupboard or pantry at room temperature.
Warning
You may notice siphoning, especially when you’re canning whole fruit. Siphoning occurs when air pressure forces some of the syrup out from under the lid as the hot jars are removed from the canner. As long as the lid seals as the jar cools the fruit is safe, although you may notice discoloration after long storage. Remedy this by being diligent about removing air bubbles after you fill the jars.
Variations
- Add your favorite spices, such as cloves, cinnamon, allspice, ground nutmeg or a touch of ginger, to the syrup. Stir the syrup as you pour it into the jars to evenly distribute the spices.
- Dissolve cinnamon candies as part of the sugar in the syrup to add extra flavor and red color.
- Substitute honey or agave for all or part of the sugar in the syrup.
- Soak 7 tablespoons of raisins, dried currants or dried cranberries in hot syrup until they swell. Add equal amounts of the plumped fruit to each jar, then fill with crab apples and syrup. Process for 25 minutes.


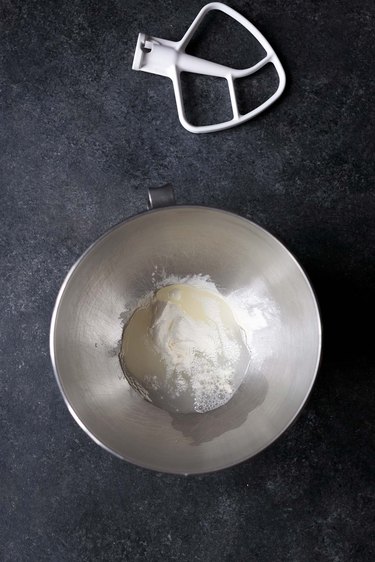
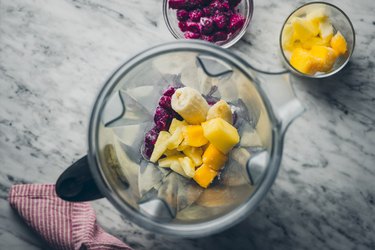 Loading blender
 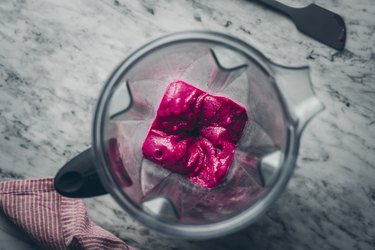 Blend ingrediente
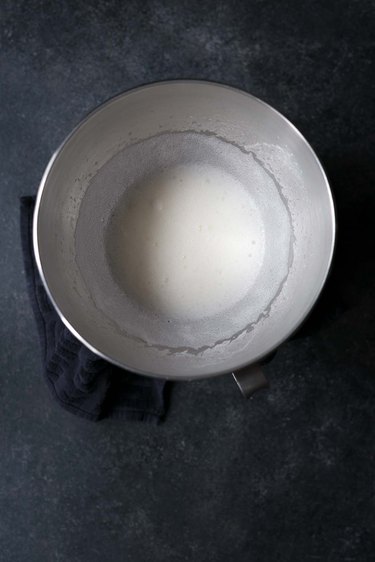
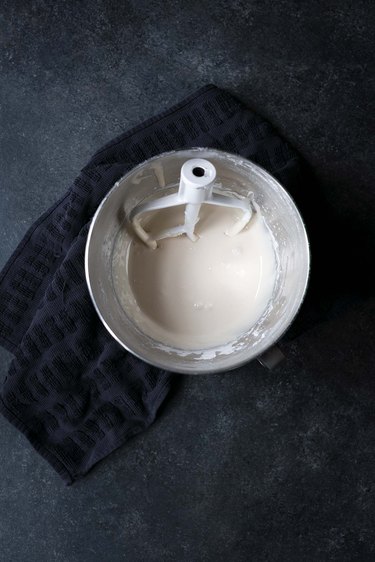
 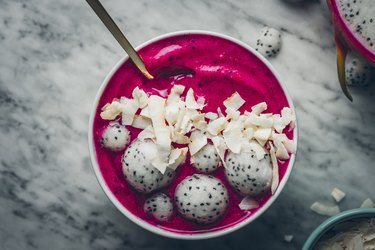 Finished bowl
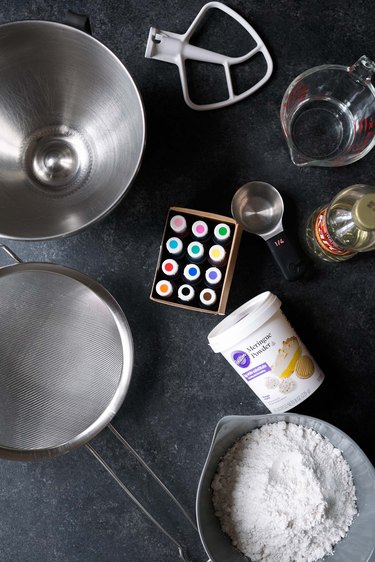

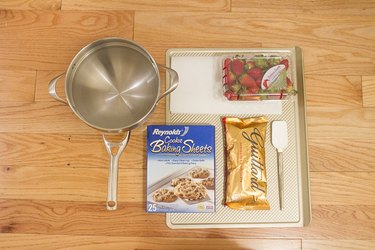 Things you\’ll need.
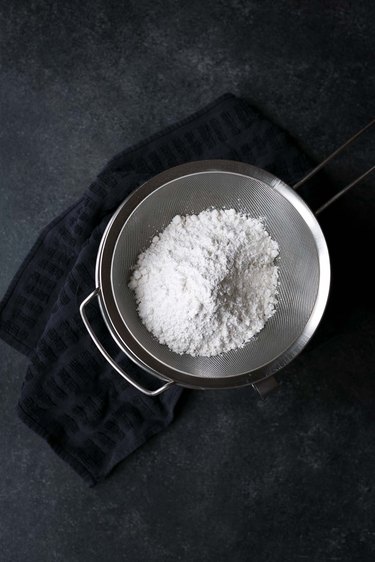
 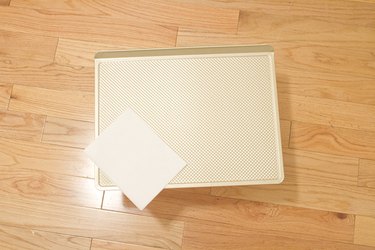 Prepare your cookies sheet with parchment paper.
 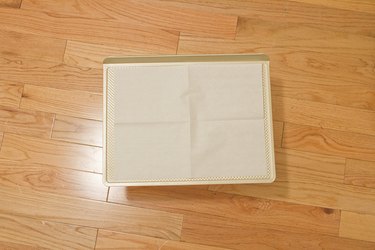 Unfold your parchment paper onto the cookie sheet.
 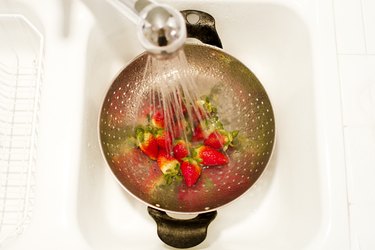 Wash your strawberries in colander in the sink.
 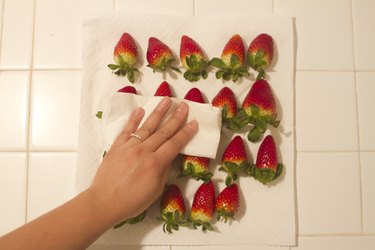 Pat your strawberries dry with a paper towel.
  Set aside dry strawberries on a clean paper towel.
 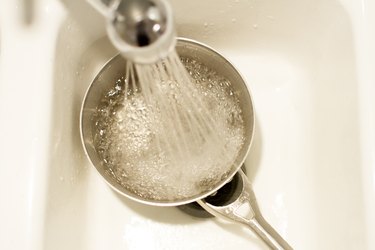 Fill bottom of double boiler halfway with water.
 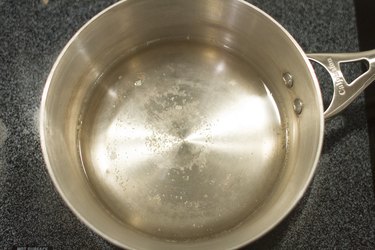 Water boiling in the bottom pot of the double boiler.
 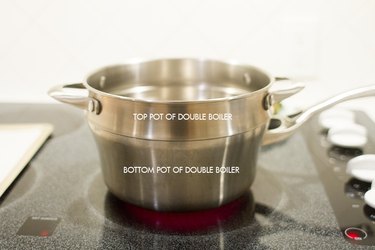 Top pot of the double boiler is placed directly onto bottom pot.
 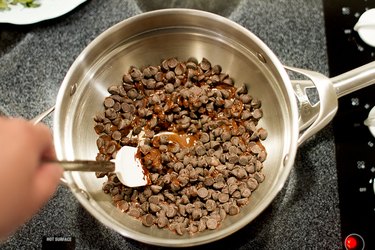 Pour chocolate into top pot and stir with your heat safe spoon.
 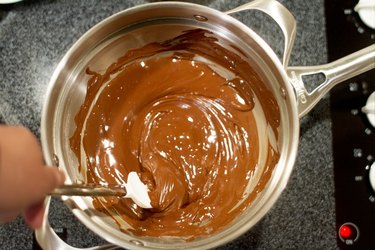 Stir chocolate with heat safe spoon until it is completely melted.
 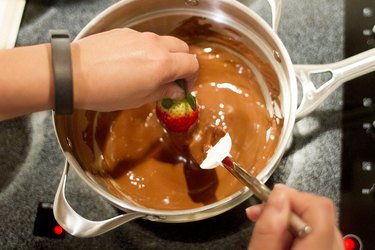 Dip clean strawberry into melted chocolate using your heat safe spoon
 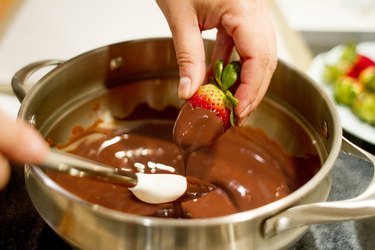 Brush off excess chocolate with heat safe spoon.
 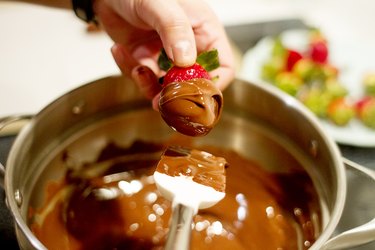 Chocolate dipped strawberry.
 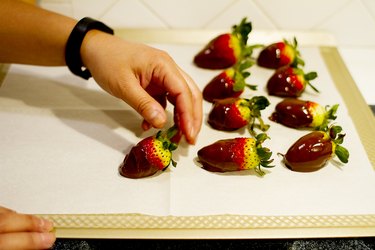 Place chocolate dipped strawberries on your parchment lined cookie sheet
 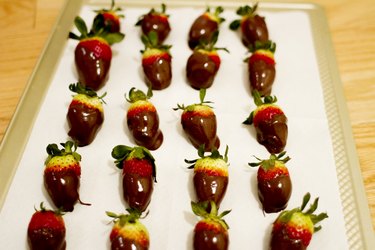 Cookie sheet of chocolate dipped strawberries
  Chocolate dipped strawberries after refrigerated for 1-2 hours.
  How to make chocolate covered strawberries