 1 of 11
Overview
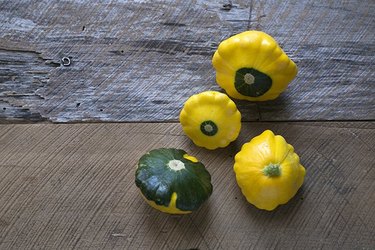
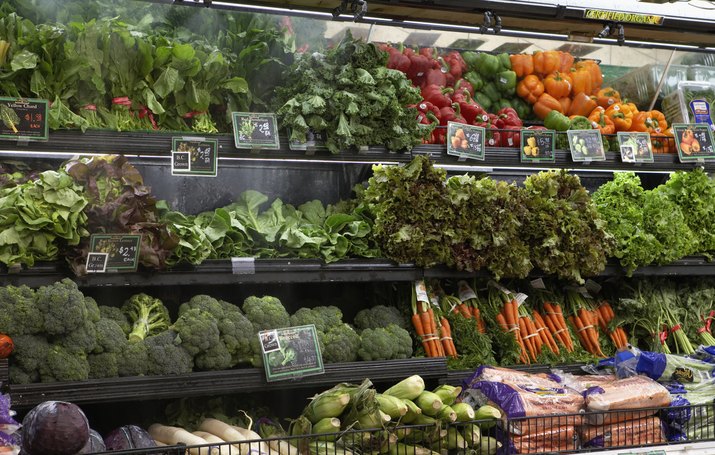
Just because it's winter doesn't mean that produce isn't in season. In fact, some vegetables are even tastier when grown in cooler climates, especially leafy greens like kale and collard greens. Now is the time to take advantage of all those fresh winter vegetables in the produce aisle with these creative ways for preparing your favorite (or soon-to-be favorite) winter veggies.
Image Credit: Noel Hendrickson/Digital Vision/Getty Images 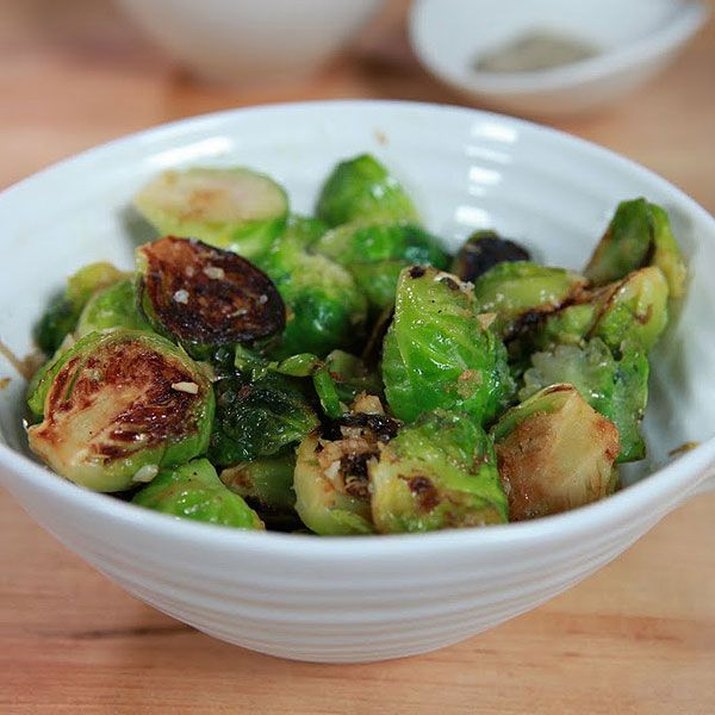 2 of 11
Pan-Sear Them
If you've previously spurned the sprout, now is the time to give this vitamin rich winter veggie another try. In peak season from fall to spring, these veggies are the perfect healthy winter side dish. Heat up a pan, drizzle a little olive oil and you're ready to sear up some seriously good-for-you eats. Add a little garlic and lemon zest to take these vitamin-C rich nuggets from boring to taste bud-pleasing. If you're still skeptical about searing up the sprout, this method also works great with other winter veggies like broccoli, cauliflower and your favorite winter greens. There isn't a much simpler way to (quite literally) add some zest to your veggie side dish. – in association with Rachael Ray
Related: Watch Pan Seared Brussels Sprouts with Lemon Zest in HD
Image Credit: Gus Philippas  3 of 11
Toss Them Up in a Salad
Ranging in hue from purple to yellow, beets are one of the few vegetables that lend themselves to dramatic presentations. Adding roasted beets to a winter salad is a great way to delight both your eyes and taste-buds; not to mention your health. High in dietary fiber and a great source of vitamin C, iron and magnesium, beets are beautiful both inside and out. Our favorite way to eat this winter veggie is Louisa's beet, feta and pine nut salad. Feta and pine nuts complement the earthy beets, making this a healthy salad that doesn't taste healthy. – in association with Rachael Ray
Related: Watch Beet, Feta and Pine Nut Salad in HD
Image Credit: Gus Philippas 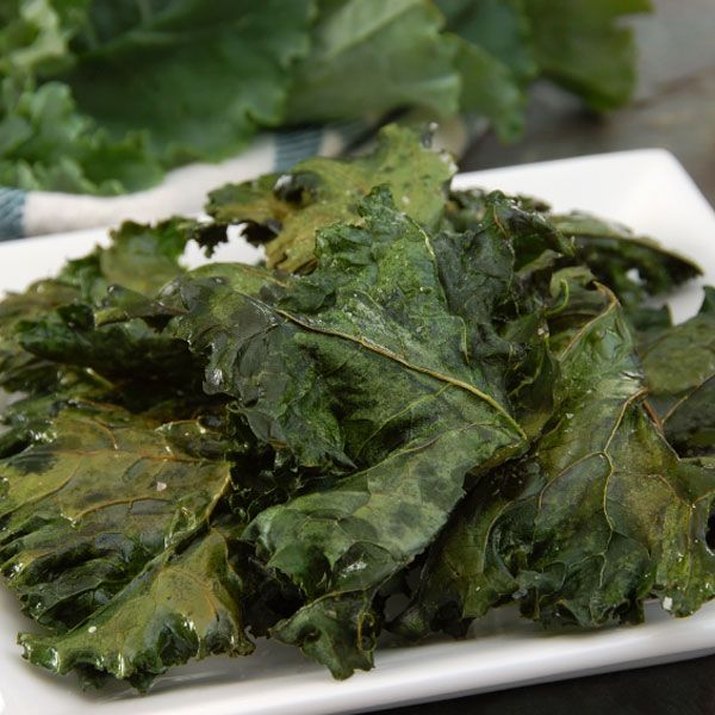 4 of 11
Bake Them into Chips
Put down the bag of potato chips and grab a handful of leafy kale greens for a guilt-free alternative to one of your favorite salty snack foods. Rich in vitamins and antioxidants, kale is a super-food that offers a nutritious alternative to anything in the snack food aisle. Plus, like most hearty cooking greens, cooler weather keeps kale sweet, so winter is the best time to bake up a batch of kale chips. – in association with Rachael Ray
Related: Watch Crispy Baked Kale Chips in HD
Image Credit: Gus Philippas 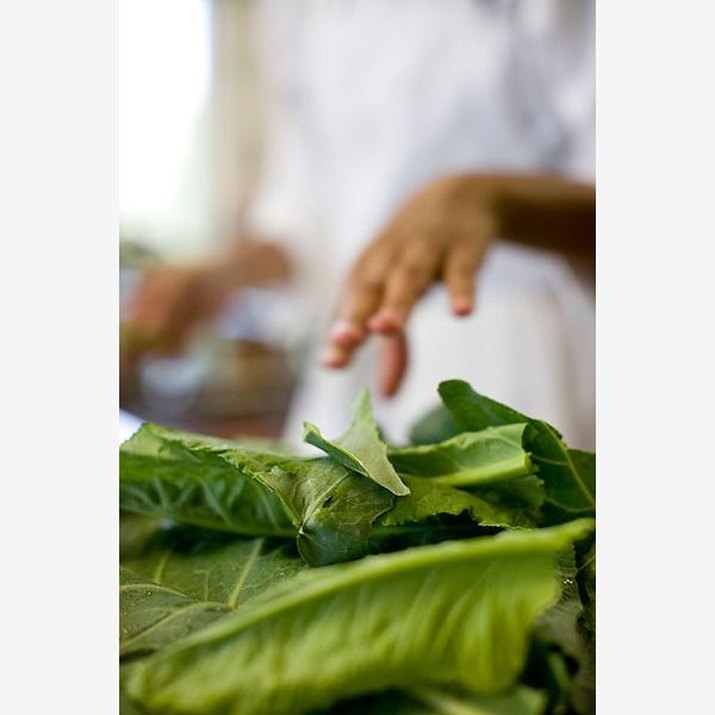 5 of 11
Use Them as a Wrap
In lieu of a tortilla, use leafy winter greens such as collard greens or kale the next time you make a wrap. Collard greens and kale have large, nutrient rich leaves, making them the perfect calorie-cutting alternatives to the traditional tortilla. Plus, they're great sources of vitamins A, C and K, so not only are you cutting calories, but you're also adding some cholesterol-lowering power to your snack. – in association with Rachael Ray
Related: Watch Figure-Friendly Snack: Collard Wraps in HD
Image Credit: iStock 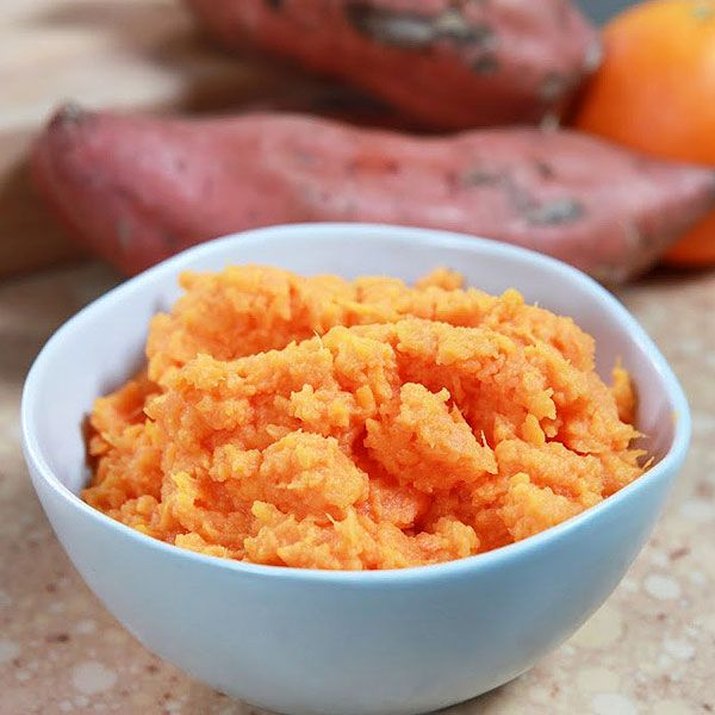 6 of 11
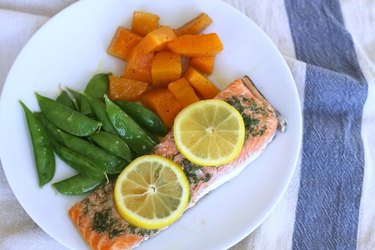
Mash ‘Em Up
Who can resist fluffy mashed potatoes? (These mashed sweet potatoes are quick, simple and naturally sugary, making them the perfect alternative to the traditional starchy potato side dish.) Swapping the potato with its cousin, the sweet potato, allows you to enjoy the great comfort food taste and texture of the traditional side dish, while gaining the nutritional benefits of fiber and vitamins B6, A and C. Whipping in a splash of orange juice gives these mashed taters a sweet and citrusy flavor that will have you going back for seconds. – in association with Rachael Ray
Related: Watch Mashed Sweet Potatoes with Orange Juice in HD
Image Credit: Gus Philippas 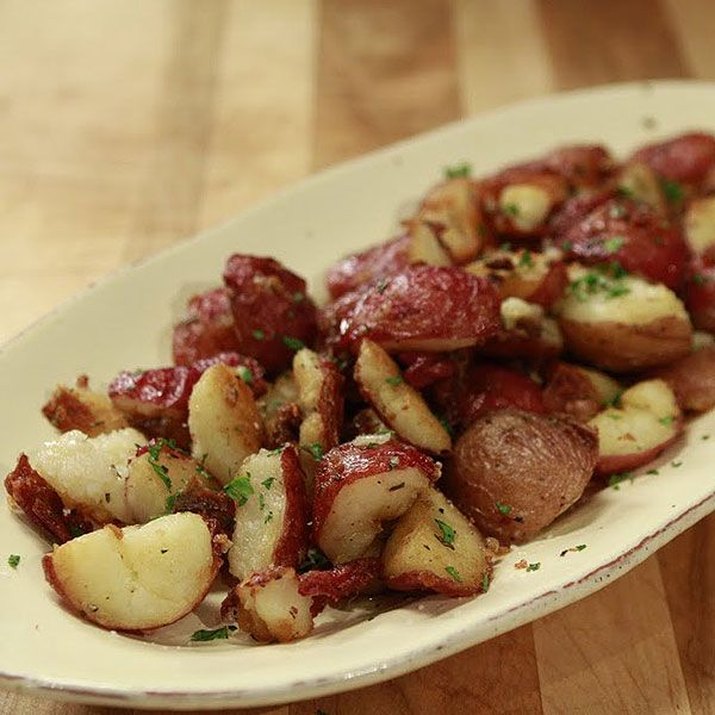 7 of 11
Oven-Roast Them
We're not exaggerating when we say that Josh Ozersky's roasted potatoes are the best ever. Trust us, a little garlic and rosemary turn the ordinary winter root into a mouth-watering side dish. – in association with Rachael Ray
Related: Watch The Best Roasted Potatoes Ever in HD
Image Credit: Gus Philippas 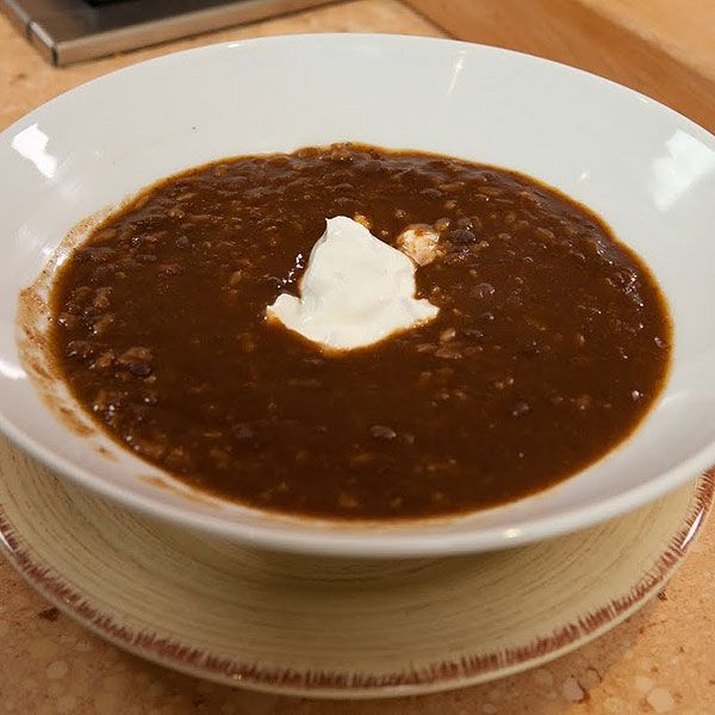 8 of 11
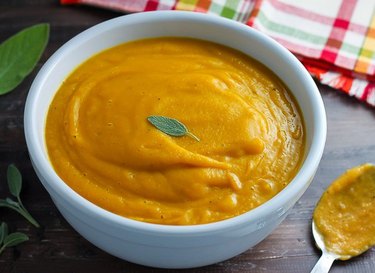
Stir Them Up in a Soup
Louisa Shafia's hearty black bean and squash chili will have even the most avid carnivore going back for a second bowl-full. Swapping out the meat for fresh, seasonal ingredients like winter butternut squash, Louisa's protein-packed chili is both satisfying and heart-healthy. – in association with Rachael Ray
Related: Watch Vegetarian Black Bean and Squash Chili in HD
Image Credit: Gus Philippas 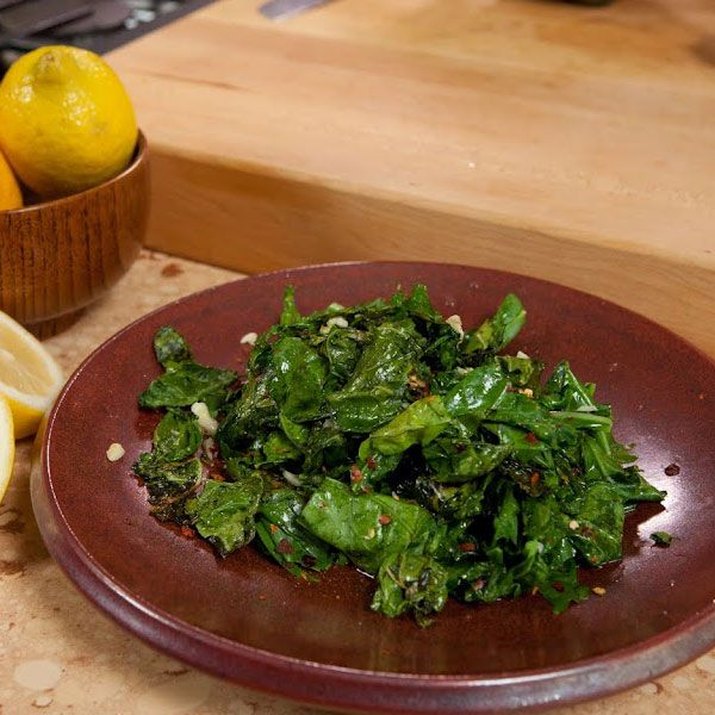 9 of 11
Sauté Them with Garlic
Leafy winter greens such as kale and collard greens are nutrient-packed super foods that are easy to prepare, especially with Louisa's sautéing tips. A little olive oil and garlic bring out the mellow the greens' naturally bitter flavor and make this dish both tasty and healthy. Garlic truly makes everything more delicious—plus its colon-cancer fighting power gives you another reason to break out the sauté pan and olive oil. – in association with Rachael Ray
Related: Watch Sauteed Winter Greens with Garlic in HD
Image Credit: Gus Philippas 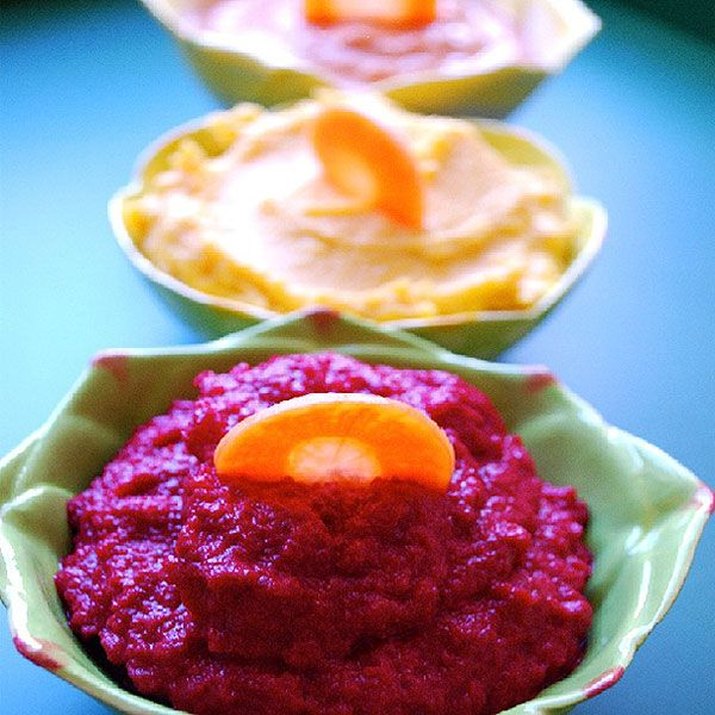 10 of 11
Purée Them into Dip
Homemade dips made with fresh, seasonal ingredients are a great way to scoop up another serving of veggies. Filled with protein and mono-saturated heart-healthy fats, hummus is the ultimate healthy snack food. Add even more flavor and nutrients to classic hummus by puréeing winter veggies such as beets and winter squash into the dip.
Related: Louisa's creative ways to add veggies to hummus
Image Credit: Gus Philippas 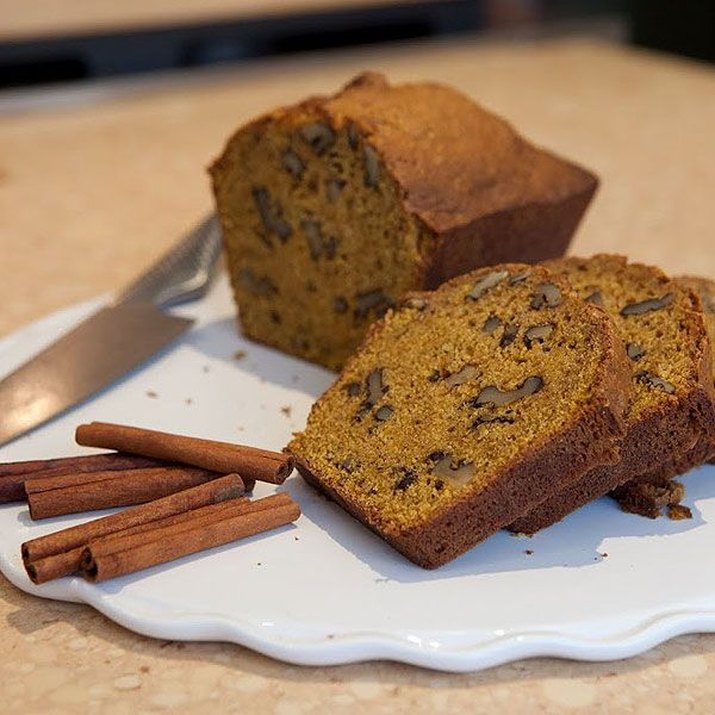 11 of 11
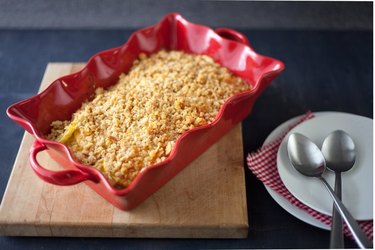
Bake Them into Bread
Louisa's cinnamon squash spice bread takes the ordinary gourd to extraordinary deliciousness. Chock full of nuts, spices and veggies such as pumpkin and squash, this isn't your typical sweet loaf. High in protein, fiber and vitamins this bread is a sweet treat that will satisfy your sweet tooth without the guilt. – in association with Rachael Ray
Related: Watch Cinnamon Spice Squash Bread in HD
Image Credit: Gus Philippas


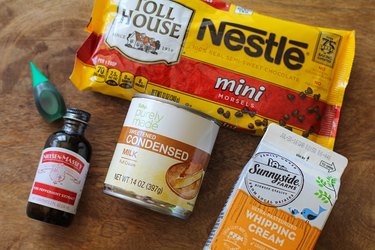 Gather your ingredients
  Blend ingredients for ice cream base in a blender
  Transfer base to ice cream maker
  Add the chocolate chips to the ice cream
  Freeze the finished ice cream
  Thaw the ice cream and scoop
 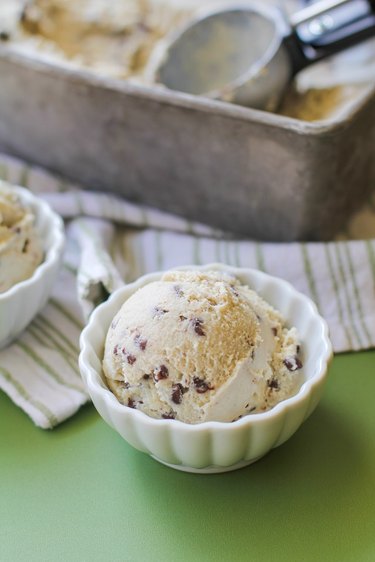 Scoop and serve!