 1 of 21
These 20 Hacks Will Make the Holidays Easier
Between trimming the tree, decorating your home and wrapping gifts, the season of joy can easily turn into an ordeal that's more stressful than merry. Make this holiday season festive and efficient with 20 clever ways to save time, money, and last but definitely not least, sanity. We say simplify the season and cut corners whenever possible.
Image Credit: eHow  2 of 21
Upcycle Wine Bottles Into Festive Lighting
Turn empty wine bottles into Pinterest-worthy home accents with this tutorial. Place the illuminated bottles on your mantle, on your dining room table in lieu of candles, or in an empty fireplace to add a modern twist to your holiday decor.
Image Credit: 17 Apart 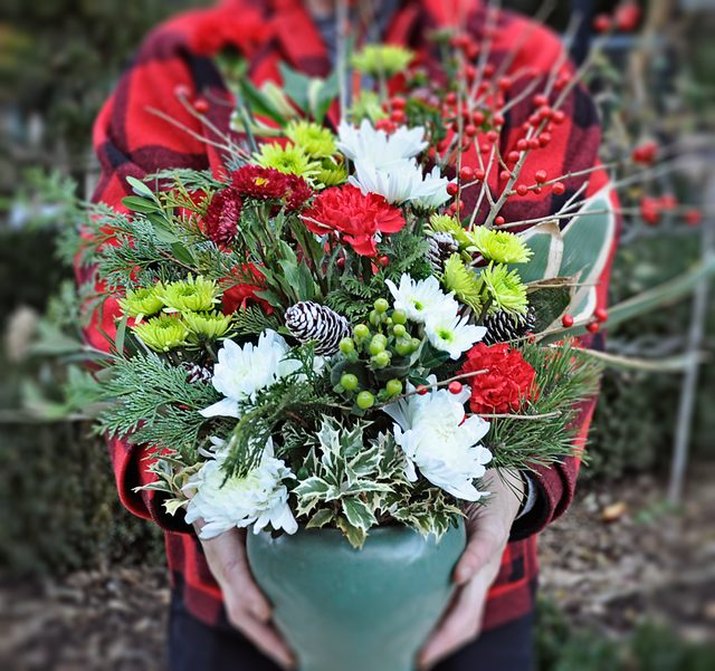 3 of 21
Turn Store-Bought Flowers Into a Holiday Centerpiece
No need to place a special order to get a professional-looking centerpiece for your holiday table. You can easily make an impressive floral arrangement using a simple $10 bouquet from the grocery store and greens from your yard or neighborhood. You may just put your local florist out of business.
Image Credit: Matt Mattus 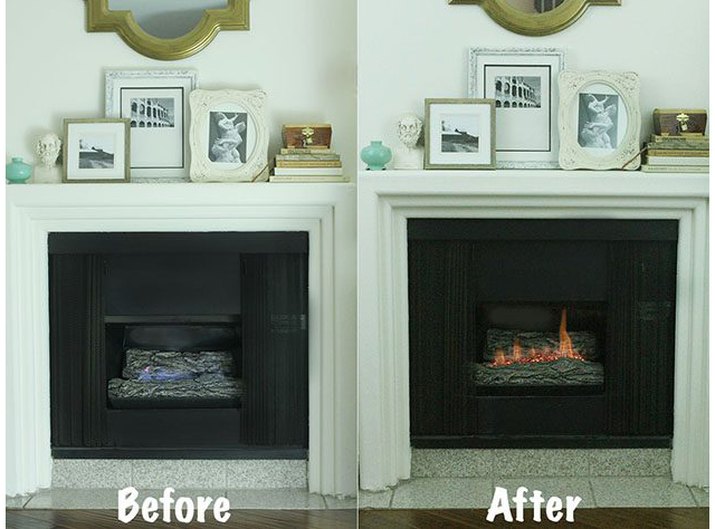 4 of 21
Make a Gas Fireplace More Like a Wood-Burning One
Not everyone is #blessed with a wood burning fireplace, but that doesn't mean you can't make the most of what you've got. Get that old fashion fireplace experience with this simple tutorial. You'll be enjoying crackling embers, glowing orange flames and that authentic scent of burning wood in no time.
Image Credit: Trisha Sprouse 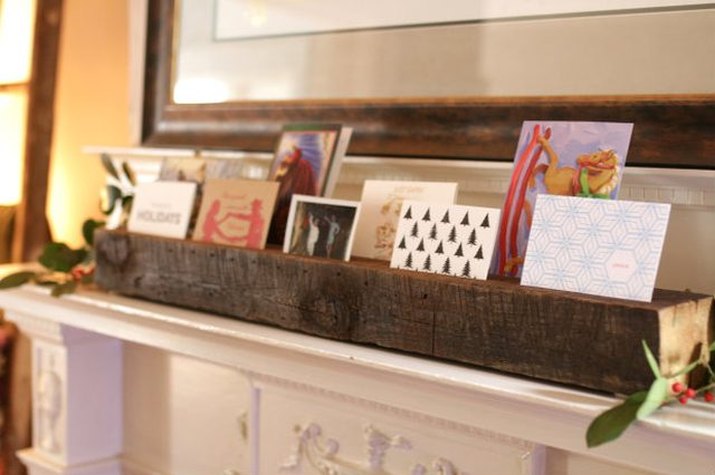 5 of 21
Use a Piece of Reclaimed Wood as a Holiday Card Display
This year, don't settle for a pile of holiday cards on the coffee table. Instead, make a mantle-worthy display to showcase the beautiful cards you receive from your family and friends. If you're comfortable using power tools, you can tackle this project in an afternoon, and you'll enjoy the holiday cheer all the more for it.
Image Credit: 17 Apart 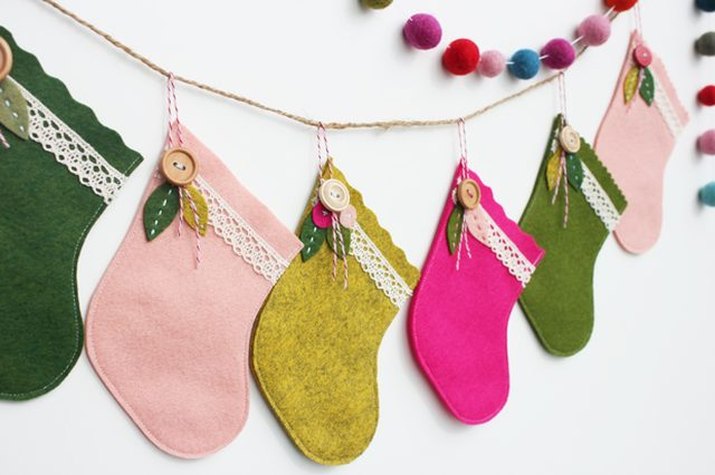 6 of 21
Sew a Stocking in 5 Minutes
Decorate your mantel in record time with mini homemade stockings. They add a bright pop of color to a stark fireplace when strung together as garland, as pictured. Bonus: You can also make them as gift card holders for last-minute gifts (or even as ornaments!).
Image Credit: Amy Sinibaldi  7 of 21
Make a Chic Wreath From a Foil Baking Sheet
No one will ever guess that you made this designer-looking wreath using a foil baking sheet and gold spray paint. So go ahead, decorate the halls on the cheap. We won't tell anyone your DIY secret. But you'll be so proud of your handmade holiday decor, you'll probably want to announce it to everyone yourself with a perfectly styled Instagram post.
Image Credit: Lucy Atkins 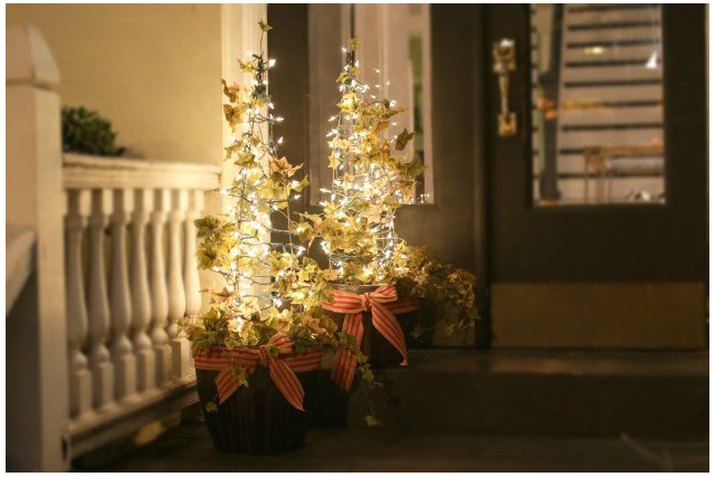 8 of 21
Turn a Tomato Cage Into a Christmas Tree
Celebrating the holidays in a small space? Make your own evergreen stand-in using a tomato cage and ivy bunches. Accent with a festive bow to add extra holiday cheer to your apartment. (This DIY is also ideal for procrastinators who waited until the week of Christmas to get a tree).
Image Credit: 17 Apart 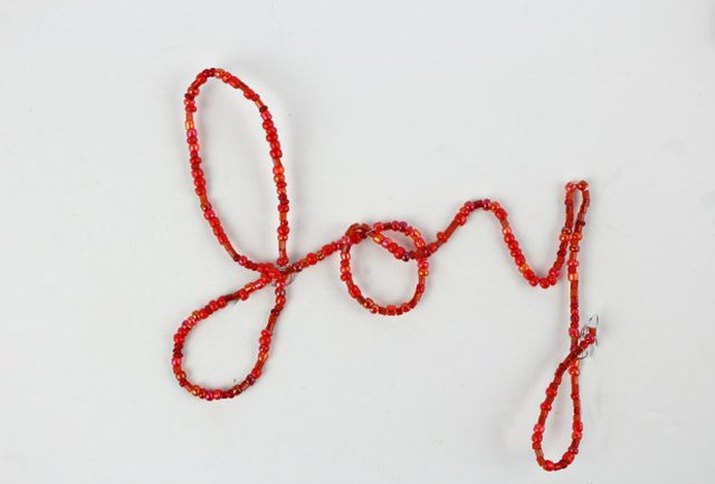 9 of 21
Make a Simple Beaded Wire Home Accent
Choose your favorite holiday sentiment, such as Joy, Love or Family, and use jewelry wire and beads to create a beautiful yet simple adornment for your mantel, front door or tree. The best part? You can display this homemade home accent all year long.
Image Credit: Lucy Atkins 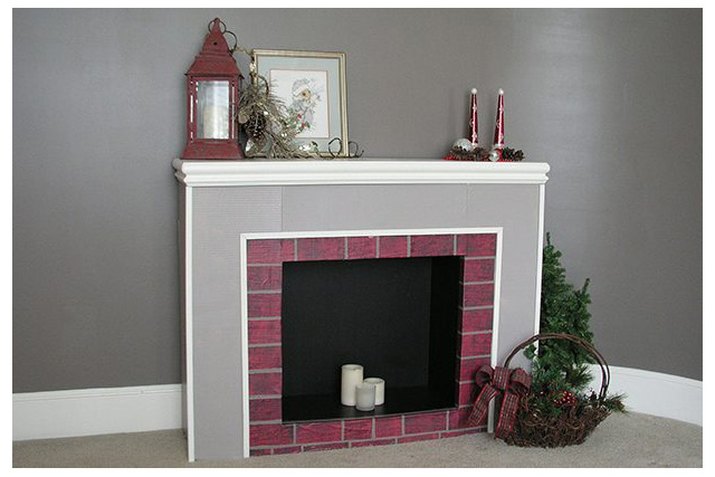 10 of 21
Turn Cardboard Into a Faux Fireplace
Calling all apartment dwellers: If you don't have a traditional fireplace to decorate for the holidays, fret not. Make your own cardboard faux fireplace using inexpensive materials from your local hardware store. This cost-effective DIY is easy to assemble and gives you a festive mantle to deck for the holidays.
Image Credit: Debbie Williams 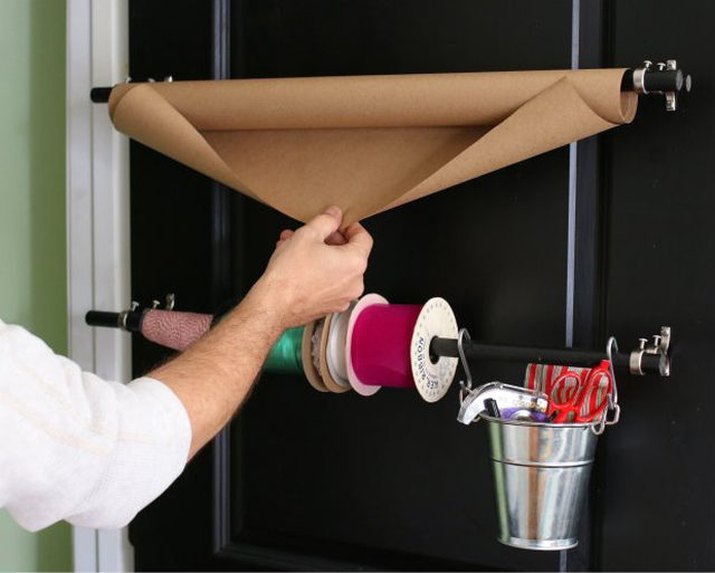 11 of 21
Create a Curtain Rod Wrapping Station
Turn the back of a closet door into an organized gift wrapping station to keep scissors, wrapping paper and ribbon at your finger tips — unruly spools of ribbon and unraveled rolls of wrapping paper will be a thing of the past. Santa's elves couldn't wrap a present more efficiently themselves.
Image Credit: 17 Apart 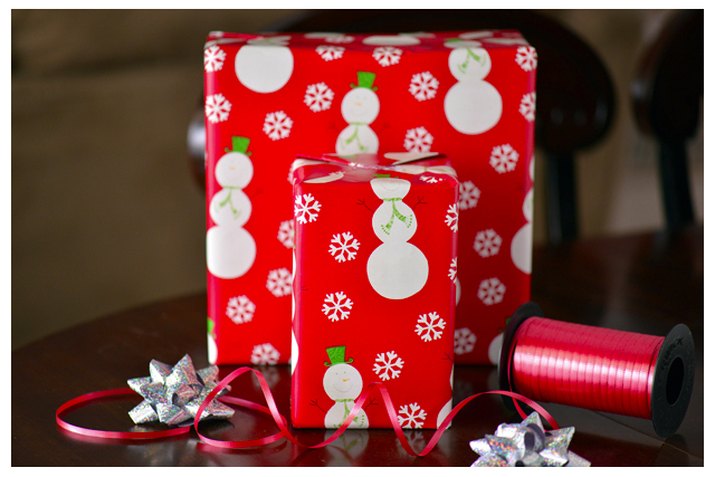 12 of 21
Perfectly Wrap a Present
When it comes to wrapping a present, it's all about proportions and crisp edges. With these simple tricks, your presents will be looking perfect under the Christmas tree.
Image Credit: Tonia Larson 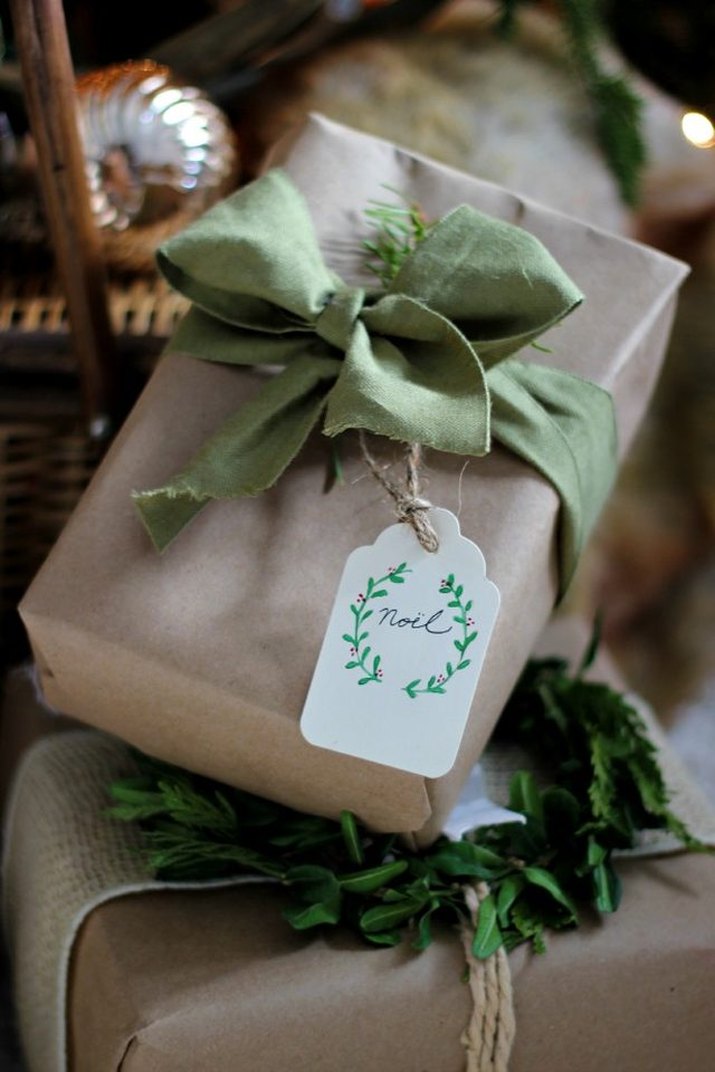 13 of 21
Opt for Free Printable Gift Tags
Skip the expensive gift tags and opt for these free printable versions. This simple yet modern design will look great tied around the neck of a bottle of wine as a hostess gift, adorning a present under the tree, or atop a homemade gift fit for a foodie.
Image Credit: Lucy Atkins  14 of 21
Make Your Own Fancy Bows
Make every gift an impressive one by topping it with a homemade fancy bow. It almost doesn't matter what's in the box because the wrapping is so pretty. But if you do want the gift to be as awesome as the wrapping, check out these easy DIY stocking stuffers for everyone on your list.
Image Credit: Sara Budisantoso 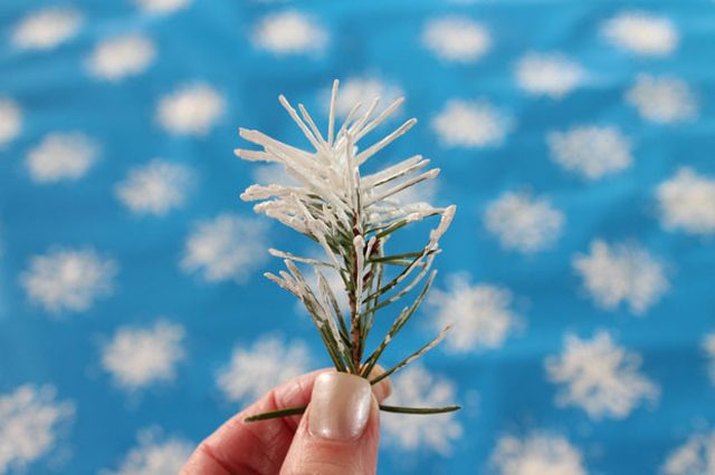 15 of 21
Use a Sprig of Pine to Make Festive Wrapping Paper
Don't waste your money on pricey printed paper. Instead, make your own festive gift wrap using just a sprig of pine and white paint. Simply snip a small piece of the Christmas tree to transform a plain roll of wrapping paper into holiday-ready snowflake gift wrap. Now you can spend the gift wrap money you saved on cider and eggnog.
Image Credit: Beth Huntington 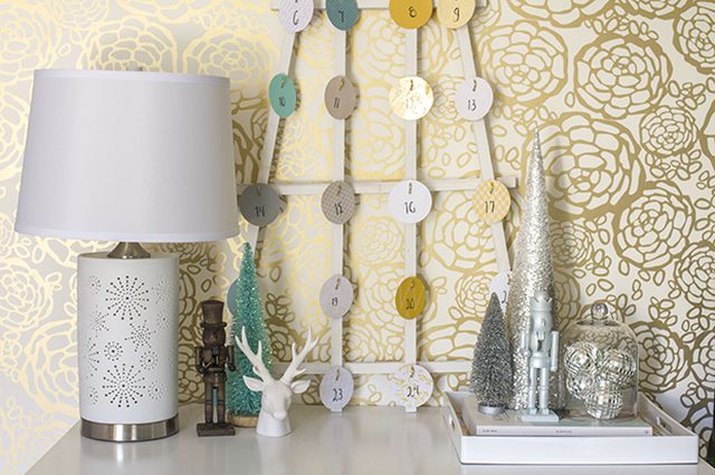 16 of 21
Turn a Garden Trellis Into an Advent Calendar
Make a quick trip to your local home improvement store and grab the materials you need to turn a garden trellis into a simple advent calendar. This easy project will only set you back about $10 and the tree-like shape of the trellis doubles as festive decor. We call that a win-win.
Image Credit: Carrie Waller  17 of 21
Create Quick Birch Bark Placemats
If you're entertaining this holiday season, make simple placemats by hot gluing birch wood slices onto neutral placemats. A small succulent Christmas tree on each plate adds the final touch to your festive place settings.
Image Credit: Lucy Atkins 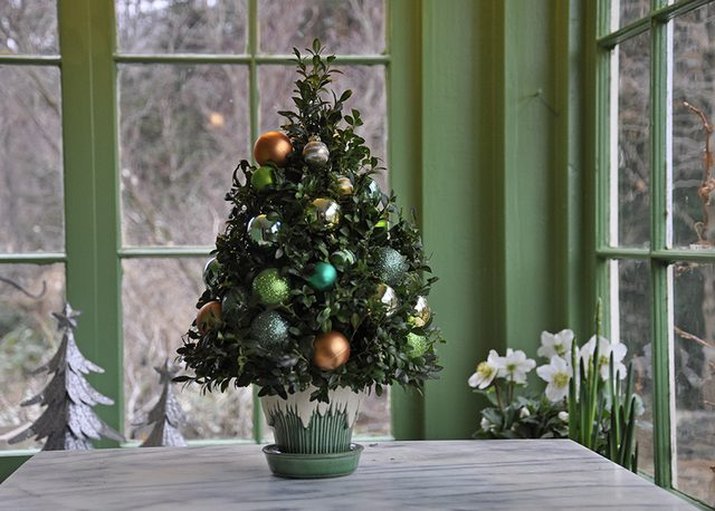 18 of 21
Make a Last-Minute Christmas Boxwood Tree
Whether you waited until the last minute to get a Christmas tree for your home or you're looking to impress the in-laws with a great hostess gift, this Christmas boxwood tree can be made in a flash (and on a budget). Simply use floral foam, boxwood cuttings and spare ornaments to make your own.
Image Credit: Matt Mattus  19 of 21
Scavenge for Free Swag for Your Front Door
There's no need to spend over $15 on a festive swag from your local nursery to adorn your front door. All you need to do is gather items from your own yard (or your neighbor's yard if you're on good terms — or if you're feeling daring) to make your own holiday swag for free.
Image Credit: Mavis Butterfield 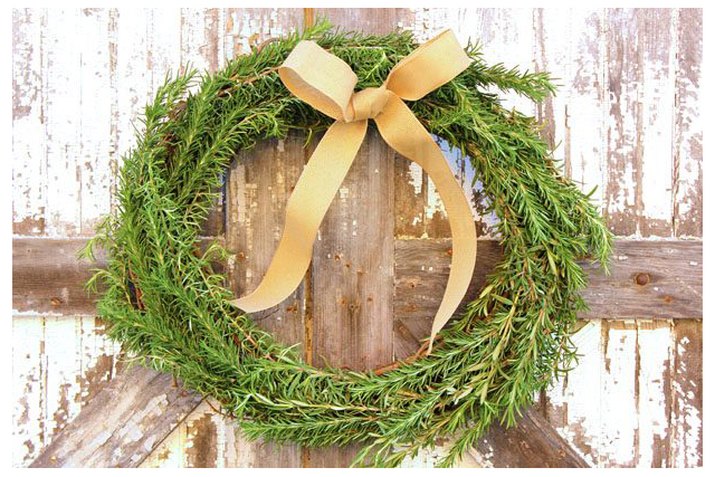 20 of 21
Make an Herb Wreath for Fragrant and Functional Decor
Decorate your home with a wreath that will not only make your home look and smell great, but that you can also use while you're cooking for the holidays. Make a rosemary wreath for an easy and cost-efficient version, or create a wreath with a medley of herbs to keep all your favorite herbs within arm's reach.
Image Credit: Jonathan Fong  21 of 21
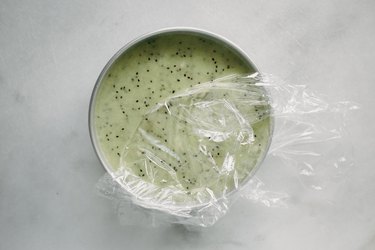
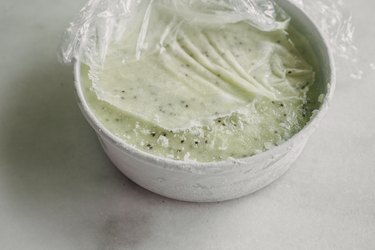
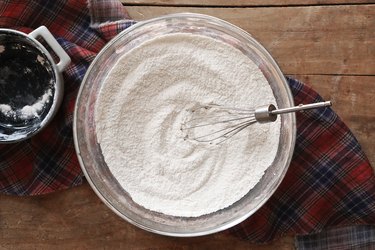
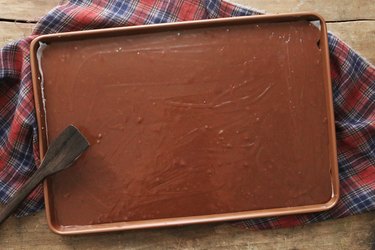
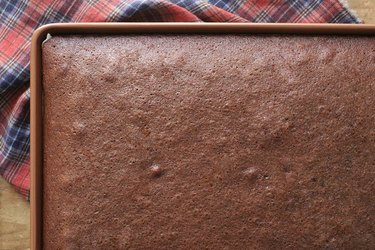
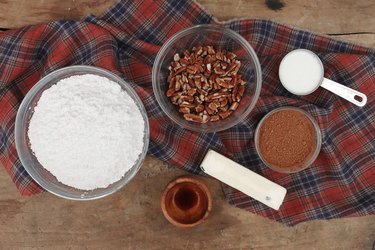
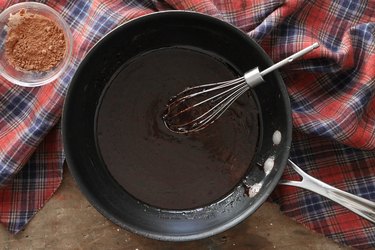
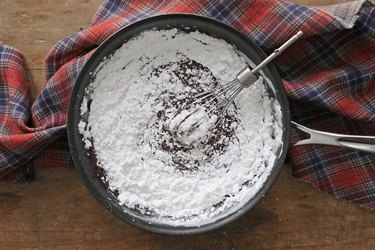
Whip Up Last-Minute Chocolate Bark
Maybe you forgot to get the neighbors a gift, or perhaps you need a last-minute hostess gift — whatever the reason, we're not judging you. Chocolate bark is a simple yet impressive-looking dessert that can be made in mass quantities in a time crunch. Plus, it's easy to put your own twist on the recipe to make it your own. May we recommend sweet, salty, nutty chocolate bark?
Image Credit: Thalia Ho


 2 of 10
  3 of 10
  4 of 10
  5 of 10
  6 of 10
  7 of 10
  8 of 10
  9 of 10
  10 of 10
 Serve and enjoy


 Season the raw chicken
  Season to your heart\’s delight
 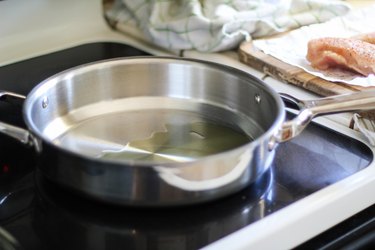 Heat oil in a skillet
  Cook for 1 minute then flip
  Flip the chicken
  Cover and cook for 10 minutes
  Check temperature of the chicken
  Shred or chop chicken
 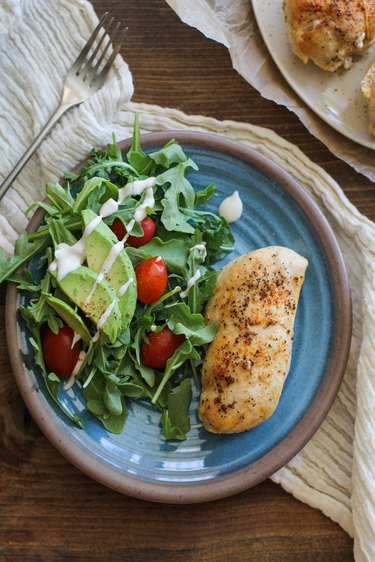 Serve chicken with healthy side dishes
 2 of 11
  3 of 11
  4 of 11
  5 of 11
  6 of 11
  7 of 11
  8 of 11
  9 of 11
  10 of 11
  11 of 11