Few kitchen appliances will make your home cooking easier than a food processor. Also known as food choppers, a good food processor will make short work of chopping, grating, shredding, slicing, dicing and more, making you more efficient in the kitchen. Whether you're an expert or aspiring chef, having the right food processor will feel like having your own kitchen assistant. However, there are a few important things to understand before purchasing a food processor—including the difference between a food processor and a blender (Hint: They're not the same thing).
Video of the Day
Food Processors Versus Blenders
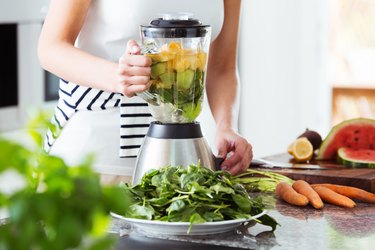
First, let's be clear: a food processor and a blender are not the same thing. They're similar, but not interchangeable, and if you plan on making more than smoothies and milkshakes, it's a good idea to have both.
The biggest difference lies in the tasks they're designed to perform. Food processors are equipped to perform a wide variety of food preparation tasks, while blenders are designed to pulverize and combine (aka blend) wet and dry ingredients, such as when you combine frozen fruit, Greek yogurt and oat milk to make a smoothie.
Food processors typically comprise four main parts: a base, a clear plastic body, a set of removable blades and a lid. Blenders also usually consist of four parts: a motorized base, a pitcher, a set of blades (often removable) and a lid. Due to their shape and the versatility of their blades, food processors are especially skillful at processing dry ingredients, but aren't as good at blending liquid ingredients. Conversely, blenders work better if you're also blending a liquid along with your solids. Unlike food processors, blenders can't be filled all the way—at least, without making a mess.
Different Types of Food Processors
There are three main types of food processors: full-size, mini and manual.
Full-Size: Full-size food processors (also known as electric food processors or simply food processors) are large countertop appliances that often come with a variety of rotating blade attachments, each suited to a different task like chopping or grating. They're loud, powerful and offer a large capacity for ingredients. Most full-size food processors include a feed tube in the lid that lets you add ingredients as the food processor is in operation. Full-size food processors can handle almost any ingredient and are the most versatile of the three types.
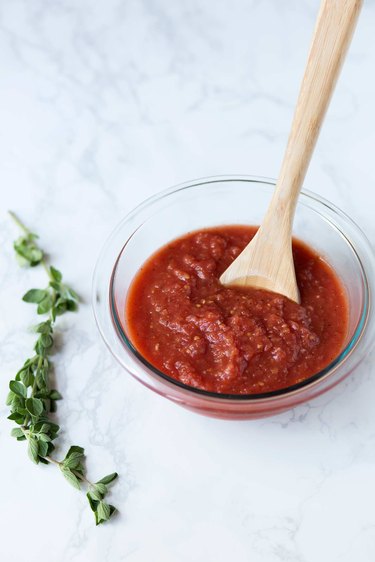
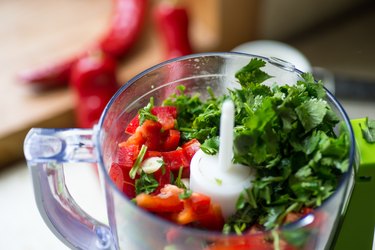
Mini: Mini food processors (also known as mini choppers or mini food choppers) are smaller, lighter and easier to clean than their full-size counterparts. They also run on electricity but aren't as powerful as full-size food processors and usually feature just one blade for chopping and dicing. Mini choppers typically have a capacity of between 1 and 6 cups, with 3 to 4 cups being the most common. Given their limited capacity and fewer blade types, they're better suited for making small batches of salsa, chopped vegetables, or ground herbs and spices.
Manual: Manual food choppers, as you probably guessed, require some manual labor on your part in order to work, as they're not powered by an electric motor. They're usually smaller than full-size food processors and not as powerful. Most manual food choppers have a small, clear plastic container body (typically holding 1 to 3 cups of ingredients) and feature a crank to turn, cord to pull or button to push. They're not very advanced, but they're also inexpensive, so they may work just fine for occasional kitchen work, but may not hold up as well to frequent use, especially with tougher ingredients.
What to Consider When Purchasing a Food Processor
Type: How often do you plan to use your food processor? How much do you care about noise? What's your budget? These are some questions you might ask yourself. If you don't prepare food that often, a mini chopper or manual food processor might be all you need, but if you're a serious home cook, you might consider getting a full-size electric food processor because they're so versatile and powerful.
Capacity: For how many people will you usually be preparing food? Or, how much food will you want to prepare at once? If you live alone or with just one other person, a small food processor will probably suffice. If you like food prepping in large quantities, something with a higher capacity will be beneficial. Mini food processors usually offer 1 to 2 cups; small, 3 to 4 cups; medium, 5 to 10 cups; and large, over 11 cups.
Features: Some food processors offer just the basics, but the best ones will have some of these desirable features:
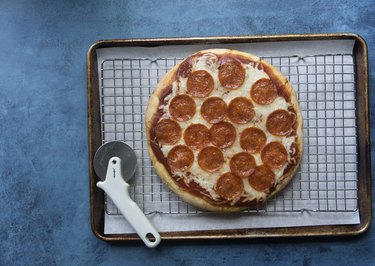
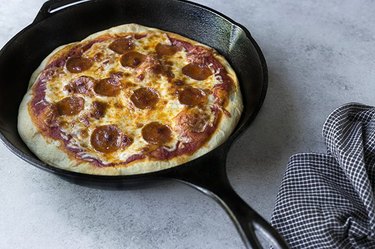
- Interchangeable Blades: Interchangeable blades allow you to do more than just chop. For example, dough blades help you knead pizza or bread dough. The more versatile your blades are, the more food you can prepare and the more time you'll save.
- Pulse Function: A pulse function gives you a higher degree of control over your food processing and lets you start and stop at the press of a button.
- Blending Feature: Some food processors can handle wet and dry ingredients at the same time (like a blender) without the wet ingredients getting stuck on the sides of the container.
- Double Feed: Double-feed tubes are twice as wide as regular feed tubes, meaning you can put in larger ingredients without having to cut them as small in order to fit.
- Continuous Feed: A continuous feed tube allows you to continue adding ingredients to the feed chute while the food processor is running.
- Dishwasher-Safe Parts: Look for notes from the manufacturer deeming certain parts safe to put in the dishwasher to spare you from having to wash them by hand.
With these considerations in mind, we've rounded up the best food processors in 2022.
The Best Overall Food Processor
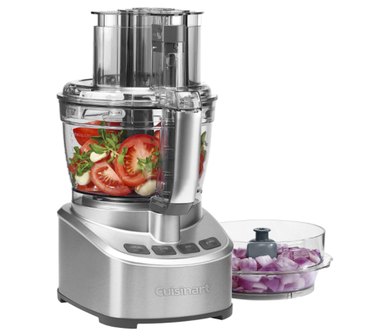
Cuisinart Elemental 13-Cup Food Processor
$199.95 at Amazon
The Cuisinart name is practically synonymous with food processors and blenders, so it's no surprise that Cuisinart's 13-cup food processor is so excellent. Featuring a straightforward and intelligent design, it's intuitive to use, offering four rubberized controls (high, low, off and pulse), an adjustable slicing disc, a reversible shredding disc and two stainless steel blades. It comes with a generous 13-cup food bowl, as well as a 4 1/2-cup bowl for smaller jobs, and uses a SealTight Advantage system to seal the bowls. Its wide-mouth feed tube accommodates whole fruits and vegetables with ease. All of its removable parts are dishwasher-friendly. If you're looking for a high-quality food processor that doesn't totally stretch your budget, you can't go wrong with Cuisinart.
Runner-Up Best Overall Food Processor
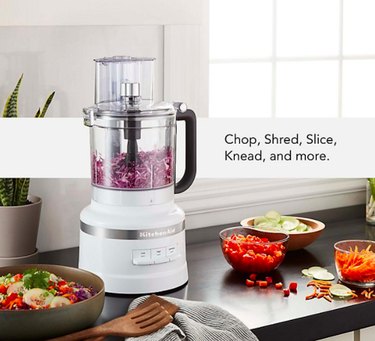
KitchenAid 13-Cup Food Processor
$149.99 at Bed Bath & Beyond
Another first-rate option is KitchenAid's 13-cup food processor. It boasts numerous thoughtfully-designed pieces, including a 13-cup Snap and Go work bowl, a double-feed tube, two interchangeable stainless steel blades, an adjustable slicing disc, a reversible shredding disc, a dough blade for kneading dough and a storage caddy. Its high, low and pulse settings can handle everything from fresh vegetables to cheeses—and with its dough blade, you can also knead things like pizza or bread dough. You can store all of the blades and discs inside the container to keep everything in one place and save space in your drawers. All removable parts are dishwasher-safe.
The Best High-End Food Processor
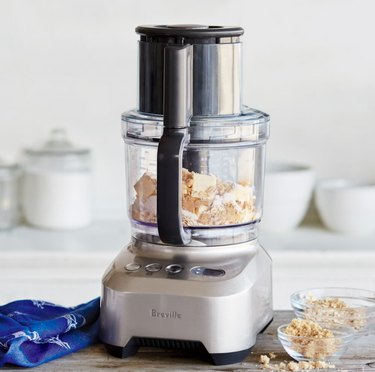
Breville Sous Chef 16 Pro
$399.95 at Sur La Table
If you want something fancy and aren't worried about stretching your wallet, the Breville Sous Chef 16 Pro is a luxury choice that covers all the bases and more. While it's significantly pricier than other models on this list, you get what you pay for. Breville's thought of everything, from different-sized feeding chutes to accommodate a wide variety of ingredients to 24 slicing thickness options and five cutting discs. It also offers a timing function, pulse setting, S-blade, dough blade and whisk attachments. You can switch between the 16-cup work bowl or the 2 1/2-cup work bowl depending on your batch size. In addition to the food processor and its attachments, you get a caddy to hold all of the accessories in one place that's labeled so you know what everything is at a glance. The only caveat is that this food processor is large and bulky, so it's not ideal for chefs with limited kitchen space.
The Best Budget-Friendly Food Processor
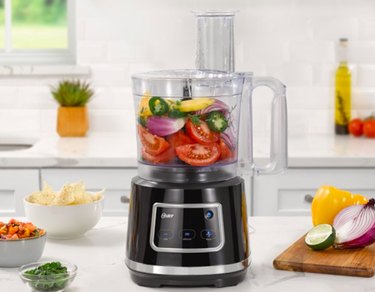
Oster 10-Cup Food Processor With Easy-Touch Technology
$49.88 at Walmart
Don't let the affordable price tag fool you—the Oster 10-Cup Food Processor still gives you a lot of bang for your buck. Powered by a 500-watt motor, its stainless steel blades easily slice, chop, shred and even purée ingredients at the touch of a button. The easy-touch controls offer two speed settings and a pulse function to cover the majority of your processing needs. The food processor features a large, continuous-feed chute and includes multifunctional attachments like a stainless steel S blade, a reversible shredding/slicing disc and a dough blade. It's easy to assemble with a two-step safety interlock design and all removable parts are dishwasher-safe.
The Best Motorized Mini Chopper
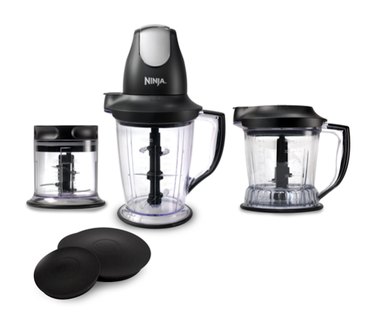
Ninja Master Prep Professional Chopper QB1004
$59.99 at Walmart
The Ninja Master Prep Professional Chopper can function as a food chopper or a blender, depending on which container you use. Using the interchangeable, 450-watt power pod and one of three blade sets, choose from the 2-cup chopper bowl, the 5-cup processing bowl or the 6-cup pitcher to chop, process or blend your ingredients. The small chopper bowl and the larger processing bowl each comes with a four-blade set, while the pitcher comes with a six-blade set. You push down on the top-mounted motor to operate the chopper. Made from BPA-free materials, the removable parts are dishwasher-safe. Included are two different-sized lids for the 2-cup and 5-cup bowls so you can store processed food in the chopper bowls themselves.
The Best Manual Food Chopper
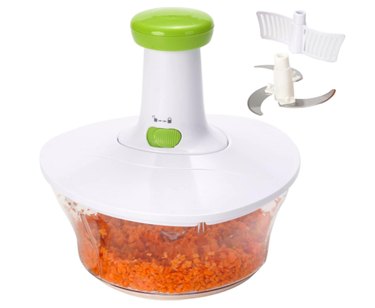
Brieftons Express Manual Handheld Food Chopper
$20.99 at Amazon
This manual food chopper is affordable and extremely easy to use, thanks to its simple design. It offers a 6.8-cup capacity and uses a pump handle mechanism to rotate its stainless steel blades in order to chop and mince ingredients like fruits and vegetables. In addition to its removable chopping blades, it comes with a mixer attachment for whisking and mixing ingredients like raw eggs. The lid has a locking feature so you can store food inside the container. It's made from 100% BPA-free plastic and stainless steel and is dishwasher-safe. The bundle includes a printed manual and five Brieftons e-books with recipes for making delicious salsa, salad, and other vegetarian and vegan recipes.

 Spirits have high alcohol content because they are distilled.