Weeknights can be a challenging time. When you're drained from a long day, putting dinner on the table can be a real chore. Eating out and ordering in are options, but they get expensive in a hurry and those meals often aren't always as healthy or fresh-tasting as homemade. To help you with that nightly challenge, here are seven of our favorite one-pot recipes.
Video of the Day
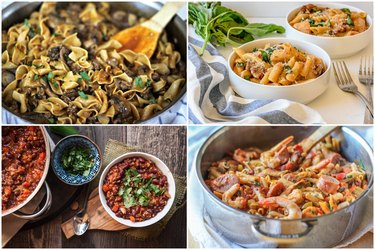
1. Gumbo Pasta
Authentic, traditional gumbo is a thick, rich-tasting stew that simmers for hours before being served over a bed of rice. It makes for a genuinely memorable meal, if you have the time to invest in it, but it usually takes hours and some steps along the way — like making the dark roux — require extended, hands-on attention. This easy one-pot gumbo combines all of those traditional flavors, and substitutes pasta for the rice, to create a version that's ready and on your table in just 30 minutes.
 Gumbo pasta is faster than the original, but just as tasty. Image Credit: eHow
2. Vegan Chili
Chili is one of the world's great comfort foods, whether in its original form as an all-meat dish or in the more common version that's fortified with beans. The basic dish is infinitely variable, and as long as you've got all the right seasonings, it will still taste like chili. That's true even if you leave out the meat entirely, as we do in this genuinely appealing vegan chili. All of the flavors are perfectly traditional, and the chopped mushrooms do a fine job of replicating the texture of ground beef.
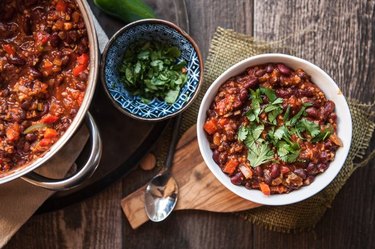 Even meat-eaters can get behind a good vegan chili. Image Credit: eHow
3. Butternut Squash & Sausage Pasta
On cold or rainy days, it's nice to have a hearty, warming pasta-based casserole to put on the dinner table. Unfortunately, those take time to prepare, and assembling one typically includes several steps and generates a lot of dirty dishes along the way. It's much simpler to combine the same kind of ingredients — pasta, vegetables, cheese, savory meats and creamy sauce — into a stove top dish, like this butternut squash and sausage pasta. It's just as comforting as your favorite casseroles, but with a lot less work and cleanup.
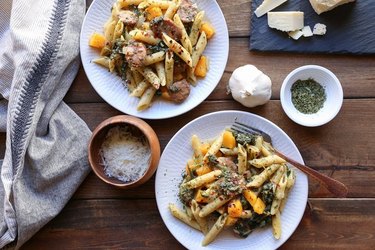 Squash, sausage and pasta combine in a hearty, simple and tasty meal. Image Credit: eHow
4. Creamy Tortellini Soup
Canned soups are one of the all-time great convenience products. Most traditional soups take time to make, and many cooks argue that they don't really taste right until they've had a chance to sit overnight, so the option of putting soup on the table in just minutes is pretty appealing. Unfortunately, canned soups aren't terribly filling, and they're also not known for their fresh flavors. If you want a quick soup that's loaded with flavor and more of a meal, this creamy tortellini soup might just hit the spot. Made with flavorful canned tomatoes and quick-cooking fresh tortellini, it only takes about 20 minutes from start to finish.
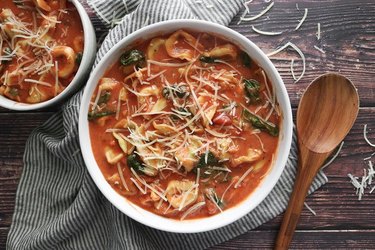 A hearty, full-flavored soup can be a meal in itself. Image Credit: eHow
5. One-Pot Stroganoff
A traditional beef Stroganoff calls for strips of steak in a savory, mushroom-y sauce with plenty of sour cream added at the end for a savory tang. This easy one-pot Stroganoff updates the classic version to make it easier and faster. It calls for quick-cooking ground beef instead of the steak strips, and instead of serving the dish over egg noodles that have been cooked separately, it prepares the noodles right in the pan. Not only is it convenient, it provides a chance for the noodles to absorb flavors from the broth as it cooks. Plain yogurt is a non-traditional finishing touch, providing a sour cream-like tang with less fat and fewer calories.
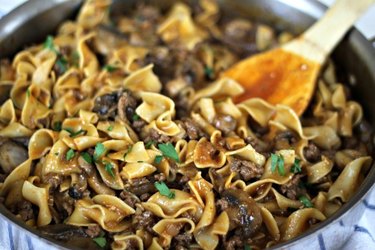 One-pot stroganoff is faster and easier than the classic version, but just as tasty. Image Credit: eHow
6. Creamy Tomato Basil Chicken Pasta
Ladling sauce over plates or bowls of pasta is a satisfying ritual, but it's inefficient — more pots to wash! — and if you care about that sort of thing, tossing the pasta and the sauce before serving is more authentically Italian. Our one-pot tomato basil chicken pasta is exactly the kind of dish that's perfect for busy weeknights, coming together in just minutes with minimal effort and maximum flavor. It's rich and hearty and satisfying, and you definitely won't miss washing those extra pots and pans.
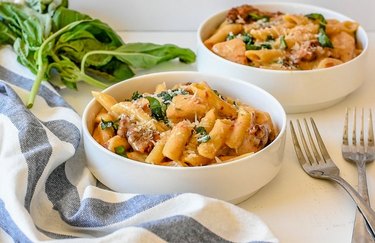 Chicken, pasta, tomatoes and fresh herbs. What\’s not to like? Image Credit: eHow
7. One-Bowl Peppermint Brownies
No dinner is really complete without an appropriate dessert. So what goes with a one-pot meal? Why, a one-bowl dessert, of course. These peppermint brownies follow a simplified method that starts with melting chocolate in a bowl big enough to handle the entire batch of batter. The rest of the ingredients are added in a specific order to create a thick, rich batter. The finished brownies have a topping of melted chocolate and crushed peppermint candies, the perfect complement to the brownie itself.
 What follows a one-pot meal? A one-bowl dessert, of course! Image Credit: eHow

 Chickpeas are full of antioxidents.
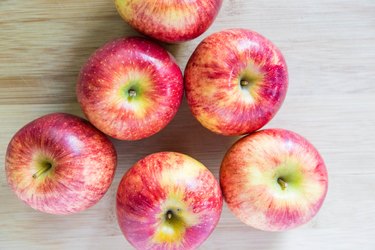 Peel, core, and chop the apples
 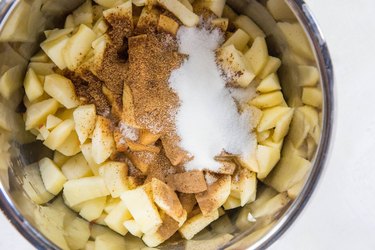 Add all ingredients to the instant pot
 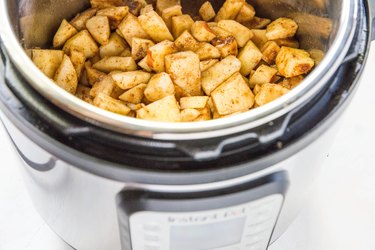 Stir apple butter ingredients together
 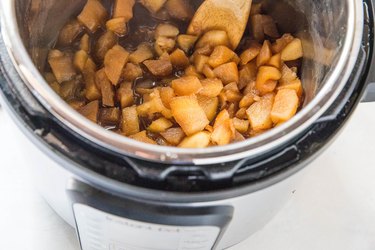 Pressure cook on high for 15 minutes
 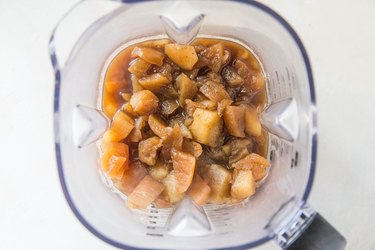 Blend or mash apples to desired consistency
  Blend in a blender or use an immersion blender for smooth consistency
 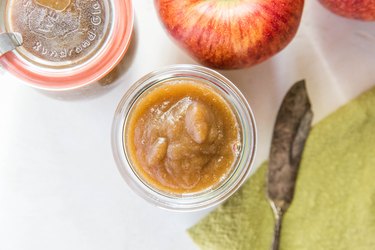 Transfer apple butter to jars and refrigerate
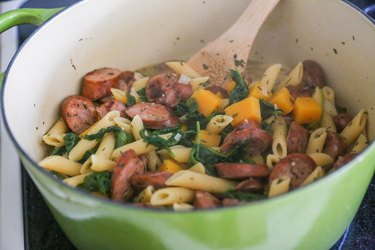 one pot butternut squash and sausage pasta
 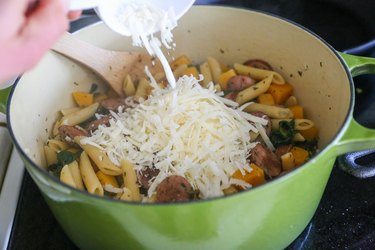 Add the cheese to form a creamy sauce
 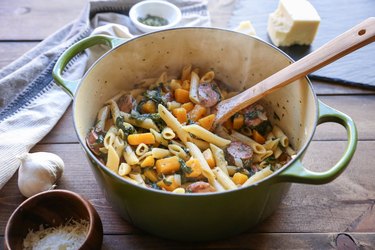 One-Pot Butternut Squash and Sausage Pasta

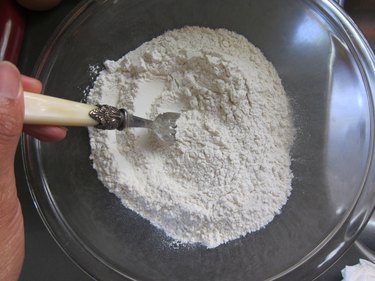 Mix dry ingredients
  Cream butter and sugar
 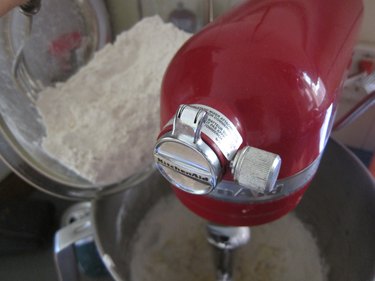 Combine with flour mixture
 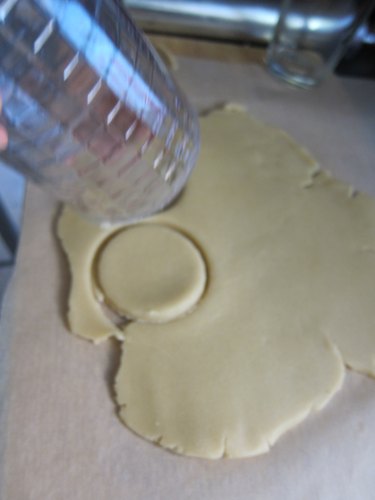 Roll out and cut into shapes
  Place on cookie sheet
  Bake 10-13 minutes
 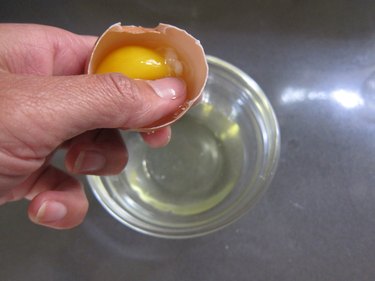 Separate an egg
 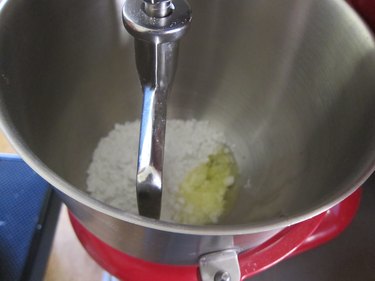 Combine in a mixer
  Add color
  Pipe icing onto cookie
  Pop any air bubbles
  Paint cookie
  Dip brush in vodka