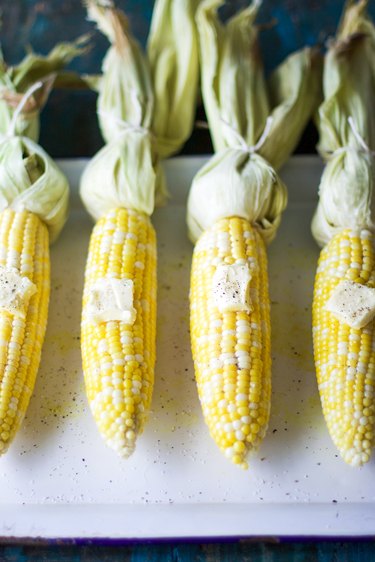
 1 of 11
It kind of sneaks up on you. You want a varied and exciting diet without eating out all the time, so you commit to cooking new and interesting recipes for every dinner. A few days later, you look back on the week and realize that six out of seven dinners consisted of fried eggs and toast. And the seventh? Pasta and pre-seasoned sauce from a jar. While it's an easy trap to fall into, the way around it is actually pretty simple: find recipes that are interesting but approachable. Here are 10 delicious meals that you'll actually be motivated to make after a long day at work or after a string of non-stop errands. They're simpler than they seem, and they'll bring the right kind of variety to your busy week.
Image Credit: eHow 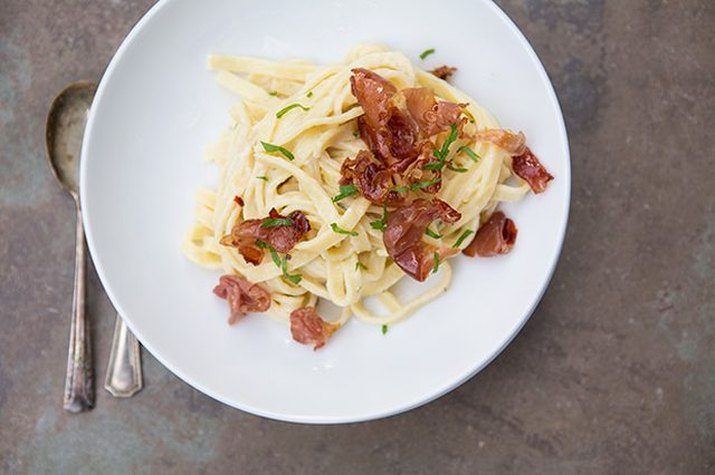 2 of 11
Take 20 Minutes to Create a Hearty Italian Feast
The appeal of boiling noodles and heating up pre-made sauce is obvious and understandable: it's fast, easy and has a good taste-to-effort ratio. At least, that's what you thought before you tried making prosciutto carbonara pasta in 20 minutes. Bump up that taste ratio with the rich and decadent flavors of this dish without losing a minute of your weeknight free time.
Image Credit: Shaina Olmanson  3 of 11
Enjoy a Food Truck-Worthy Meal Without Leaving Home
A lot of food truck food is so unique that you wouldn't even think about trying it at home — it just seems like it would take way too many ingredients and way too much effort. But there is an easy-to-make, totally creative meal that you can whip together at home. Simply add apricots, bacon, and brie to your grilled cheese for a quick weeknight dinner that gives the grilled cheese food truck a run for its money.
Image Credit: Gina Matsoukas 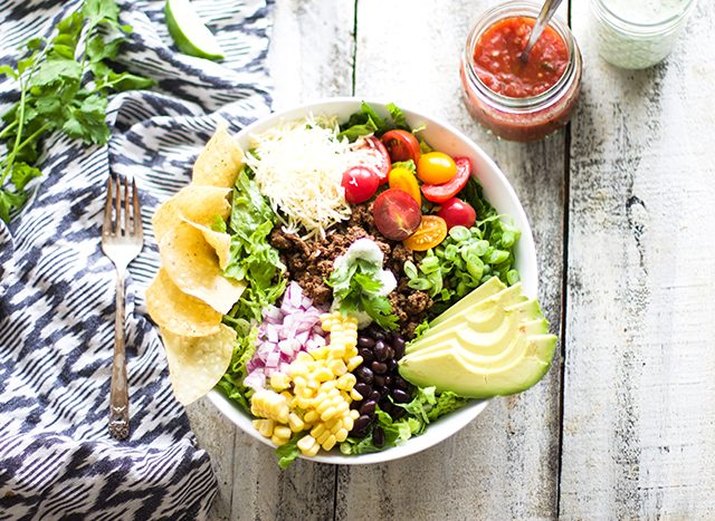 4 of 11
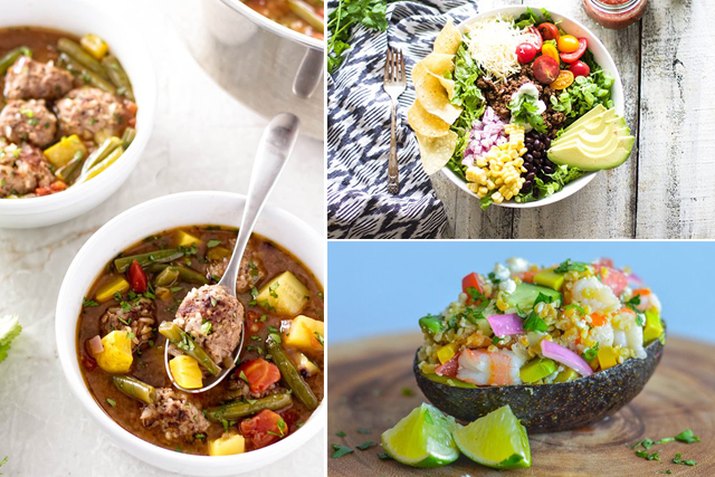
Reinvent the Taco Salad Every Week
A taco salad can make for a pretty dynamic meal, but it can easily slide into the dull dinner category if you make it the same way too often. Here's a taco salad recipe you'll want to make every week, thanks to its varied flavors and refreshing additions. With customizable options, this recipe makes for a solid base that you can constantly update to match your tastes.
Image Credit: Leigh Ann Chatagnier 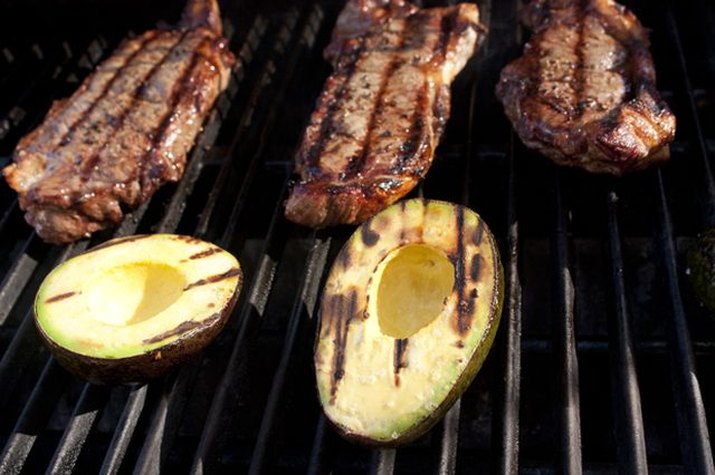 5 of 11
Bring International Flavors to Grill Night
Summer is grill season, of course. Classic steaks, barbecue chicken, hot dogs and hamburgers: they all become your go-to eats on nights that are too hot for the stove. But don't let yourself tire of the grill by making the same hits. Mix it up by bringing in some international flavors like tampiqueña steaks with grilled avocados. You might just discover your new favorite use for the grill.
Image Credit: Yvette Marquez 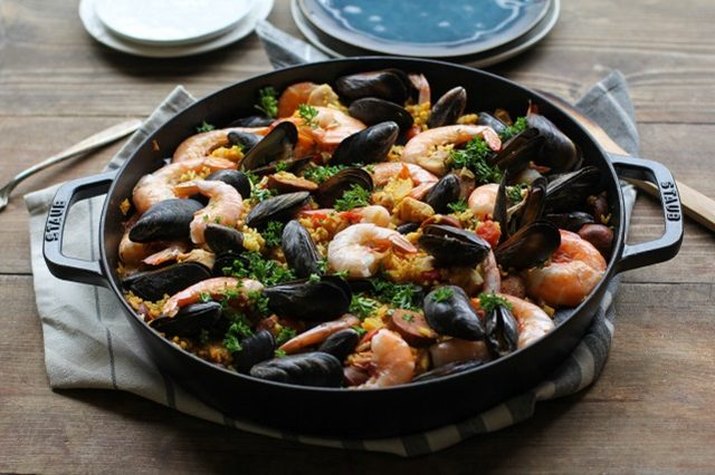 6 of 11
Make it a Tapas Kind of Night
Paella always seems like one of those dishes that everyone leaves up to the real chefs to perfect. In reality, paella is a pretty straightforward recipe that you can easily make at home in place of your over-made chicken and rice dish. Have this seafood paella as a decadent, one-pan meal — the new combo of flavors that you'll experience will be well worth the cooking time.
Image Credit: Julia Mueller  7 of 11
Stop Boring Your Taste Buds With Brown Rice
Speaking of over-made chicken and rice, there are so many tasty ways that you can replace your tired grains. This shrimp and avocado freekeh salad, for example, uses a healthy grain common in Middle Eastern cuisine, combined with fresh chopped veggies and protein-packed shrimp. It's a healthy, filling and deliciously refreshing meal.
Image Credit: Kevin Curry 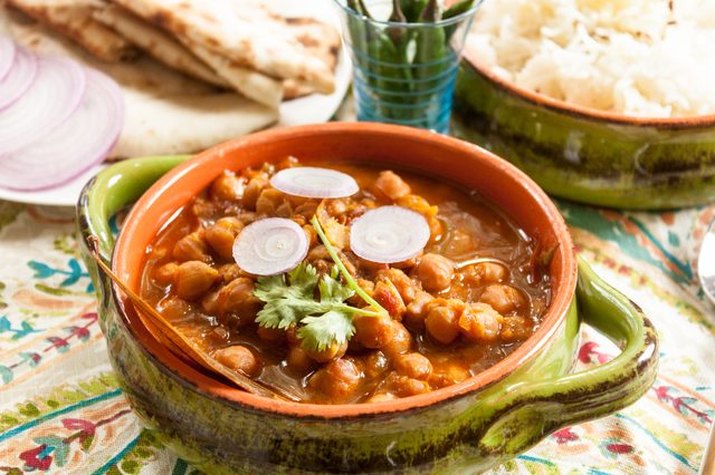 8 of 11
Put Your Chickpeas to Their Best Use
Chickpeas are great for their versatility: add them to salads, soups and sides for a major protein boost. But as good as they are in your favorites, it's possible that they were made to be in chana masala, also known as chickpea curry. They absorb and complement the delicious Indian spices, and you'll be delighted with the variety this dish brings to the weekly grind. Try it once and it will quickly become a weekend must-have.
Image Credit: Anuvrat Manglik 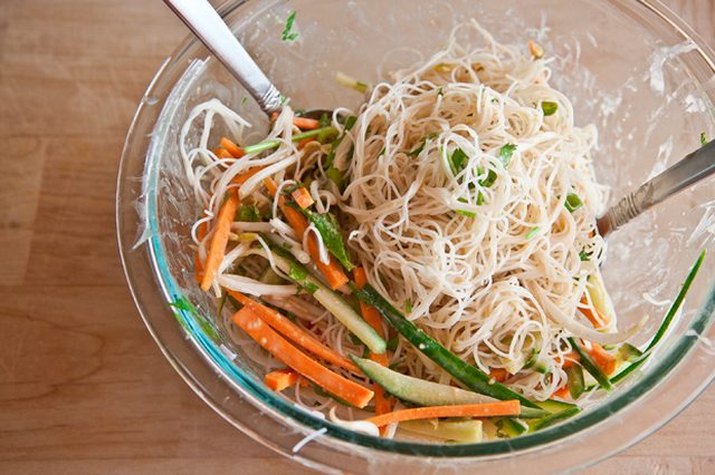 9 of 11
Don\’t Let the Heat Interfere With Excellent Taste
Evenings too hot for cooking can make you to resort to boring options, like an I-just-don't-want-to-be-hungry turkey sandwich. It doesn't have to be this way. Keep your taste buds happily engaged with a cold peanut noodle salad. It's easy enough to make and will leave you feeling refreshed and satisfied.
Image Credit: Sala Kannan 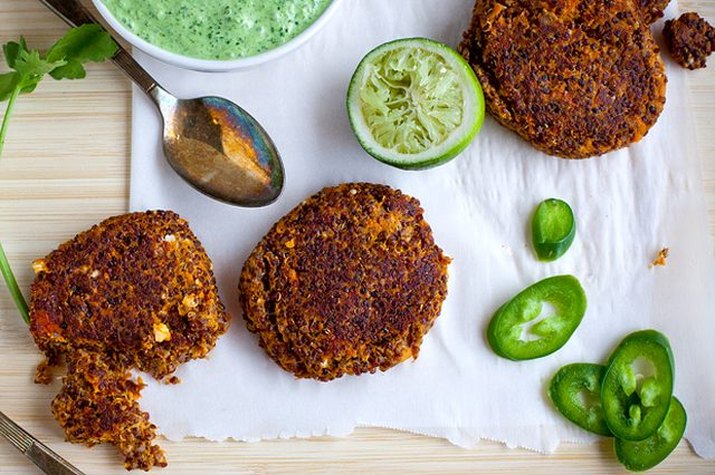 10 of 11
Get Creative With Quinoa
While you might be a die-hard quinoa fan, anything can get old if you make it too much. Time to put it into cake form! Try making sweet potato chipotle quinoa cakes with a cilantro lime crema for a unique twist on the superfood grain. You can keep it in your weekly meal plan without letting these exotic flavors get dull.
Image Credit: Sala Kannan 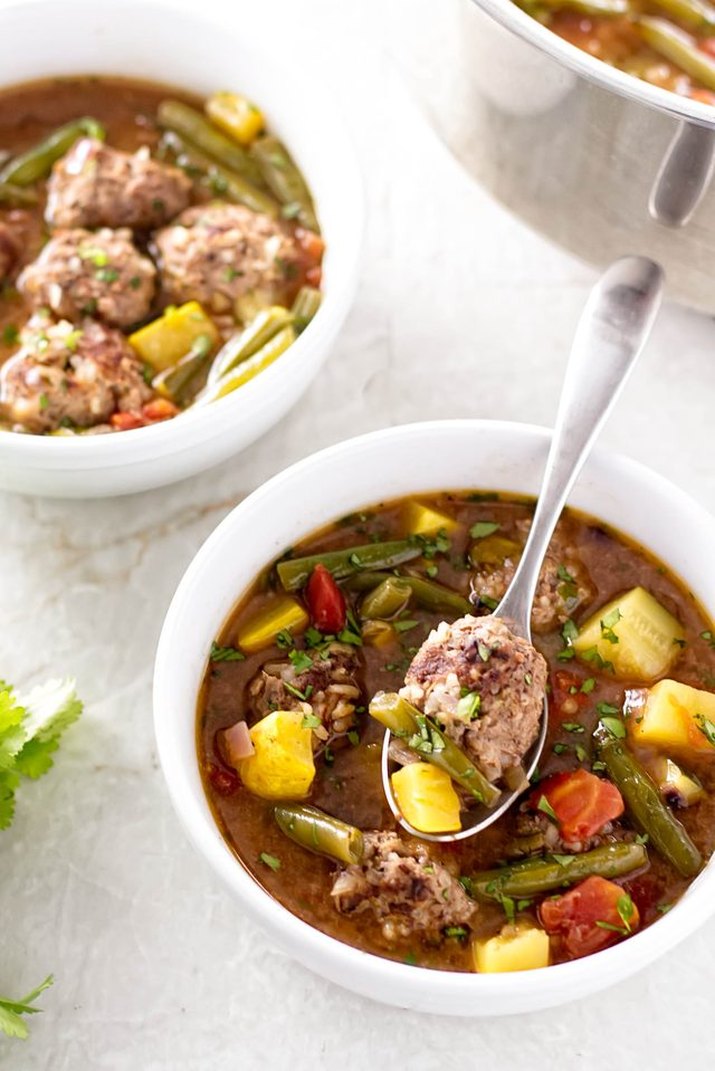 11 of 11
Swap Out a Taco Tuesday for Authentic Albondigas
While you should never give up Taco Tuesday, why not mix it up every other week or so with a different Mexican meal? The newbie should definitely be albondigas soup, with its subtly spicy meatballs and perfectly simmered veggies. It'll be a hearty dish that will match your usual tacos in flavor but exceed your overall expectations.
Image Credit: April Anderson


 2 of 7
  3 of 7
  4 of 7
  5 of 7
  6 of 7
  7 of 7