
 1 of 8
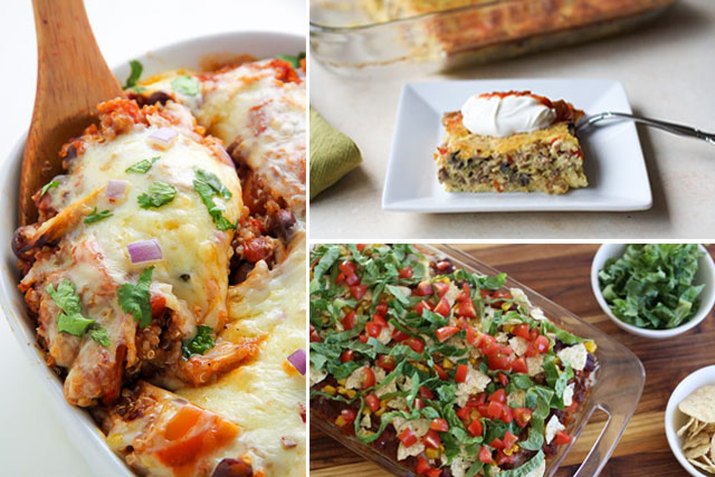
Try These 7 Delicious Casserole Recipes
A casserole is the type of meal that satisfies any kind of situation. Make one in advance when you know a day is going to be particularly busy, and opt for another when you need to impress guests. We may all live for the weekends, but casseroles can help us get there (and enjoy them) in one piece.
eHow 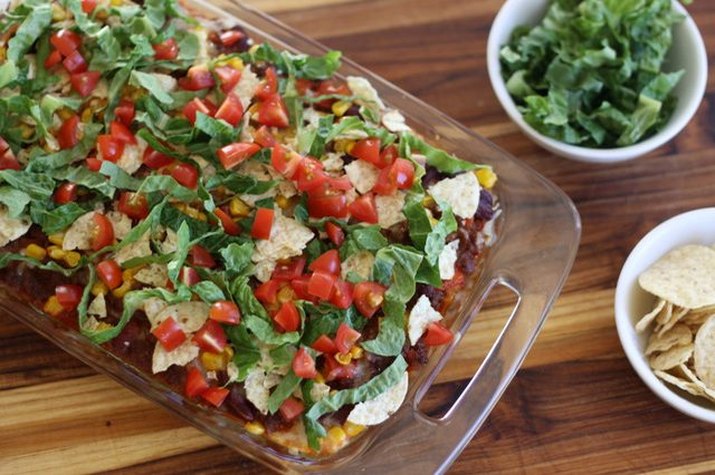 2 of 8
MONDAY: Taco Casserole
When you have kids, Mondays can feel like the start of a race. There's school to get to and extracurricular activities to join, play dates to schedule and chores to finish. Oh, my! With so much going on, dinner needs to be convenient. Prep this taco casserole on Sunday night, and by Monday's end, your kids can slow down to eat this fiesta-in-a-feast.
Charity Curley Mathews 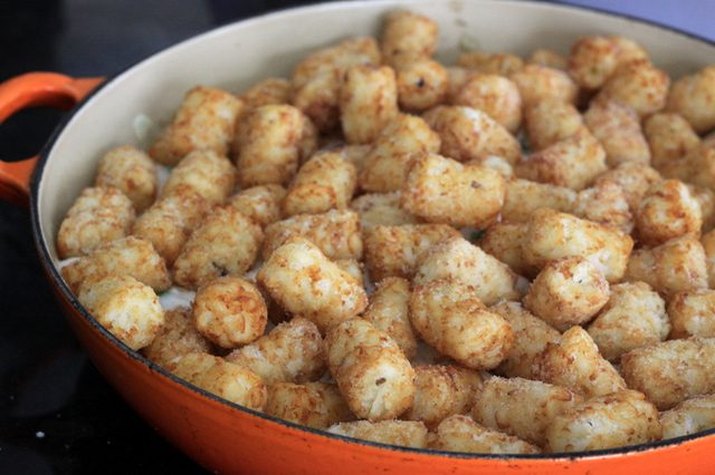 3 of 8
TUESDAY: Tater-Tot Casserole
Remember those elementary school days when you eagerly watched the classroom's clock in anticipation of lunchtime? As adults, we sometimes don't have the freedom to step away from our desks like we used to. But one bite of this tater-tot casserole at the end of a long day will give you that same childlike focus – except this time, your gaze will be set on the food.
Charity Curley Mathews 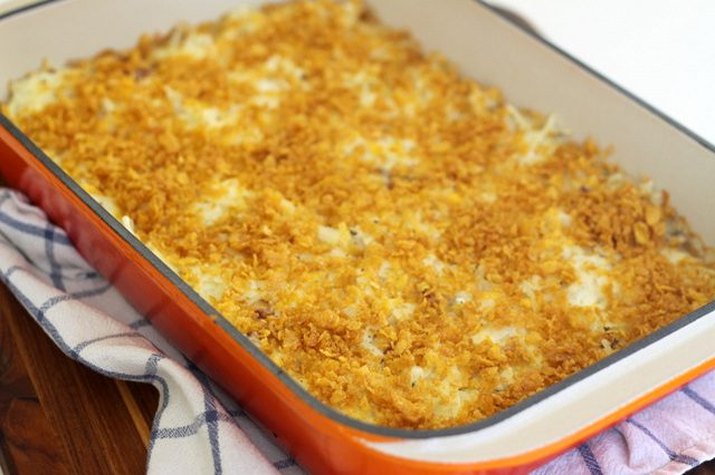 4 of 8
WEDNESDAY: Cheesy Potato Casserole
When a newborn baby is calling the shots of a household, then it's likely that her parents are eating on the fly. If you're the mommy or daddy who is awake most hours of the day – or you have friends who just expanded their family – then work this cheesy potato casserole into any feeding schedule. Assemble it during nap time and cook it later, or gift a finished platter to your loved ones for a definite shot at becoming a godparent.
Charity Curley Mathews  5 of 8
THURSDAY: Chili Relleno Casserole
During a particularly busy week, it can feel like there are never enough hours in the day. And as it starts to wind down, so does your energy. Emails that you fired off on Monday are feeling more cumbersome by Thursday, and the well of plans that you aspired to accomplish has seemed to dry up. That's where this chili relleno casserole comes in. With its layers of spices, you'll get the kick you need to get back into high gear.
Charity Curley Mathews 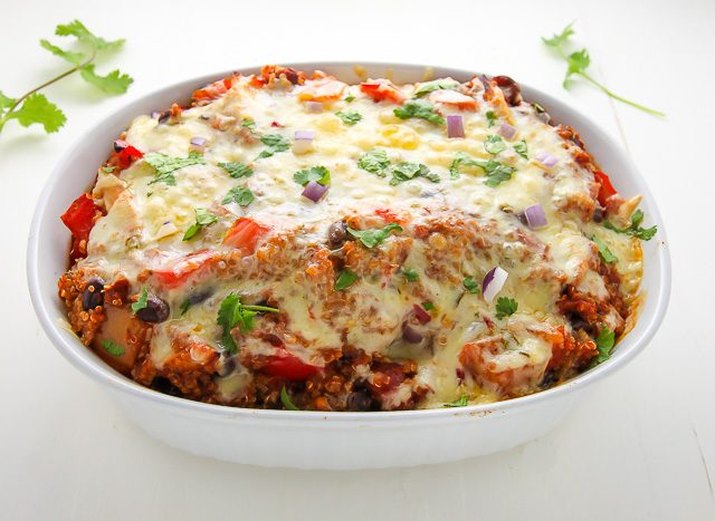 6 of 8
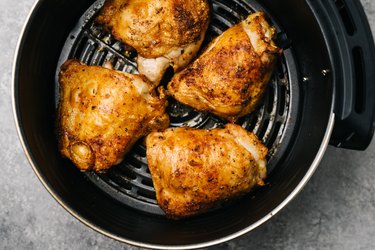
FRIDAY: Southwest Chicken Casserole
Phew! Now that the week has drawn to a close, it's time to have some fun. A potluck dinner is a great way to catch up with friends, and this southwest chicken casserole recipe is the perfect crowd-pleasing addition to the party. Layers of spices flavor shredded chicken and quinoa, ensuring that you'll get up for seconds (all right, thirds) as the night goes on.
Ashley Manila 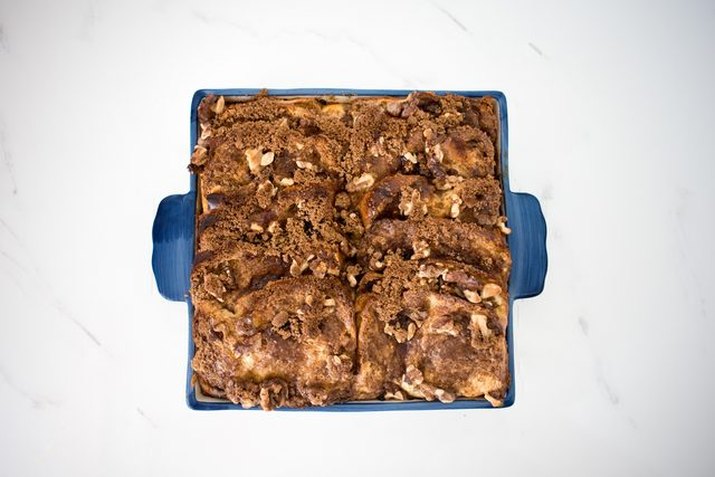 7 of 8
SATURDAY: French Toast Casserole
Be gone, business casual. After five days of slacks and skirts, it's time to feel more cozy than corporate. Spend a few extra a.m. hours in your PJs as you bake and eat this French toast casserole without worrying about what's next on your calendar. You could also sprinkle chocolate in with the nuts to get a breakfast that feels even more indulgent.
Thalia Ho 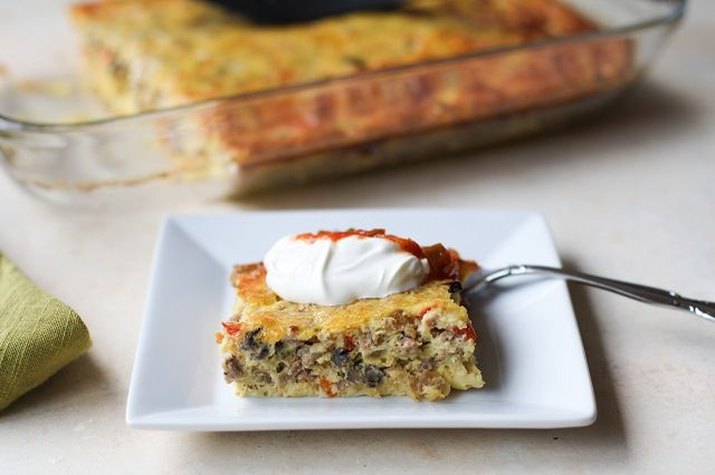 8 of 8
SUNDAY: Breakfast Casserole
When the kids are at home with nothing to do, and you all have a day entirely to yourselves, then it's time to finally take things easy. Roll out of bed to make this low-carb breakfast casserole, complete with veggies and breakfast sausage, and pair it with a big cup of coffee. Healthy, filling and just what you and the gang needs before an afternoon nap.
Julia Mueller


 Step 1
 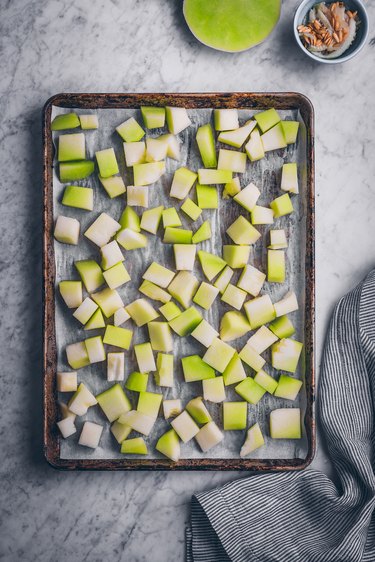 Step 2
 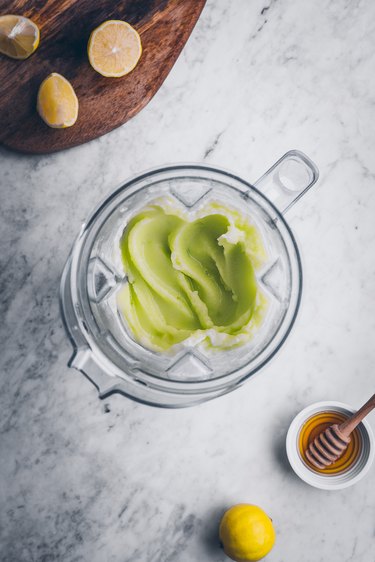 Step 3
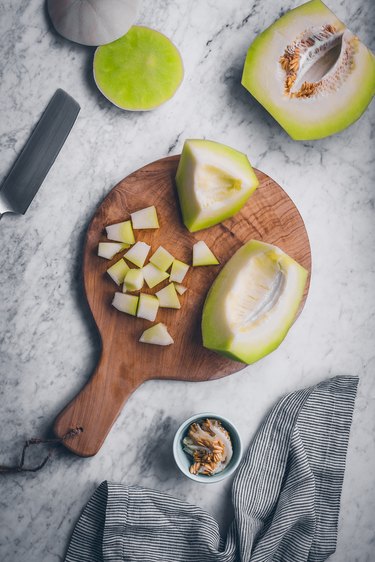
 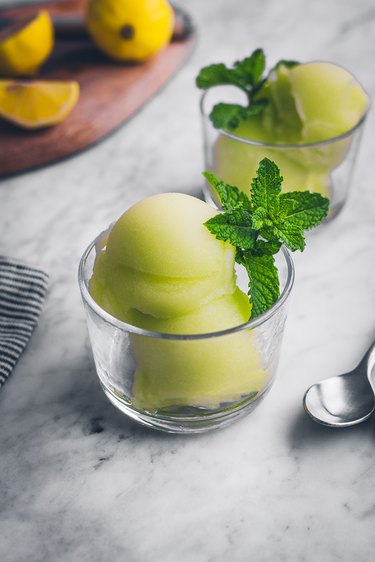 Homemade Honeydew Sorbet Recipe


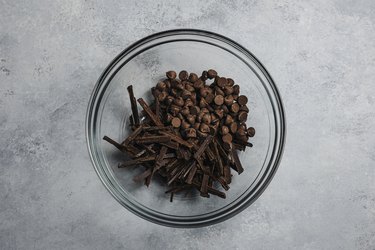 Melting chocolate
  Liners filled with chocolate
 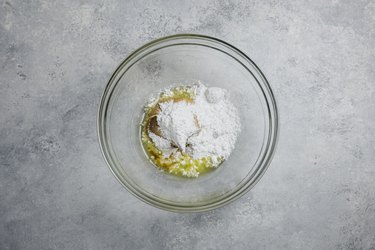 Peanut butter filling
 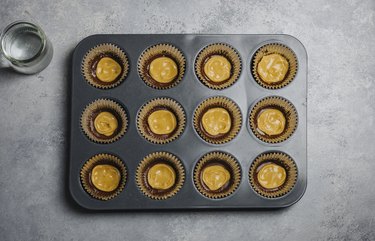 Filled peanut butter cups
 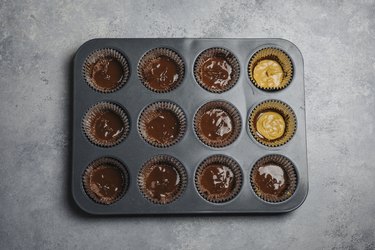 Adding second layer of chocolate
 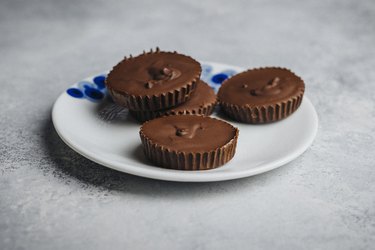 Finished Cups


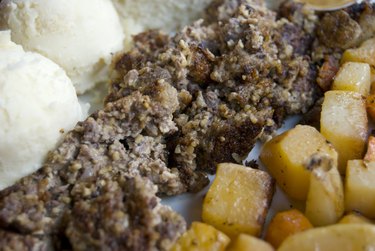 Fried haggis with potatoes.
 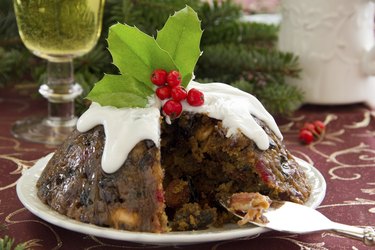 Christmas pudding with brandy and cream sauce.
  Fruit brandy in a glass with pears in the background.
  Neat tequila shots on the sand.