
Things You\’ll Need
-
Homemade wine
-
Corkscrew
-
Wine glass
-
Bowl
 Check to see if your homemade wine is safe to drink using these steps.
Few things are more terrible than taking a sip of homemade wine that has gone bad and finding yourself drinking something closer to vinegar than fine wine. Bad wine is the result of chemical changes that have taken place in the liquid, making the wine unhealthy to drink and unappetizing to the taste buds. You can easily prevent drinking bad wine by taking just a minute to check the wine before drinking. Identifying how your wine has gone bad can also help you to alter and refine your wine-making and storing process in the future.
Video of the Day
Step 1
Uncork the wine bottle and sniff the wine to check for oxidation. Bottles of wine that are improperly stored can become oxidized. Oxidized wine will have the same smell as vinegar, a pungent smell that you will not miss.
Step 2
Sniff the wine to check to see if the wine is "corked." Corked wine occurs when a wet cork has been inserted into a bottle, resulting in a mold that grows inside of the wood. The mold is transferred into the wine during the storage process, giving the wine a musty, cardboard smell. If the wine smells like cork or cardboard, it is laced with this mold and unsafe to drink.
Step 3
Check to make sure the wine isn't "maderized," or cooked. If the wine is improperly stored in a warm or hot area, it can actually become cooked over time. Pour the wine into a clear glass and examine its color. Cooked wine has a brownish color to it and smells caramelized.
Step 4
Check to make sure you stored the wine properly by sniffing the wine to see if it has a sulfur smell. If you added too much sulfur dioxide during the bottling process, the wine can smell like rotten eggs, meaning that it has too much added sulfur and is dangerous to drink. If the wine has passed all of the steps above, continue to the tasting step.
Step 5
Take a sip of wine from the glass and hold it in your mouth for a moment to make sure the wine isn't refermented. Refermentation occurs when dormant yeasts wake up, causing the wine to go through a second fermentation. If the wine is refermented, you will feel a fizz or carbonation on the end of your tongue, similar to what you might expect from the champagne. Spit out the wine into a bowl after tasting.

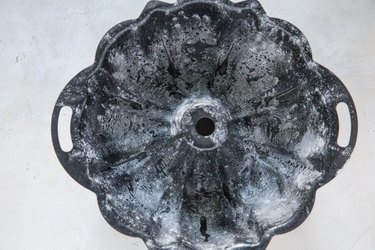 Oil and flour a bundt pan
  Mix the wet ingredients with the sugar
 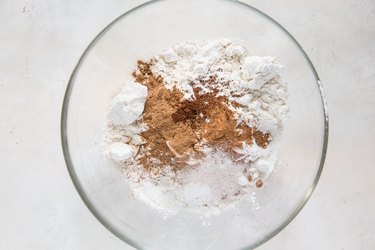 Stir together the dry ingredients
 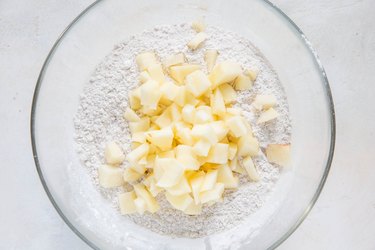 Add chopped apple to flour mixture
 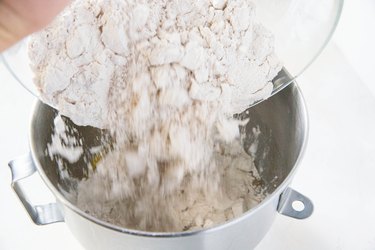 Pour flour mixture into mixing bowl with wet mixture
 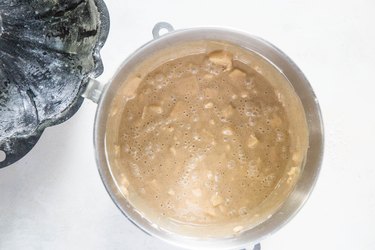 Beat until combined
 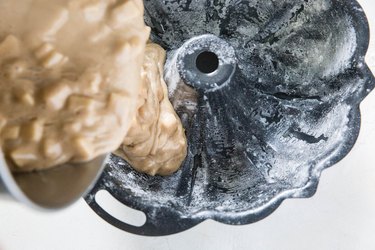 Pour cake batter into bundt cake pan
 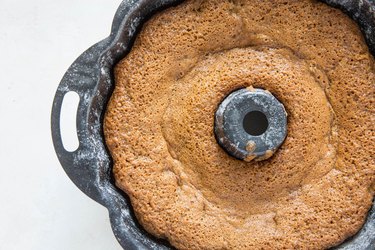 Bake the cake for 1 hour at 300 degrees F
  Allow cake to cool
 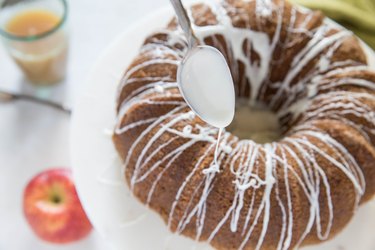 Drizzle cake with frosting
 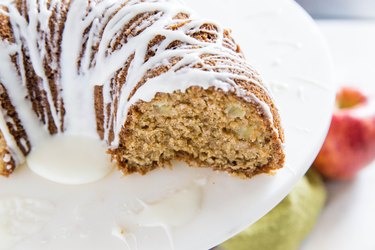 Cut and serve
 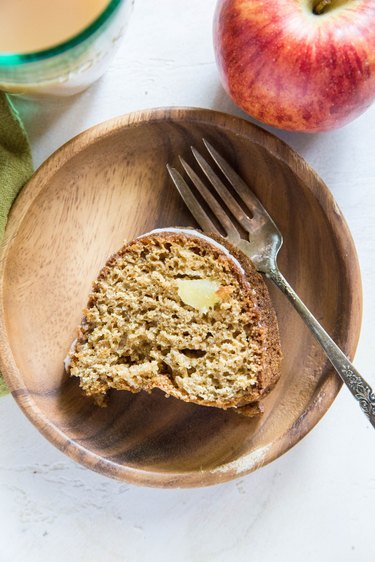 Cut generous slices
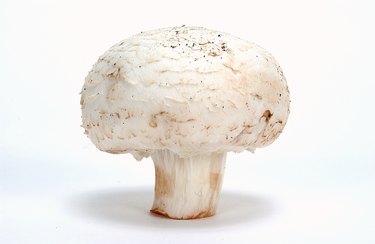 mushroom
 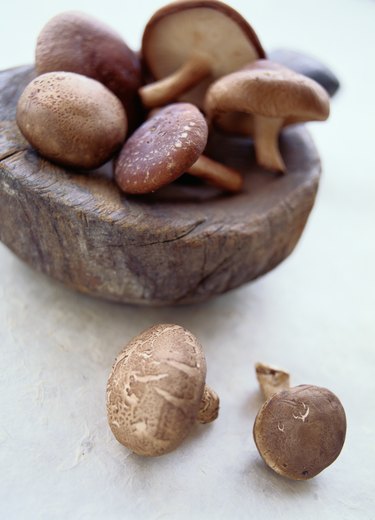 mushrooms
  mushrooms
  mushrooms
  mushrooms


 2 of 8
  3 of 8
  4 of 8
  5 of 8
  6 of 8
  7 of 8
  8 of 8


