This spring, welcome the new season with bunny cinnamon rolls. Made with homemade dough and cream cheese icing, these cinnamon rolls are both darling and delicious. You can even garnish each bunny with sprinkles, decorating gel and fabric bows for a charming treat.

Video of the Day
Cinnamon Rolls
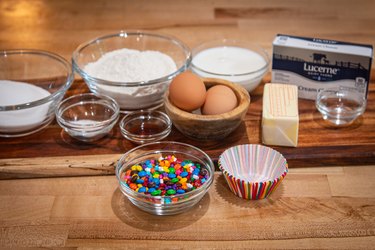
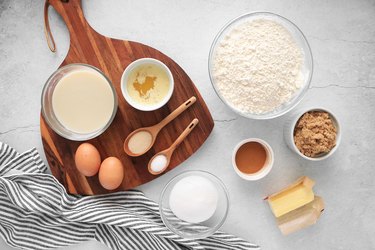
Things You\’ll Need
-
1 cup whole milk, lukewarm (about 110° F)
-
1/4-ounce packet active dry yeast (2 1/4 teaspoons)
-
1/2 cup granulated sugar
-
1 teaspoon salt
-
3 to 4 cups all-purpose flour (plus more for kneading)
-
2 large eggs, room temperature
-
5 tablespoons + 3 tablespoons unsalted butter, melted (separated)
-
3/4 cup dark or light brown sugar
-
3 tablespoons ground cinnamon
-
3 to 4 tablespoons unsalted butter, softened
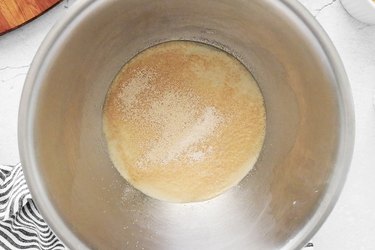
Step 1
In a large bowl, combine the lukewarm milk, yeast and a pinch of sugar. Let it sit for 5 minutes or until the yeast becomes puffy. It should also smell "yeasty."
If the yeast doesn't puff up, it means that it's dead. Discard the mixture and repeat with another 1/4-ounce packet of yeast.
Tip
Make sure the milk is lukewarm, not hot. The heat will kill the yeast, and the dough won't rise. Similarly, if the milk is too cold, the dough won't rise.
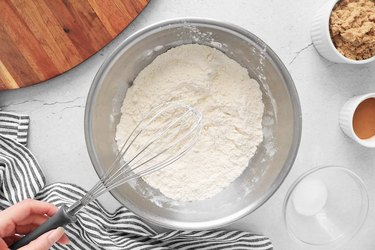
Step 2
In a separate large bowl, combine the remaining sugar, salt and 1 cup of flour.
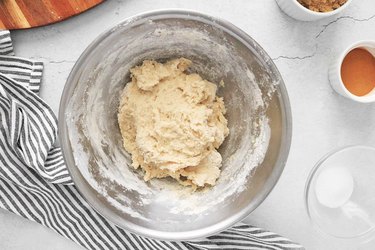
Step 3
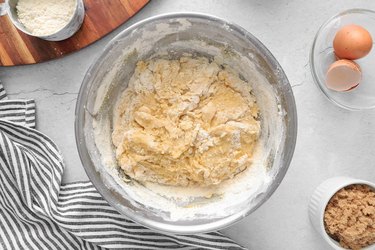
Add the yeast mixture to the dry ingredients.
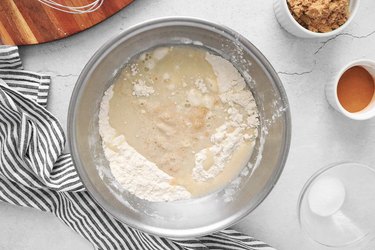
Mix well to form a sticky dough.
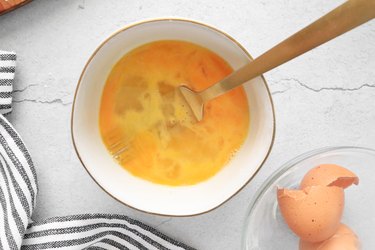
Step 4
In a small bowl, lightly beat the eggs.
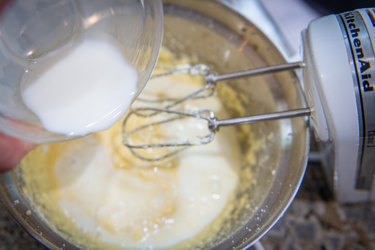
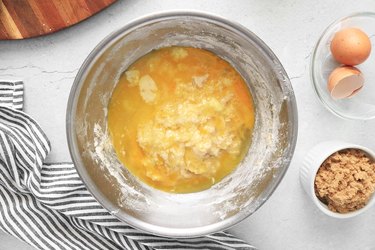
Step 5
Add the lightly beaten eggs and melted butter to the dough. Stir until mostly creamy.
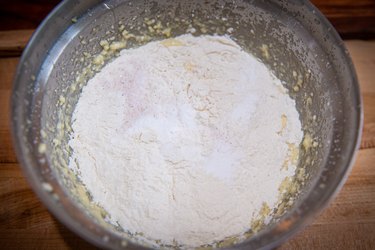
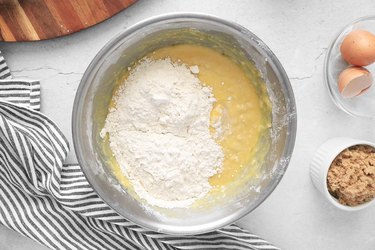
Step 6
Add 1 cup flour and then mix until completely combined. Repeat with another cup of flour.
Step 7
Gradually add the last cup of flour, about 1 tablespoon at a time. Add just enough to form the mixture into a tacky dough. You might not use the last full cup of flour.
Tip
Using too much flour can make the finished cinnamon rolls dry. By adding the remaining flour 1 tablespoon at a time, you can avoid using too much.
Step 8
On a lightly floured surface, knead the dough until smooth, about 8 minutes.

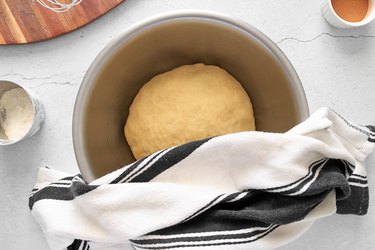
Step 9
Place the dough in a large, greased bowl. Rotate the dough once or twice to grease each side. Cover with a clean, damp towel. Let it rise in a warm area for about 1 hour or until it doubles in size.
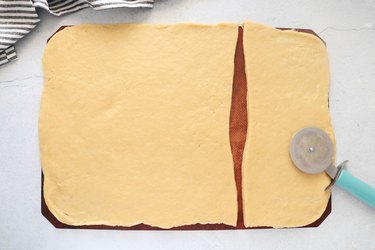
Step 10
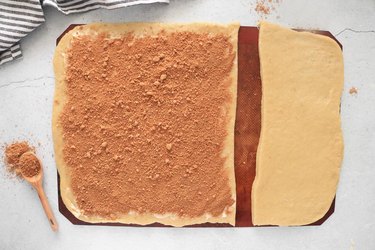
Gently punch down the dough. On a lightly floured surface, roll out the dough into a rectangle. Cut the dough into 2/3 and 1/3 sections, slicing from one long edge to the other.
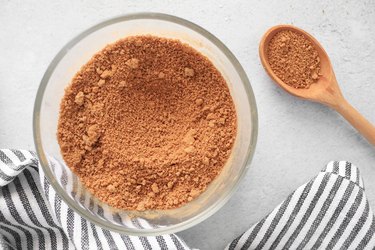
Step 11
Combine the brown sugar and ground cinnamon in a small bowl. Mix well.
Step 12
Spread softened butter on the larger section of dough. Add the brown sugar mixture on top.
Step 13
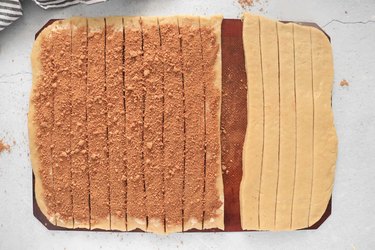
Slice the larger section of dough into 10 strips and the smaller section into 5 strips.
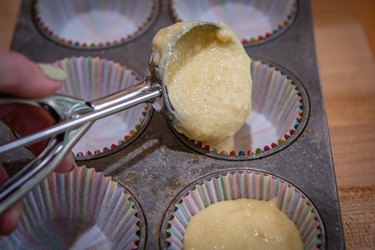
Step 14
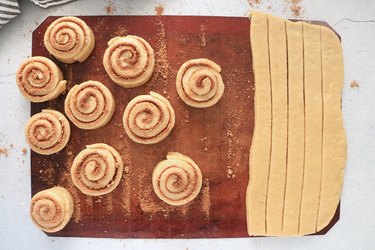
Roll the cinnamon sugar strips into tight, compact pinwheels. Secure the ends of the dough by dipping your finger into water and pinching the dough. Place them on a large baking sheet lined with parchment paper.
Step 15
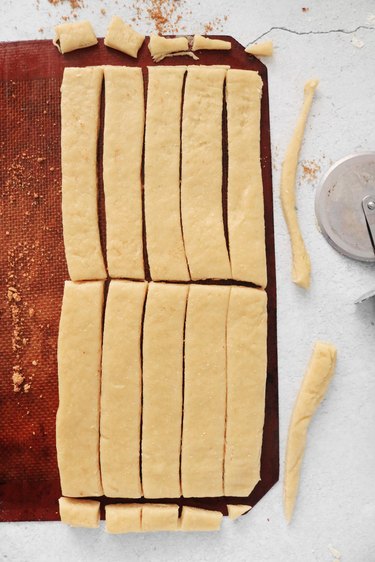
Trim the edges of the smaller section. Cut across the strips in half widthwise to create 10 shorter strips.
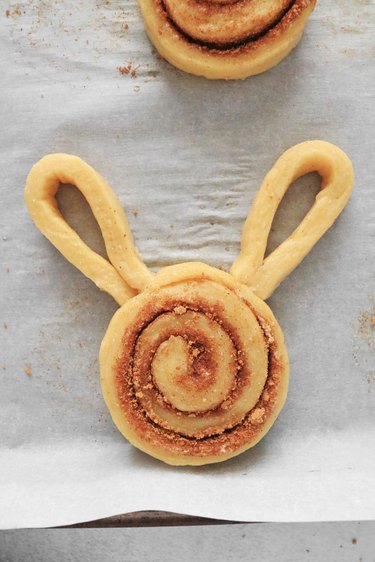
Step 16
There are several ways to turn the strips into ears. You can form each strip into a "V" shape and pinch it to the top of each roll, or you can slice each strip in half lengthwise and form the two separate ears. Don't be afraid to experiment!
Tip
Use a bit of water to attach the ears to each roll.
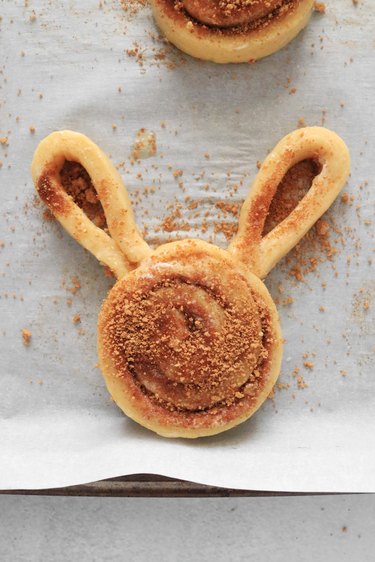
Step 17
Let the rolls rise for 30 minutes. Preheat the oven to 350° F. Brush the rolls with melted butter and sprinkle leftover cinnamon sugar on top. Bake for 15 to 20 minutes or until golden brown.
While the rolls are baking, make the cream cheese icing.
Cream Cheese Icing
Things You\’ll Need
-
8 ounces cream cheese, softened
-
2 tablespoons butter, melted
-
1 teaspoon vanilla extract
-
Pinch of salt
-
3 tablespoons milk or heavy cream (plus more as needed)
-
2 cups powered sugar (plus more as needed)

Step 1
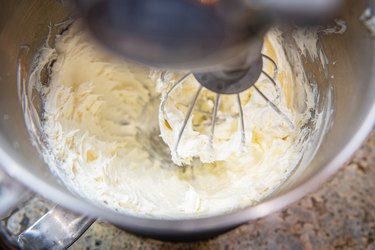
In a large bowl, beat all the ingredients except the powdered sugar.

Step 2
Gradually add the powdered sugar 1/2 cup at a time until the icing reaches your desired sweetness and consistency. You might need more or less than 2 cups of powdered sugar.

Step 3
Beat until smooth. If you prefer a thinner icing that can be drizzled, add more milk 1 tablespoon at a time.

Spread or drizzle the icing on the bunny cinnamon rolls. Store leftovers in an airtight container in the refrigerator. To reheat, warm the rolls in the microwave.