 1 of 17
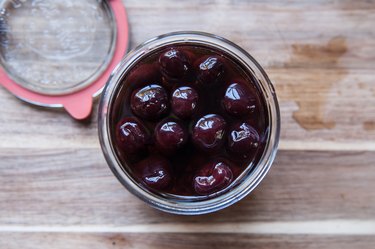
Up your cocktail game with easy upgrades like simple syrups, perfectly clear ice (who knew how important ice was to a good cocktail?) and one of these recipes for swanky cocktails to feature at your next soiree. From the standard martini to the seasonal eggnog or spiked cider, there's a cocktail that will please every one of your guests.
Image Credit: eHow  2 of 17
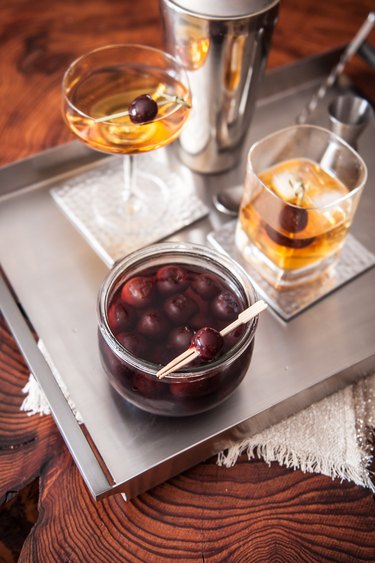
French 75
Cocktails can be swanky while still being simple. You only need four ingredients to make this classic drink, so you won't spend all night mixing drinks behind the bar and can mingle with your guests instead.
Image Credit: Shaina Olmanson  3 of 17
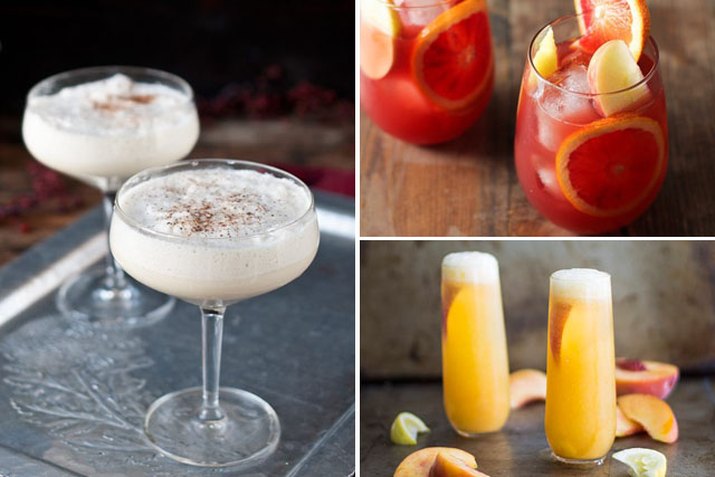
Peach Bellini
A peach bellini is a perfect drink choice for your party if you need a non-alcoholic choice as well. Swap champagne for sparkling water to make this a mocktail.
Image Credit: Leigh Ann Chatagnier 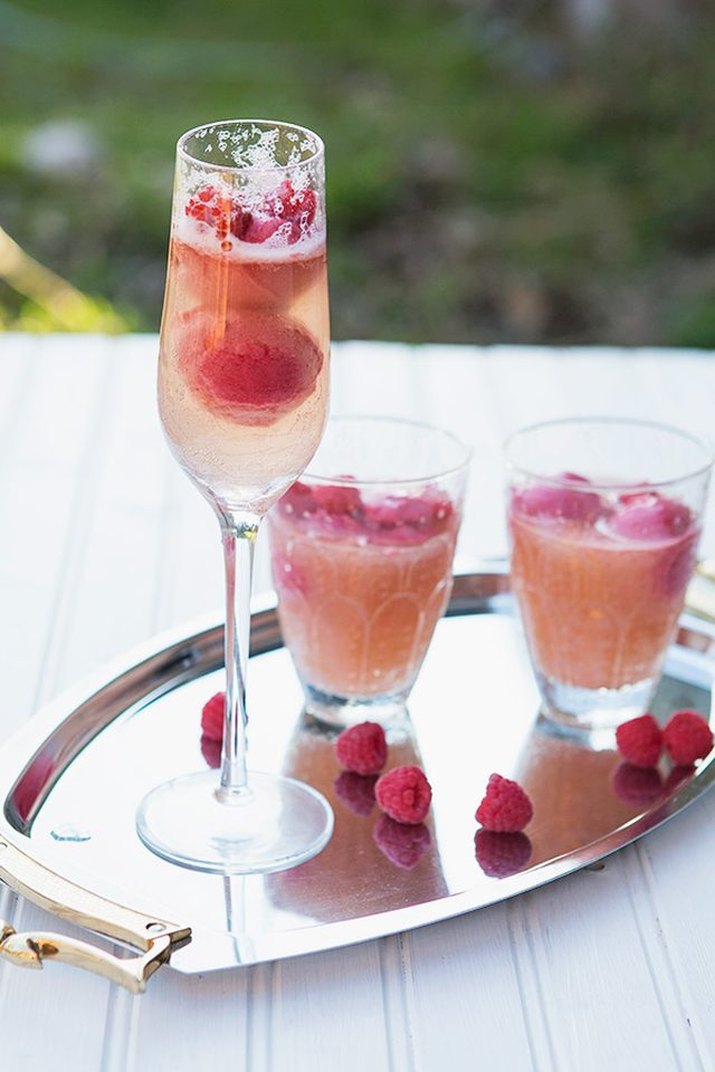 4 of 17
Raspberry Sorbetto Mimosa
Make a simple yet impressive-looking cocktail with a scoop of raspberry sorbet and some champagne. You can even let the kids in on the fun with a mocktail version of this raspberry sorbet mimosa (swap the champagne for sparkling fruit juice). You'll have drinks and desserts served up in one glass!
Image Credit: Shaina Olmanson 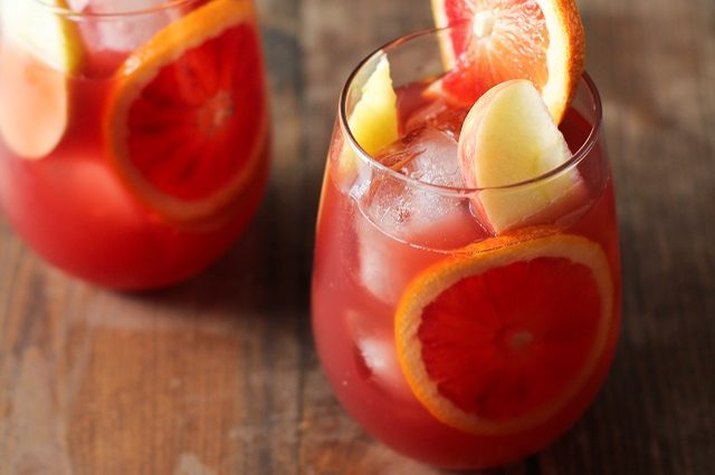 5 of 17
White Wine Sangria
The best part about white sangria is how customizable you can make it. Try making tasty variations like pineapple kiwi or pomegranate citrus to give your guests lots of options.
Image Credit: Julia Mueller 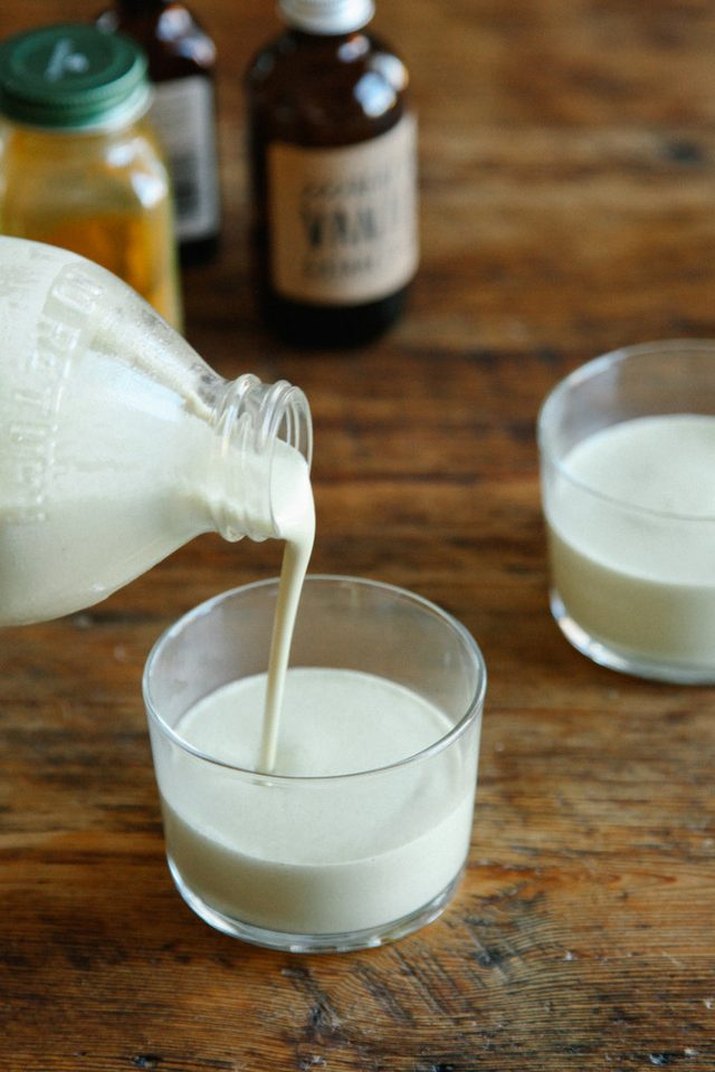 6 of 17
Vegan Eggnog
This vegan eggnog is so delicious you won't know it's lacking the trademark eggs. Add some spiced rum for a drink that is sure to be the hit of your party.
Image Credit: Ashlae Warner 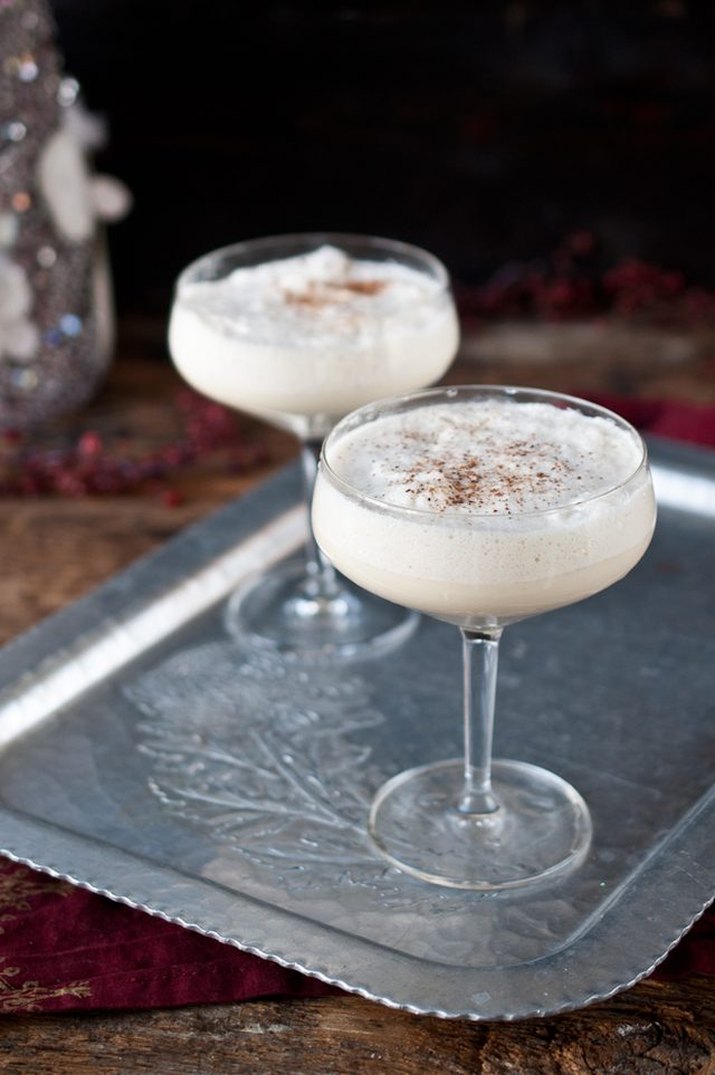 7 of 17
Belgian Ale Beer Eggnog
The beer-lover in your life will swoon for this Belgian ale beer eggnog. Spike your 'nog with Belgian Ale instead of spiced rum for an updated twist on the classic.
Image Credit: Jackie Dodd 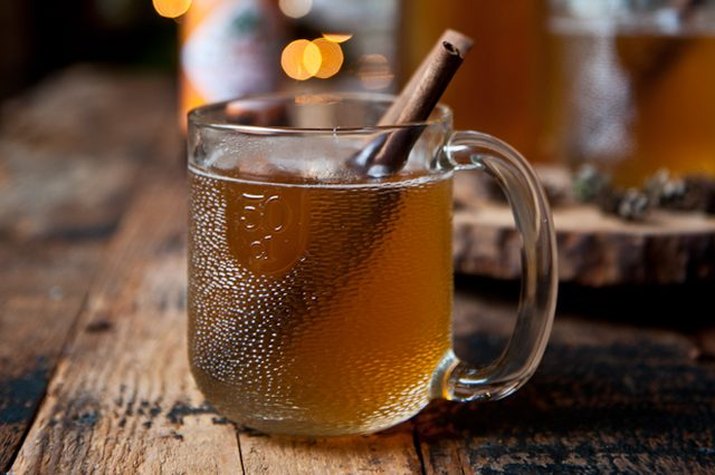 8 of 17
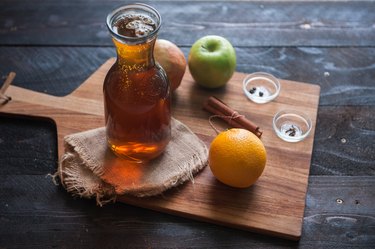
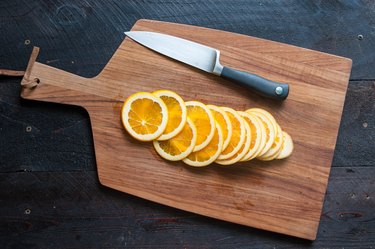
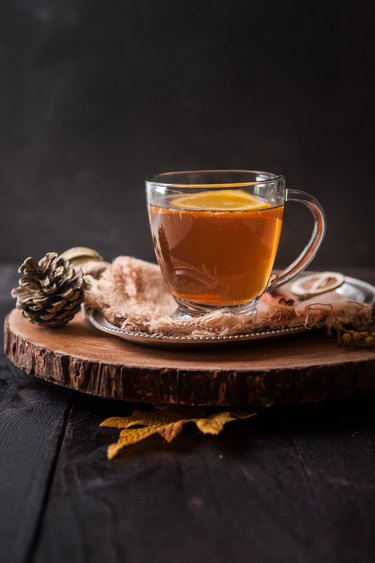
Boozy Beer Hot Cider
It's freezing in most parts of the country during the winter months. Warm up your guests up with this boozy beer hot cider.
Image Credit: Jackie Dodd 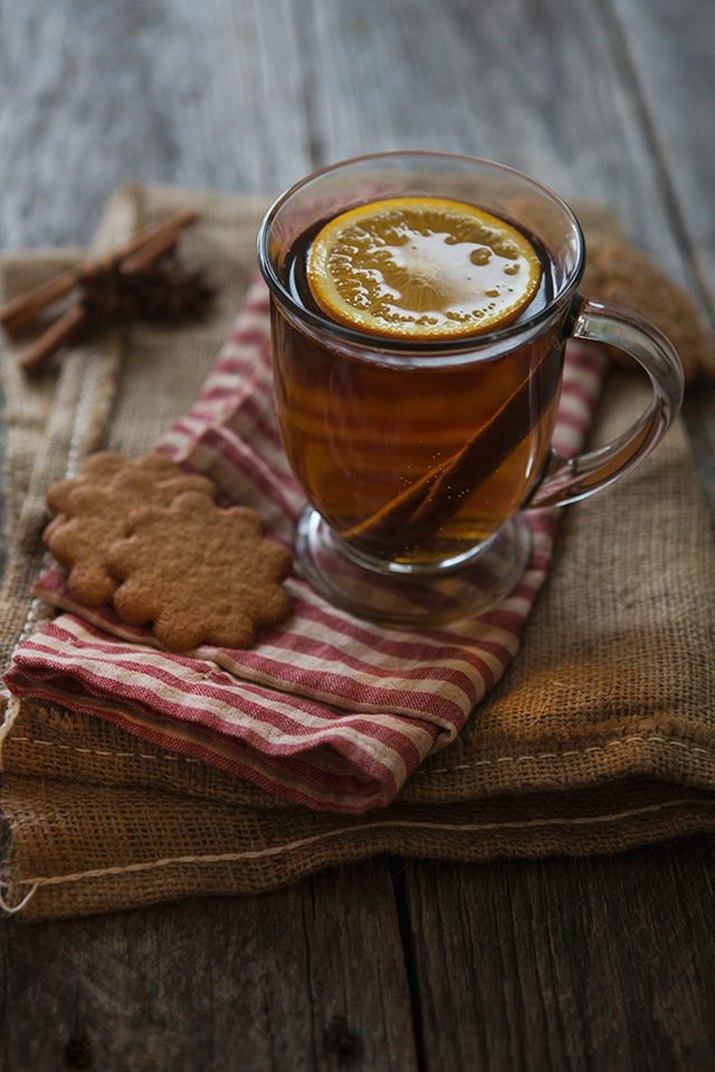 9 of 17
Gingerbread Hot Toddy
The holidays provide — among other joys — an excuse to have gingerbread-flavored anything before next holiday season. Give this seasonal favorite one last hurrah with this flavored hot toddy.
Image Credit: Shaina Olmanson 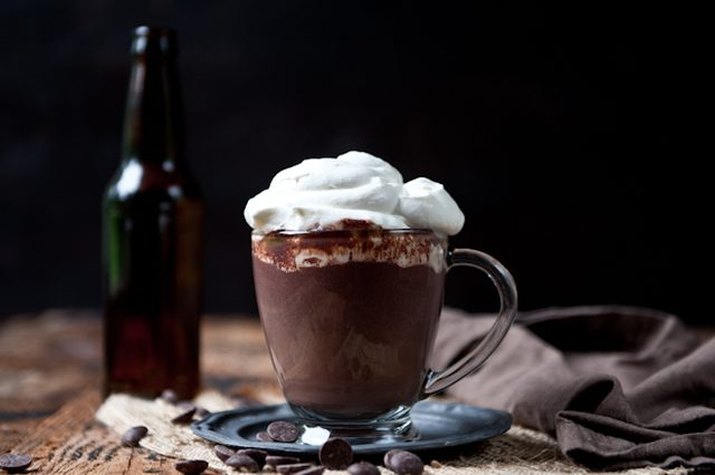 10 of 17
Stout Hot Chocolate With Beer Whipped Cream
Your hot chocolate will be the star of the party with this delicious upgrade. Add your favorite stout beer to a pan of hot chocolate and be sure to save a few tablespoons to infuse into the whipped cream as well.
Image Credit: Jackie Dodd 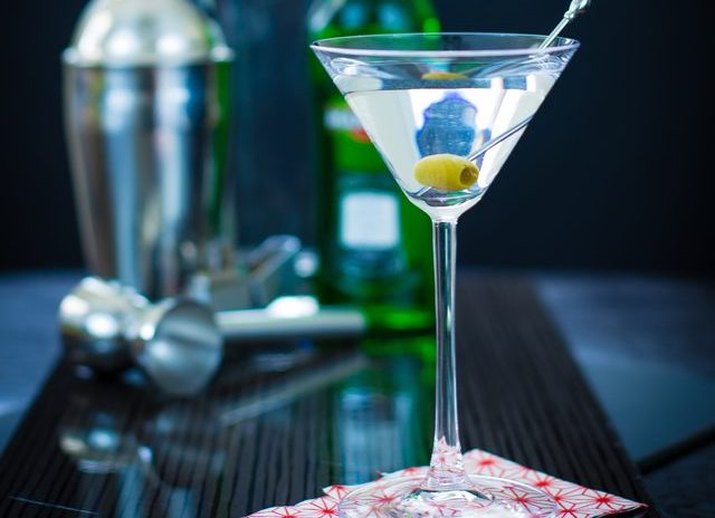 11 of 17
Martini
Whether you prefer yours straight up or dirty, there are few drinks that feel as swanky as a martini. The key to the perfect martini is clear ice so your pour comes out translucent.
Image Credit: Raul Zelaya 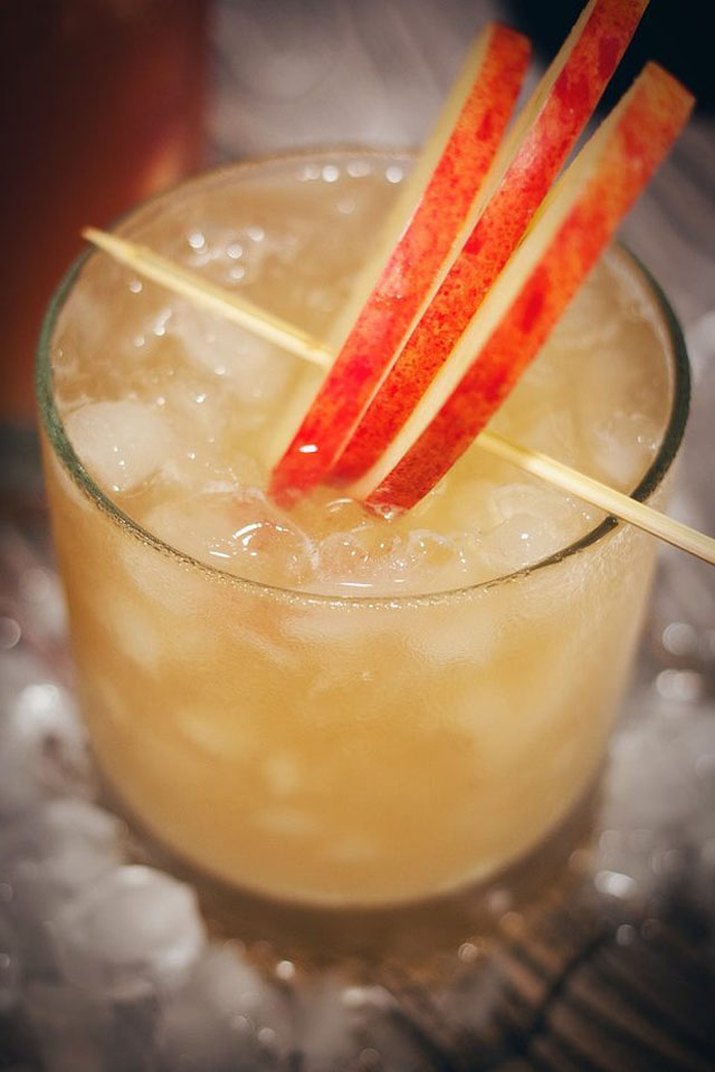 12 of 17
Ginger Beer Cocktails
Moscow Mules are delicious — there's no denying that — but you can make other cocktails with ginger beer, too. Try a Dead Man's Mule, El Diablo, or even a mocktail for the kids.
Image Credit: Raul Zelaya  13 of 17
Original Mai-Tai
Transport your guests to a tropical location with a Mai-Tai. The key is orgeat, a simple syrup made from almonds and sugar.
Image Credit: Raul Zelaya 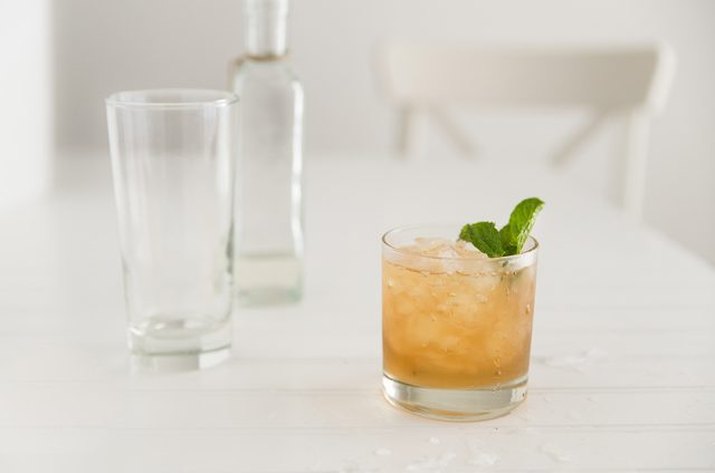 14 of 17
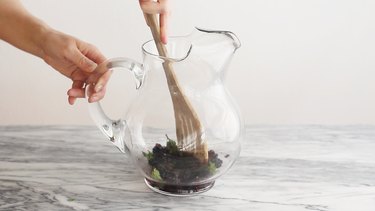
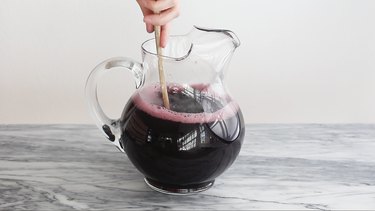
Mint Julep
The mint julep is a cocktail that has been around since the 1800s! It's kept its popularity for a reason — all you need is bourbon, mint, and simple syrup for this ultra-refreshing drink.
Image Credit: Laurie Gunning Grossman 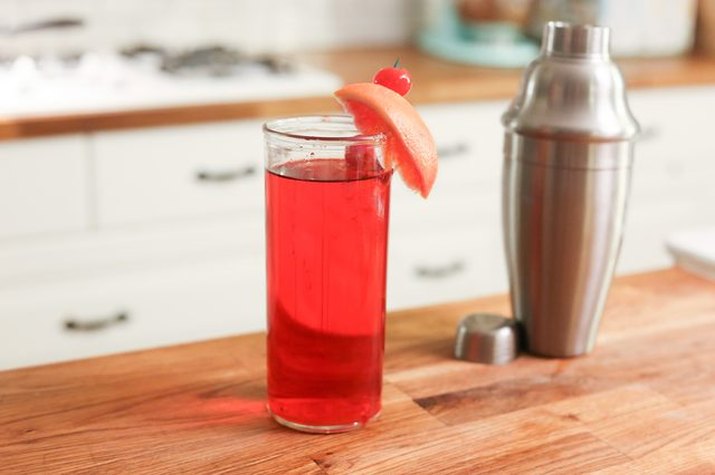 15 of 17
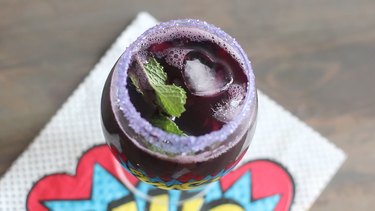
New Orleans Hurricane
The hurricane is synonymous with party city New Orleans which means it's a drink worthy of your next party. This potent drink contains rum, lemon or lime juice, passionfruit juice, and grenadine.
Image Credit: Nick Marshall  16 of 17
Cucumber-Mint Grapefruit Margarita
No one can say no to a margarita! Get the party started with a refreshing cucumber-mint grapefruit margarita — and think about having a taco bar as your food option to pair with them!
Image Credit: Yvette Marquez  17 of 17
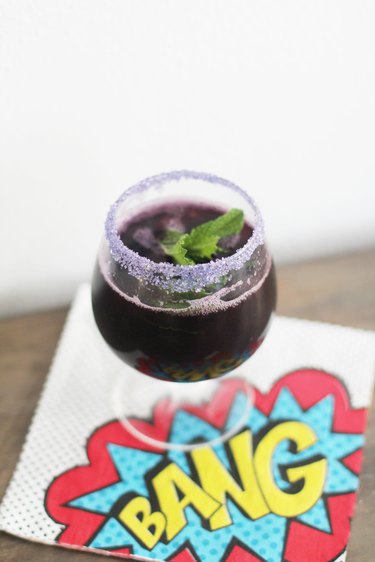
Sparkling Champagne Cocktails
Champagne makes any party just a bit more special. If you want to serve cocktails, use champagne as your base in drinks like a blueberry thrill, whiskey cider, or kir royal.
Image Credit: Lynette Arceneaux