
 1 of 12
Overview
Keep these easy recipes in your back pocket and whip 'em out when you want to feel like Ina Garten. From a crispy yet juicy whole roast chicken to creamy potatoes au gratin to decadent chocolate mousse, these foolproof recipes are so easy to master that you'll be stocking up on fancy cookware like Staub cocottes and Demeyere pans to keep your kitchenware on par with your cooking skills.
Leigh Ann Chatagnier 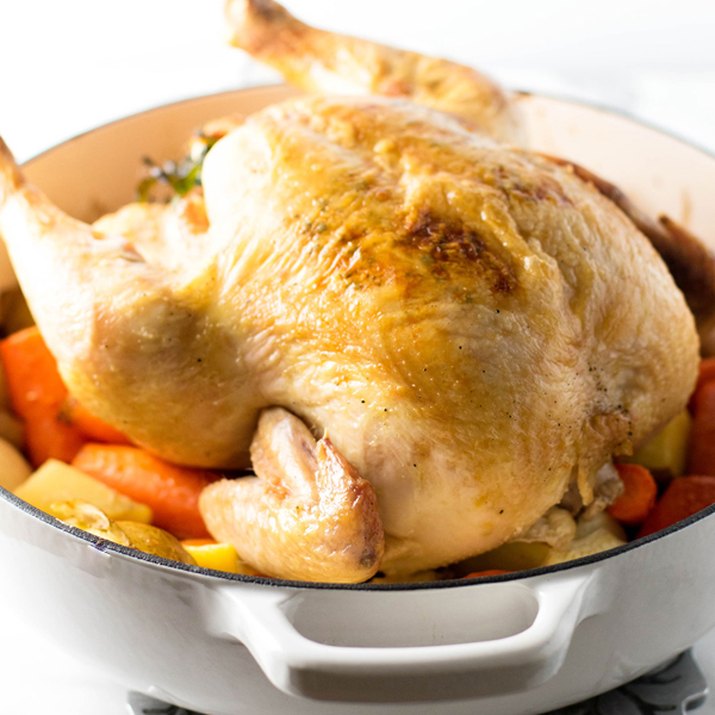 2 of 12
1. Whole Roast Chicken
Anthony Bourdain put it best in his new cookbook Appetites, "The ability to properly prepare a moist yet thoroughly cooked bird, with nicely crisp skin, should be a hallmark of good citizenry—an obligation to your fellow man." Make Tony proud and master the technique with this foolproof recipe.
April Anderson 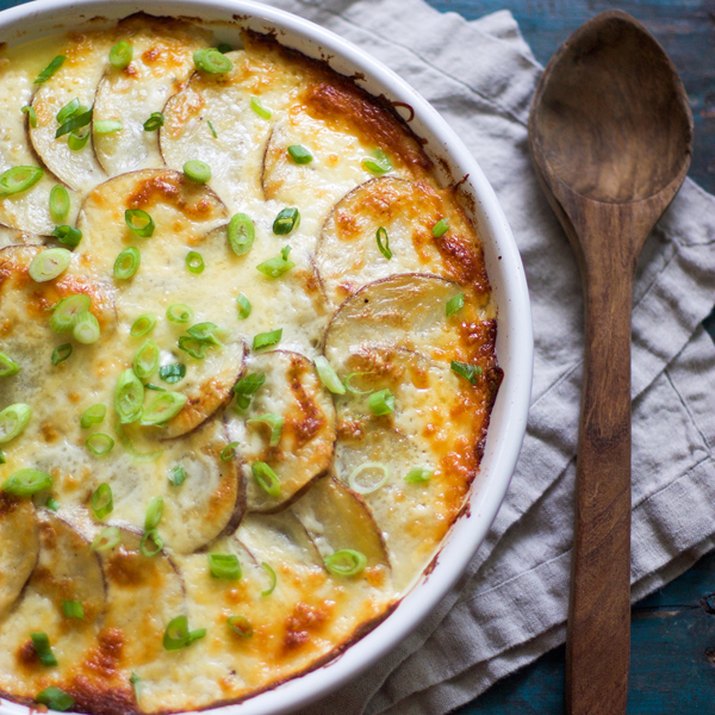 3 of 12
2. Potatoes Au Gratin
While this dish sounds French and fancy, it's deceivingly simple. If you can slice a potato, trust us, you can easily make potatoes au gratin. Just follow our easy, no-fail recipe, and thank us later.
Leigh Ann Chatagnier 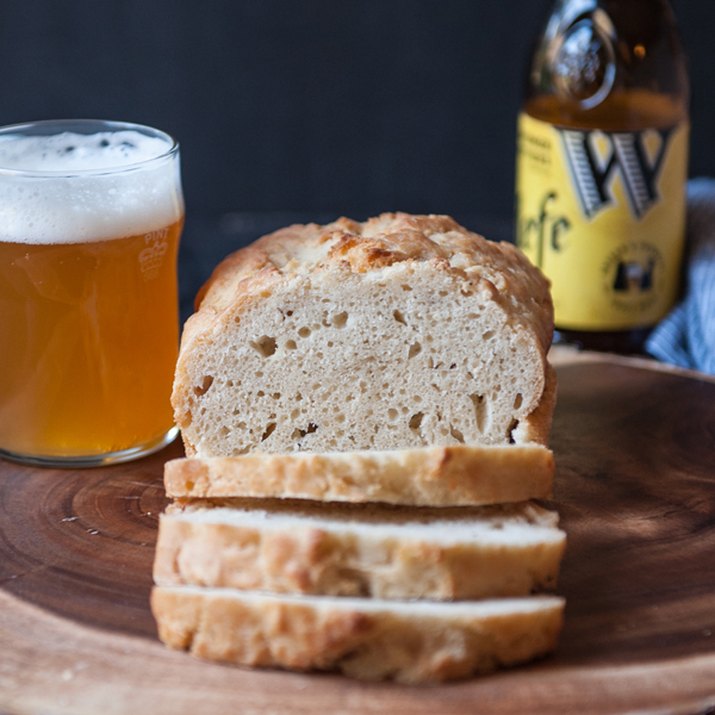 4 of 12
3. Homemade Bread
This simple homemade bread recipe swaps yeast for beer, so you don't even have to make a special trip to the grocery store. And the best part? You don't have to wait for the dough to rise before you toss it in the oven.
Jackie Dodd  5 of 12
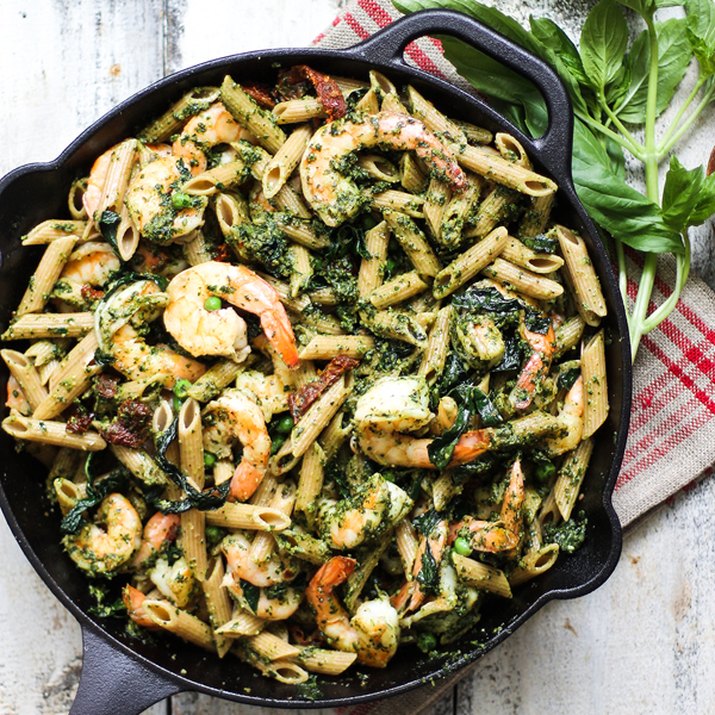
4. Whole Wheat Shrimp Pesto Pasta
If you make this whole wheat shrimp pesto pasta meal, we guarantee you'll feel like Ina Garten. Yes, it requires making your own pesto, but it's really not as intimidating as it sounds. In fact, you can have dinner on the table in less than 30 minutes.
Leigh Ann Chatagnier 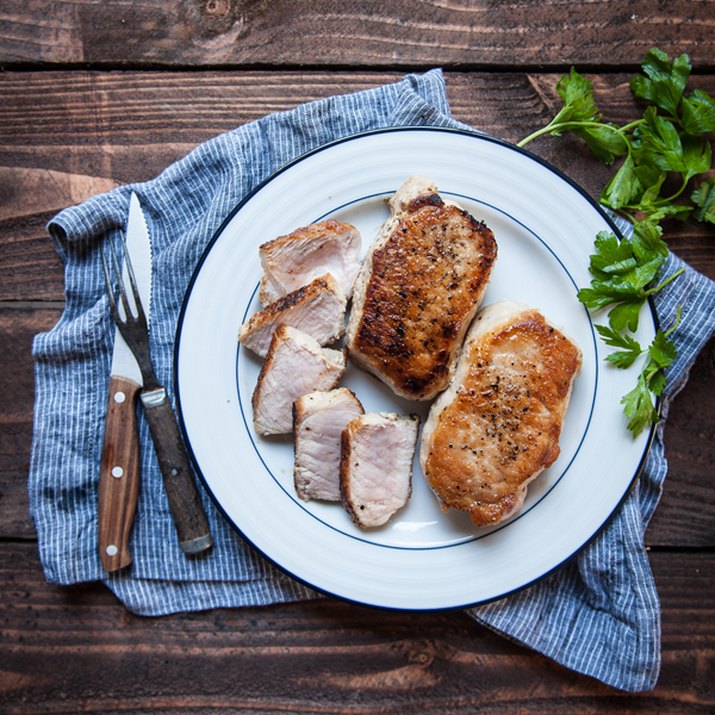 6 of 12
5. Juicy Pork Chops
Making juicy pork chops is arguably one of the most elusive kitchen tasks. With these two genius tricks, you'll never serve dry pork chops again. So, go ahead, break out of that chicken rut.
Jackie Dodd 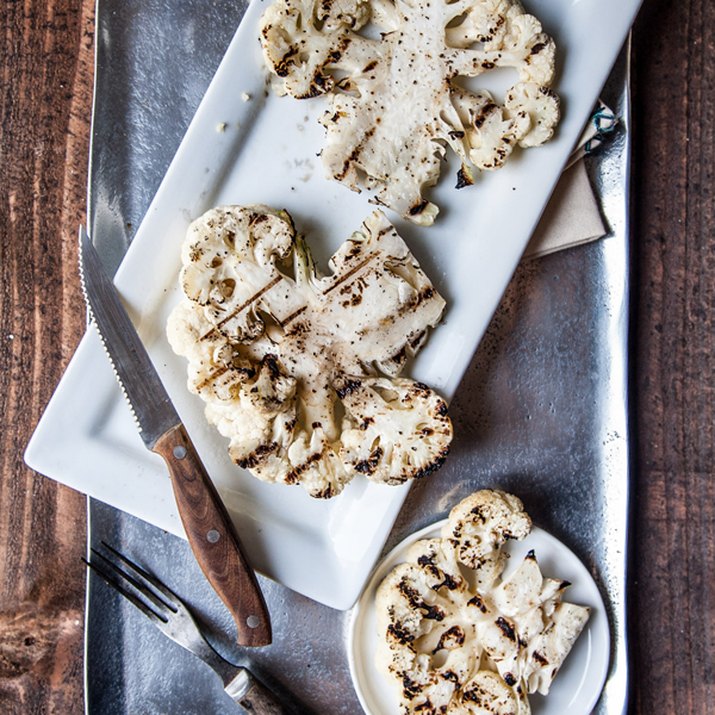 7 of 12
6. Grilled Cauliflower
Rather than buying a bagful of cauliflowers florets, pick up a whole head of and cut thick cauliflower steaks to toss on the grill. Serve this simple veggie dish alongside juicy pork chops or as a main dish served over a bed of quinoa or the grain of your choice.
Jackie Dodd 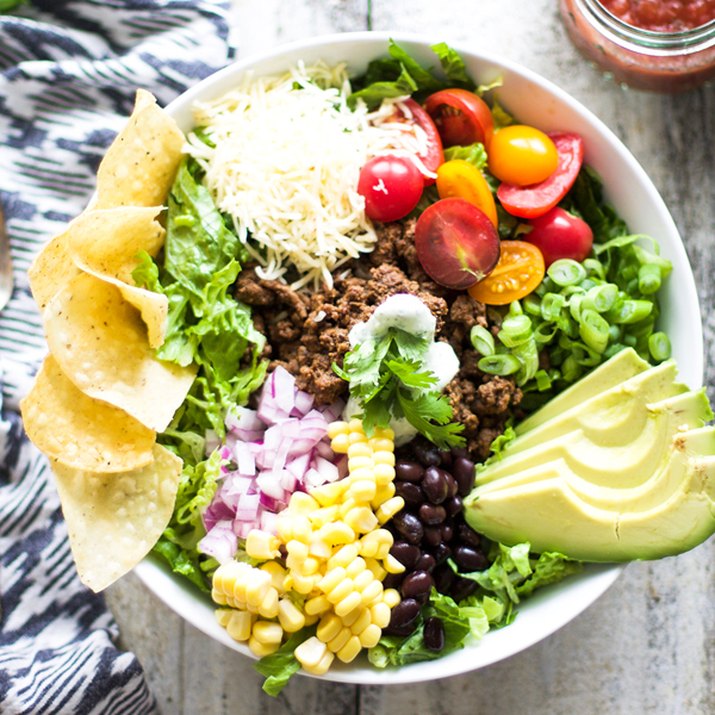 8 of 12
7. Taco Salad
Having a go-to salad in your recipe repertoire makes throwing together a last-minute weeknight dinner so much easier. This taco salad recipe is so good (and so easy), you'll want to make it every week. Be sure to stock up on salsa.
Leigh Ann Chatagnier 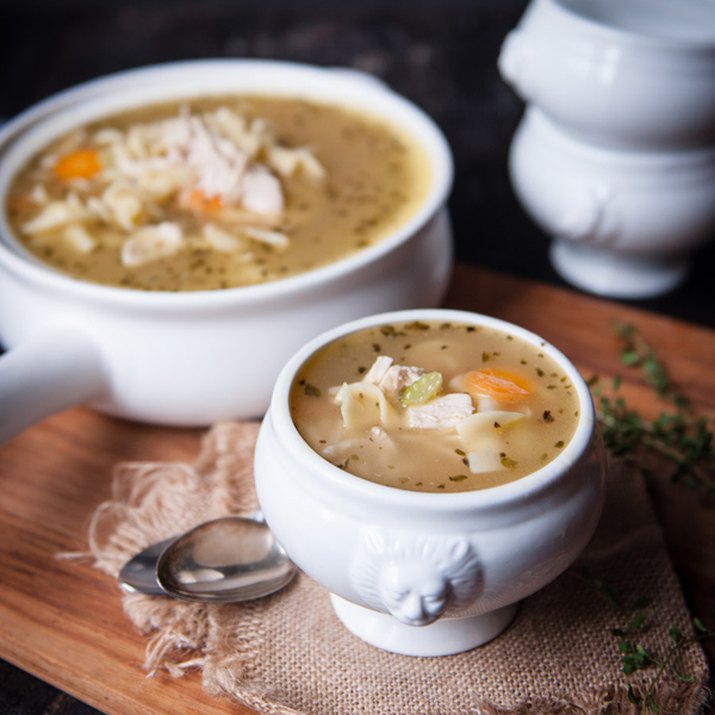 9 of 12
8. Soup (From Scratch!)
Yes, from scratch. It's worth the extra effort to put leftovers from that homemade whole roast chicken or from that store-bought rotisserie bird to good use. Believe us, this homemade soup recipe is way better than anything you'll find in the canned soup aisle.
Jackie Dodd 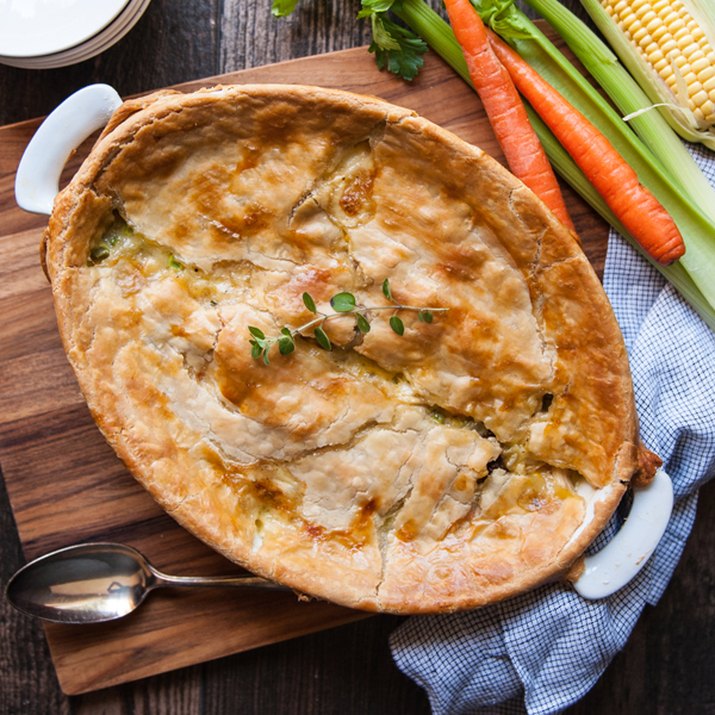 10 of 12
9. Chicken Pot Pie
Another great way to put chicken leftovers to good use, this chicken pot pie recipe is an easy make-ahead meal to prepare on Sunday that'll feed you for the rest of the week.
Jackie Dodd 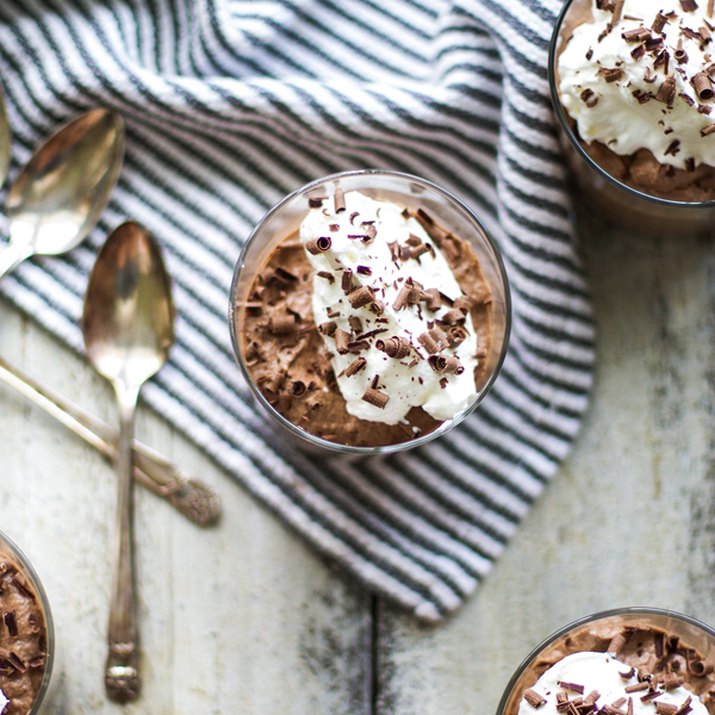 11 of 12
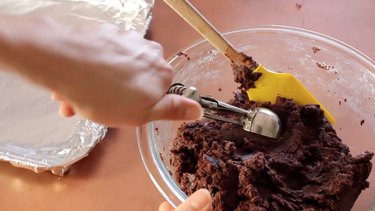
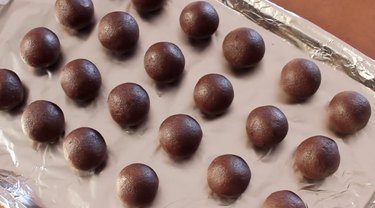
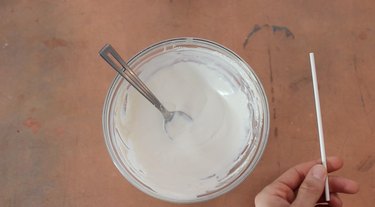
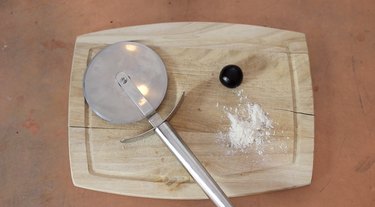
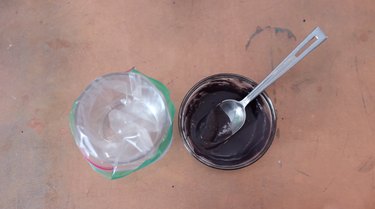
10. Chocolate Mousse
With this super simple chocolate mousse recipe you can easily whip up an impressive-looking dessert with minimal effort. This versatile dessert is perfect for celebrating special occasions like anniversaries and holidays yet simple enough to make if you want to indulge in dessert on a weekday.
Leigh Ann Chatagnier  12 of 12
11. Negroni Cocktail
It's always a good idea to have a go-to cocktail recipe in your back pocket. This three-ingredient cocktail is a surefire crowd-pleaser that looks fancy without being fussy.
Jennifer Farley


 Let the eggs cook until the sides are firm.
  Add omelet fillings.


 2 of 11
  3 of 11
  4 of 11
  5 of 11
  6 of 11
  7 of 11
  8 of 11
  9 of 11
 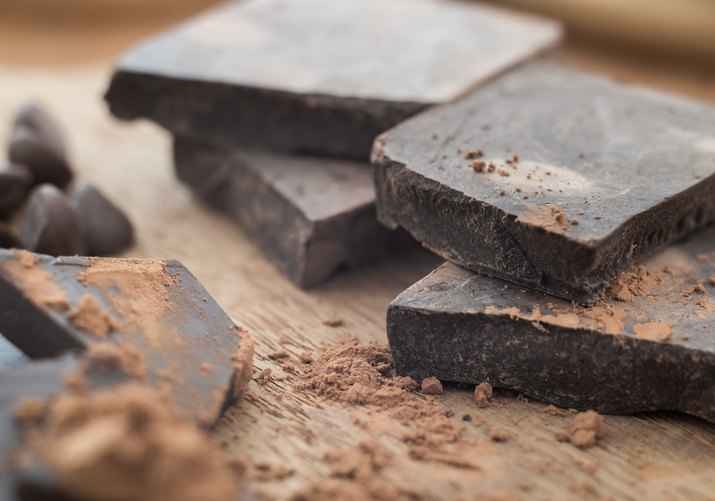 10 of 11
  11 of 11