From cookies to homemade bread, baking offers service, mindfulness and a cure for the sweet tooth.
Want a hobby that combines mindfulness, generosity and brownies? Fire up your oven because baking is for you, and as of a few years ago, me too. The benefits are undeniable.
Video of the Day
Baking fresh food yourself is almost always more nutritious (even if you're baking cake) if only because you won't use as much sugar, fat or salt as you'd find in any store bought good–plus you'll skip the preservatives and fillers altogether.
Baking is also therapeutic. "Baking has the benefit of allowing people creative expression," associate professor of psychological and brain sciences at Boston University, Donna Pincus, told HuffPost. "Whether it's painting or baking, there is a stress relief that people get from having some kind of an outlet and a way to express themselves."
When my mind is going a million miles an hour, I like to put it to work on baking bread or cookies. Better yet, cookies to give away. To neighbors, co-workers or through Meals on Wheels. Not only has baking made me more popular in my neighborhood, but there is value in learning patience and perseverance along with that service. Not bad for a batch of blueberry muffins.
6 Supplies Every Baker Needs
Mixing bowls
Get a nice big bowl (or a set) and hand-held beaters, or if your budget allows, spring for a stand mixer. Kitchenaid is the most well-known brand, and comes with a price tag to prove it. It'll cost several hundred dollars but will also last for decades and do a lot of work.
Silicone spatula
A couple of silicone spatulas scrape the edges of the bowl leaving little batter behind.
Measuring spoons and cups
For measuring, you'll need measuring spoons plus two sets of measuring cups: one to scoop dry ingredients and another set of see-through cups to measure liquid. Don't be tempted to use the same cup for both. The reason you need a glass (or otherwise transparent) cup for liquid is that you aren't measuring from the rim; bend down to see the cup at eye level and look at where the liquid dips. That's the measuring point. For dry ingredients like sugar and flour, scoop your ingredients then level off with a straight edge, like the back of a knife.
Pans
The most basic pans to start with are:: (2) 9-inch cake pans, 12-count muffin pan, 9-inch pie plate, 9×13 baking pan, (2) 9×5 inch loaf pans and (2) 13 x 18 sheet pans. You could go to town on all sorts of shapes and sizes but this combination will work well for most beginner's projects.
Sifter
This is one specialty item that serious bakers really need. Getting extra air into your dry ingredients is often an important step in getting the results you want. Plus, the small ones allow you to sprinkle powdered sugar over the tops of anything. Instant beautification!
Rolling pin
For pie dough, many cookies and even pizza, a french-style rolling pin is a life-saver. There's no edge so your dough stays smooth.
Tips to Start Baking Like a Pro
Really read the recipe
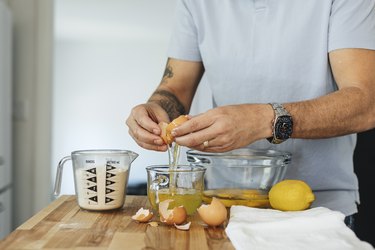
Nothing is more important than reading your recipe in advance. This is no time to glance. Truly go through the list of ingredients and do two things: check if you have each item and look for extra prep clues. Does anything need to be warmed or cooled? Shredded or sliced? Those jobs are often sneaked into the ingredients list, so pay keen attention up top. For example, most recipes specify that eggs and butter work best at room temperature, which means leaving them out for at least 30 minutes ahead of time.
Set it all out
While you're at it, pretend you're on a cooking show and arrange everything you need — from flour to your bowl and whisk — on a clean counter. Baking is a science that requires getting it right from the start because once you get that pan in the oven, there's no room for fixes. It's also decidedly less zen to be hustling around the kitchen searching for measuring spoons than picking up exactly what you need when the time comes.
Mixing dos and don'ts
Many recipes go wrong long before they get to the oven. The list of common baking mistakes is long but nailing these mixing tips will start you out on the right track:
Do: Spend at least three minutes creaming butter and sugar. Many beginner bakers skimp on the timing here. Your mixture should be fluffy and very light in color when it's ready. Ditto for kneading bread. If you fail to get the gluten fully developed, your bread won't rise properly and you'll be stuck with a lump of heavy dough. Take the time.
Don't: Overcrowd the oven. If you're baking more than two pans at once, either consider baking in batches, turn on your oven's convection setting (a built-in fan) or rotate the pans halfway through baking while also planning for a bit more time before everything is truly done.
Do: Get fresh ingredients often. Baking soda and baking powder especially need to be replaced regularly (at least every season) to work their best.
Don't: Over-mix the batter. For many cakes and cookies, the recipe will specify mixing until the batter "just comes together". That means stopping as soon as the dough looks almost cohesive. A little flour around the edges or stray lumps are fine. If you over-mix, you'll risk developing a bread-like consistency instead of something light and fluffy.
Do: Measure carefully. Since baking is literally a science project, it's important to include exactly the right amounts of everything. Tip: Always spoon flour into a measuring cup instead of scooping it out. Flour has a tendency to pack down and you'll end up with too much if you don't get it fluffy first.
How to tell when it's done
One of the tricks about baking is that you only get one shot to cook your dish properly and these clues will help:
- Cake, quick breads and muffins: Press the top with your index finger. If it springs back, it's usually ready.
- Homemade bread: The outer crust should look very dry and brown. Take the bread out of the oven and thump the bottom. A loaf is done when it sounds hollow. If not, keep baking for 5 minute intervals until it does.
- For all baked goods:
- Use your eyes and nose. How does it look? This is your first check. Have the sides started pulling away from the edges of the pan? Does the dough look set in the middle? Can you smell it? Most cookies, brownies, cakes and so on start to really smell like you'd expect them to as they get close to done.
- Use your thermometer. Most yeast breads are done when the internal temperature reads 190 degrees F. Quick breads (like zucchini bread) should read 200 degrees F.
Want to get healthy?
If you're baking with a health goal in mind, from lowering your cholesterol to your waistline, start by making a few simple updates that work for most recipes:
- Reduce the sugar by ⅓
- Substitute whole-wheat flour in place of ½ the white flour
- Use applesauce in place of oil
Experiment with other smart substitutes to bring your baking ingredients up to the level you want and need. For example, even frosting can be improved. Use cream cheese and honey instead of butter and powdered sugar. (Honey is still a form of sugar but it doesn't not raise blood sugar levels as quickly. Honey is also sweeter than sugar, so you may use less of it.)
Other Useful Items To Keep On Hand
Parchment paper
For me, parchment paper has been a game changer. I wouldn't bake without it now because you get a non-stick surface for any pan in seconds that's compostable AND cuts down cleaning time.
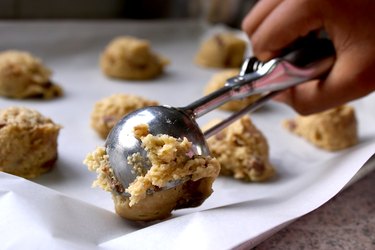
Cookie dough scoops
Another small investment that really helps is a scoop to measure batter. The more even you make your cookies in size, the better they'll bake. (Smaller cookies will bake faster and have a tendency to burn. Larger cookies won't be baked through by the time the rest are ready to come out.)
Cooling rack
If you have the counter space, cooling racks not only help your baked goods cool down quickly and evenly but they also free up your baking sheets to be used again faster. Plus, it feels very professional.
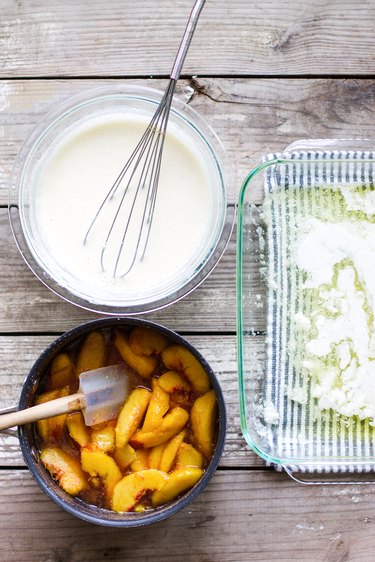
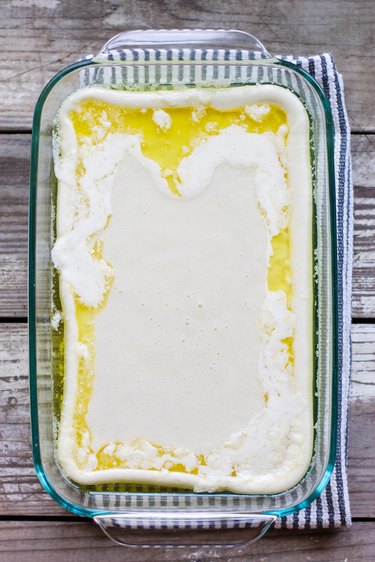
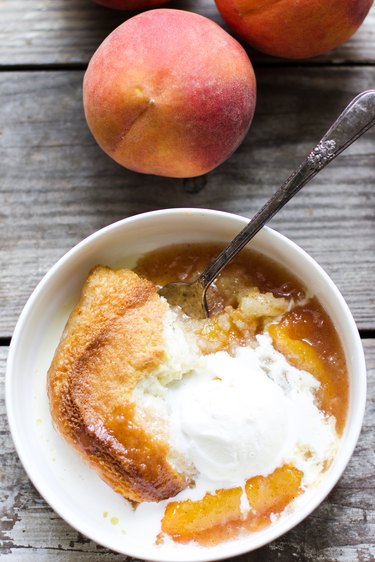
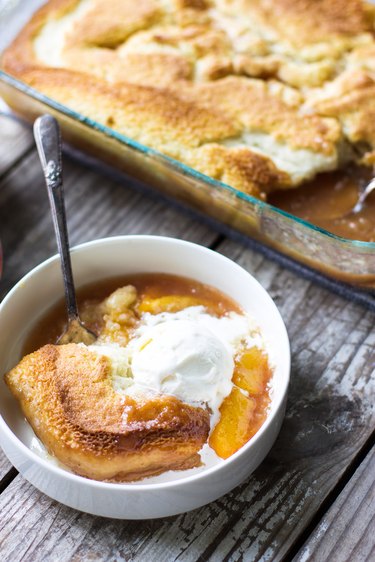
Easy Baking Recipes For Beginners
Nothing is more satisfying than sliding a pan full of wobbly ingredients into the oven only to have them transformed into a mouth-watering treat. Here are the simplest, most fool-proof recipes for bakers just starting out:
Cookies
Visit Page 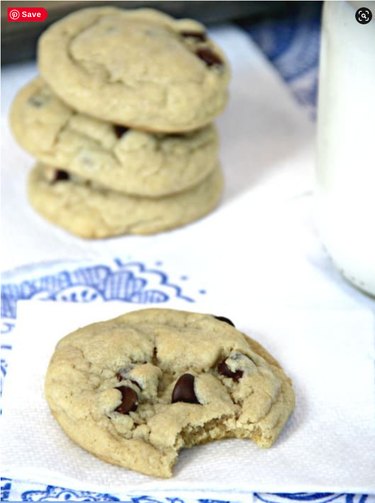
A solid chocolate chip cookie recipe is a must-have for any baker. This one is soft and chewy and this one uses almond flour and whole-wheat flour for a crispy, buttery crunch. That's just the beginning. Snickerdoodles are a classic and don't forget Peanut butter cookies especially when you can make them with only four ingredients!
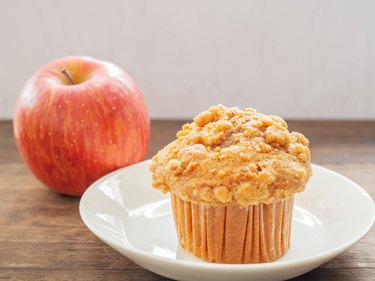
Quick breads & muffins
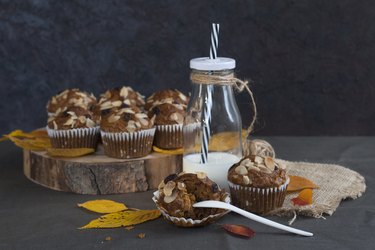
As a parent of four small kids, I've made my share of muffins and quick breads. These are the easiest recipes with the most crowd appeal of any so far:
- Morning glory muffins
- Chocolate zucchini bread
- Banana nut muffins
- Super healthy pumpkin spice muffins
- Hearty apple and oat bread
Bread
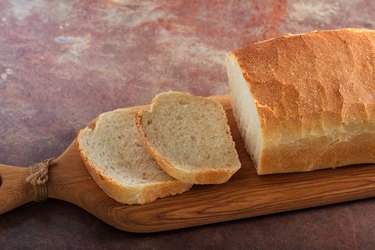
I used to think it was hard to bake bread, just not for me. But once I figured out a no-fail recipe, I started using it over and over aga
in. Now I make it for my kids. My kids make it for our neighbors. We've braided it, added olives and another time threw in a layer of chocolate chips. It's delicious every time. We got a little fancier with focaccia bread with garlic and rosemary and even discovered how simple it was to make 30-minute dinner rolls.
Pizza
Visit Page 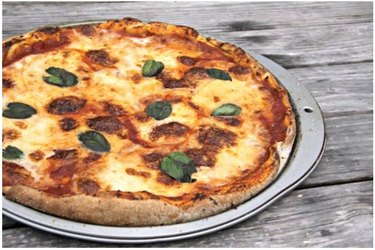
Homemade pizza is another idea that used to sound complicated to me. But now that I know how simple pizza dough is, how takeout doesn't even come close to being as good, how many varieties you can make (and that you can even freeze homemade pizza!) it's a regular menu item. Here are our favorite doughs and a few variations:
- Traditional pizza dough
- No-rise whole-wheat pizza dough
- DIY pizza pockets
- Pizza pinwheels
Cake
Visit Page 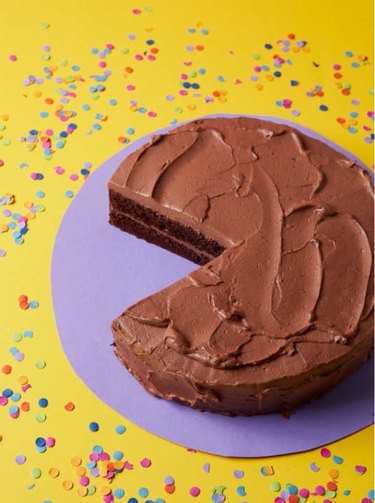
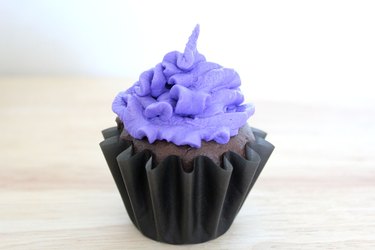
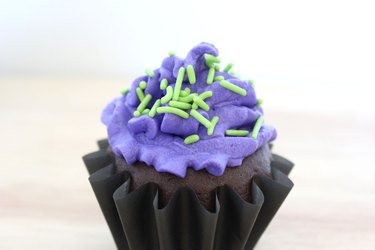
Nary a dinner party nor celebration isn't improved with a big cake! My favorite one-bowl chocolate cake is rich, chocolatey AND moist every time. You can shape it into layer cake, cupcakes or even a sheet cake that's later sliced and stacked. Pound cake is another tried and true dessert you can gussy up a million ways (with whipped cream and berries or under a drizzle of homemade hot fudge to start). Cupcakes cook faster and tend to be more forgiving. Classic vanilla, red velvet and sweet orange are always a hit. But when you really want to impress, you cannot do better than chocolate lava cakes that literally ooze with goodness. Bonus, they look much more difficult than they are.
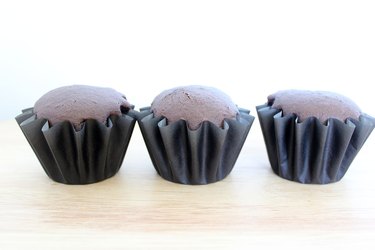
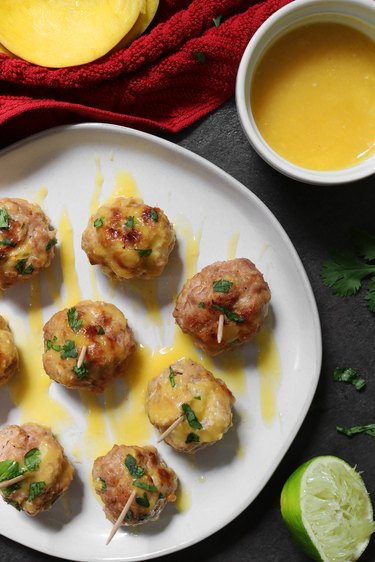
And last but not least, do not forget brownies. You can bake them in a muffin pan for individual servings or even start with a mix and give it a healthy boost.


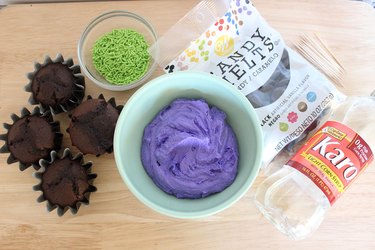


 S\’mores bar essentials
 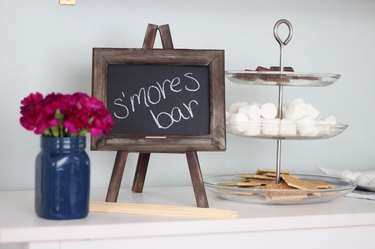 Chalkboard labels
 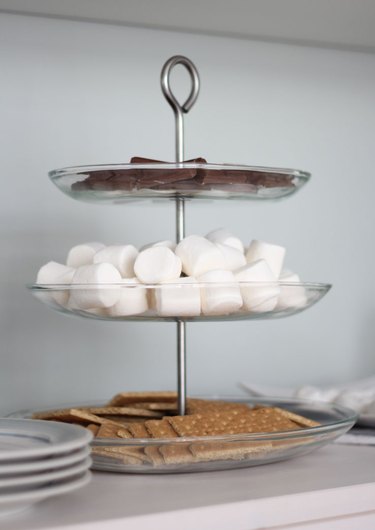 Arrange the goodies
 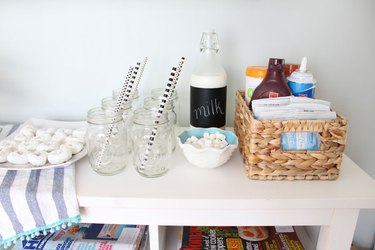 Alternative snack and drinks
 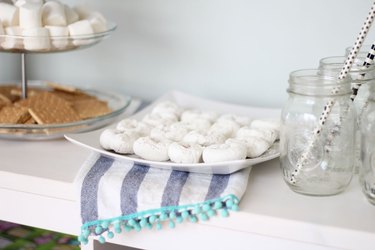 Serve an alternate snack
 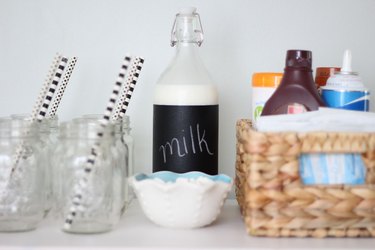 Include beverages
 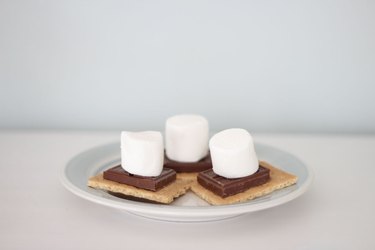 Microwavable s\’mores
 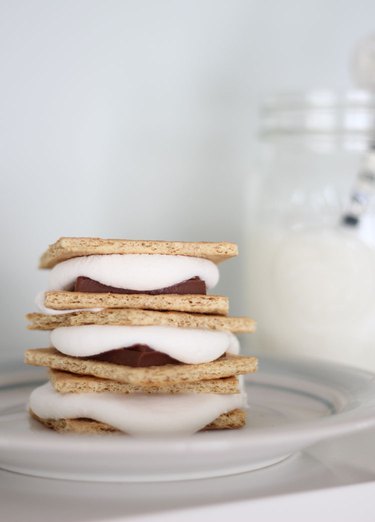 Serve and enjoy