 1 of 11
A successful dinner party is comprised of three things: fun company, great food and delicious cocktails. While figuring out the invite list and the main menu is important, nothing transforms a simple get-together into a memorable occasion quite like pinpointing a festive libation. If you need some help in the drink department, serving refreshments that work for your particular theme is easier than you might think. Whether it's your first time acting as a host or you're a dinner party pro, these cocktail recipes will give your guests a reason to celebrate.
eHow 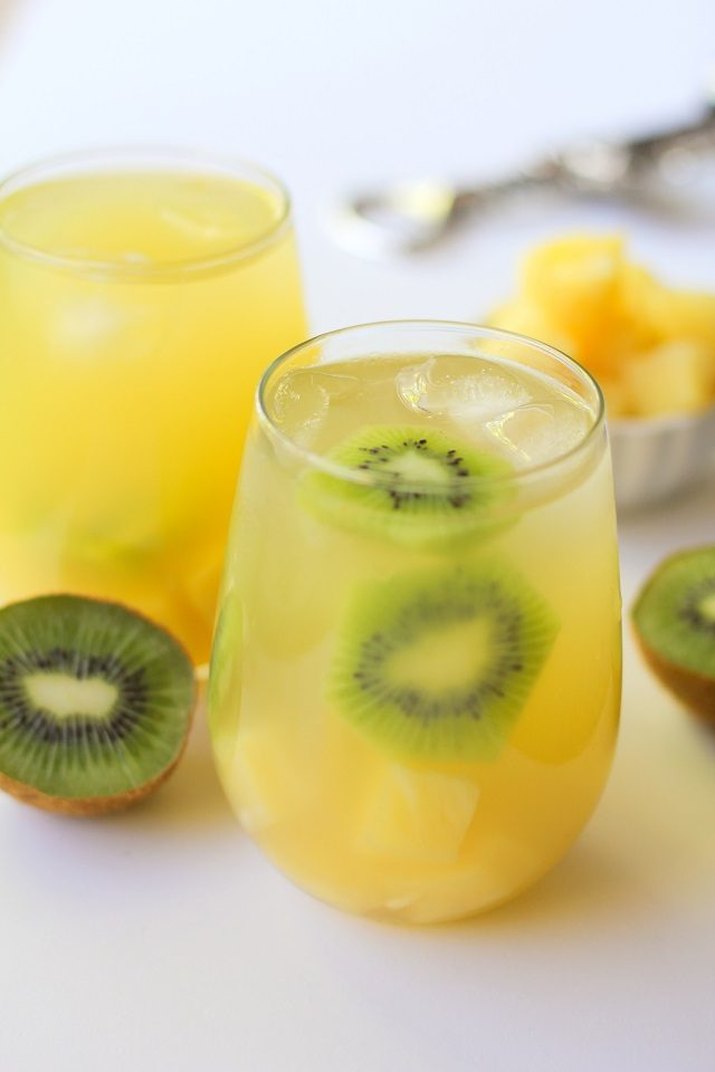 2 of 11
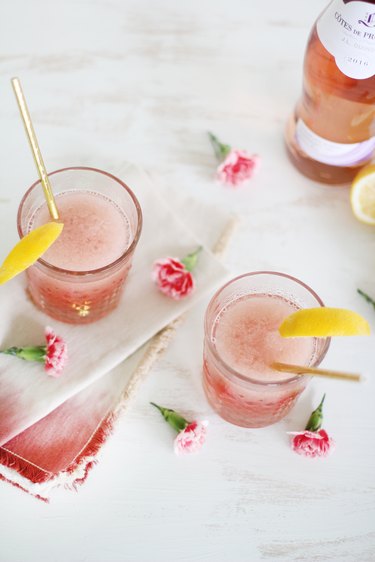
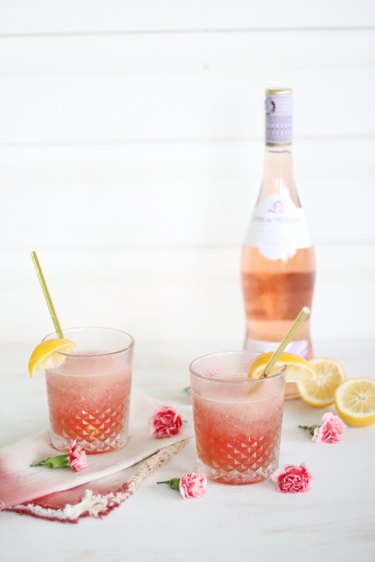
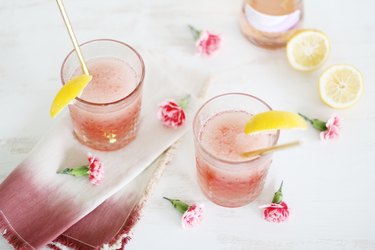
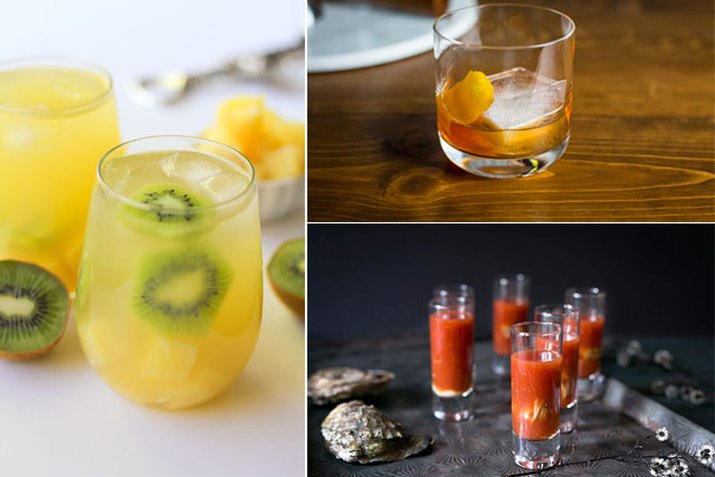
Kick Off a White Sangria Summer
The beginning of warmer weather is the perfect excuse to dust off your deck and host an outdoor dinner party for all of your family and friends. Pair any of these three white sangria recipes with grilled meat or seafood, and everyone will be in for a flavor explosion.
Julia Mueller 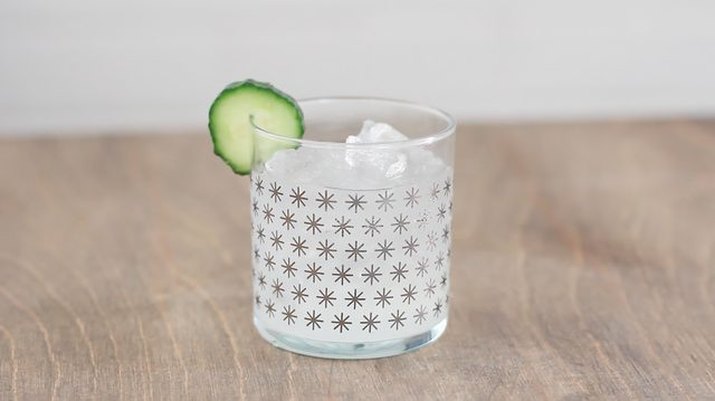 3 of 11
Serve Gimlets at a Romantic Dinner for Two
Who said a dinner party can't be an event for two? If you're looking to spoil your S.O. with a home-cooked meal, a spin on a classic drink is in order. Put this cucumber-garnished gimlet next to the main dish, and you'll have everything you need for a romantic night in.
Trisha Sprouse 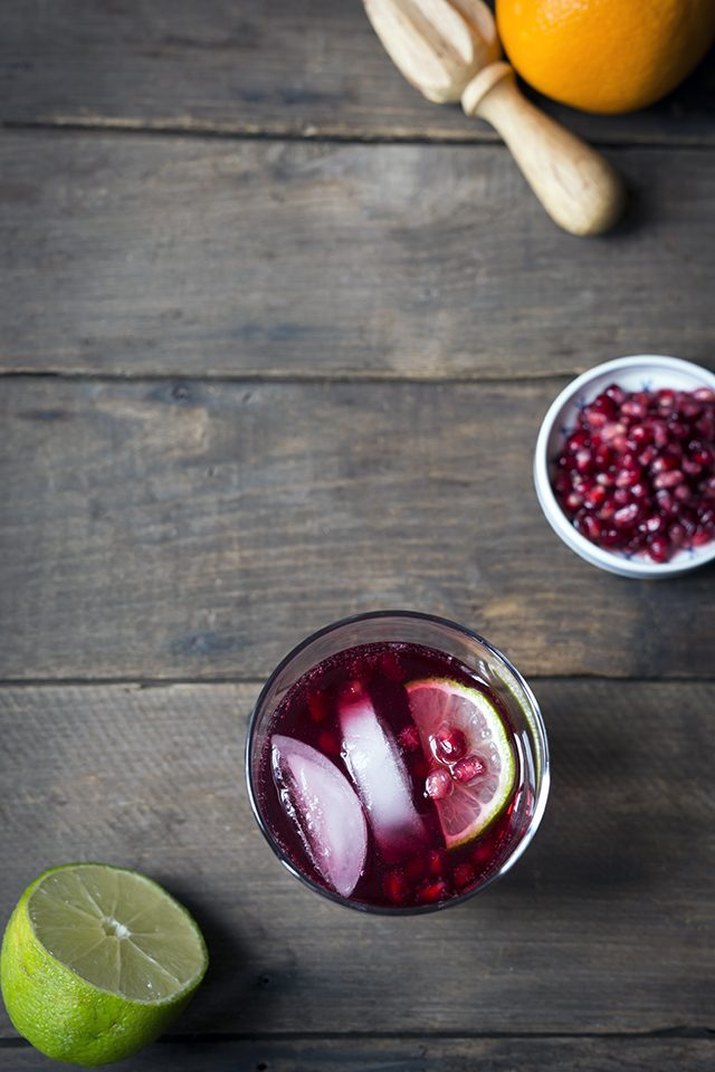 4 of 11
Cheers to Fruity Gin and Tonics at a Housewarming Party
Congrats on the fresh digs! But now everyone's coming over for dinner to celebrate your abode, and you're not sure what to do. You'll want to make a cocktail that wows everyone as much as your fancy new place will, and a pomegranate-flavored gin and tonic is the answer. Don't forget to pick up some cured meats and cheese to nibble on, too!
Jennifer Farley 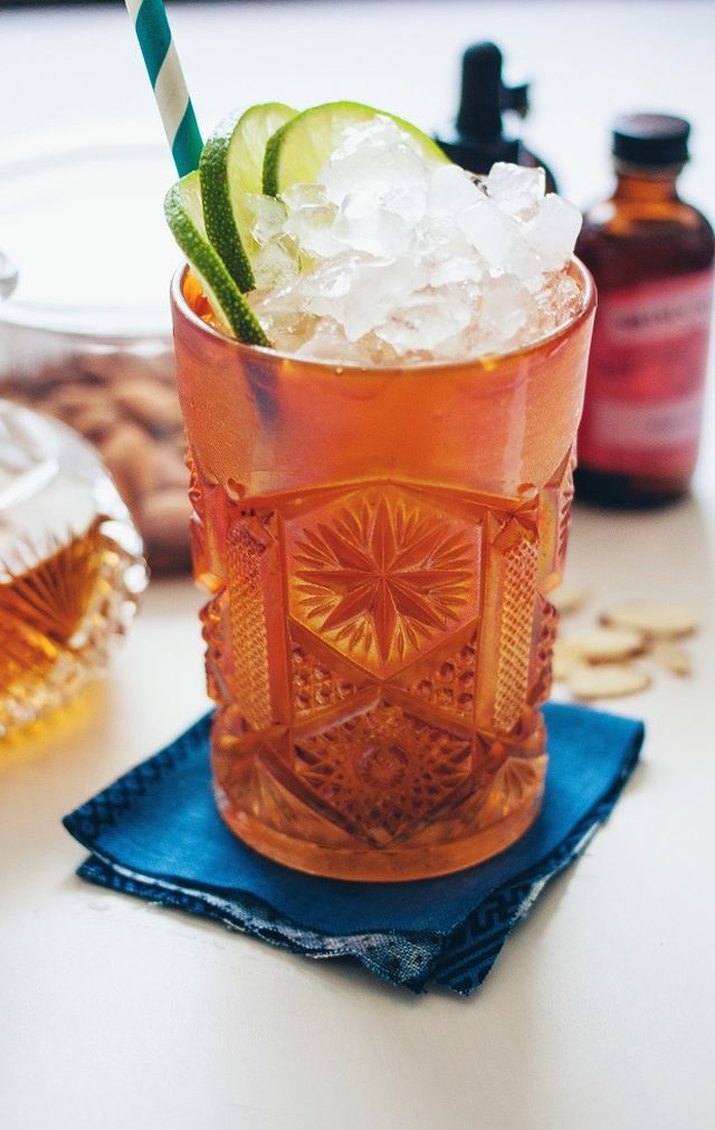 5 of 11
Mix Hand-Crafted Mai Tais for Game Night
Inviting your neighbors over for a game night is a no-fuss way to get to know them better and establish yourself as the MVN: Most Valuable Neighbor. Serve these craft Mai Tais with Hawaiian-inspired fare just before breaking out Yahtzee or Clue, and everyone will feel like a winner.
Raul Zelaya 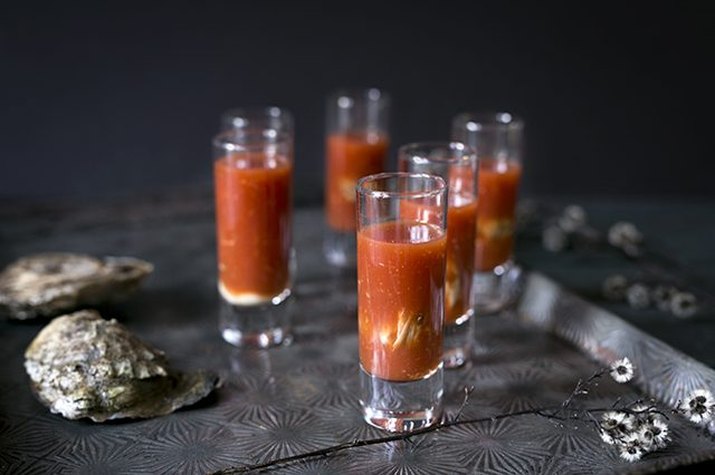 6 of 11
Eat Brunch for Dinner with Bloody Mary Oyster Shooters
Just because the sun has set doesn't mean that you can't serve brunch fare at your next dinner party. Try making these Bloody Mary oyster shooters to complement a seafood platter. Once you post a photo of these shooters on your Instagram, all of your followers will experience some serious FOMO.
Jennifer Farley  7 of 11
Clink Classic French 75 Cocktails on New Year’s Eve
Lemon + gin + champagne = the secret to a smashing New Year's Eve dinner party. This bubbly cocktail combination, known as the French 75, will pair perfectly with decadent hors d'oeuvres and a juicy prime rib just before midnight.
Shaina Olmanson 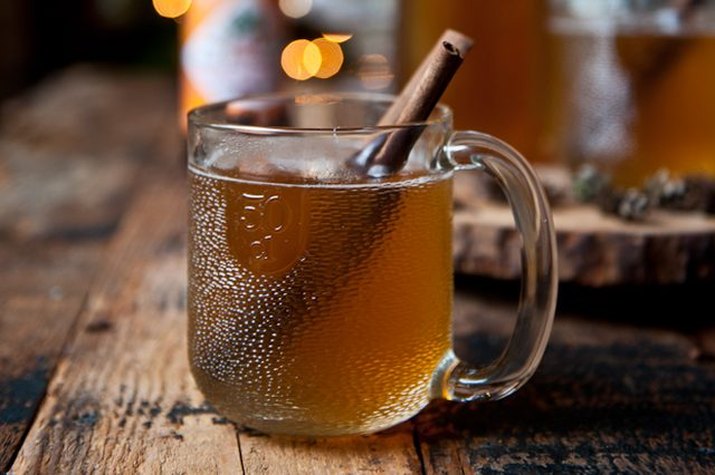 8 of 11
Have Hot Cider at Your Holiday Soirée
The holiday months are prime time for dinner parties. You'll be ready for both the company and the hosting, inviting your guests in from the cold for a hot cider made from ale and spices. Try serving this drink with a hearty casserole, and your guests will feel cozy and warm.
Jackie Dodd 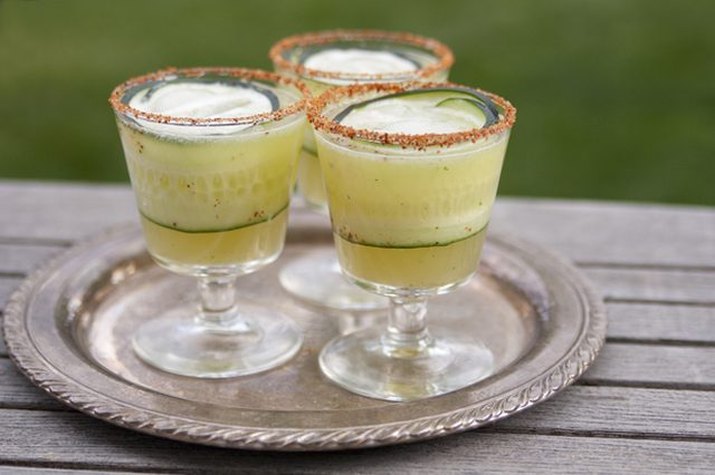 9 of 11
Drink Unique Margaritas at Girls’ Night
You're hosting dinner for your #squad at your house, so you know what that means — margaritas are a must. Mix up some cucumber-mint grapefruit margaritas for the fiesta, and don't forget to whip up tacos and extra guac.
Yvette Marquez 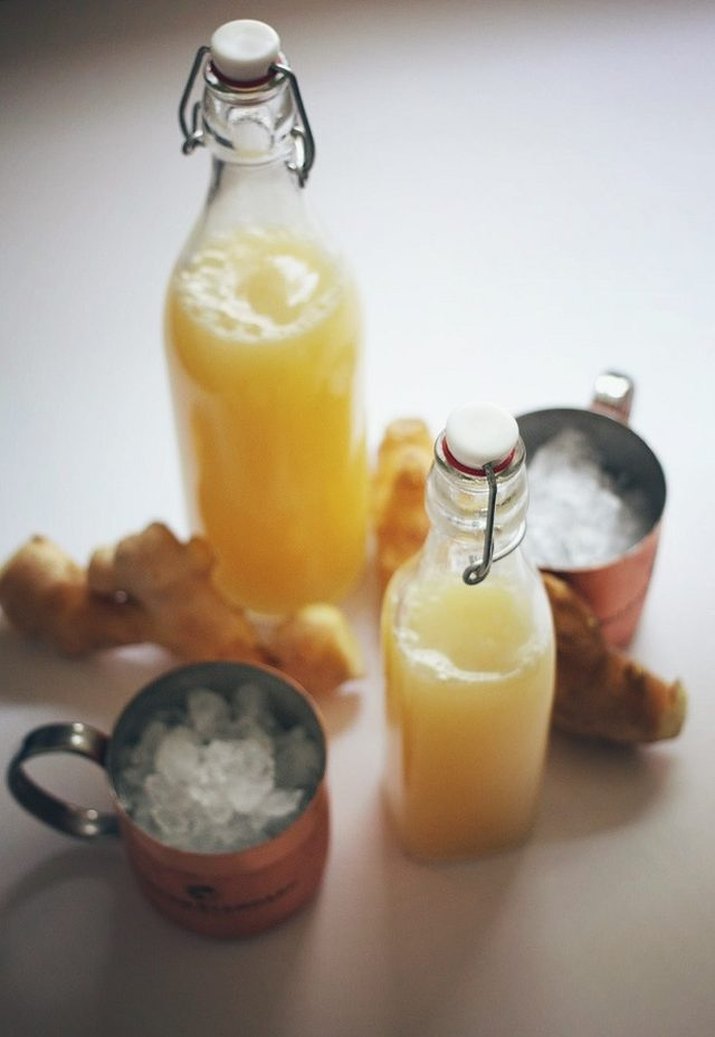 10 of 11
Make Ginger Beer for a Barbecue
If your dinner party guests want to skip the alcohol, no worries — you can still serve a delicious beverage that makes barbecued dishes taste even better. Stir up lemon, ginger and mineral water for a non-alcoholic ginger beer that will keep your drink situation on lock. Pro tip: for the guests that do want a little booze, use the ginger beer to make a Moscow Mule.
Raul Zelaya  11 of 11
Put Together a Family Movie Night with Old Fashioneds
You're ready to spend some time with family by watching beloved movies, and you need a cocktail that is as classic as the chosen films' characters. After a big steak dinner, serve old fashioneds with popcorn and press play.
Kristan Raines
 Instant coffee is a quick way get your coffee fix.


")