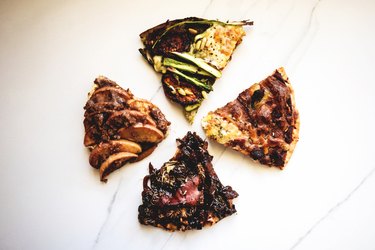
Pizza, an all-time classic food loved by everyone, is delicious, addictive and perfect to share at any time of the day. To make it for breakfast (yes, breakfast) all you need are a few ingredients to make fast, simple and comforting pizzas. Learn how by following one (or all) of the easily customizable recipes below!

Video of the Day
Bacon, Egg and Cheddar Pizza
-
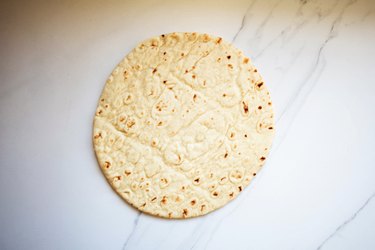
9 inch (23 centimeter) pre-made pizza, flatbread or pita base
-
2 tablespoons olive oil
-
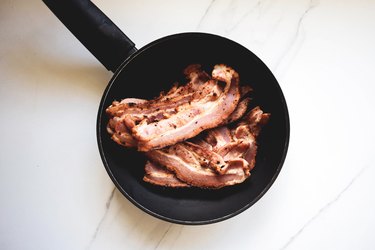
5 pieces of bacon, in rashers or chopped into pieces
-
1 cup pizza sauce
-
1/2 cup baby spinach
-
1 cup cheddar cheese, grated
-
1 large egg
-
1 tablespoon rosemary, chopped
-
Salt and pepper
Pre-heat the oven to 180 Celsius / 360 Fahrenheit. Place the pizza base on a pizza stone or a baking tray lined with parchment paper. Set aside.
Heat a small frying pan with the olive oil and add the bacon. Cook until the bacon is just beginning to brown. Remove from the heat and set aside.
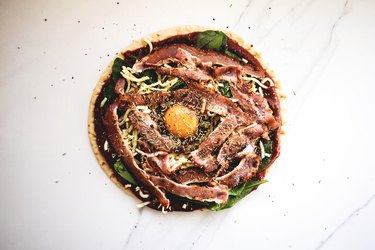
Spread the pizza base with the pizza sauce.

Sprinkle over half the cheese followed by the spinach and bacon. Make an indent in the middle of the pizza and crack an egg into it, and then sprinkle over the remaining cheese and rosemary. Season with salt and pepper.
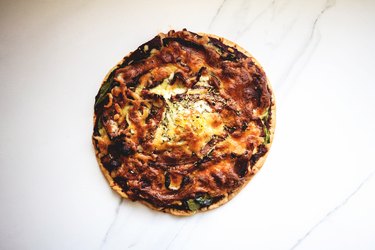
Bake the pizza for 15 to 20 minutes or until the bacon and cheese have browned, the base is crisp and the egg has just set. Remove from the oven and let cool slightly before slicing and serving.
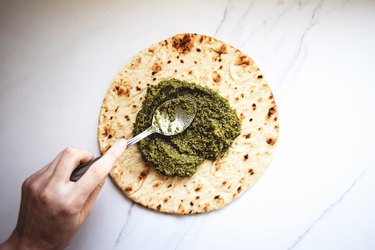
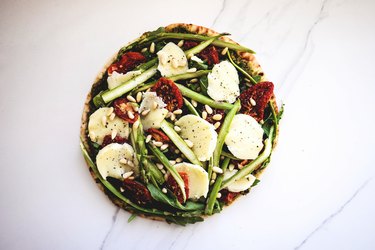
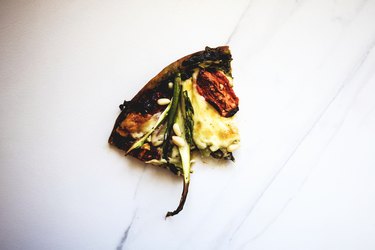
Asparagus, Sun-dried Tomato, Pesto and Arugula Pizza
-
3/4 cup pesto sauce
-
1 cup arugula
-
1 bunch asparagus, shaved
-
1/2 cup sun-dried tomatoes
-
1 mozzarella ball
-
1/4 cup pine nuts
-
Salt and pepper
Pre-heat the oven to 180 Celsius / 360 Fahrenheit. Place the pizza base on a pizza stone or a baking tray lined with parchment paper. Spread the pizza base with the pesto sauce.
Sprinkle over the arugula, followed by the asparagus and sun-dried tomatoes. Roughly tear up the mozzarella and sprinkle it over the toppings. Sprinkle over the pine nuts and season with salt and pepper.
Bake the pizza for 15 to 20 minutes or until the cheese is melted, gooey and the base is crisp.
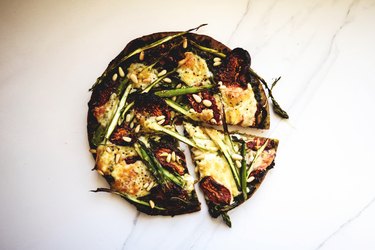
Remove from the oven and let cool slightly before slicing and serving.
Balsamic Caramelized Onion, Prosciutto, Spinach and Parmesan Pizza
-
3 tablespoons olive oil
-
1 onion, thinly sliced
-
2 tablespoons light brown sugar
-
2 tablespoons balsamic vinegar, plus more for finishing
-
1 cup pizza sauce
-
1 cup baby spinach
-
4 prosciutto rashers
-
1 cup Parmesan, shaved or shredded
-
1/4 cup basil leaves
-
Salt and pepper
Pre-heat the oven to 180 Celsius / 360 Fahrenheit. Place the pizza base on a pizza stone or a baking tray lined with parchment paper. Set aside.
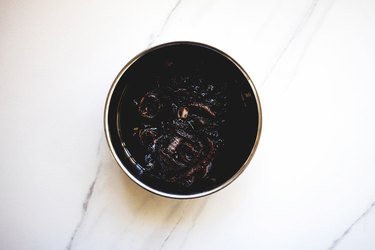
In a medium sized saucepan set over medium-low heat, heat the olive oil and onions. Cook until the onions have softened, about 8 minutes. Lower the heat and add the sugar and balsamic vinegar. Continue to cook for another 5 minutes, stirring occasionally until the onions are sticky, very soft and caramelized. Remove from the heat and set aside.
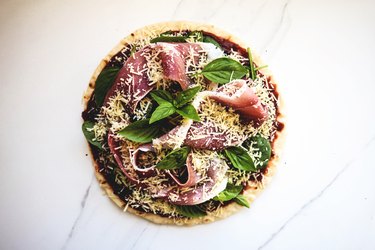
Spread the pizza base with the pizza sauce. Sprinkle over the spinach, followed by the caramelized onions and prosciutto. Sprinkle over the shaved Parmesan and basil leaves then generously season with salt and pepper.
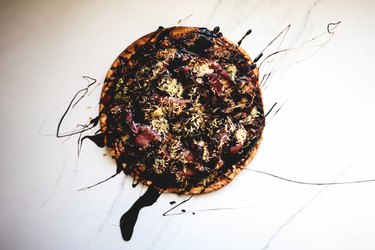
Bake the pizza for 15 to 20 minutes or until the cheese is melted, the base is crisp and the toppings are beginning to turn golden brown. Remove from the oven and drizzle with extra balsamic vinegar, if desired. Let cool slightly before slicing and serving.
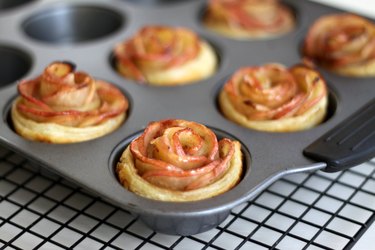
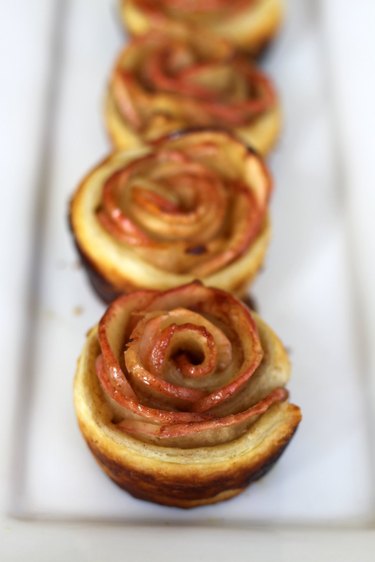
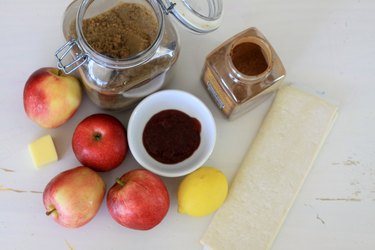
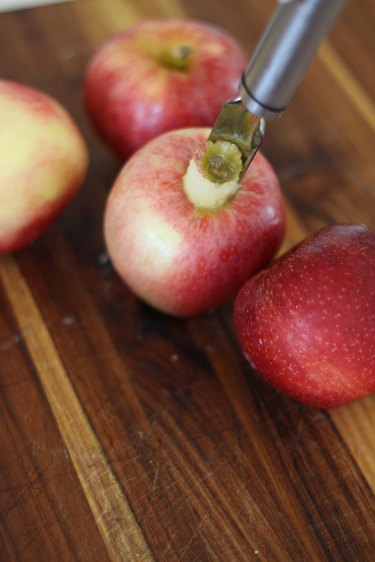
Caramel Apple Pie Pizza
-
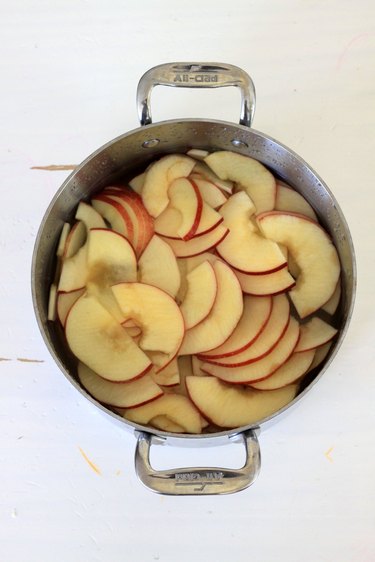
4 red apples, thinly sliced
-
2 tablespoons lemon juice
-
4 tablespoons plus 1 teaspoon ground cinnamon
-
3/4 cup light brown sugar, divided
-
1 cinnamon stick
-
1/2 cup plain flour
-
1/4 cup unsalted butter, melted
-
3/4 cup mascarpone cheese
-
1 cup confectioners' sugar, sifted
-
2 tablespoons milk
Pre-heat the oven to 205 Celsius / 400 Fahrenheit. Line a baking sheet with parchment paper and set aside.
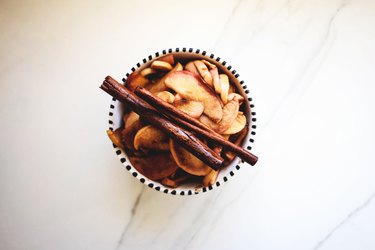
Arrange the apples on the baking sheet and toss with the lemon, 2 tablespoons of the cinnamon, 1/4 cup of the brown sugar and cinnamon stick. Roast for 15 to 20 minutes or until the apples are soft and fragrant. Set aside to cool.
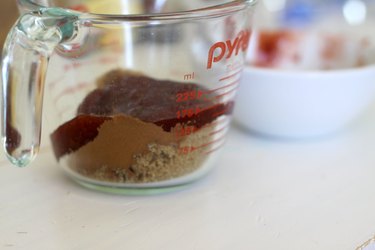
Meanwhile, make the cinnamon streusel. In a small bowl, combine the remaining light brown sugar, 2 tablespoons of the cinnamon and flour. Add in the melted butter and mix until the mixture is crumbly.
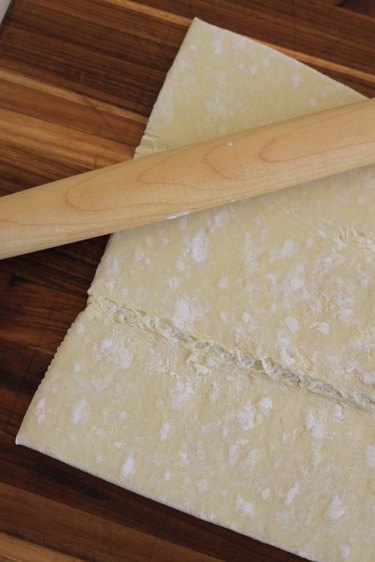
Lower the oven temperature to 180 Celsius / 360 Fahrenheit. Place the pizza base on a pizza stone or a baking tray lined with parchment paper.
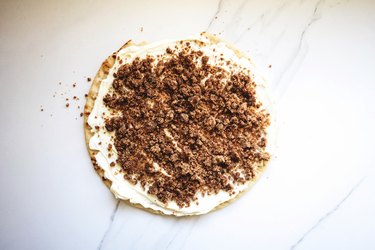
Spread the base with the mascarpone cheese. Sprinkle over half the cinnamon streusel.
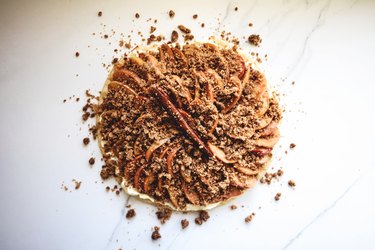
Layer over the roasted apples then top with the remaining streusel and cinnamon stick. Bake the pizza for 15 to 20 minutes or until the base is crisp, edges are brown and the topping is fragrant and bubbly.
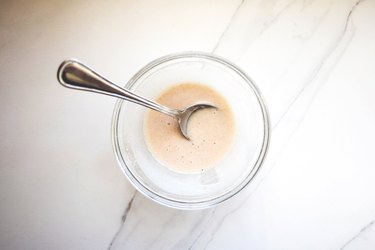
Meanwhile, prepare the glaze by whisking together the confectioners' sugar, 1 teaspoon of the cinnamon and milk. Whisk until smooth and thin enough to drizzle.
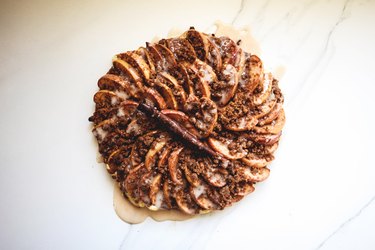
Remove the pizza from the oven and drizzle over the glaze. Let cool slightly before slicing and serving.
Storage Tips
Each of the pizzas are best eaten warm, the day of making, but can be kept stored in an airtight container in the fridge for up to 2 days. You can then re-heat the pizzas in the microwave or oven before eating.


 Delish lemonade.
  Tequila and lime.
  Now to sit and relax..


 2 of 8
  3 of 8
  4 of 8
  5 of 8
  6 of 8
  7 of 8
  8 of 8