When you just killed it at the gym (or at home, or on the track…) you deserve to eat. But not all post-workout meals are created equal. The best options contain plenty of protein, which supplies the amino acids you need to repair and rebuild those tired muscles, along with carbohydrates to replenish your glycogen stores so that your muscles won't feel too fatigued tomorrow.
These seven snack (and meal) ideas fit the bill perfectly, so they're all great options to help make tomorrow's workout as good as today's.

1. Chocolate Milk
A post-workout meal doesn't have to be complicated — if you're in a pinch, pouring yourself a glass of chocolate milk will do. Milk supplies complete protein (meaning you'll get all the amino acids needed for muscle repair) and has natural sugar which your body can use to replenish your glycogen levels. And because liquids digest so quickly, you'll get that boost of energy ASAP.
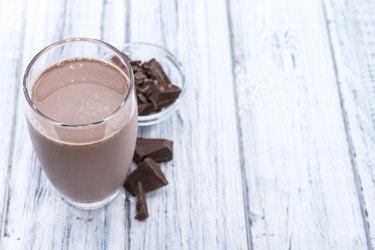
If you're limiting your added sugar intake, opt for reduced-sugar chocolate milk. For a fun twist, turn your chocolate milk into a delicious slushy.
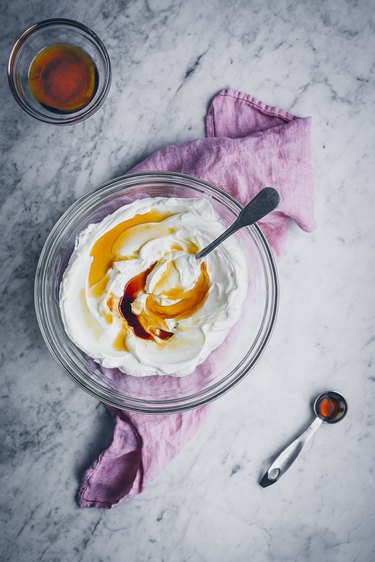
2. Greek Yogurt Parfait
If you're more in the mood for a sit-down snack, refuel after a tough workout with a DIY Greek yogurt parfait. Greek yogurt has almost double the protein of regular yogurt and, like milk, it's a complete protein that has everything you need for muscle repair. Fruit adds healthy natural sugar, without the need for added sweetener, and a spoonful of granola on top adds complex carbohydrates for longer-lasting energy.
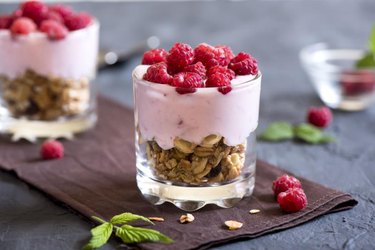
Store-bought granolas are often loaded with added sugar and preservatives, so your best bet is to make your own granola at home. Use this recipe — it's full of heart-healthy ingredients to supplement the cardiovascular benefits of your workout. Also, try your hand at making your very own Greek yogurt at home. It's easier than you think!
3. Cottage Cheese Tuna Melt
An intense workout is the perfect excuse to enjoy some crispy, cheesy comfort food — and, thankfully, a cheesy tuna melt is actually great for post-workout recovery as well! On top of offering loads of protein, tuna supplies omega-3 fatty acids, healthy fats that might actually help reduce muscle soreness after a workout. Serving your tuna melt on whole-grain toast means you'll get high-quality carbs and fiber, which will both refuel your muscles and keep you full until your next meal.
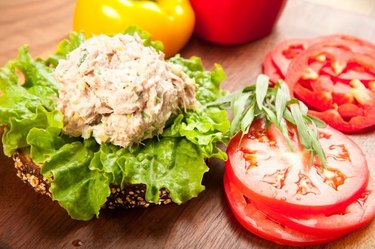
Make your toast by modifying this recipe to use cottage cheese in place of mayo. If you want a little extra nutrition, serve your toast garnished with microgreens for a vitamin boost.
4. Protein Muffins
Coffee shop muffins might look ultra-tantalizing when you're hungry after a workout, but they're typically full of processed sugar and low in essential protein. Instead, whip up your own high-protein versions at home to enjoy after your workouts. We recommend these sweet potato muffins, which get their healthy carbs from sweet potato and oatmeal, plus muscle-building protein from Greek yogurt and protein powder.
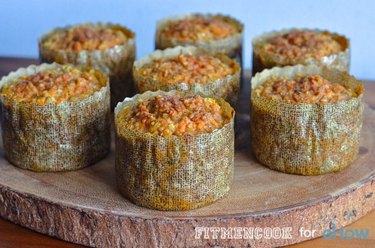
These muffins have 270 calories per serving, and you can modify the recipe if you need more calories after the gym. Try adding chopped walnuts or pecans, or shredded unsweetened coconut for more calories, protein and healthy fats.
5. Apples with Almond Butter
Apple slices drizzled with almond butter is a classic for a reason — the almond butter supplies lots of high-quality protein and fat, while apples add natural sugar, antioxidants and lots of dietary fiber.
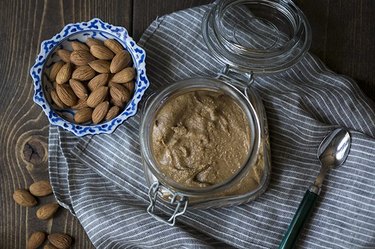
The best way to serve this is using your own homemade almond butter, so you can ensure you're not getting a lot of added salt or sugar. Try our almond butter recipe, and feel free to modify it to your tastes — try adding cacao, cinnamon, chai spice mix or even a little coconut to add extra flavor!
6. A High-Protein Smoothie Bowl
That juice bar at your gym might be convenient, but chances are the smoothies there are packed with sugar — and, since some juice bar smoothies top out at 1,200 calories or more, you may end up eating way more than you burned during your workout. Instead, serve up a smoothie bowl at home, piled high with nutrient-dense toppings.
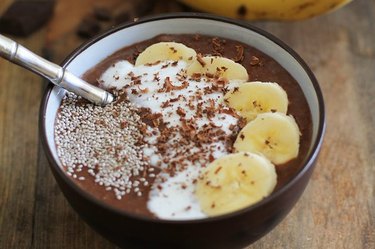
Modify one of these recipes to include a scoop of your favorite protein powder. And feel free to add a drizzle of walnut butter or a spoonful of chia seeds — both supply omega-3 fatty acids to help stave off soreness tomorrow (because you don't need to feel like it's the day after leg day, right?)
7. Baked Eggs
If you have a little time to devote to cooking after your workout, whipping up some baked eggs in tomatoes is a great way to recover. Eggs supply complete protein that's also incredibly easily digested, so you can get those amino acids to your muscles ASAP to stimulate recovery. Eggs also contain iron — a nutrient that helps carry energizing oxygen to your muscles — while the tomatoes add vitamin C to keep your muscles and connective tissues strong. Cheddar adds satisfying cheesiness (really, we never say no to cheese!) along with even more protein.


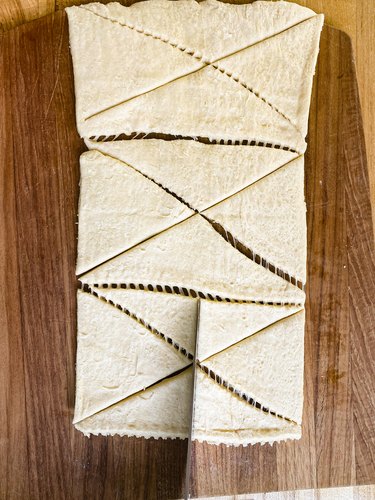


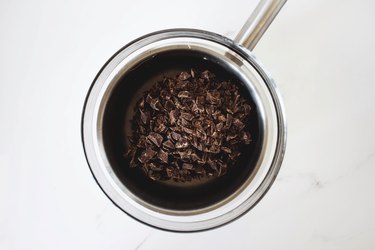
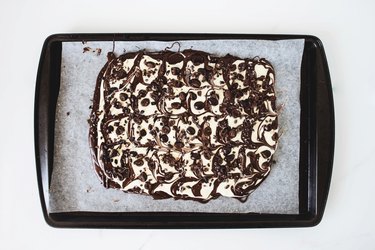
 Step 1
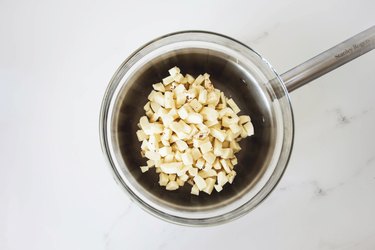
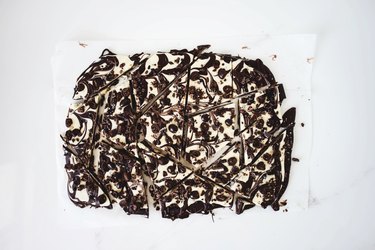
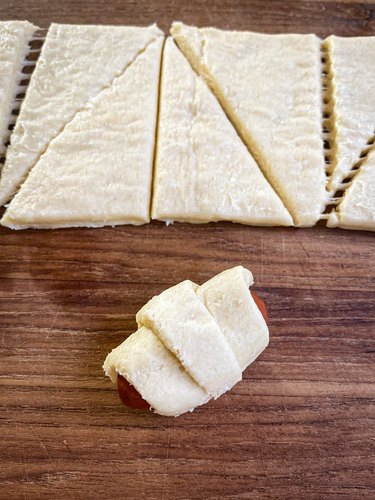
 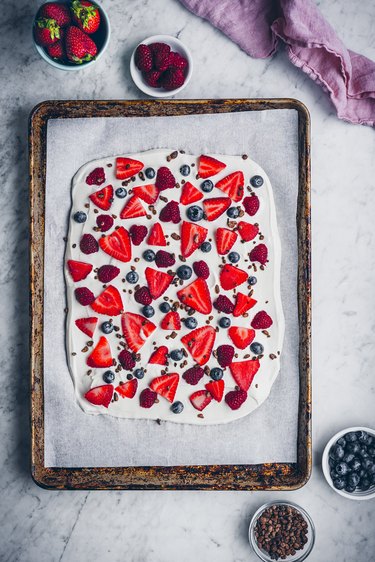 Step 2
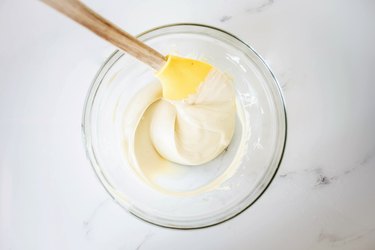
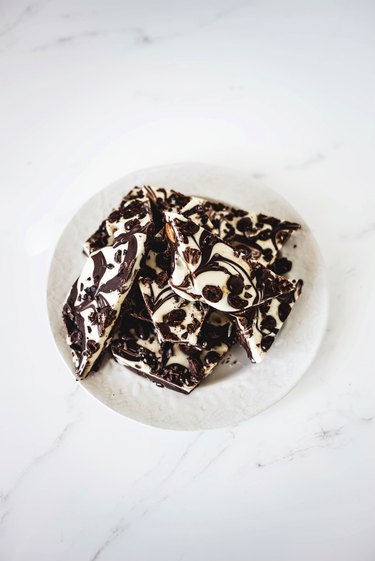
 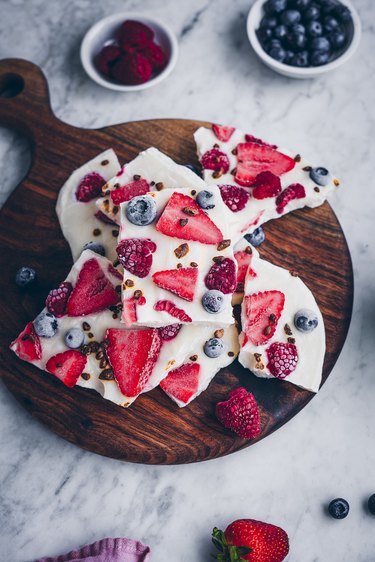 Step 3