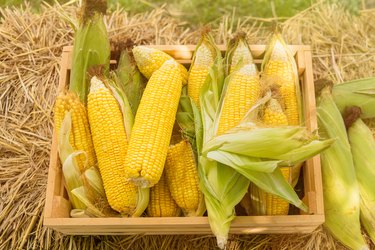
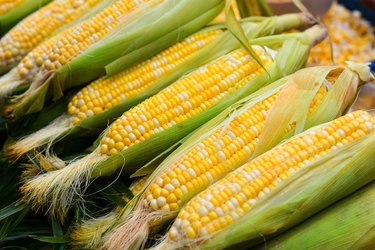
There's a lot to like about summer, from the outdoor fun to the long, warm evenings. One of the very best things is the arrival of fresh, seasonal produce, whether it's from your own backyard garden or the farmers' market up the road. Sweet corn is one of those seasonal summer favorites, and for a lot of us, it just doesn't feel like summer until we bite into a cob of fresh corn slathered with butter. Here are 10 of our favorite ways to maximize the eating and minimize the prep.
Video of the Day
1. Corn for One? Use Your Microwave
The most common way to prepare corn on the cob is by boiling it, but that's a lot of fuss when you just want to cook a single cob for yourself. When those moments roll around, turn to your microwave instead of pulling out a pot. Place the whole cob inside your microwave shuck and all and cook it on high for four minutes or longer if you have a low-powered microwave. Once it's done, use an oven mitt to remove it. Chop off the stem end of the cob with a sturdy knife and then squeeze the corn from its husk. It will come away cleanly, leaving the husk (and the troublesome silk) behind.
 A microwaved cob will slide neatly out of its husk. Image Credit: Poh Kim Yeoh / EyeEm/EyeEm/GettyImages
2. Brush Away That Silk
Corn isn't hard to cook, but it does require some work. First, you need to shuck the husks and perhaps trim the stem so it will fit into your pot, and then there's the silk. The silk may be the most time-consuming part of the whole process, clinging to the tip of each ear with stubborn persistence. If you keep a small brush on hand for cleaning vegetables before they're cooked, that's the easy answer to silk removal. Just hold the ear under running water and brush between the rows of kernels to dislodge the silk. The flowing water will wash away the strands, leaving a neatly cleaned ear.
 The same brush you use to clean your fresh veggies will strip the silk from your corn. Image Credit: Catherine McQueen/Moment/GettyImages
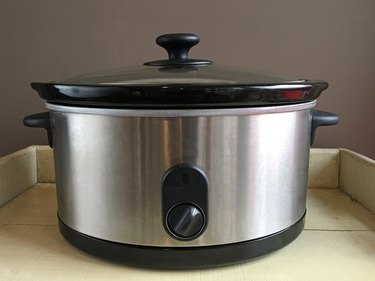
3. Use Your Slow Cooker
If you find that the midsummer weather already skews too much toward heat and humidity, having a big pot boiling away on your stove top might not sound appealing. Standing over that pot while it boils probably sounds even worse. If you have a slow cooker, it's a great hands-off alternative to heating up your kitchen. Just load up the cooker with your corn – a standard 6-quart model will hold six to eight ears – add 1/4 cup of water and cook it on high for 2 1/2 to 3 hours. Once it's done, you can use the cooker to keep it warm or apply butter and serve it right away.
 Slow cookers provide an easy, hands-off prep method. Image Credit: Rafael Ben-Ari/Photodisc/GettyImages
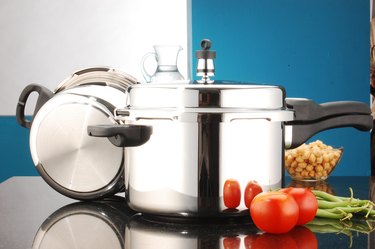
4. Use Your Pressure Cooker
A faster alternative to the traditional pot of boiling water is your pressure cooker. Put the trivet (wire rack) into the bottom of your cooker and stack the ears at right angles like firewood: two on the bottom and two crosswise on top in a small model or three and three in a larger pot. Pour a cup of water into the cooker and lock the lid in place. Set it to high if you're using an electronic model or bring it up to pressure if you're using a stove top pressure cooker. Cook under pressure for two minutes and then use the quick-release valve to rapidly depressurize and stop cooking.
 Your pressure cooker provides a fast, convenient way to cook corn. Image Credit: Rithwik photography/Moment/GettyImages
5. Keep Corn Hot in a Cooler
Picnic coolers are wonderfully versatile. Their normal use (as the name suggests) is for keeping things cool, but they're just as adept at keeping things hot. That's good to know if you're going to prepare corn for a crowd. Instead of steaming out the house while guests are there or dragging your pot to someone else's house, use your cooler to keep the corn warm until it's needed. Cook the corn using your favorite method, wrap each ear in foil and drop them into the cooler. Top them with microwaveable heating packs – the kind you use for sore muscles – and a blanket if necessary to take up the remaining space. They'll stay hot for a surprisingly long time.
 Whether you\’re tailgating or having a backyard celebration, coolers are paradoxically great for keeping corn hot. Image Credit: Douglas Sacha/Moment/GettyImages
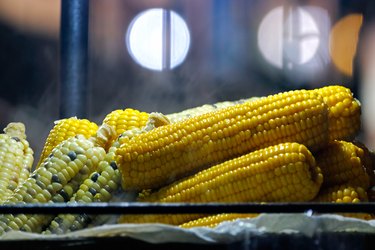
6. Cook Corn in a Picnic Cooler
If you have a large family or an active social life, there's a strong possibility that one day, you'll find yourself cooking corn for way too many people. There are a few ways to approach this – buy a bigger pot, bake them in the oven, grill them endlessly – but none of those is a really appealing option. The best hack for cooking corn in volume uses a picnic cooler. The technique is pretty simple: Shuck and clean the ears, load up your cooler and pour in enough boiling water to cover the corn. Close the lid, wait a half hour and you're ready to serve!
 When you need to cook corn in bulk, a picnic cooler can be your best friend. Image Credit: Mohd Azri Suratmin / EyeEm/EyeEm/GettyImages
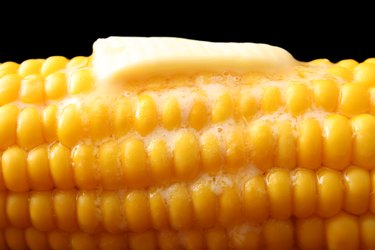
7. Buttering Corn for a Crowd
One of the best things about fresh, tasty corn is how well it goes with butter. Managing the butter supply is easy when you're only cooking for one or two, but the logistics get complicated when you're cooking lots of corn. Sure, you can set out butter dishes or put a pat of butter with each plate, but that's time-consuming. A better option is to simply melt a few sticks of butter into your pot or your picnic cooler if you're using that method. The melted butter floats on top of the water, so as you pull out each ear, it butters itself easily and thoroughly.
 Buttering corn can be a logistical challenge when you\’re cooking a lot. Image Credit: FotografiaBasica/E+/GettyImages
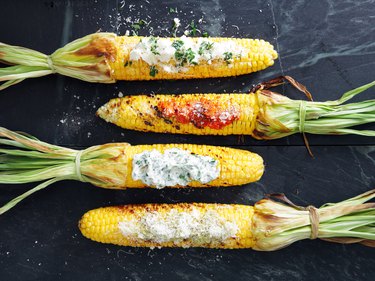
8. Spice Things Up
Corn is perfectly delicious with just a smear of butter and a generous pinch of salt and pepper, but that doesn't mean you should stop there. Its fresh sweetness goes with lots of other flavors, so give your guests some options. Knead fresh garden herbs or ground spices into plain butter and then melt the seasoned butter on your corn. It tastes great, and it's a fine way to preserve herbs from your garden for later use. You can also make up dips with varying flavor profiles – Thai, for example, or Mexican elote style – to spread or squirt on your ears to broaden the available options. The possibilities are endless!
 Plain butter is good, but flavored butters and spicy dips take corn to a different level. Image Credit: Eugene Mymrin/Moment/GettyImages
9. Freeze Your Leftovers for Later
Although it may seem endless while it's happening, especially if you were overzealous when you planted your garden, corn's peak season doesn't last all that long. If you've bought too much, it makes sense to cook it and freeze any excess so you can enjoy a taste of summer later in the year. Cook the corn as you normally would or perhaps a bit less to allow for reheating. Once it's cool enough to handle, cut the kernels from the cob and spread them in a single layer on a sheet pan. Freeze the corn and then bag it once frozen so the kernels won't make a solid lump. When you want some, open the bag, pour out a meal's worth and reseal the bag.
 Cook lots of corn while it\’s fresh and then freeze it to enjoy months later. Image Credit: Rapeepong Puttakumwong/Moment/GettyImages
10. Use the Bundt Pan Trick
Cutting away the kernels for freezing or for "corn off the cob" is usually a messy and clumsy process. You can simplify that task if you have a Bundt pan or angel food cake pan. When you have corn to cut, stand up your ear with its tip resting in the tube in the middle of the pan. The tube holds the ear in place, and the round pan itself captures the kernels as they fall (and wherever they fall). If you don't have a Bundt pan, you can improvise a substitute by turning a small mixing bowl or ramekin upside down inside a larger mixing bowl.
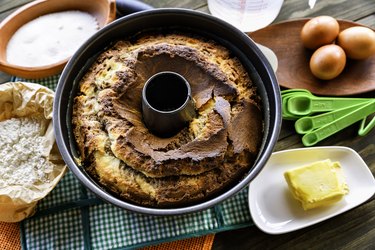 Your favorite Bundt pan is a great corn-cutting tool. Image Credit: apomares/E+/GettyImages


 cooked and drained pasta
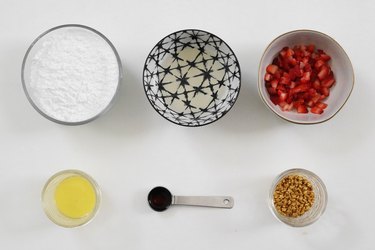
  Prepping ingredients
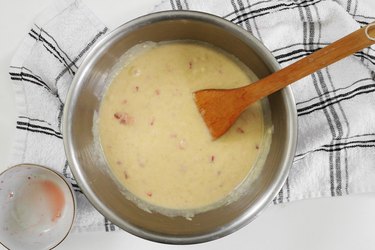
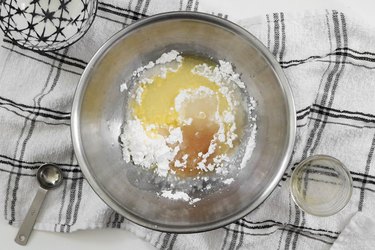
  Mixing ingredients
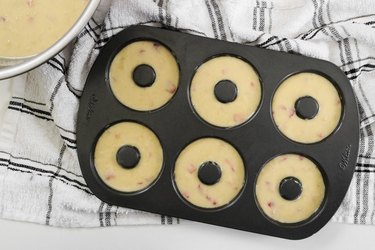
  Finished dish
 Supplies
 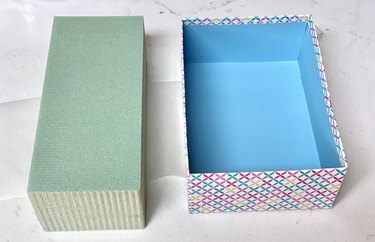 Supplies
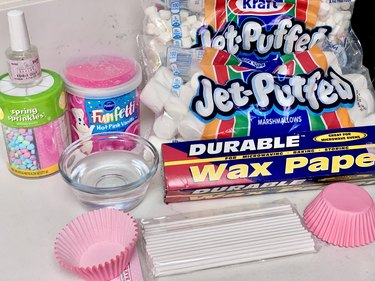
 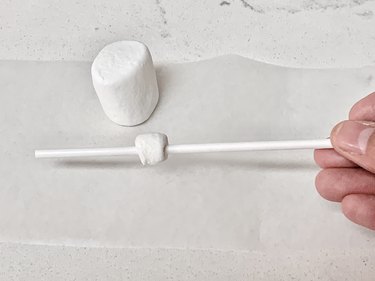 DIY Marshmallow Tutu Treat Pops
 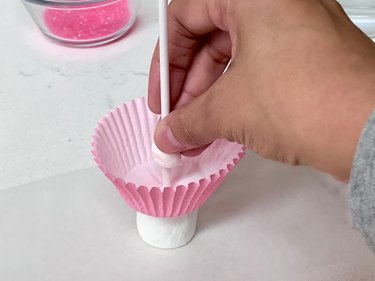 DIY Marshmallow Tutu Treat Pops
 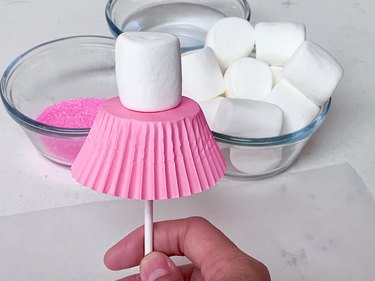 DIY Marshmallow Tutu Treat Pops
  DIY Marshmallow Tutu Treat Pops
 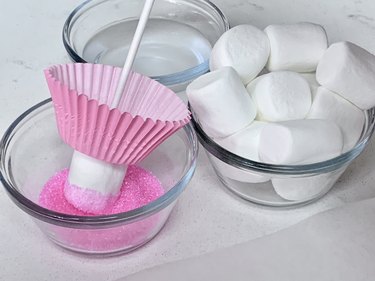 DIY Marshmallow Tutu Treat Pops
 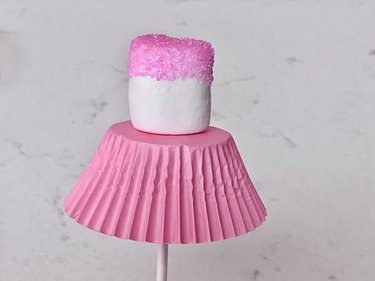 DIY Marshmallow Tutu Treat Pops
 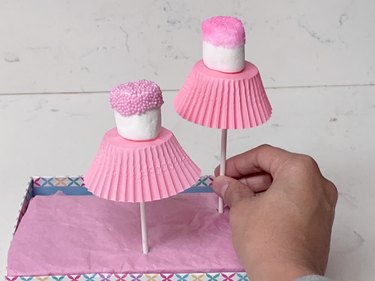 DIY Marshmallow Tutu Treat Pops
  DIY Marshmallow Tutu Treat Pops
  DIY Marshmallow Tutu Treat Pops
  DIY Marshmallow Tutu Treat Pops