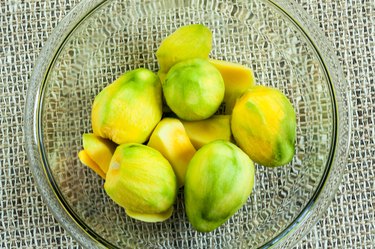
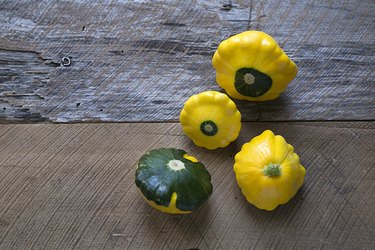
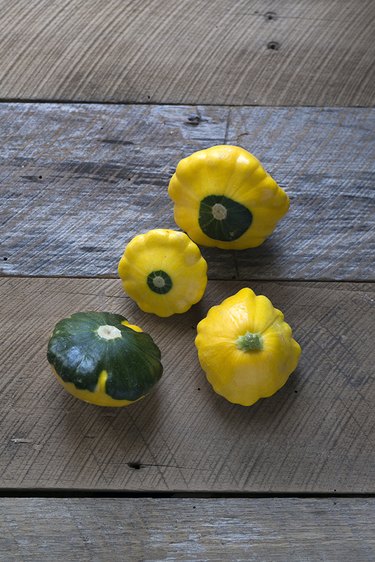
Pattypans are a beautiful variety of summer squash similar in texture and flavor to zucchini. They have a unique rounded shape with scalloped edges, and can be found with yellow, green and/or white skins. As with zucchini, the skins are thin and completely edible, making pattypans a quick and easy side dish option. There are many methods for preparing pattypan squash. Three common methods that will be covered below are roasting, grilling, and sautéing.
Video of the Day
Things You\’ll Need
-
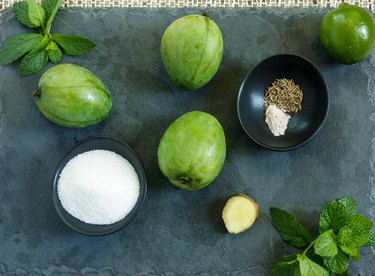
Pattypan squash
-
Extra virgin olive oil
-
Salt and pepper
-
Optional: chopped yellow onions
-
Optional: sliced garlic
-
Optional: chopped fresh basil
-
Chef's knife
-
Cutting board
Tip
Pattypans differ in size, so how many to use per serving will vary. Aim for 1 to 2 per person, or approximately 1 cup diced.
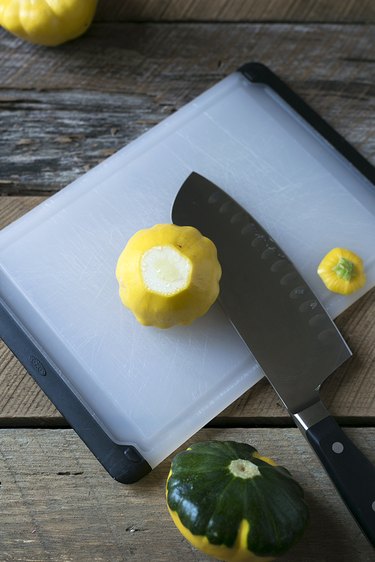
As noted above, pattypans do not need to be peeled. However, the tough ends need to be trimmed. From there, the squash can be sliced in half, quartered, cubed, sliced into rounds, shredded or even served raw (just like any other summer squash).
Roasted Pattypan Squash
Roasted pattypan squash is caramelized on the outside and tender on the inside.
- Preheat an oven to 425 degrees Fahrenheit. Line a baking sheet with aluminum foil.
- Cube the squash, discarding the tough ends, and toss with a thin coating of extra virgin oil (approximately 1 to 2 tablespoons). Optionally, you can add in 1 clove sliced garlic.
- Spread the cubed squash in a single layer on the prepared baking sheet and sprinkle with salt and pepper.
- Roast for approximately 20 minutes, flipping at least once for even browning.
- Allow to cool briefly before serving.
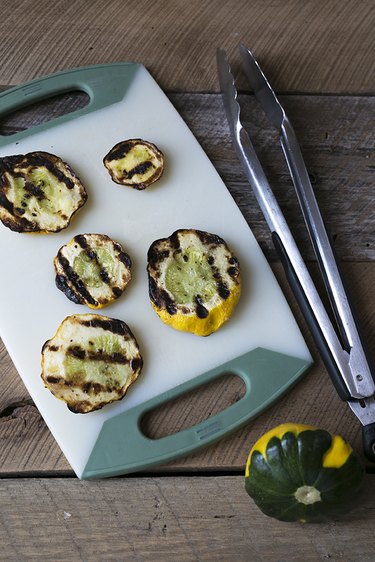
Grilled Pattypan Squash
Grilled pattypan squash comes together in no time and is excellent accompaniment alongside grilled entrees.
- Preheat the grill to medium-high heat for 10 to 15 minutes.
- Slice the squash into rounds approximately 1/2 inch thick, discarding the tough ends. Place in a bowl with extra virgin olive oil (approximately 2 tablespoons) and toss liberally to coat. Lay the squash flat on a cutting board and sprinkle with salt and pepper.
- Grill for 3 to 4 minutes per side, covered, until there are nice grill marks and the squash is tender.
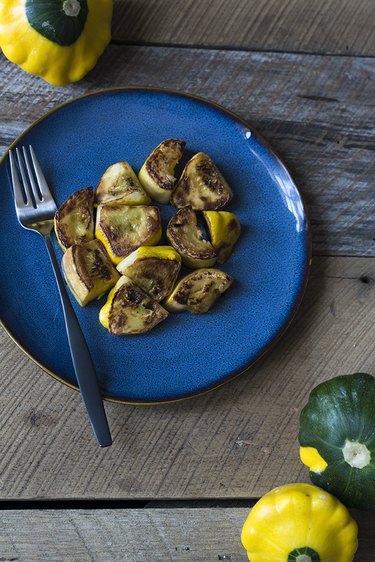
Sautéed Pattypan Squash
Sautéed pattypan squash comes together quickly with minimal effort and delicious results.
- Cube the squash, discarding the tough ends. Optionally, chop some yellow onion to sauté alongside the squash (approximately 1/4 cup onion per 1 cup squash).
- Heat a medium-sized nonstick skillet over medium heat, and add 1 tablespoon olive oil, swirling to coat the pan.
- When the pan is hot, add the squash and onions. Sauté for 4 to 5 minutes, or until the squash has softened and lightly caramelized on the outside.
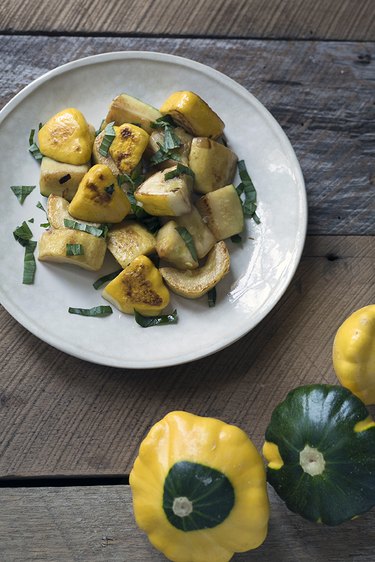
Optional: top with some thinly sliced basil before serving.
Tip
Though not covered in this article, some other excellent methods for preparing pattypan squash are steaming, deep frying, pickling, and stuffing.

 2 of 10
  3 of 10
  4 of 10
  5 of 10
  6 of 10
  7 of 10
  8 of 10
  9 of 10
  10 of 10


 Remove vanilla bean seets
 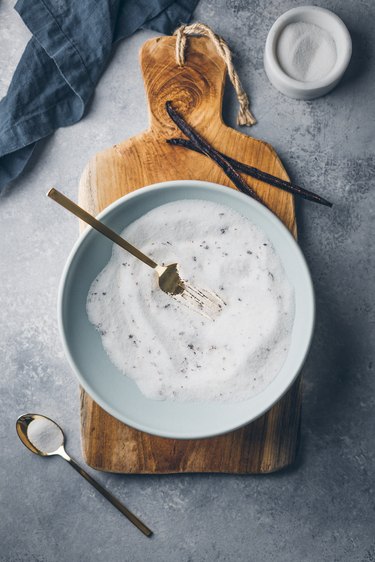 Mixing in vanilla bean
 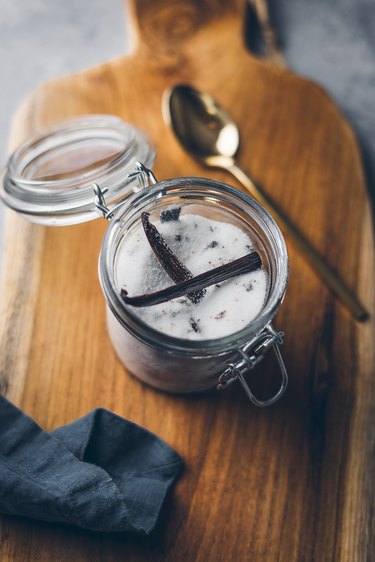 Step 3
 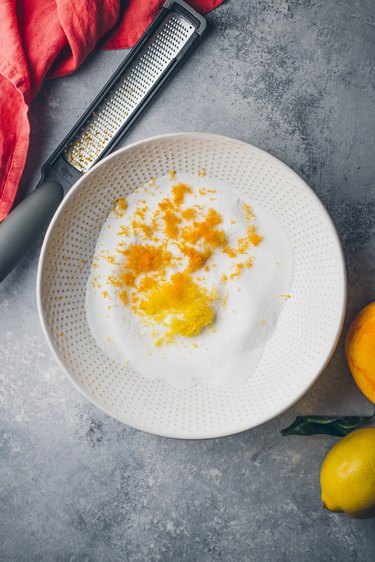 Add citrus zest to sugar
 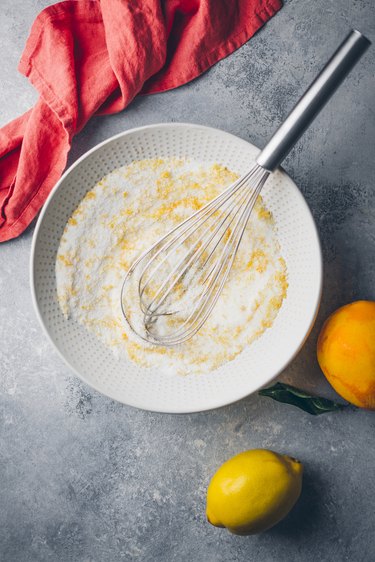 Whisking sugar
  Finished sugar