1 of 16
No one claims her roast chicken was the reason Prince Harry proposed, but Megan Markle was preparing one when he popped the question. And while we can't promise life-changing events from cooking a bird, we can promise that you will enjoy one of the most delicious meals you've ever tasted by following this foolproof one-pot meal of roasted chicken and root vegetables.
Image Credit: Maggie Jones 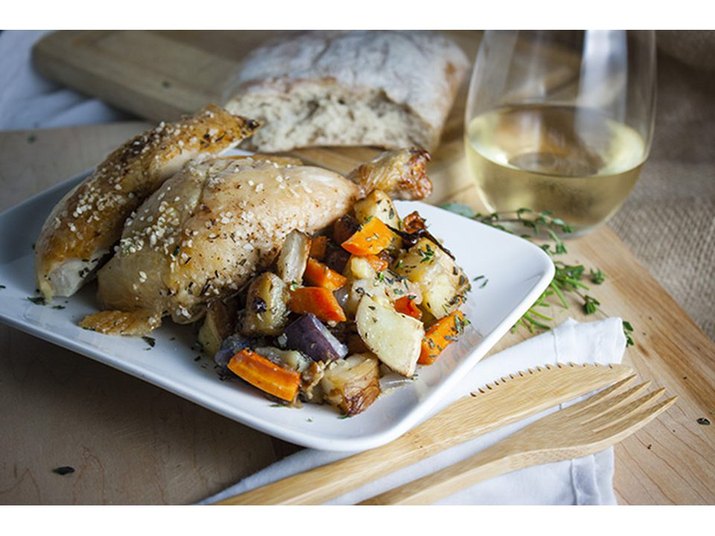 2 of 16
Before You Start: A Few Tips & Tricks
The writer of this recipe, Maggie Jones from Home Sweet Jones, was inspired by inspired by Thomas Keller's recipe for simple roasted chicken in his Ad Hoc at Home cookbook. The trick to this juicy bird is to thoroughly dry the chicken and add as little moisture as possible. Resist the temptation to add oil, butter or vegetables with high water content. When you place the chicken in the hot oven, you can hear the dry skin crackle and imagine it sealing in all the delicious juices. While this dish does require some time and planning, the active time is only about 15 minutes.
Image Credit: Maggie Jones 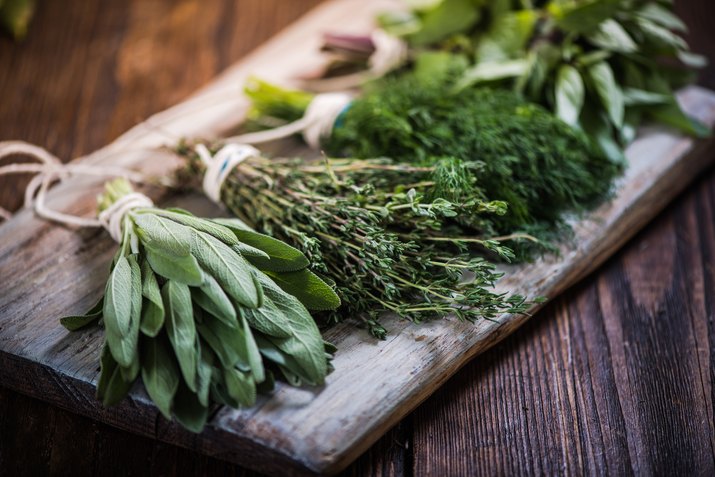 3 of 16
Ingredients & Materials
- 1 whole chicken, about 4 to 4 1/2 pounds
- Coarse kosher salt
- Freshly ground black pepper
- 2 to 3 pounds root vegetables (any combination of potatoes, carrots, turnips, parsnips, onions, shallots)
- 1 head garlic
- 1 handful fresh herbs (I like thyme, rosemary, sage and tarragon)
- Large, oven-safe pan, such as giant skillet, a 9-by-9-inch darkbaking dish, or cast iron braiser
- Trussing string (Tip:The markup on trussing string at grocery and specialty stores is high.Instead, buy string at a hardware store for a fraction of the cost
- Knife and meat thermometer
Image Credit: merc67/iStock/GettyImages 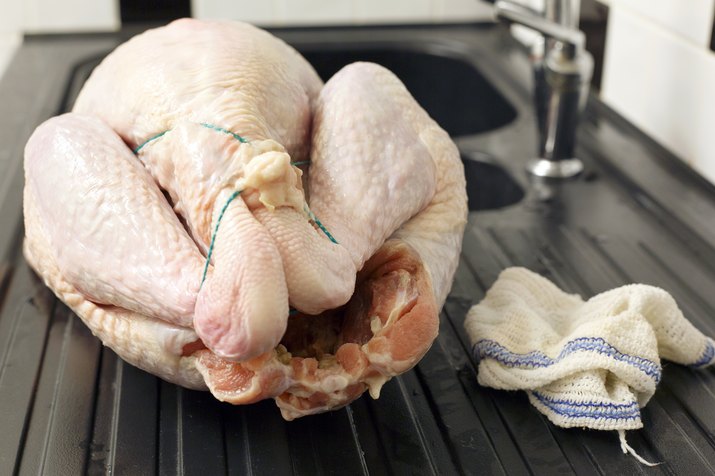 4 of 16
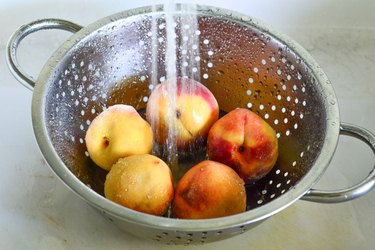
Get Started: Dry the Chicken Overnight
Do this day before if you can remember. Rinse your chicken and, using towels, dry it off as much as possible inside and out. Tip: stuff paper towels inside the cavity, wrap it in more paper towels, and let it sit in the refrigerator overnight. If you forget, simply dry it immediately before starting on the rest of these steps and it's still awesome.
Image Credit: jax10289/iStock/GettyImages 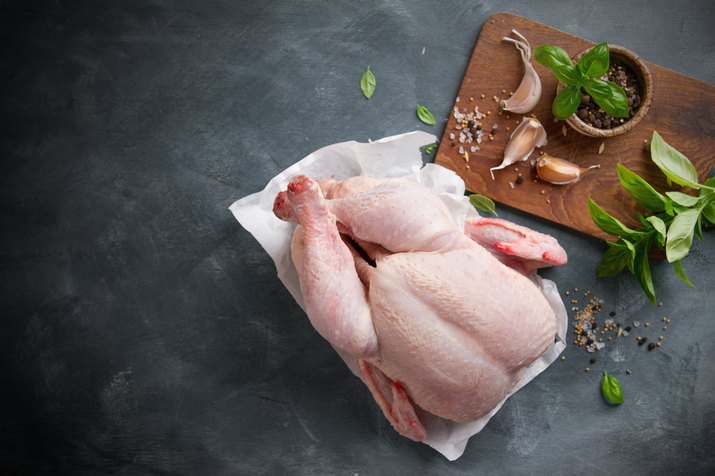 5 of 16
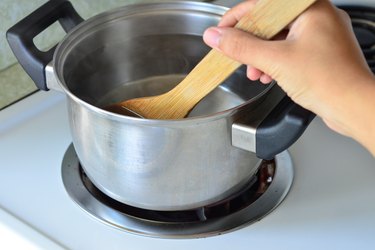
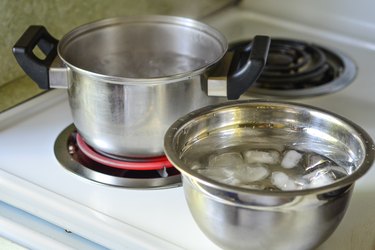
Temper the Chicken
If you have time, it's ideal to let the chicken sit at room temperature for as long as you can, up to 3 hours before you cook it. The goal is to get the chicken to room temperature before cooking so that it cooks evenly.
Image Credit: Wiktory/iStock/GettyImages 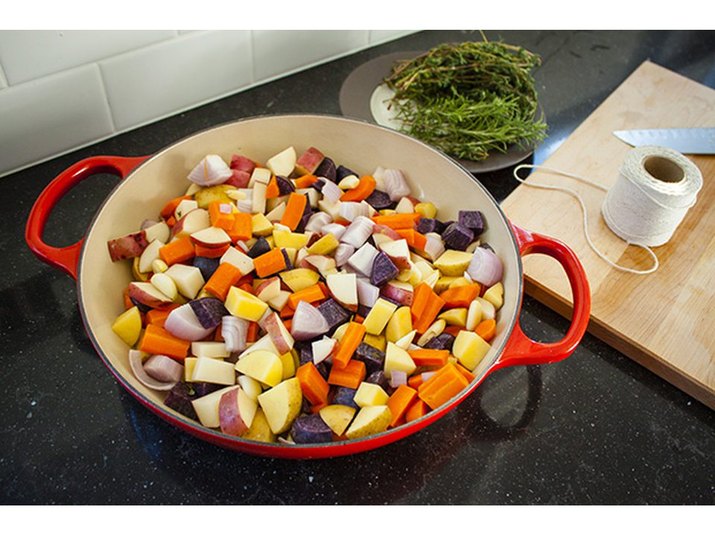 6 of 16
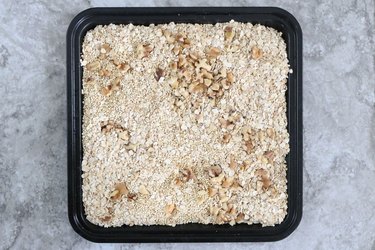
Prepare Your Vegetables
Preheat your oven to 450 degrees Fahrenheit. While your chicken is coming to room temperature, prepare your vegetables. Leave the skin on potatoes but peel any other vegetables. Cut the vegetables into 1-inch-cube dice.
Image Credit: Maggie Jones 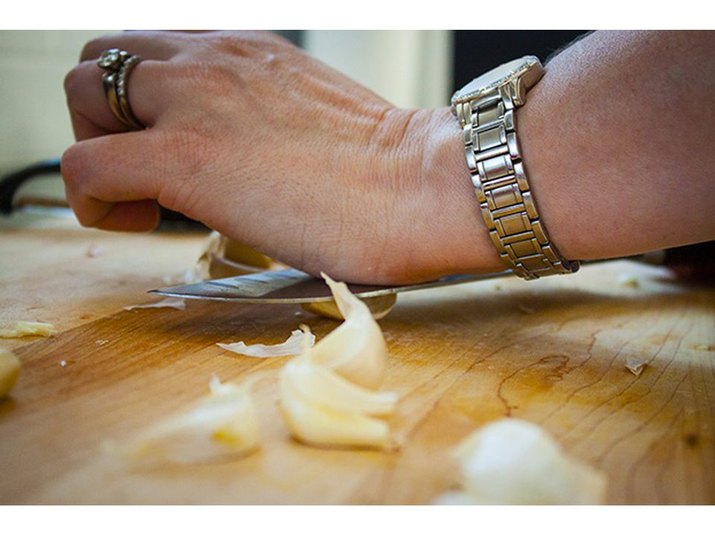 7 of 16
Peel the Garlic
Mix whole, peeled cloves of garlic in with the vegetables. After roasting with the chicken, the cloves lose their pungency and become creamy and sweet. A quick way to remove garlic skins is to cut the root off the head and then gently crack each clove with the flat of a chef's knife (make sure you don't catch yourself on the blade). The skin will fall away so you can easily pluck out the clove and discard the papery skin. It may take some practice to master the exact amount of force but there's no harm in a few crushed cloves.
Image Credit: Maggie Jones 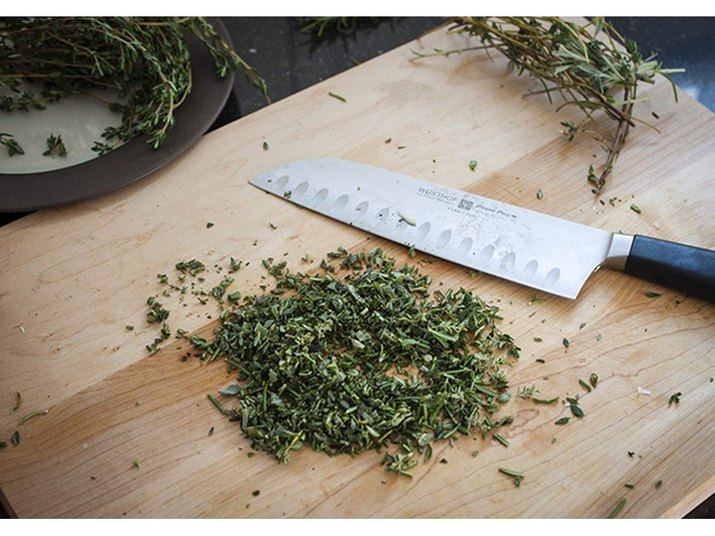 8 of 16
Chop the Herbs
Chop the herbs finely and mix about half of them in with the vegetables. Reserve the stems to stuff in the chicken cavity for zero waste and extra flavor.
Image Credit: Maggie Jones 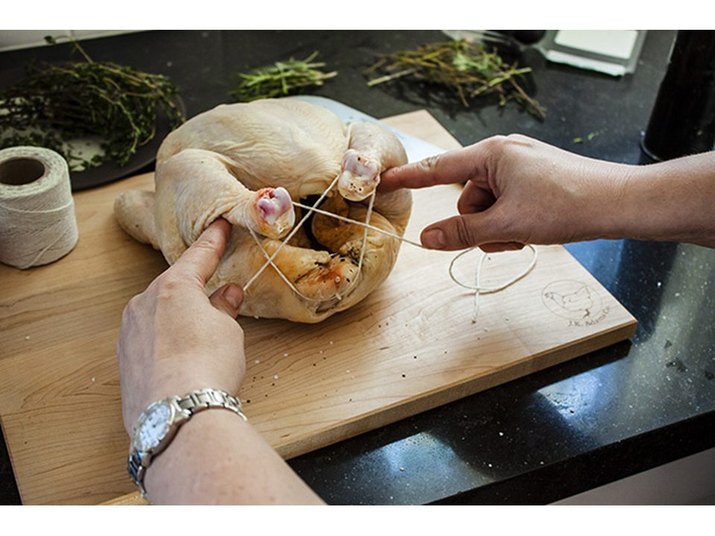 9 of 16
Season & Truss the Chicken
This step is optional but it makes for more a more delicious bird. Rub the inside of the cavity with about a teaspoon each of salt and freshly ground pepper – an amount about the size of a quarter. Stuff any leftover herb stems into the cavity and prepare to truss. Trussing is much easier than it sounds. It's just a matter of tying the chicken into a tight little package so that its parts don't flop around and dry out in the oven. Cut about an arm's length of string and place the center under the chicken butt. Wrap the string around the drumsticks. Tighten the loop and wrap the remaining string around the chicken in such a way that the wings are held tightly against the body. Tie a knot and cut off the excess string. All done!
Image Credit: Maggie Jones 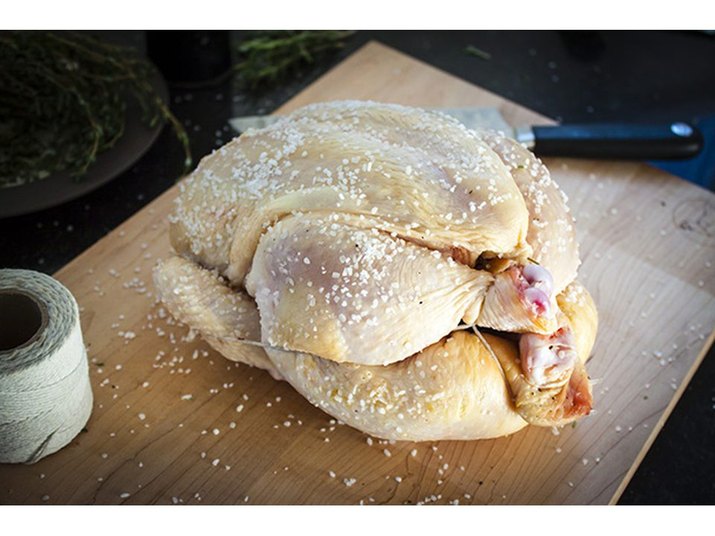 10 of 16
Salt the Chicken
Rain about a tablespoonful of coarse salt over the bird. I'll even press some into the sides so that it's completely coated with a speckling of salt. The salty crust helps crisp the skin and hold in the juices that make the chicken tender.
Image Credit: Maggie Jones 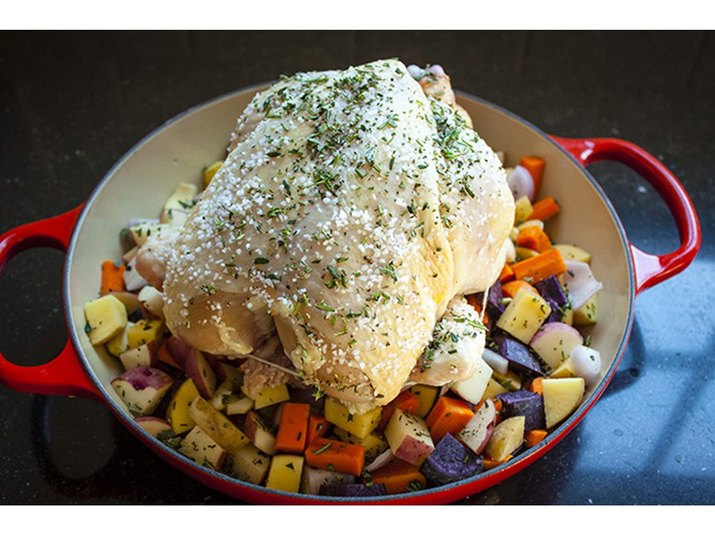 11 of 16
Add to Pan with Vegetables
Finally, set the chicken on top of the vegetables and sprinkle the bird with the remaining fresh herbs.
Image Credit: Maggie Jones 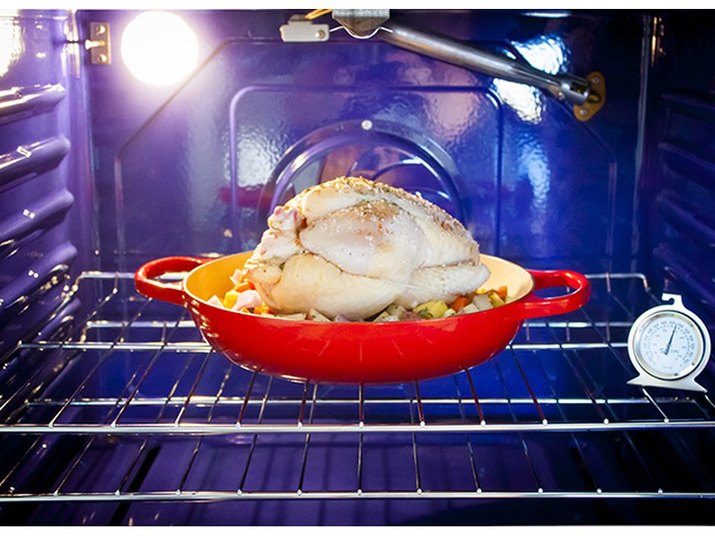 12 of 16
Place in Oven
Place the pan in the oven centered on the top rack. Set a timer for 1 hour.
Image Credit: Maggie Jones 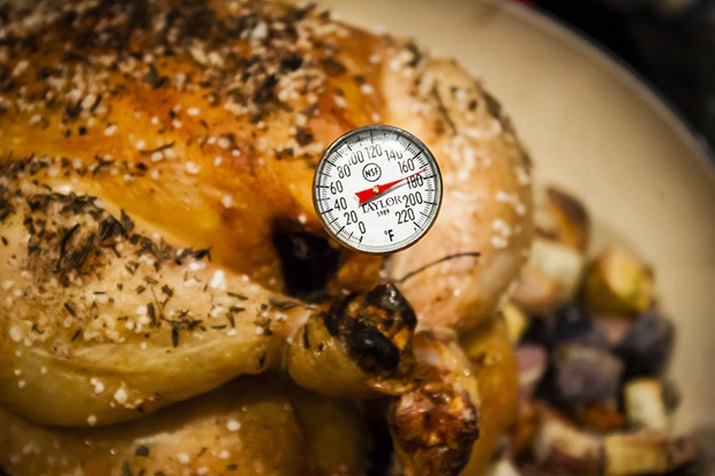 13 of 16
Check the Temperature
After the timer goes off, remove the chicken and insert a meat thermometer into a fleshy part, avoiding the bone, which can throw off the reading. The chicken should be at least 165 degrees F. It's best to take measurements from two parts. If the chicken isn't yet fully cooked, put it back in the oven for another 10 minutes and repeat.
Image Credit: Maggie Jones 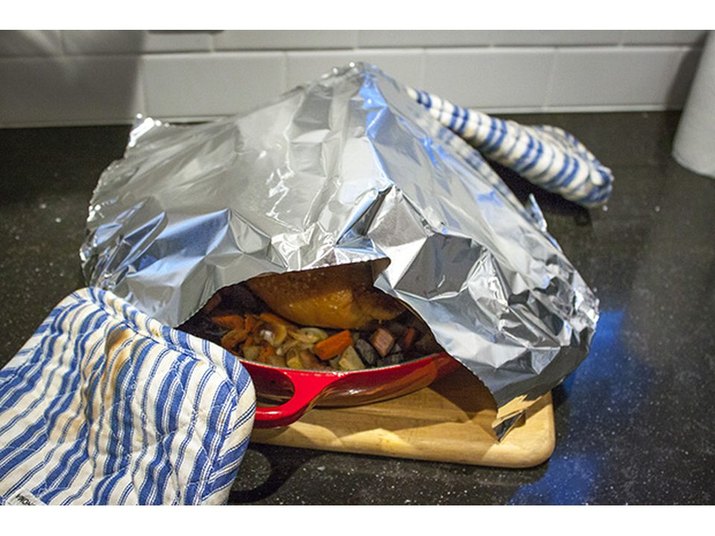 14 of 16
Rest the Chicken
Once your chicken is cooked through, it's important to let it rest at least 10 to 15 minutes so that the juices distribute throughout the meat and don't run out as soon as you start carving. Tent it with a sheet of aluminum foil while resting.
Image Credit: Maggie Jones 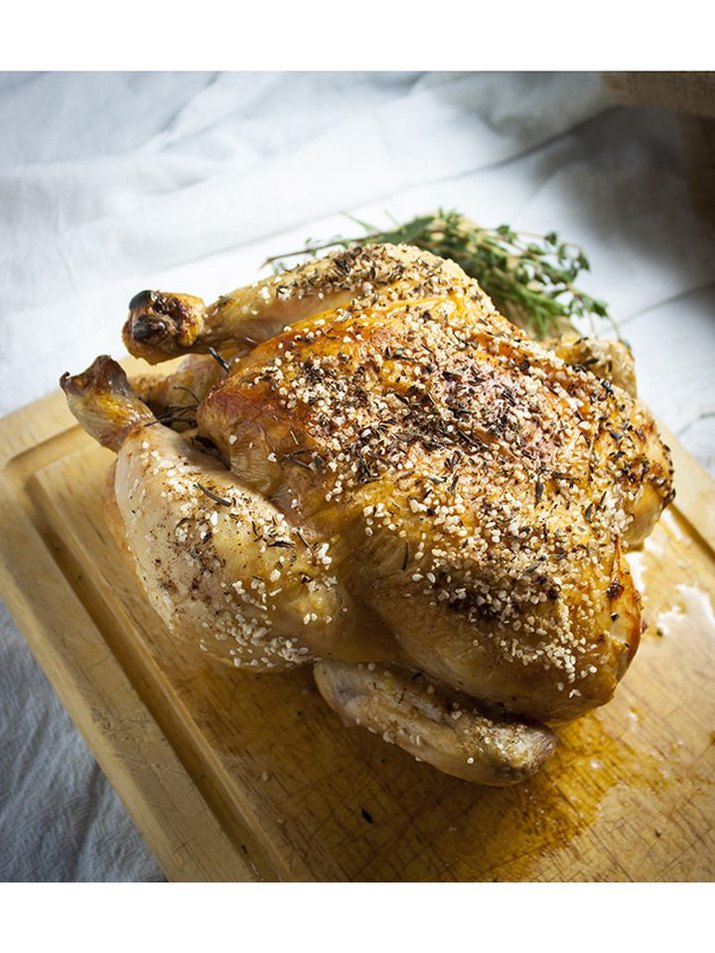 15 of 16
Enjoy!
Finally time to eat. Transfer the chicken to a carving board, remove the trussing string, and give the vegetables a stir to mix the drippings evenly.
Image Credit: Maggie Jones  16 of 16
Delicious!
Image Credit: Maggie Jones