It's a family tradition in our home to make marshmallow fudge every holiday season. Why? As we listen and sing along to our favorite Christmas melodies, the house fills with a buttery, chocolate aroma. Then, ribbons of smooth, velvety chocolate combine in a bowl to create a decadent treat that we can enjoy together. It's a festive and heartwarming indulgence that takes just 20 minutes to create — and that's enough time to get everyone in the family to gather 'round! Make some for your own family this season, or trim these sweets in holiday wrapping for loved ones to enjoy elsewhere.

Video of the Day
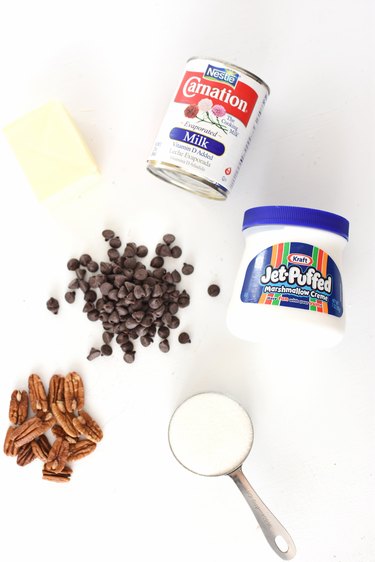
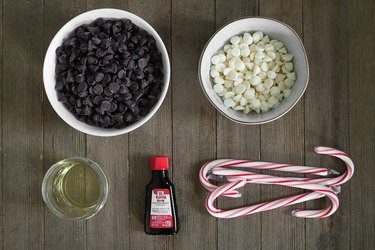
Things You\’ll Need
-
1 cup butter
-
3 cups granulated sugar
-
2/3 cup evaporated milk
-
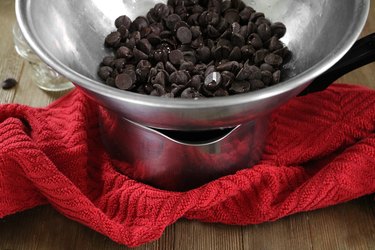
2 cups semi-sweet chocolate chips
-
1 jar Kraft marshmallow creme
-
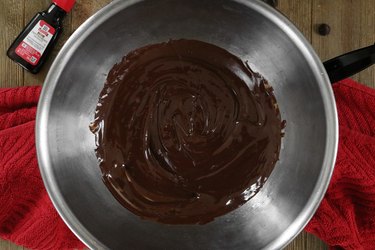
1 teaspoon vanilla extract
-
2 cup chopped pecans
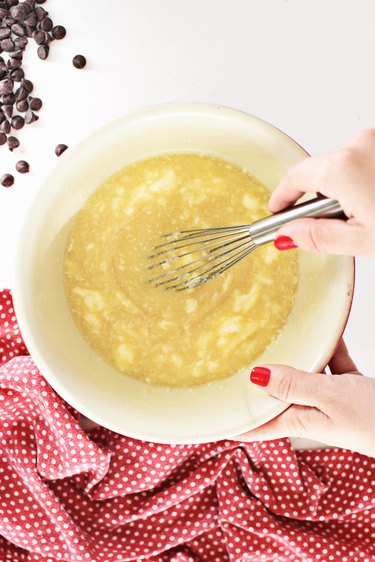
Step 1: Microwave the Ingredients Together
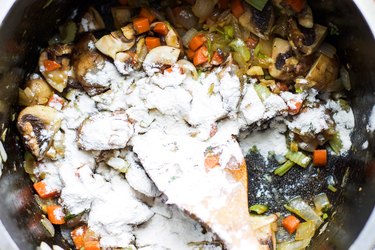
Microwave the butter in a large, heat-proof bowl on high for 1 minute until it's melted. Then, add in sugar and evaporated milk and mix well. Microwave on high for another 3 minutes. Remove and stir, scraping down the sides of the bowl. Place the bowl back in the microwave and heat it on high for another 5 minutes, or until the mixture comes to a boil. Remove and stir, then microwave the mixture again for 2 more minutes. Carefully remove the hot bowl. Mix in chocolate chips until they're melted. Stir in marshmallow creme, vanilla extract and 1 cup of chopped pecans.
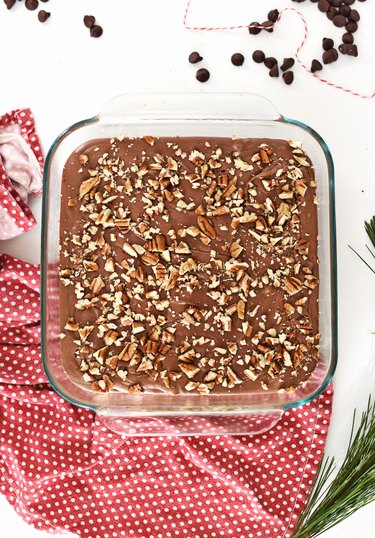
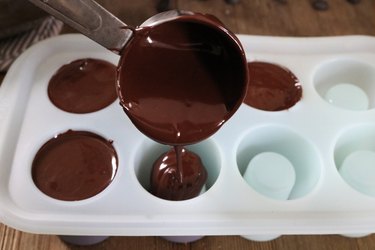
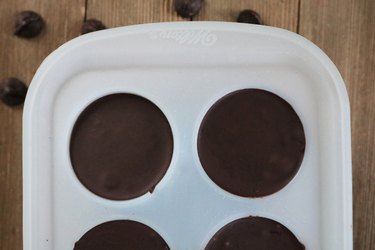
Step 2: Allow the Fudge to Set
Pour the marshmallow fudge mixture into a lightly greased 9 inch x 9 inch glass dish. Top with the remaining 1 cup of chopped pecans. Allow it to set at room temperature for at least 2 hours.
Tip
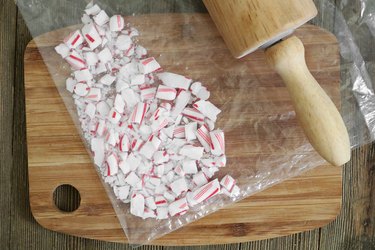
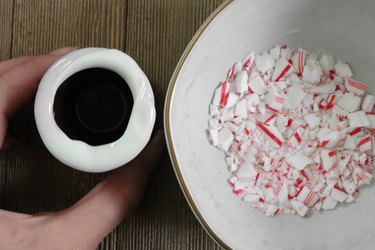
Feel free to mix in chopped peppermint candies, marshmallows or other complementary toppings.
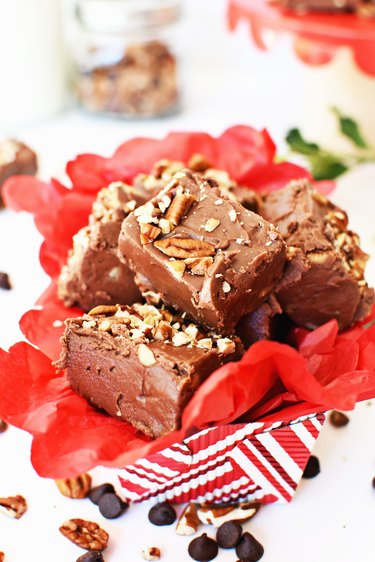
Step 3: Cut Fudge and Enjoy!
Cut the marshmallow fudge into squares — this recipe makes 16 large squares. Enjoy a square or two for yourself with family. If you're making this recipe as a present, then place the fudge in small baking gift boxes, or wrap them in cellophane. You can cover and chill any leftovers for up to 1 week.


 Bunch of asparagus.
  Red, yellow and green peppers.
  Sweet potatoes.
  White mushrooms.


")