If you've ever made pizza in your oven at home—especially a Neapolitan style—you probably weren't wowed by the results. And every time you eat one from a restaurant, you wonder, "Why don't mine come out like this?" Well, the main reason is that you didn't use a pizza oven.
Video of the Day
A typical commercial pizza oven cooks at about 700 to 800 degrees Fahrenheit. Some, like many wood-fired pizza ovens, cook at temperatures of up to around 900 degrees Fahrenheit. But most home ovens top out at around 500 degrees Fahrenheit, which just isn't hot enough to properly cook pizza. That extra-high heat is what gets the crust nice and crispy on the outside while maintaining a pleasant chewiness on the inside, and it helps quickly develop the flavors of other ingredients.
It wasn't long ago when home cooks who wanted their own pizza oven had to spring for an expensive and relatively large one (usually brick) as part of an outdoor kitchen setup. Today though, there are lots of more affordable, manageable options. Outdoor pizza ovens come in a wide range of prices and sizes—even tabletop—and most run on propane, wood or coal. There are countertop indoor pizza ovens available as well.
What to Consider When Purchasing a Pizza Oven
Indoor or Outdoor: Indoor pizza ovens are convenient if you have the kitchen space or don't have outdoor space for cooking. But they also tend to be smaller and more expensive, and you don't get to choose the fuel source. If you can cook outside, there's a greater variety of outdoor pizza ovens to pick from. They need some space though, as most are set up on a standalone table.
Fuel Source: Indoor pizza ovens are electric; outdoor pizza ovens are fueled by propane, wood pellets or charcoal. If you're a griller, you undoubtedly already have a preference. In general, propane gives you more precise temperature control, while wood pellets and charcoal are good for imparting their smoky flavors.
Size: Most home pizza ovens have the capacity to make a 12-inch pizza. But there are models—mostly outdoor—that make a 16-inch pizza, which is better suited to feeding multiple people with one pie. It's helpful if the oven has extra space for easily sliding and rotating the pizza. And consider the total size and weight to be sure you can accommodate it where you intend to put it.
Price: As is always the case with cooking appliances, prices for home pizza ovens range widely. You can pay double digits for the most basic models, but most quality indoor and outdoor pizza ovens will run you at least a few hundred dollars. And, of course, there are high-end models that can exceed $1,000.
These are the most basic considerations when buying a pizza oven for home use. Other factors, like preheating requirements and cook time, are worth looking at. Generally, though, pizza ovens deliver (no pun intended) much faster than traditional ovens.

The Best Outdoor Pizza Oven
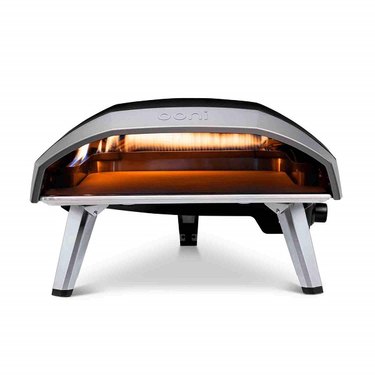
Ooni Koda 16 Gas Powered Pizza Oven
$599.00 at Ooni
Ooni is one of the best-known names in pizza ovens. This propane-powered outdoor pizza oven provides great temperature control with its heat dial, and its unique L-shaped flame promotes even cooking with only one turn of the pie. It reaches up to 950 degrees Fahrenheit with 20 minutes of preheating, providing an authentic, stone-baked cook in about 1 minute (perfect for Neapolitan-style pizza). Because this oven cooks so fast and gives you a lot of control over the flames and temperature, it takes some trial-and-error pies to get the hang of it. But once you do, you'll never look back. Or for another pizza oven.
Setup is simple, requiring placement on a stable surface, inserting the baking stone and connecting to a propane tank. This larger model lets you prepare 16-inch pies, as well as different cuts of meat, bread, veggies and more. Also, the sleek, attractive design and high-end look match the price point. It's light and highly portable, too, and the legs collapse for convenient storage.
At a Glance:
- Manufacturer: Ooni
- Style: Outdoor, standalone
- Fuel: Propane
- Size: 25" x 25" x 20"
- Max Pie Size: 16"
The Best Indoor Pizza Oven
Breville Smart Oven Pizzaiolo
$999.95 at Sur La Table
If you're willing to invest in a fantastic, high-quality indoor countertop pizza oven, this model is worth it. It reaches 750 degrees Fahrenheit (which you don't always get with indoor models) and perfectly cooks a 12-inch pie in about 2 minutes. There are two temperature sensors, and various presets let you select the type of pizza you're preparing (with options like New York, thin crust, pan, frozen and others), removing the guesswork from the process.
This technologically advanced appliance mimics the cooking style of a brick wood-fired oven, giving your pizzas a certain traditional quality, even if they don't benefit from actual wood smoke. The natural cordierite baking stone and underlying Incoloy heating element create that desirable "leopard" charred spotting that's hard to get without a real wood-fired pizza oven. It fits right in to any high-end kitchen, and its exterior doesn't get hot during cooking, making it a safer option if the kids are helping make dinner.
At a Glance:
- Manufacturer: Breville
- Style: Indoor, countertop
- Fuel: N/A (electric appliance)
- Size: 18.1" x 18.5" x 10.6"
- Max pie size: 12"

The Best Budget Pizza Oven
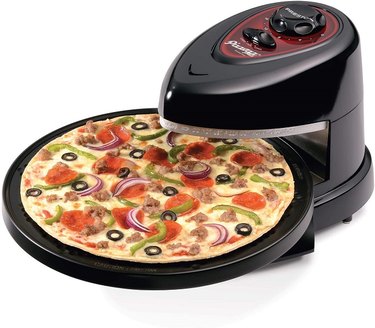
Presto Pizzazz Plus Rotating Oven
$64.28 at Amazon
If you're looking for a simple, budget-friendly indoor pizza oven, look no further. This model is easy to set up and use. It may not be an oven in the traditional sense, but its top and bottom heating elements and rotating tray do a good job evenly cooking fresh and frozen pizza, turning out bubbly crust. Achieve greater cooking control by using just the top or bottom heating element or using both. And it works well for heating other frozen appetizers and snacks, too.
A convenient set-it-and-forget-it appliance, its heating elements even shut off when the timer goes off. It does take up to about 30 minutes, which is a long cook time for a pizza oven. But it doesn't require preheating, which can add 15 minutes or more to the total time with faster-cooking models. Cleanup is a breeze with just a removable nonstick pan to wash.
At a Glance:
- Manufacturer: Presto
- Style: Indoor, countertop
- Fuel: N/A (electric appliance)
- Size: 15.8" x 14.5" x 10.3"
- Max pie size: 12"
The Best Wood-Fired Pizza Oven
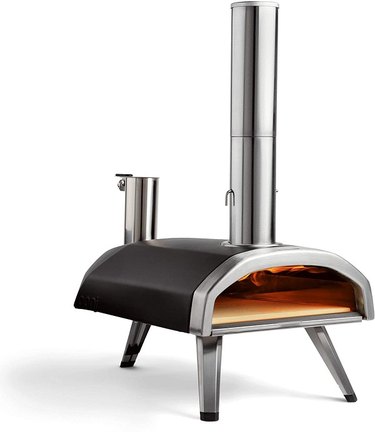
Ooni Fyra 12 Wood Fired Pizza Oven
$329.95 at Amazon
For home cooks who want pizza with that unmistakable smoky, wood-fired flavor, this flagship wood-burning model from a leading pizza oven brand is a smart pick. It reaches 950 degrees Fahrenheit in 15 to 20 minutes, has great heat retention thanks to its powder-coated carbon steel shell, and it cooks a 12-inch pizza in about 1 minute. It has a high-end look and a fair price point for the aesthetics, user-friendliness, durability and quality.
This outdoor appliance's unique hopper and loading chute for wood pellets is thoughtfully designed and easy to use. There's even a small viewing hole so you can monitor your fire, which will provide that proper leopard-spotted charred look. The chimney and hopper have a lid, another nice touch, just in case it starts raining while you're putting the oven to work. As with other Ooni pizza ovens, there's very little assembly required, it's light and highly portable, and its legs fold down for convenient storage.
At a Glance:
- Manufacturer: Ooni
- Style: Outdoor, standalone
- Fuel: Wood pellets
- Size: 18.9" x 10.24" x 27.17"
- Max pie size: 12"
The Best Charcoal Pizza Oven
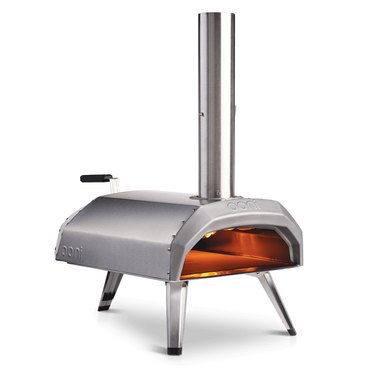
Ooni Karu 12 Multi-Fuel Pizza Oven
$399.00 at Ooni
Ooni is once again the name to turn to if you want a charcoal-fueled outdoor pizza oven. This model actually burns charcoal and wood, and it can even run on propane with the purchase of a separate gas attachment. So, you get options for two or three fuel types in one reliable, long-lasting appliance, and at a pretty good price for all those capabilities, too.
This model offers many of the same benefits mentioned in previous Ooni entries on the list, including excellent heat retention, the ability to hit 950 degrees Fahrenheit within 15 to 20 minutes of preheating, and cook times as quick as 1 minute. It also has the trademark sleek look of Ooni pizza ovens, the minimal assembly requirements, the relatively light weight, the great portability, and the collapsible legs for easier storage.
At a Glance:
- Manufacturer: Ooni
- Style: Outdoor, standalone
- Fuel: Charcoal, wood (and gas with additional equipment)
- Size: 25.2" x 16.14" x 7.9"
- Max pie size: 12"

 How to make pot roast in a slow cooker Image Credit: Julia Mueller
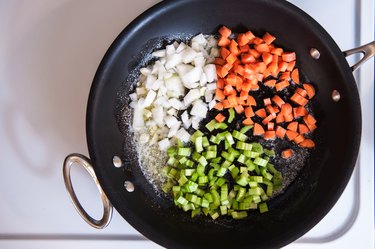
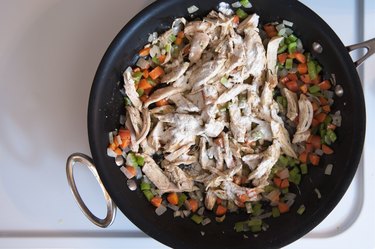
 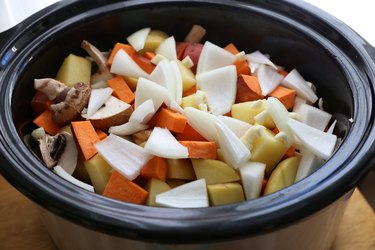 Add pot roast ingredients to slow cooker Image Credit: Julia Mueller
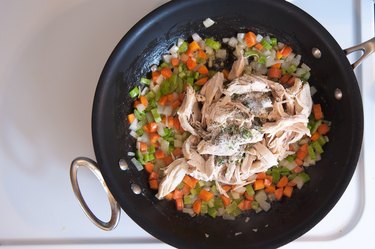
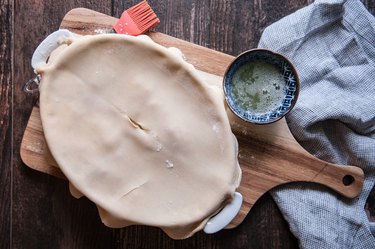
 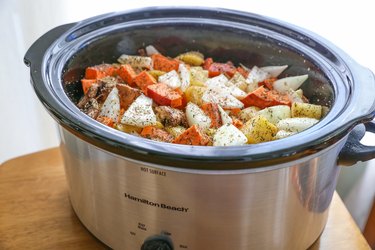 Add everything to the slow cooker and give it a good stir Image Credit: Julia Mueller
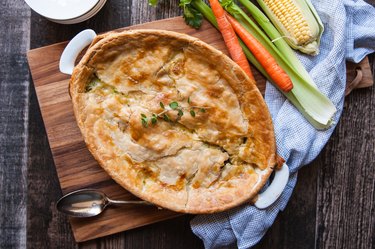
 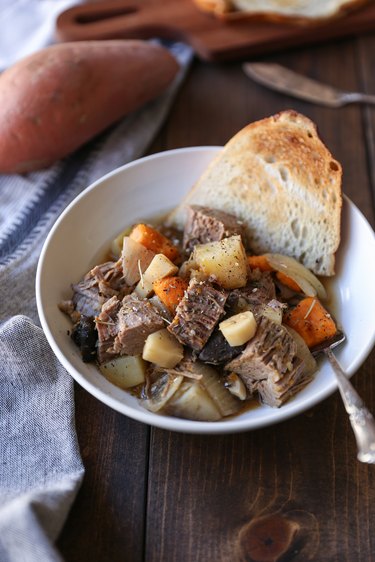 chop meat and serve Image Credit: Julia Mueller
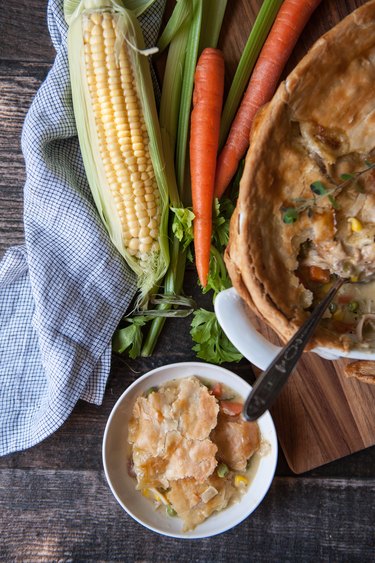


 2 of 12
  3 of 12
  4 of 12
  5 of 12
  6 of 12
  7 of 12
  8 of 12
  9 of 12
  10 of 12
  11 of 12
  12 of 12

 Recipe")