eHow may earn compensation through affiliate links in this article.
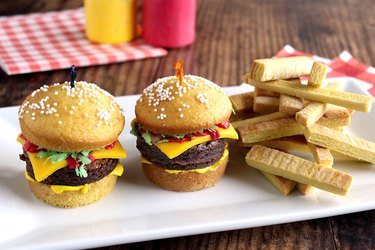
Here's a sweet treat that's as fun for the eyes as it is for the tastebuds. You may think you're looking at some juicy cheeseburgers and crispy french fries, but don't let your eyes fool you. These are actually cupcakes cut in half to resemble hamburger buns with a chocolate brownie as the patty. And the french fries are sugar cookies in disguise. They're sure to be a hit at any outdoor barbecue or a kids' party. Or take them into the office and amaze your co-workers with your dessert decorating wizardry. With cheeseburger cupcakes this adorable, no one will be asking, "Where's the beef?"
Video of the Day
-
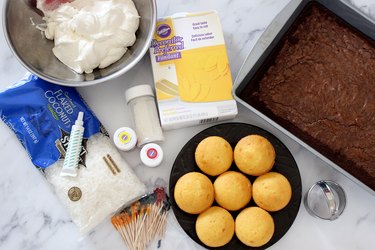
Yellow cupcakes
-
White sprinkles
-
Brownies
-
2-inch round cookie cutter
-
Buttercream frosting
-
Red and green icing color
-
Yellow fondant
-
Rolling pin
-
Pizza cutter
-
Coconut flakes
-
Green food coloring
-
Frill toothpicks
-
Sugar cookie dough
-
Yellow food coloring
-
Piping bags
Making the Cupcake Burger
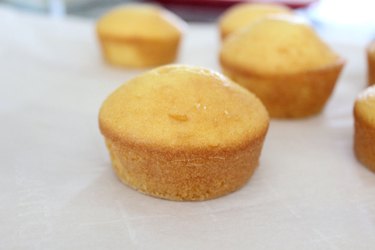
Step 1: Prepare the Cupcake Buns
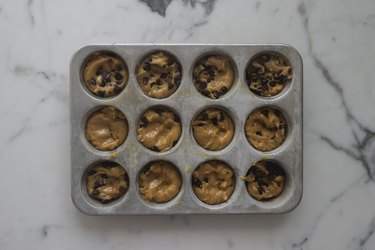
Bake a batch of cupcakes using a cake mix or from scratch (I found it easier to use a yellow cake mix). The key to making cupcakes that look like buns is to not use the paper liners. Grease and flour your muffin tin and place the batter directly in the compartments.
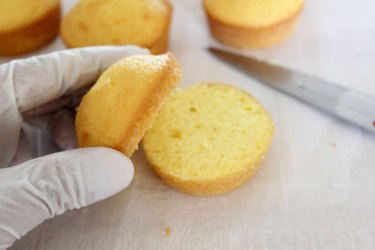
Slice the cupcakes horizontally to create the two bun halves.
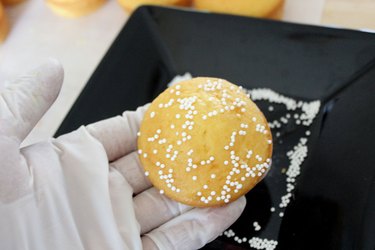
Let's add some "sesame seeds." Place some white sprinkles onto a plate. Hold the top of the cupcake bun upside down, and press it onto the white sprinkles. If the surface of the cupcake is moist, the sprinkles will adhere. If they don't stick, just brush on some sugar water before adhering the sprinkles.
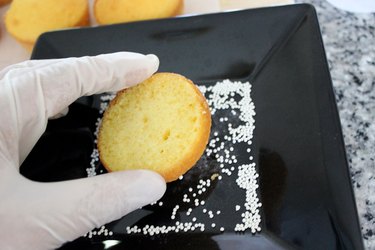
Gently press the sprinkles into the cupcake to make sure they stay on. Set the buns aside for now.
Step 2: Prepare the Brownie Patties
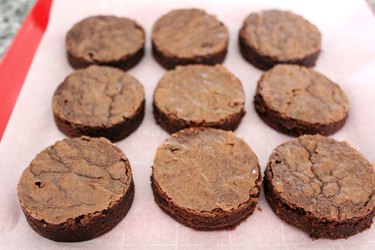
Bake a tray of brownies, either from a box mix or from scratch. Again, I used a mix. Make sure you pour the batter into a 13 x 9 inch baking dish rather than a smaller 9 x 9, as you want the brownies to be thin, not thick. Line the bottom with parchment paper so the brownies will lift up easily.
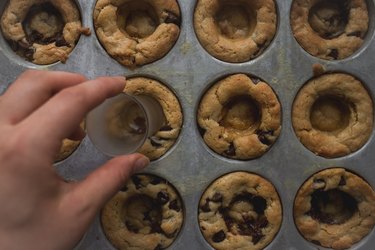
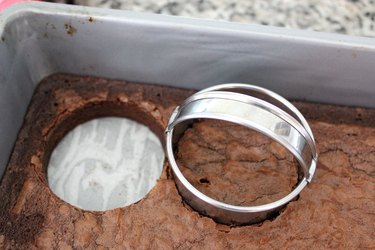
When cool, cut out patties using a round cookie cutter. Select a cookie cutter that is approximately 2 inches in diameter, as this is the ideal patty size to complement the cupcake bun.
Step 3: Make the Ketchup and Mustard Frosting
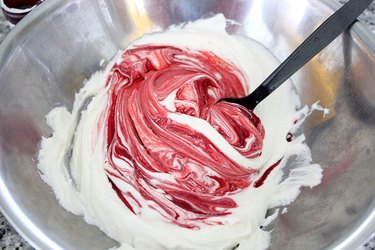
The condiments for the cheeseburger cupcakes will be buttercream frosting dyed with red icing color for the ketchup and yellow icing color for the mustard. Since I used box mixes to make the cupcakes and brownies, I decided to make the frosting from scratch, but you can use a tub of store-bought frosting for convenience.
Divide the frosting in half and mix red icing color in one. It takes quite a bit of coloring to get the color of ketchup.
Mix yellow icing color to the rest of the frosting to make the faux mustard.

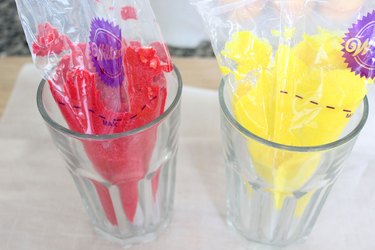
Spoon the frosting into two separate piping bags. Cut off the tips of the bags to create a quarter-inch opening.
Tip
For a quick and easy shortcut, you can also look for pre-colored icing in the bakery aisle of your supermarket. It comes in squeezable tubes ready for dispensing.
Step 4: Roll Out the Fondant Cheese
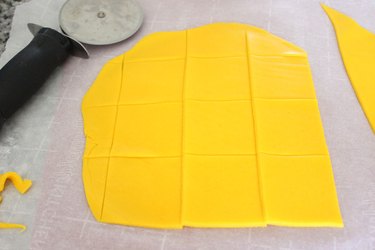
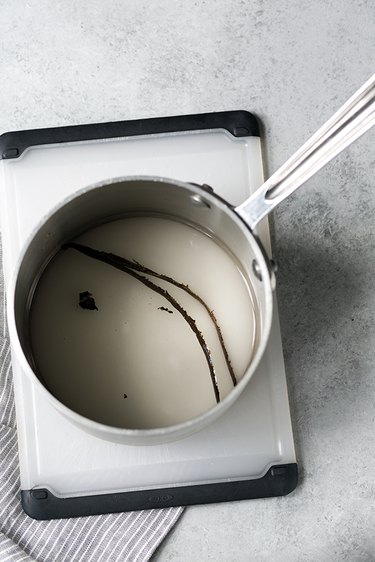
For our cheese slices, we're using yellow fondant. Place the fondant between two pieces of parchment paper, and flatten it as thin as you can with a rolling pin.

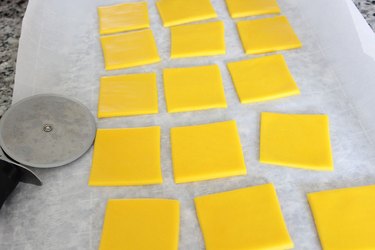
Cut the fondant into 2-inch squares with a pizza cutter. My parchment paper is lightly printed with 2-inch markings, so I was able to use them as a guide.
The fondant squares look just like slices of American cheese, don't they?
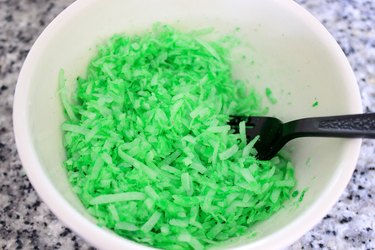
Step 5: Make the Coconut Lettuce
Coconut flakes look just like shredded lettuce when dyed with green food coloring. Pour some coconut flakes into a bowl, and add a little food color to start, mixing with a fork.
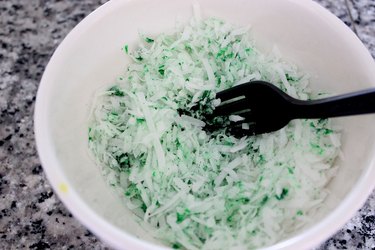
Keep adding color until you achieve your desired shade of green.
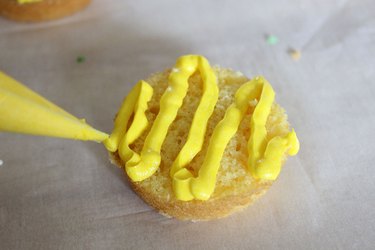
Step 6: Assemble the Cheeseburger Cupcakes
Now that all of the components are ready, assembling the cheeseburger cupcakes is fun and easy. Let's start with the bottom of the bun. Squeeze some yellow frosting onto the bun for the mustard. Make sure you go all the way to the edges so it will be visible.
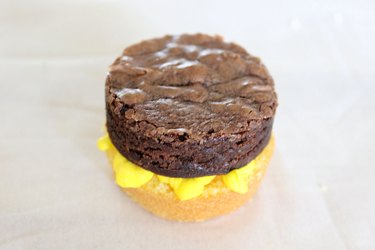
Place the brownie patty on top of the mustard.
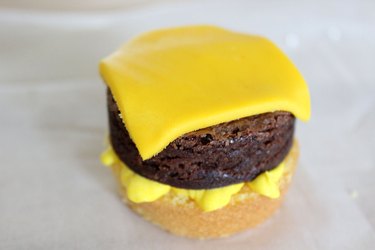
Position the yellow fondant square on top of the brownie patty, folding down the four corners to make it look like the cheese has melted.
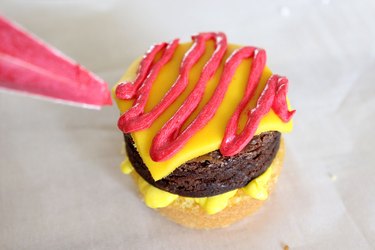
Squeeze some red frosting back and forth across the yellow fondant. Again, make sure you go to the edges so it will be visible.
Place some green coconut flakes on top of the ketchup.

The top of the bun goes on last. Poke a frill toothpick through the middle of the cupcake burger to hold all the elements together and give it a festive finishing touch.

Making the Cookie Fries
Step 1: Dye the Cookie Dough
Start with sugar cookie dough, either from scratch or in a pre-made tube. I made mine from scratch.

Because we want the fries to look cooked instead of pale, add some yellow food coloring to the dough. Start with a small amount of coloring.

Knead the dough until the food color is incorporated. Add more food color until the dough is a nice butter yellow.

Step 2: Roll Out the Dough
Liberally flour your surface and rolling pin, and roll out the dough until it is about 1/4 inch thick.

Step 3: Cut Into French Fry Shapes
Using a pizza cutter, cut the dough into thin strips of 1/4 – 1/2 inch wide. Then cut across diagonally to form the individual french fry shapes.

Step 4: Bake the Cookie Fries
Place the cookie dough strips on a parchment or silicone-lined cookie sheet. However, before popping them in the oven, refrigerate them on the cookie sheet for about 30 minutes to harden the dough. Refrigerating the dough helps keep the cookies from spreading.

When finished, the cookie fries make a perfect accompaniment to the cheeseburger cupcakes.


Pour your extra frosting into ketchup and mustard bottles so people can squeeze some onto their fries and burger!

You can also display the cheeseburger cupcakes and cookie fries in a burger basket for a visual presentation that will make everyone smile — if not mess with their minds.


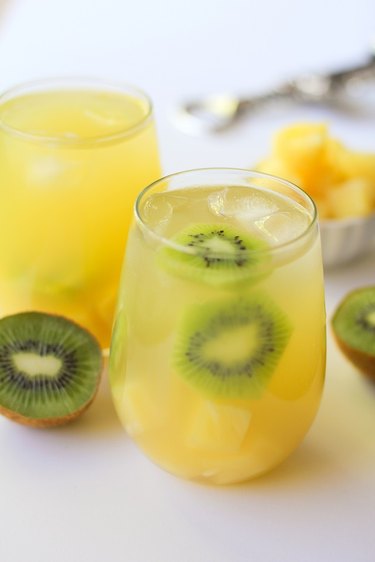 Pineapple kiwi sangria is a colorful summery cocktail.
 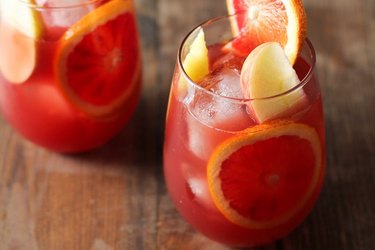 Pomegranate citrus sangria has a hint of cinnamon.
 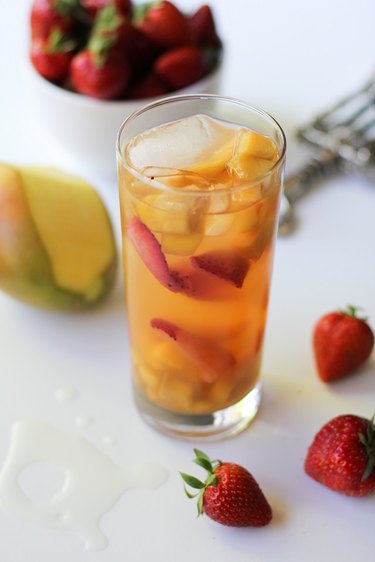 Enjoy tropical white sangria with a variety of fruit.