I'll admit, before I very recently looked into the world of juicers, I had no idea that there were so many different kinds out there. You've got your masticating juicers (slow juicers), centrifugal juicers, hydraulic juicers (cold press)…and these don't even cover the many manual juicer varieties! Who knew there were so many ways to turn fruits and veggies into nutrient-packed liquids? If you're as confused as I was, then I hope this list of five high-quality machines will help you narrow down the dizzying selection on the market.
Video of the Day
Centrifugal vs. Masticating Juicers
Before we get to the list, it's definitely useful to explain the two most common types of household juicers: centrifugal and masticating. Masticating juicers, also known as "slow-speed" juicers, are so called because they use a slow turning mechanism (less than 100 RPM) to force the fruits/veggies against a sharp screen to catch pulp and squeeze out the juice.
Centrifugal juicers, on the other hand, use high-speed rotation (6,000 – 14,000 RPM) to create – you guessed it – centrifugal force to push chopped food from the center and onto the spinning screen. The slower speeds of masticating juicers create less heat and introduce less oxygen than do high-speed centrifugal juicers, so the juice retains more nutrients and stays fresh for longer periods. The masticating mechanism is also multi-purpose, allowing you to grind and puree foods similar to a food processor. The trade-offs, however, are speed and price, with masticating models typically costing a bit more than centrifugal models.
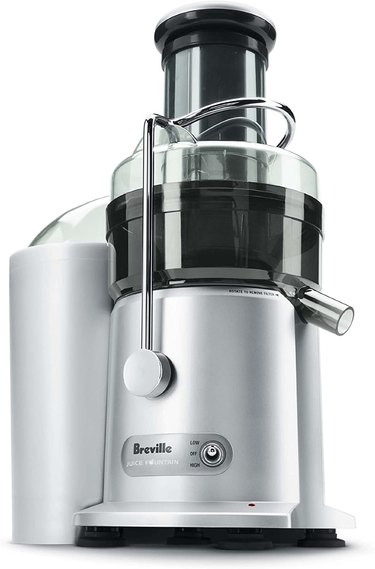
1. Breville 800JEXL Juice Fountain Elite Centrifugal Juicer
For many, Breville is the brand that first comes to mind when talking about juicers – and for good reason. Many swear by their overall effectiveness and durability, and the 1000-watt motor, die-cast metal 800JEXL Juice Fountain Elite is what the company calls the "Rolls Royce" of their line!
It's got dual speed control, an extra-wide feed chute (minimal chopping!), titanium reinforced blades that resist dulling, a large capacity pulp container, and more. No doubt, this is one tough hunk of machinery and due to its weight and size, you'll probably have to reserve a permanent place on your countertop for it as it's not easily stowed away. If you're ready for that level of commitment, then it's certainly one to consider.
Available at Amazon: Breville 800JEXL
Read More: How to Make Ginger Juice
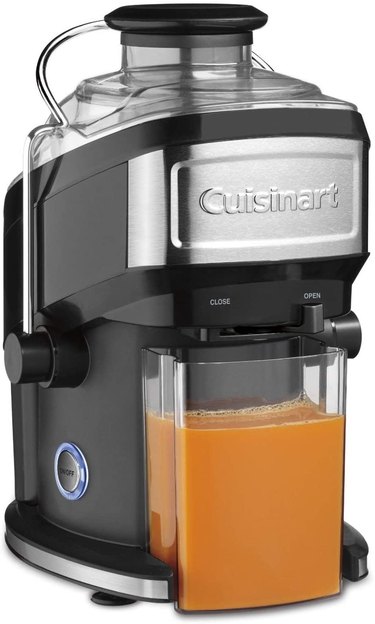
2. Cuisinart CJE-500 Compact Juice Extractor
If you're looking for a centrifugal juicer that's a little more compact, try the Cuisinart CJE-500. It's designed for continuous juicing and can be used on both dense and soft fruits and veggies, as well as leafy greens. Despite its relatively small size, the feed chute is large, which is a huge plus. Its design also allows you to conveniently juice into your own 8 ounce glass through an adjustable flow spout. Adjustability is a minor detail, but it does help to minimize mess. Clean up is also easy, as its removable parts are dishwasher safe.
Available at Amazon: Cuisinart CJE-500
Read More: How to Juice a Pomegranate With an Electric Juicer
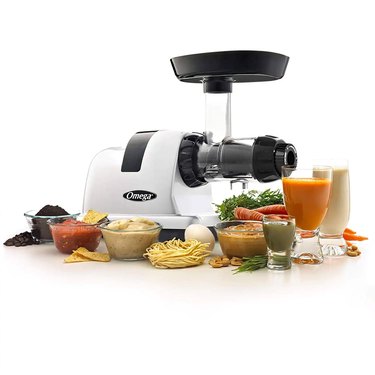
3. Omega J8006HDS Quiet Dual-Stage Slow Speed Masticating Juicer
The Omega J8006HDS is a popular model among masticating juicers for its quiet operation, exceptionally low speed (80 RPM) easy clean up, high juice yield, and the fact that it's so many machines in one! Not only can you use it to juice, it can grind coffee, make nut butter, salsa, baby food, sorbet, smoothies…heck, it even helps you make pasta! Now we know why so many juice fans are sold on the Omega brand.
Available at Amazon: Omega J8006HDS
Read More: How to Make an Antioxidant Smoothie
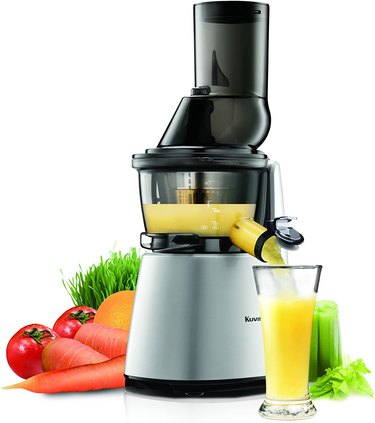
4. Kuvings Whole Slow Juicer Elite C7000S
If you're going for a top-shelf slow juicer and are willing to invest in an elite product, consider the Kuvings Whole Slow Juicer Elite C7000S. Its unique juicing technology is capable of extracting the maximum amount of liquid goodness from veggies and fruits while the low speed offers longer storage life. We also like its extra-wide feeding chute because who likes to chop? And being a masticating juicer, this is a multipurpose powerhouse, allowing you to make all the nut milks, nut butters, sorbets, and smoothies that your heart desires.
Available at Amazon: Kuvings C7000S
Read More: How to Juice a Lemon in a Juicer
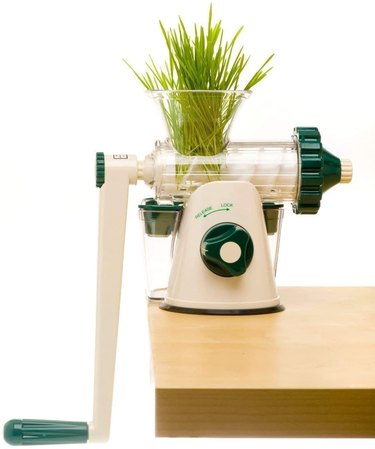
5. Lexen Manual GP27 Original Healthy Juicer
And for those who love their greens and don't mind putting in a little bit of elbow grease, we've included the Lexen GP27 hand-crank juicer designed to get the maximum yield from leafy greens which are notorious for being tough to squeeze. The Original Healthy Juicer is designed to efficiently extract the good stuff from wheatgrass, kale, spinach, parsley, etc. If it's got leaves, this guy squeezes out every last drop. Plus, it's portable, easy to clean, and super affordable. We're sold.
Available at Amazon: The Original Healthy Juicer
Read More: How to Make Green Juice (And Enjoy It!)
No matter which type of juicer you pick – centrifugal, masticating, or hand-crank – any freshly-extracted juice is better than no juice at all. And I don't know about you, but writing this article has put me in the mood for a tall glass of vibrant beet juice with an energizing ginger shot. Catch you later, and happy juicing!


 The roasted flavor of Guinness pairs well with vanilla ice cream.
  Blending the ingredients takes only a few seconds.
  This is the shake you\’d find at the end of the rainbow.
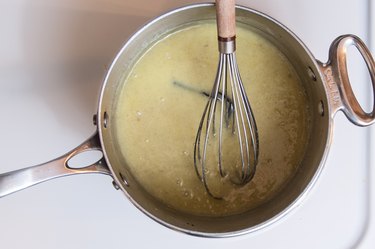
  An electric whisk speeds up the process, but a hand whisk will do just fine.
  Every dessert is better with a little whipped cream.
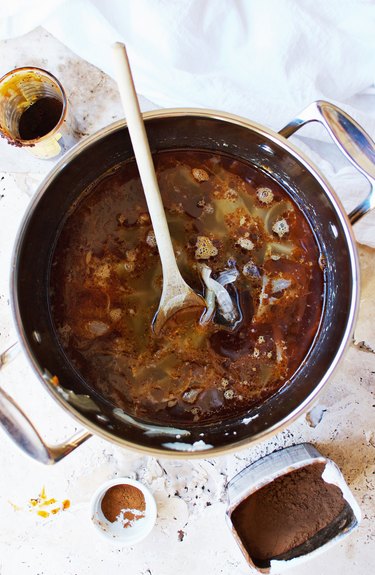
  Keep the heat low to avoid burning the chocolate.
  Be liberal with the chocolate. Treat yourself.


 step 1
  Step 2
  Step 3


 Prepared muffin pan.
  Combine dry ingredients.
  Combine wet ingredients and mix well.
  Combine wet and dry ingredients.
 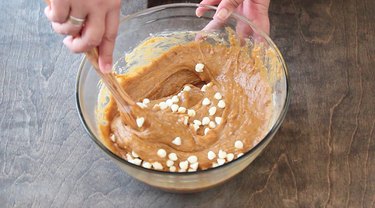 Add white chocolate chips.
  Top each muffin with streusel mixture.
  Pumpkin spice latte muffins, ready to serve.