
Though chili pairs well with many foods, you can't go wrong with sweet cornbread. The classic combination is hearty, satisfying and full of flavor. So, why not make both in a cornbread chili pie casserole? In this two-for-one recipe, you can enjoy cornbread and chili in every bite. Read on to meet your new go-to potluck dish.

Video of the Day
Chili Layer
Things You\’ll Need
-
1 pound ground beef, turkey or chicken
-
1 medium onion, diced
-
1 medium green bell pepper, deseeded and diced
-
15 ounces canned corn
-
3 garic cloves, minced
-
15 ounces canned red kidney beans, rinsed and drained
-
28 ounces crushed tomatoes
-
2 tablespoons tomato paste
-
2 teaspoons chili powder
-
1 teaspoon cumin
-
1 teaspoon salt
-
1/2 teaspoon ground black pepper
-
Olive oil

Step 1
Preheat the oven to 350°F. Grease a 3-quart casserole dish.
In a large skillet, heat about 2 tablespoons oil. Cook the bell peppers and onions for 5 to 7 minutes, or until tender. Add the garlic and cook for 30 seconds to 1 minute.

Step 2
Add the ground meat and cook for 10 minutes, or until no longer pink. Use a spatula to break up the meat as it cooks. Drain the fat, if necessary.

Step 3
Add the crushed tomatoes, tomato paste, corn, beans and spices. Stir well and simmer for 7 to 10 minutes or until thick.

Cornbread Layer
Things You\’ll Need
-
3 8.5-ounce boxes Jiffy corn muffin mix
-
3 eggs
-
1 cup milk

Step 1
Add all the ingredients in a large bowl.

Step 2
Stir until combined.

Cornbread Chili Pie Casserole
Things You\’ll Need
-
Chili
-
Cornbread batter
-
1 1/2 cups shredded cheddar cheese, plus more for topping

Step 1
Fill the casserole dish 2/3 full with chili. (You'll likely have 1 to 2 cups of chili leftover.) Top with shredded cheese.

Step 2
Layer the cornbread batter on top, spreading into an even layer.

Step 3
Bake for 35 to 40 minutes, or until the cornbread is golden brown and a toothpick comes out clean. Serve with sour cream, scallions and/or extra cheese.

For an extra kick, garnish with sliced jalapeño peppers or a drizzle of hot sauce.


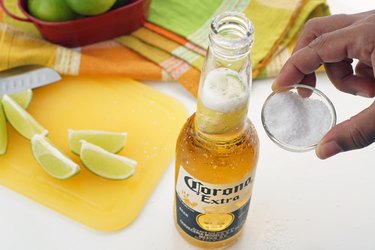
 Drinking draft beer at home cuts down on waste.

 Get creative with your ingredients.


 2 of 8
  3 of 8
  4 of 8
  5 of 8
  6 of 8
  7 of 8
  8 of 8

 Golden Delicious apples are large, firm and green or golden in color.
 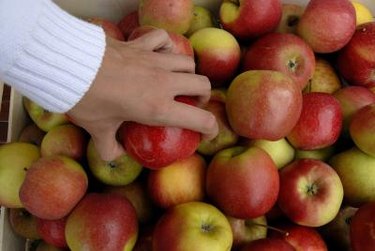 Pink Lady apples are yellow with a pink hue and have a tangy yet sweet flavor.
 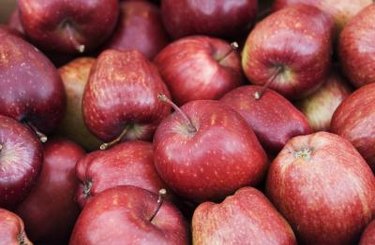 Red Delicious apples are one of the most largely grown varieties in the United States.
  Fuji apples are large, reddish-pink, crisp and very sweet.
  Eat these apples raw or make a scrumptious pie.
  Ambrosia apples are a newer variety that originated in western Canada.
  Spartan apples are small, sweet and juicy, with bright red skin and white flesh.