
 nuts Image Credit: Creatas Images/Creatas/Getty Images
Eating organic food reduces exposure to pesticides, artificial preservatives and chemicals. Organic foods are produced using sustainable ingredients and processes that have a lower impact on the planet than traditionally produced foods. A number of nuts and seeds are great for the body but are often harvested and packaged under unsafe conditions and preserved using artificial chemicals. These pesticides, which include endosulfan, cyfluthrin, phosmet, atrazine, and diazinon, enter nuts and seeds that have no outer shell or are eaten with their shell or seed casing intact.
Video of the Day
Almonds
 almonds Image Credit: Hemera Technologies/Photos.com/Getty Images
Like all nuts, almonds are nutrient power houses that contain essential fatty acids necessary for human health. They also easily absorb the pesticides used during traditional farming because of their high oil content.
Sunflower Seeds
 sunflower seeds Image Credit: Photodisc/Photodisc/Getty Images
These seeds are often packaged salted and produced using chemical fertilizers and pesticides. Like almonds, their high fat and oil content makes them sponges for chemicals. Only organically grown, chemical-free sunflower seeds offer all the health benefits without any hidden extra ingredients.
Pumpkin Seeds
 pumpkin Image Credit: Jupiterimages/Photos.com/Getty Images
Thought to aid in prostate health, pumpkin seeds are a great source of zinc, iron, magnesium and other essential minerals. The Journal of Agricultural and Food Chemistry states that pumpkin seeds contain a high amount of phytosterols, which reduce cholesterol and help protect against carcinogens that cause cancer. Organic pumpkin seeds would not contain any carcinogenic pesticides that could deter from the other health benefits of these seeds.
Walnuts
 walnut Image Credit: Jupiterimages /Polka Dot/Getty Images
Because of their number of harmful pests, walnuts are usually saturated in pesticides during the traditional growing process. They often receive much more chemical treatments than other nuts and seeds. Organic walnuts are produced without these chemicals and pesticides.
Pine Nuts
 pine Image Credit: Jupiterimages/Comstock/Getty Images
Pine nuts are apt to go stale quickly, especially if organic and without chemical treatment. There are very high sources of protein.
Sesame Seeds
 sesame Image Credit: Ablestock.com/AbleStock.com/Getty Images
Full of protein, calcium, iron and zinc, sesame seeds are grown in Africa and Asia where use of pesticides is not as strictly monitored as in the United States. Choosing organic sesame seeds avoids ingesting unknown amounts of trace chemicals.


 2 of 13
  3 of 13
  4 of 13
  5 of 13
  6 of 13
  7 of 13
  8 of 13
  9 of 13
 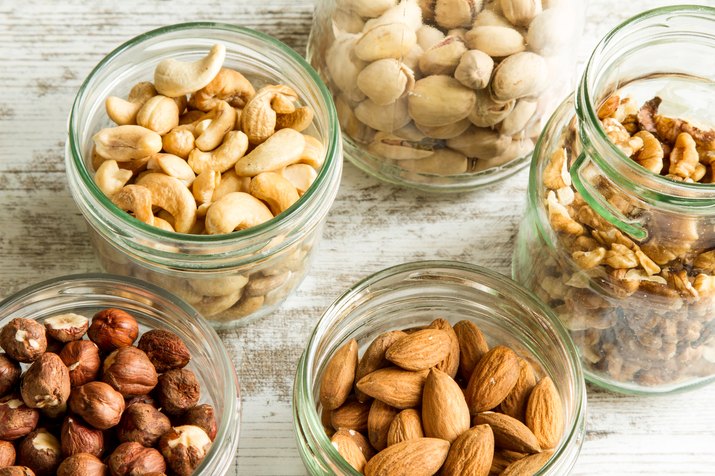 10 of 13
  11 of 13
  12 of 13
  13 of 13
 2 of 9
  3 of 9
  4 of 9
  5 of 9
  6 of 9
  7 of 9
  8 of 9
  9 of 9


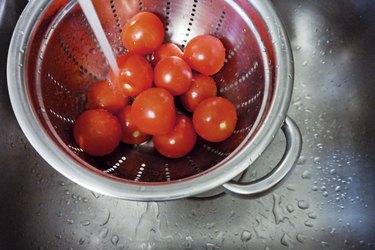
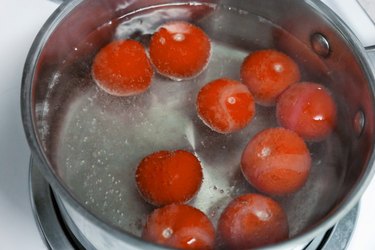
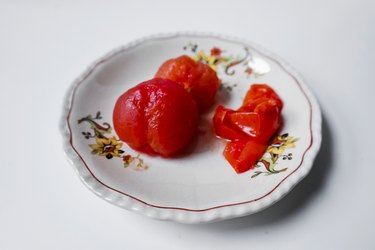
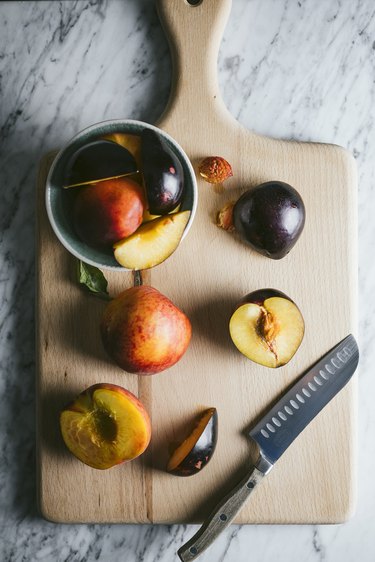 Prepping fruit
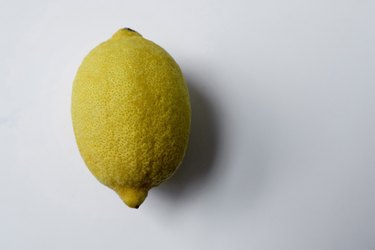
 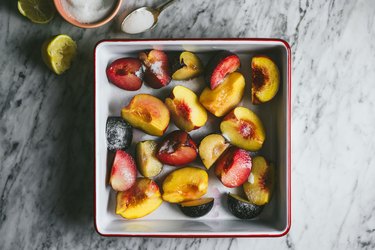 Fruit tossed in lemon juice and sugar
  final
final 