 1 of 11
Pi Day is an annual celebration of the mathematical constant π (pi) that's held on March 14. The date can also be written as 3.14 — which are, of course, the first three digits of pi — and festivities center around a feast of the obvious food: Pie. And what's a better way to cozy up to mathematics than with comforting desserts? Even if math was your least favorite subject in school, you'll have a newfound love for arithmetic by making and devouring one of these 10 delicious pies on this clever holiday.
Image Credit: eHow 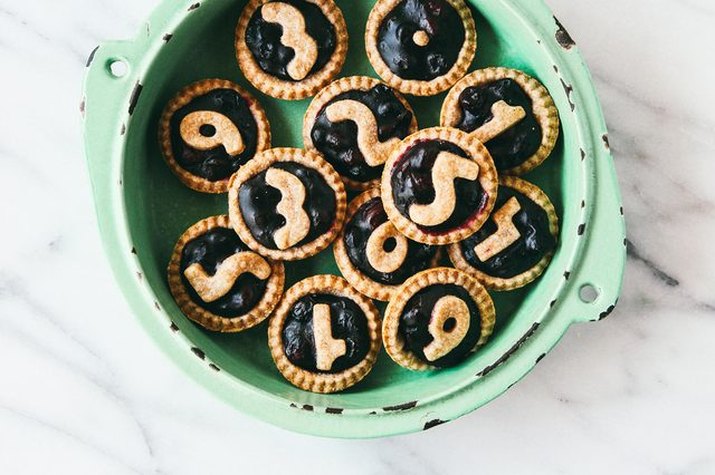 2 of 11
Shareable Mini Cherry-Blueberry Pies
Some pie recipes shape up beautifully, and this tutorial for mini cherry-blueberry pies is one of them. Geometry is fun when you're eating one of pi's digits on one of these individual desserts!
Image Credit: Ashlae Warner 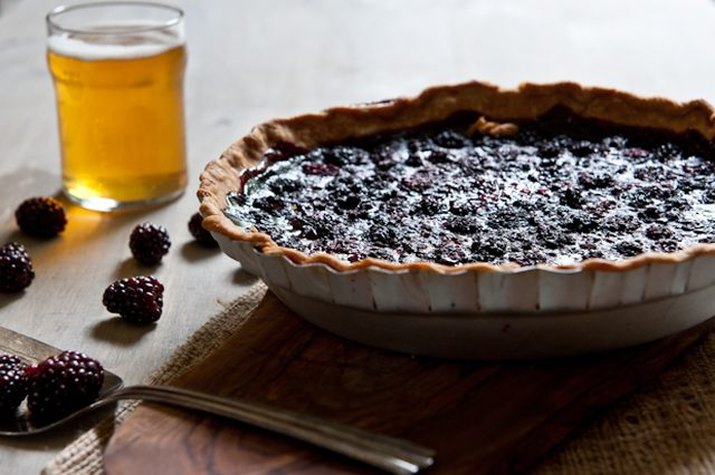 3 of 11
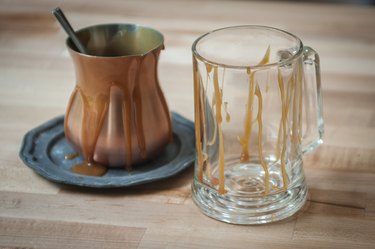
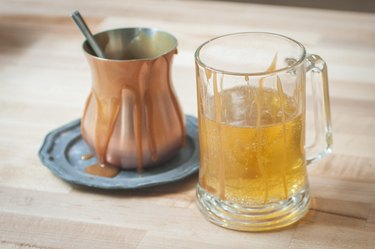
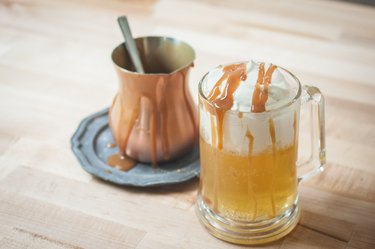
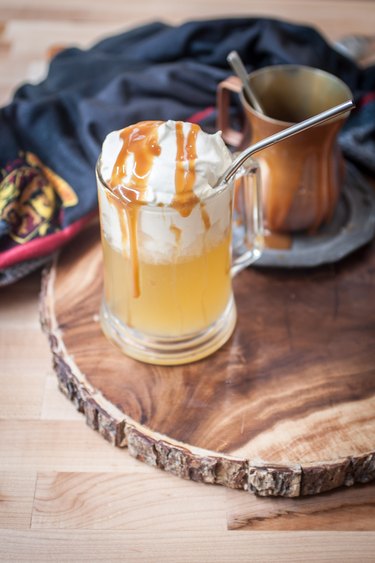
Heartwarming Blackberry Ale Pie
Warmer weather is just around the corner, even though it may seem hard to imagine. Shake off the winter blues with this blackberry ale pie, which is made with your favorite fruity beer.
Image Credit: Jackie Dodd 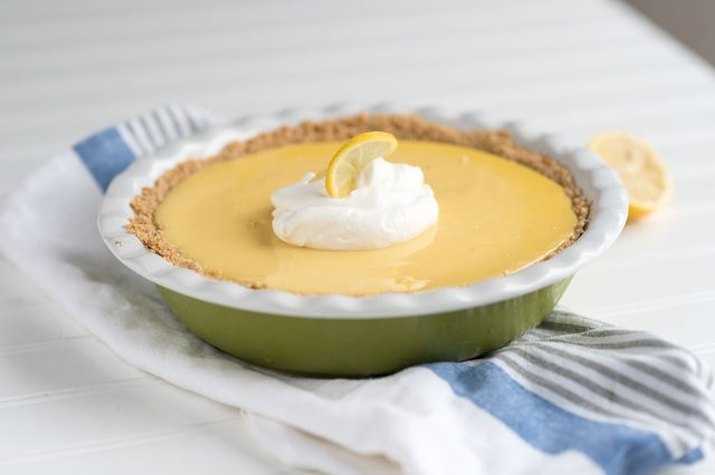 4 of 11
Fuss-Free Lemon Icebox Pie
If you love the idea of celebrating pi day by making a pie, but you don't want to turn on the oven, this lemon icebox pie recipe is for you. All you'll need for this no-bake dessert is a pre-made pie crust, sweetened condensed milk and lemon juice.
Image Credit: Anne Dale  5 of 11
Star-Shaped Berry Hand Pies
Whip up dessert for a crowd, without worrying about having to find enough plates and forks for your entire crew, by opting for these star-shaped berry hand pies. They'll be such a hit that you'll want to recreate them for Fourth of July, too.
Image Credit: Jamie Shields 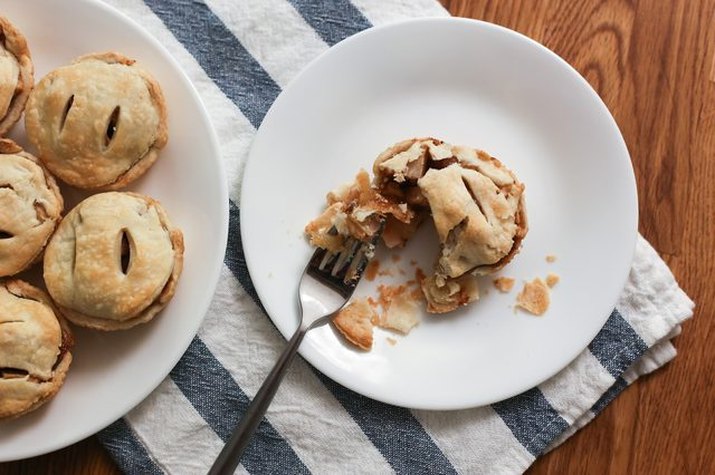 6 of 11
Adorable Muffin Tin Apple Pies
There are few things cuter than mini-desserts. Portion control is baked in (pun intended) with these muffin tin apple pies, so you can calculate the exact peak of your sugar high on a more forgiving scale. Serve with a scoop of vanilla ice cream for the ultimate comfort-food dessert!
Image Credit: Pamela Follett 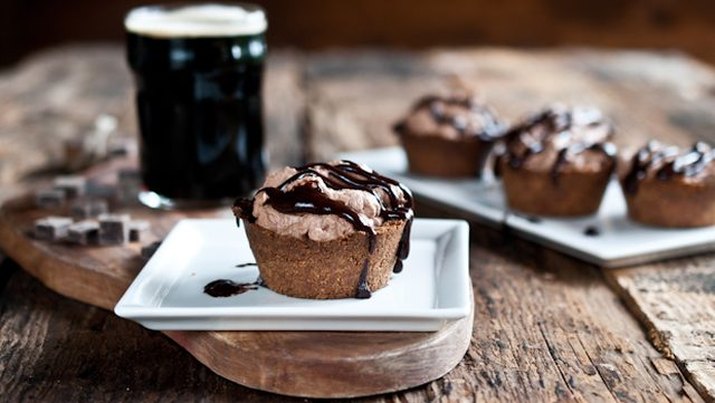 7 of 11
Decadent Irish Whiskey Mini Pies
Since pi day falls so close to St. Patrick's Day, you might want to wrap both celebrations into one. Stout and chocolate make for a delicious pairing, and these Irish whiskey mini pies feature both. Now there's an addition equation that definitely won't disappoint.
Image Credit: Jackie Dodd 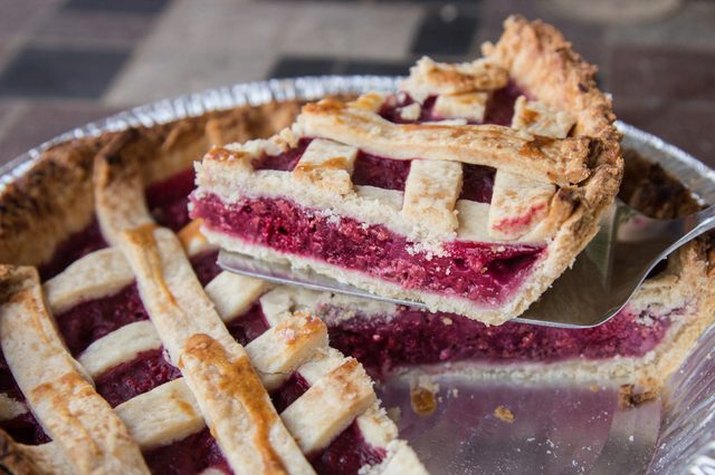 8 of 11
Easy Frozen-Fruit Pie
Don't let whichever fruit is in season dictate what kind of pie you'll make. Berries, peaches and cherries might not be flourishing in March, but you can still make a pie out of any of them by using frozen fruit.
Image Credit: Alfredo Tisi 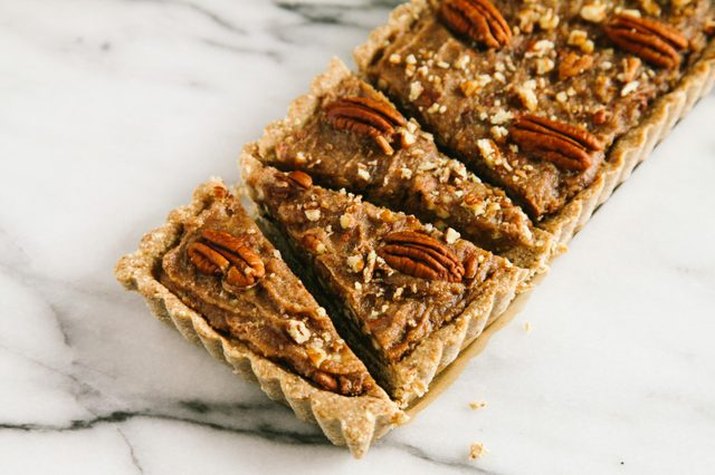 9 of 11
Satisfying No-Bake Pecan Pie
Pi day doesn't have to be unhealthy: this no-bake pecan pie is free of refined sugar, dairy and gluten – and it's delicious. Everyone can enjoy a piece, or two, and be guilt-free.
Image Credit: Ashlae Warner 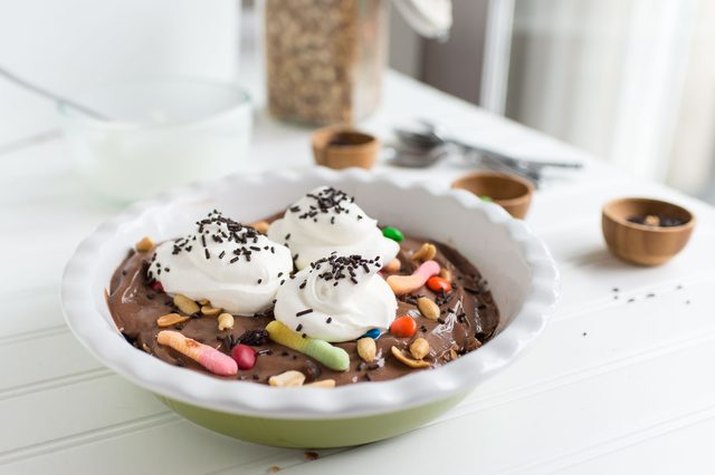 10 of 11
Kid-Friendly Mud Pie
Get children excited about math by celebrating pi day with this kid-friendly mud pie. Ingredients like instant chocolate pudding, Oreo cookies, whipped cream, and of course, gummy worms come together to make up this childhood classic.
Image Credit: Anne Dale 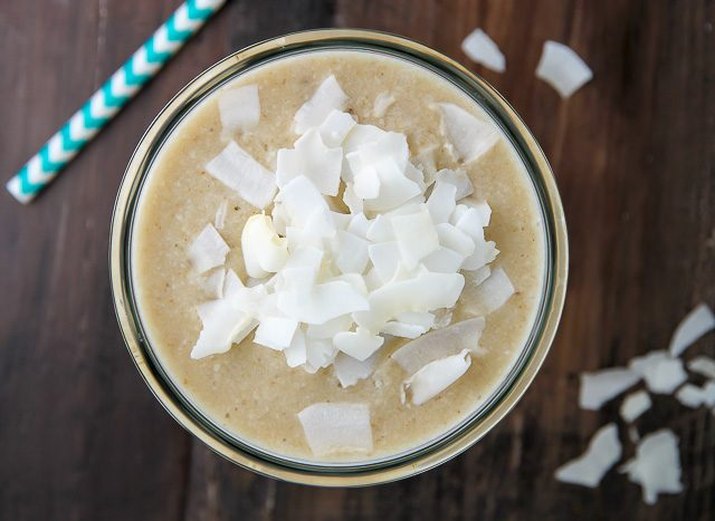 11 of 11
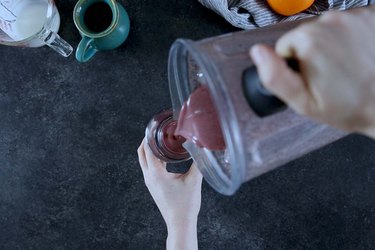
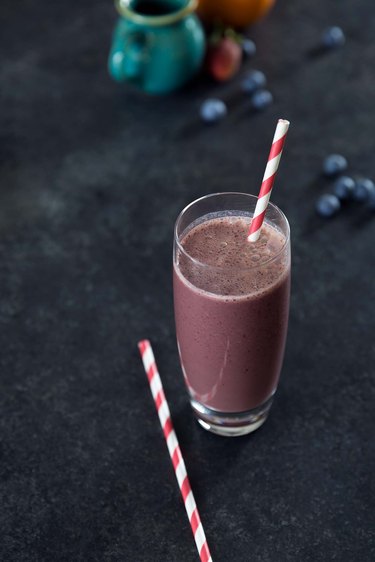
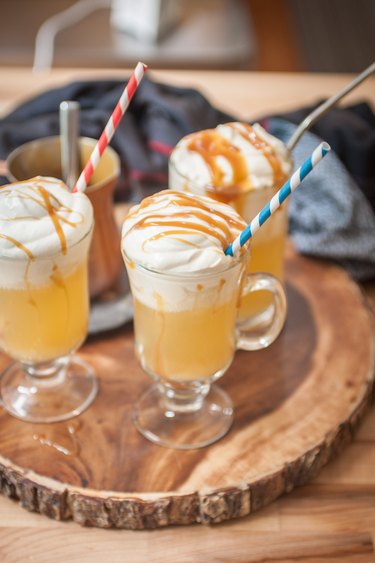
Sip-able Coconut Cream Pie
If you'd rather drink your pie than eat it — no judgement! — then whip up this delicious coconut cream pie smoothie. It's healthy enough that you can eat pie for breakfast, and that's a celebration in itself.
Image Credit: Ashley Manila

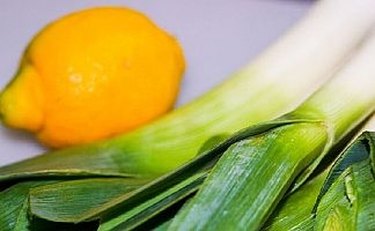 Fresh leeks
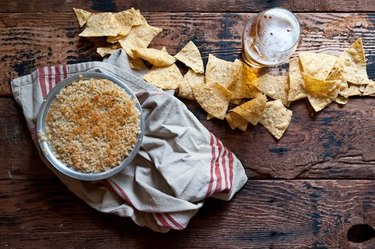 This jalapeño popper beer cheese dip pairs well with tortilla chips and a crisp beer.
 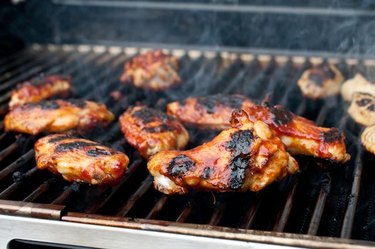 Sweet and tangy wings are a sure winner among sports enthusiasts.
  With this recipe, there’s no need to travel to a ballpark for a great chili dog.
 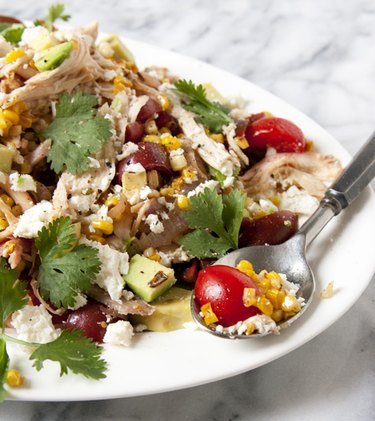 This charred corn with chicken and cheese salad is reminiscent of Mexican street corn.
  It’d be tempting to take a dive just for a bite of this bar food favorite.
 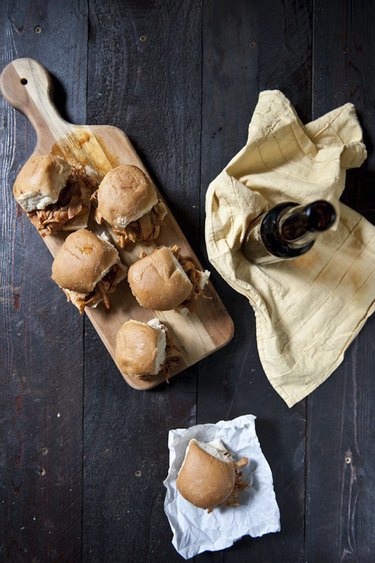 Sliders are a terrific meal option that can be made ahead of time.
  This chorizo, hatch chile and smoked porter chili also freezes well if you’re interested in saving some for future games.
 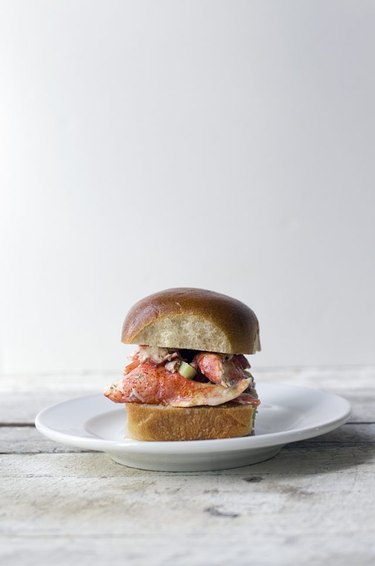 These lobster rolls can serve as a light nod to any New England teams you might be rooting for.
 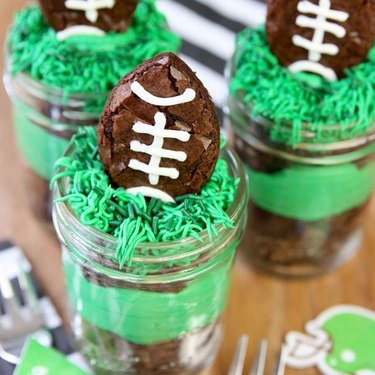 Preparing these desserts can be a fun activity to do with the younger sports fans.
 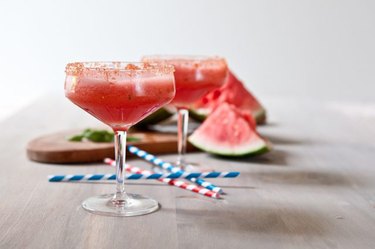 Sub out the triple sec and IPA to create a virgin cocktail that fans of all ages can enjoy.
 Step 1
 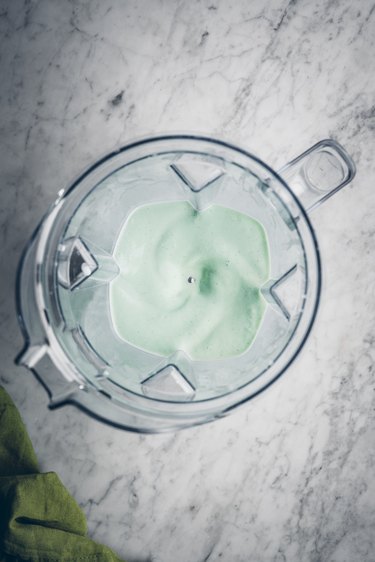 Step 2
 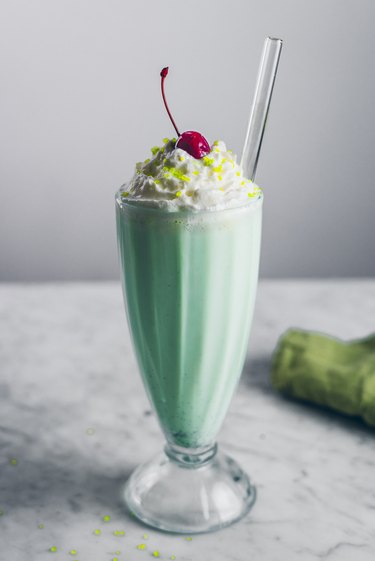 Step 3


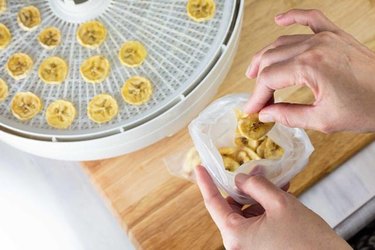 It\’s easy to dry bananas in a food dehydrator.
  Dip each slice in lemon juice.
  Place the slices on the dehydrator tray without allowing them to touch.
 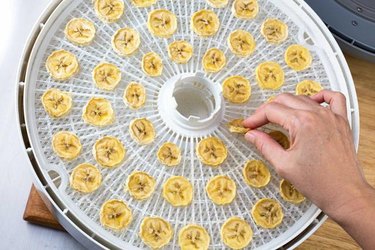 Check for a leathery to crispy firmness.
 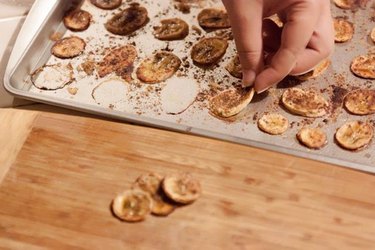 Bake banana chips in th eoven if you don\’t have a food dehydrator.
 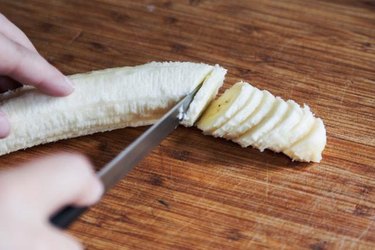 Cut all of the slices at the same thickness.
 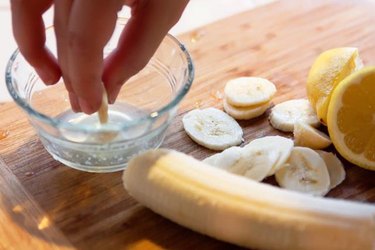 Coat the slices with lemon juice to prevent browning.
 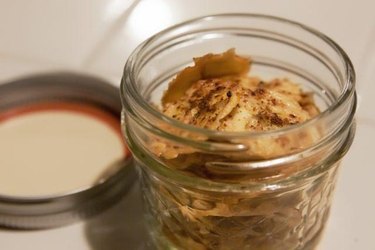 Store baked banana chips in an airtight container.


 Chocolate Shake Recipe")
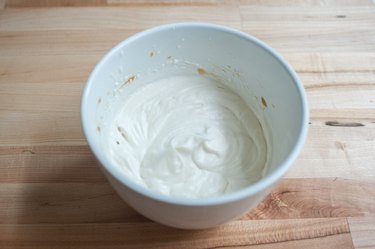
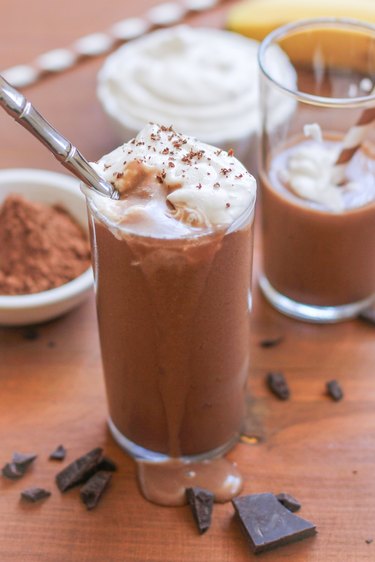 Enjoy your healthy chocolate shake with coconut whipped cream on top
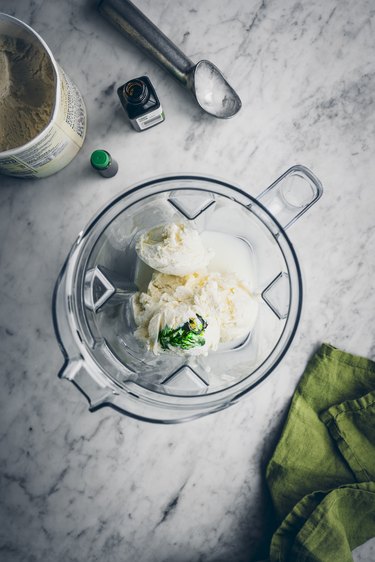
 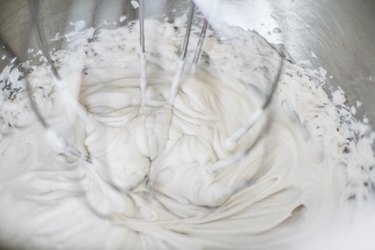 Make whipped cream using coconut milk.