 1 of 8
Let's be honest: acne is annoying, whether you're dealing with daily breakouts or a few clogged pores every few weeks. And while there are lots of factors that might be contributing to your acne — your skincare routine, irritating fragrance in your soaps or laundry detergent, and hormone fluctuations, to name a few — your diet can play a role too. Eating clean can help your skin look its best (not to mention it's great for your overall health) and these seven acne-fighters should be staples in your diet.
Vesela Boycheva/iStock/GettyImages 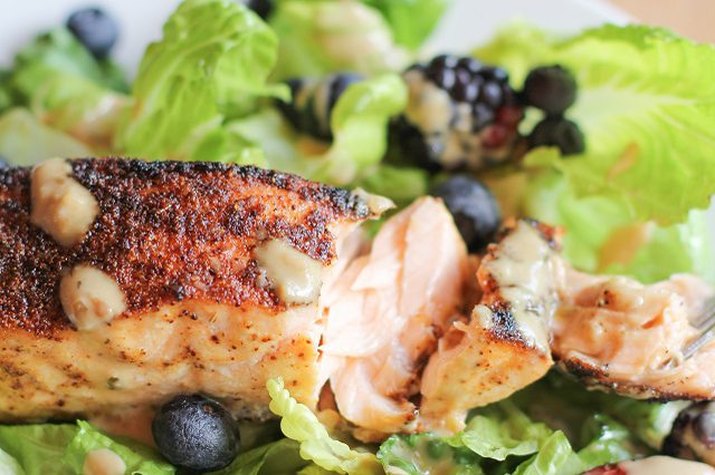 2 of 8
Salmon
At the top of your grocery list for clear skin? Fatty fish, like salmon. Salmon is among the best sources of omega-3 fatty acids, essential fats that you need to get from your diet because you can't make them yourself. Omega-3s have powerful anti-inflammatory properties, which makes them a smart choice for dealing with inflammatory conditions like acne. And essential fatty acids also help maintain your skin's natural lipid barrier, which helps protect your skin from infections (including acne!).
Make this delicious spiced baked salmon a staple in your weekly meal plan and watch your skin glow! The spices not only add flavor, but also supply antioxidants that benefit your skin.
Julia Mueller 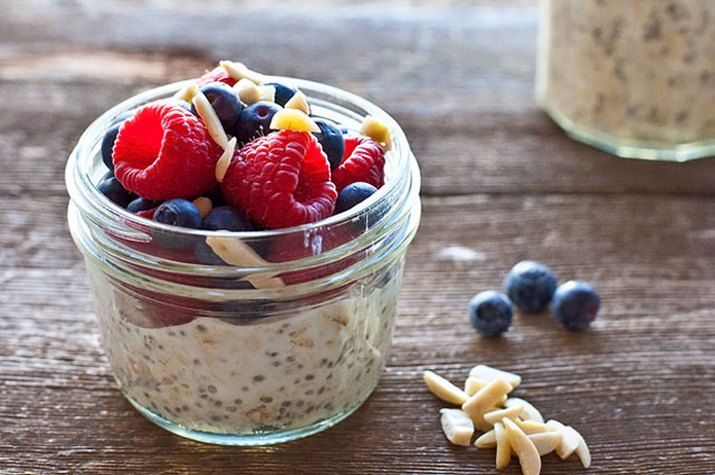 3 of 8
Chia Seeds
Plant-based omega-3 sources are important for clear skin, too, and chia seeds are the best source of these acne-fighting fats. Unlike flaxseed, which has to be ground up to access the omega-3s inside, you can get healthful omega-3 fats from both ground and whole chia seeds, so you have more flexibility in the kitchen. Chia also supplies calcium, protein and fiber to boost your overall health.
Use whole chia seed to make a satisfying chia pudding, or add a spoonful of ground chia seed to your favorite smoothie.
Sala Kannan 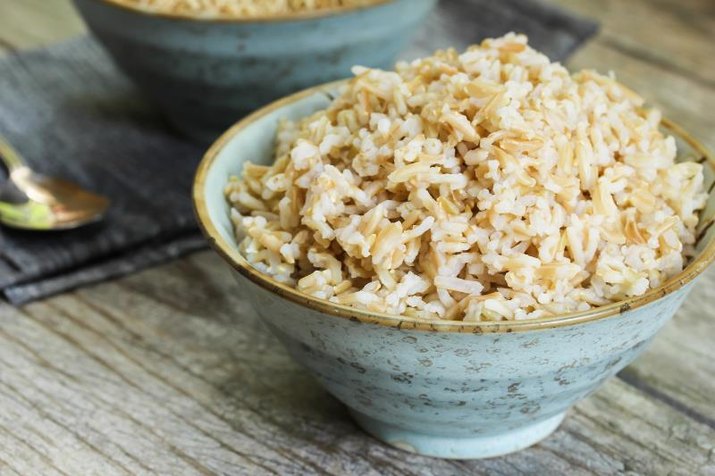 4 of 8
Whole Grains
That old wives tale that eating chocolate causes acne? That's pure fiction. But it is true that foods that trigger rapid changes in your blood sugar can contribute to your breakouts. That's why whole grains should make a regular appearance in your diet when you're trying to soothe your acne. They're loaded with fiber, which not only makes whole grains more filling than their refined counterparts, but also keeps your blood sugar more stable to help your acne.
Switch out any refined grain — like white bread, rice or pasta — for a whole-grain equivalent to help prevent breakouts. Use brown rice to make this simple egg fried rice for an easy weeknight dinner.
vm2002/iStock/Getty Images 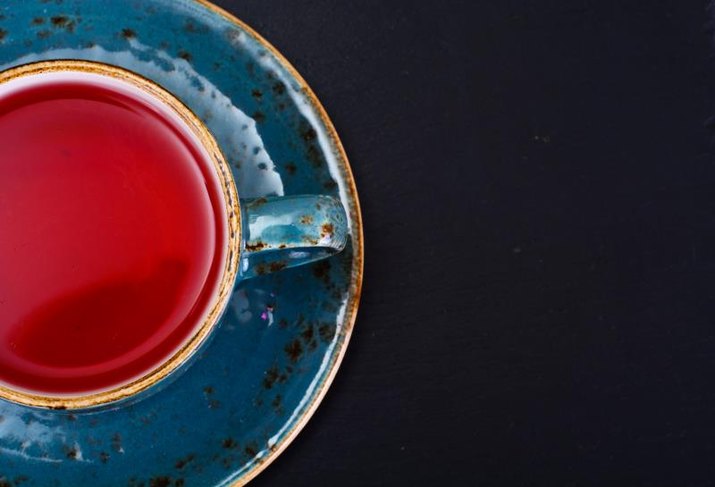 5 of 8
Rooibos Tea
Green tea might get more attention when it comes to health benefits, but rooibos is your best bet for helping calm acne. Like green tea, rooibos is loaded with antioxidants, which can help combat irritation that might otherwise lead to breakouts. However, because it's free of caffeine (unlike green tea) it's even more hydrating, which can help you skin look and feel better. Rooibos also contains several trace minerals, including calcium, iron and magnesium, that nourish your skin from the inside out.
Use iced rooibos in place of almond milk in this yummy smoothie, or sip vanilla rooibos with lemon for flavorful hydration.
ArtCookStudio/iStock/Getty Images 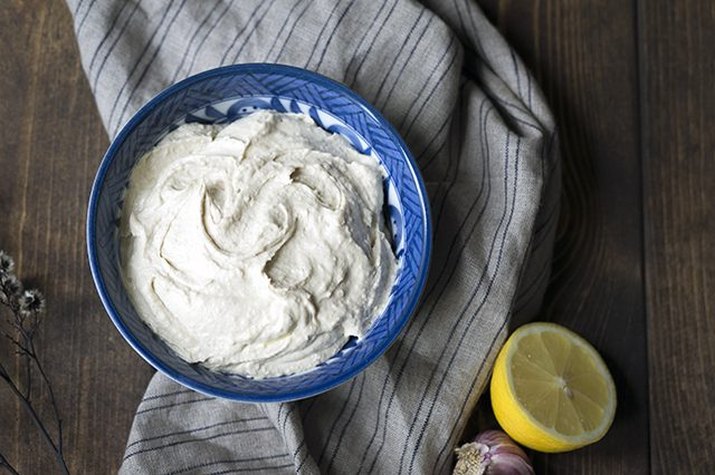 6 of 8
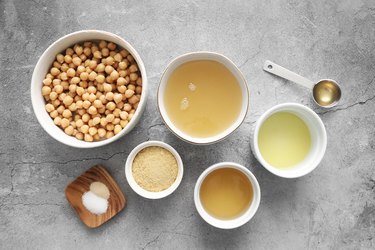
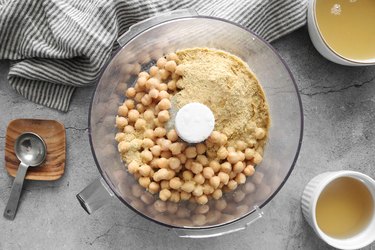
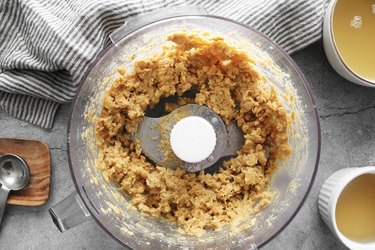
Chickpeas
Ah, the simple chickpea: tasty, versatile and ultra affordable. It's also fantastic for managing breakouts, thanks to its generous zinc content. Zinc plays a key role in your immune system — which you need to effectively fight off the bacteria that cause acne — and low zinc levels have been linked to breakouts. Chickpeas supply a significant amount of your zinc needs for the day, and they're also high in fiber to help stabilize your blood sugar levels. Also, hummus is delicious!
Add a handful of chickpeas to your favorite salad, or use them to add protein to homemade soup (like this comforting chicken soup that's loaded with protein and lean veggies).
Jennifer Farley 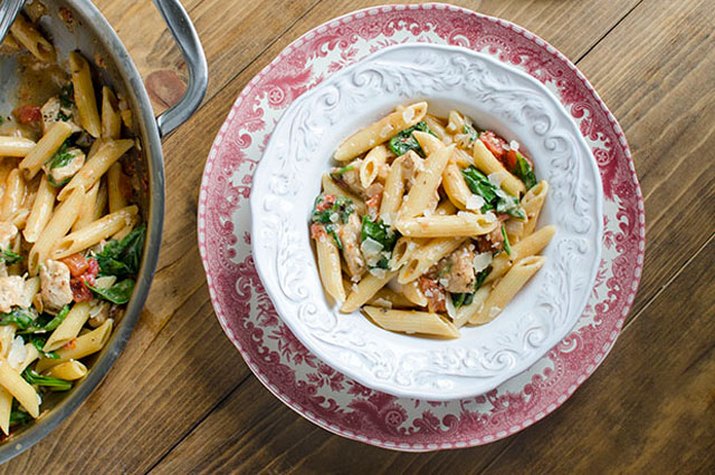 7 of 8
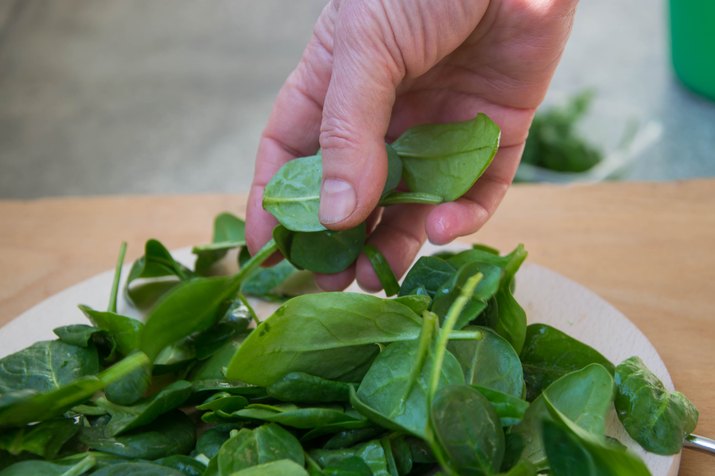
Spinach and Kale
Leafy greens like spinach and kale are a must-eat when you're trying to combat breakouts. Like most veggies, they're intensely hydrating, but spinach and kale are especially great for clear skin thanks to their vitamin A content. Vitamin A works together with zinc to nourish your immune system (so that you can fight off acne bacteria) and also promotes healthy cell turnover to keep your skin smooth and healthy. Beta carotene, the form of vitamin A found in these greens, also gives your skin a natural glow, you'll look more radiant as your skin clears up.
Add a handful (or three) of leafy greens to your smoothies for concentrated nutrients, whip up a French lentil and kale soup, or add spinach to a whole-wheat pasta dish, like this protein-packed option.
Valerie Brunmeier 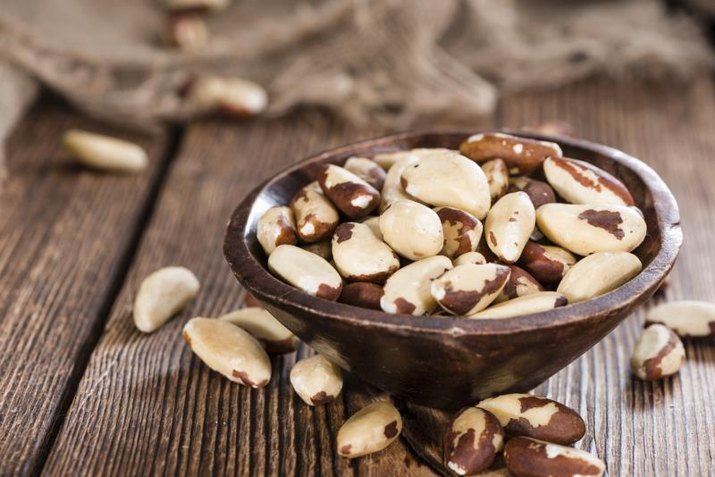 8 of 8
Brazil Nuts
Also essential in an acne-fighting diet? Selenium, an essential mineral. Selenium has powerful antioxidant function to combat irritation and inflammation, and getting enough selenium in your diet may help fight acne, studies show. Brazil nuts are, without a doubt, the best source of this mineral, since a single nut supplies all the selenium you need for the day. Simply take one Brazil nut each morning along with a glass of water to help clear your skin.
HandmadePictures/iStock/Getty Images


")