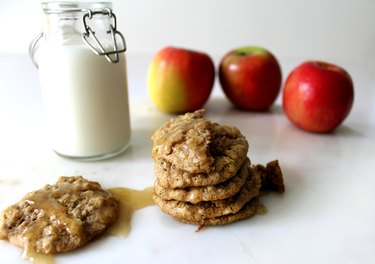
These soft, chewy, spiced apple oatmeal cookies are good on their own, but they're even better with a warm brown butter glaze. Made with chopped Honeycrisp apples, brown sugar and buttermilk the ingredients are fresh and work together wonderfully. The brown butter icing paired with the crunch of oatmeal gives the cookie a lovely nut-like smell and texture without using any nuts (a big win in nut-free households!). These spiced cookies are perfect in autumn and can easily be made at Christmastime, too.
Video of the Day
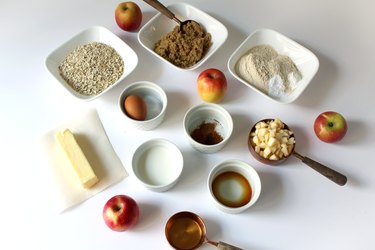
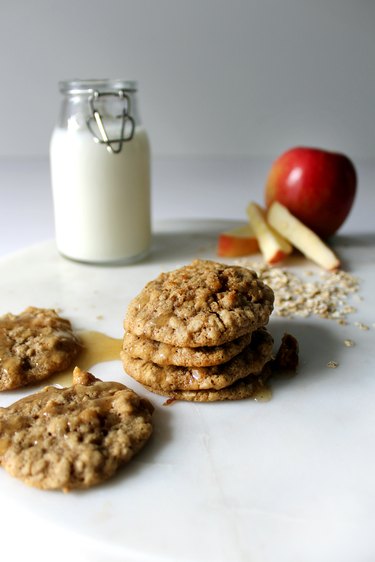
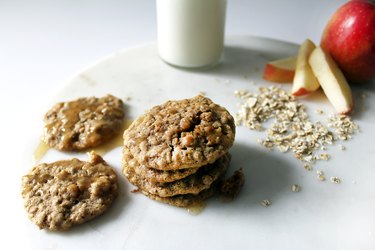
Spiced Apple Oatmeal Cookies Recipe
Serve these cookies on their own or with brown butter icing (recipe below).
Things You\’ll Need
-
1/2 cup salted butter, softened
-
1/2 cup vegetable oil
-
1 1/2 cups light brown sugar
-
1 egg
-
1 teaspoon vanilla extract
-
1/2 cup buttermilk
-
1 3/4 cup all-purpose flour
-
1 teaspoon baking soda
-
1 teaspoon baking powder
-
1 teaspoon ground cinnamon
-
1/4 teaspoon nutmeg
-
1/4 teaspoon clove
-
2 cups quick-cooking oatmeal
-
1 cup apple, peeled and chopped
Tip
This spiced apple oatmeal cookie recipe makes approximately 4 dozen petite, teaspoon-sized cookies. Store in an airtight container for up to three days.
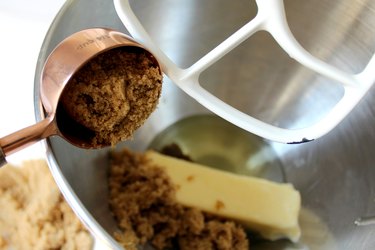
Step 1
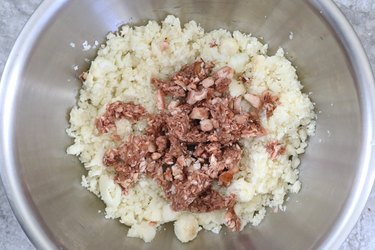
Using a mixer, combine softened butter, brown sugar, and vegetable oil. Mix until fluffy.
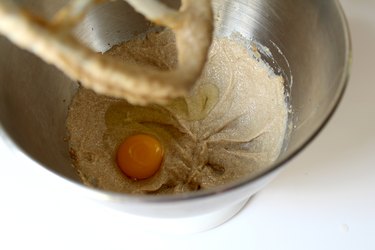
Step 2
Add one egg and beat until mixture is well blended.
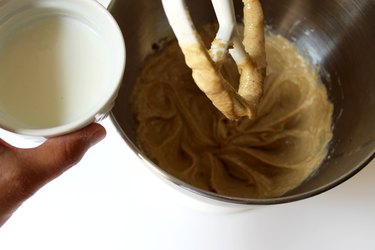
Step 3
Mix in buttermilk to cookie dough mixture.
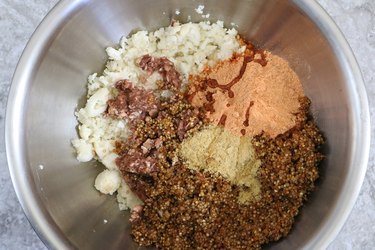
Step 4
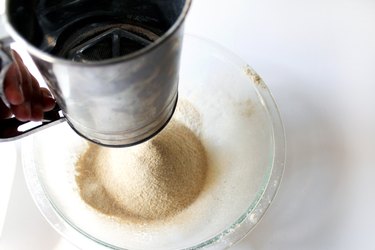
In a medium bowl, sift together flour, baking soda, baking powder, cinnamon, nutmeg and clove.
Step 5
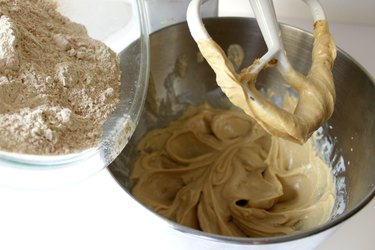
Stir sifted flour mixture into cookie batter.
Step 6
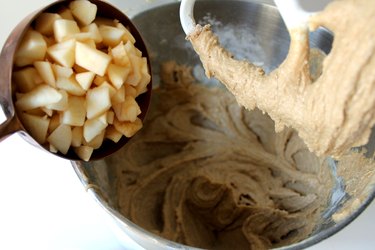
Gently mix in vanilla and chopped apples.
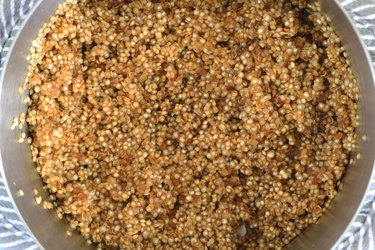
Step 7
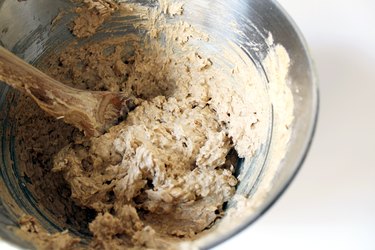
Fold oats into cookie batter.
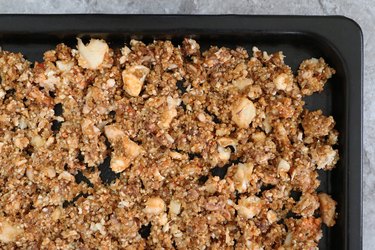
Step 8
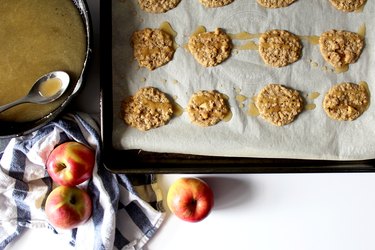
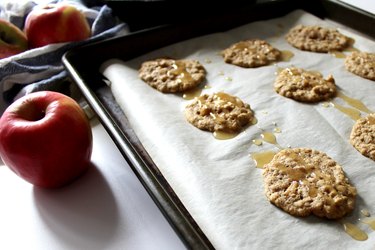
Lay out parchment paper on a baking tray. Drop teaspoon sized dough onto parchment paper, spacing evenly.
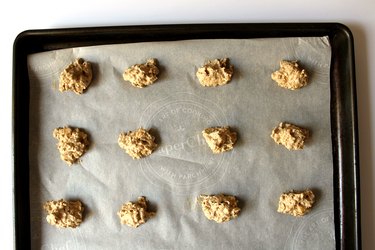
Step 9
Bake cookies at 350 degrees in a preheated oven for 8-10 minutes. Cool cookies while icing is prepped.

Brown Butter Icing Recipe
Drizzle this icing over freshly backed spiced apple cookies to truly please your tastebuds.
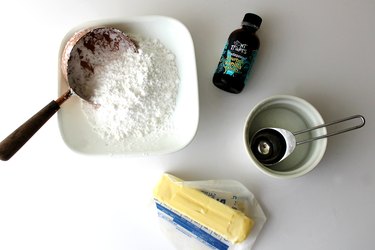
Things You\’ll Need
-
1/2 cup salted butter
-
2 cups powdered sugar
-
1 teaspoon vanilla
-
3 tablespoons water
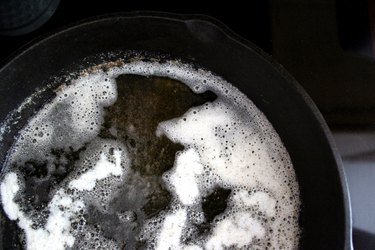
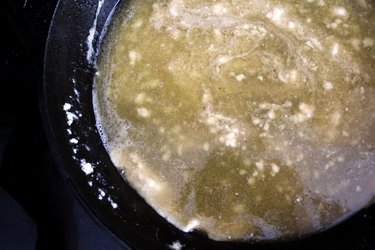
Step 1
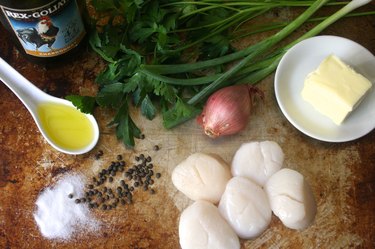
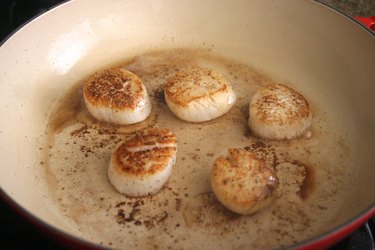
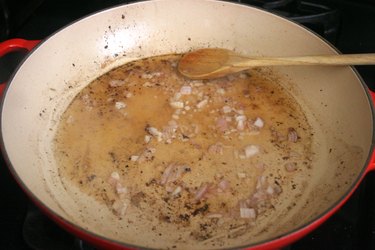
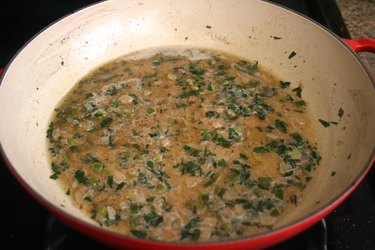
Heat 1/2 cup of butter in a heavy skillet or saucepan on medium heat until liquid turns golden brown (about 6-7 minutes.) Browned butter will have a nutty aroma with some brown flecks.
Step 2
Remove saucepan from heat and stir in 2 cups of powdered sugar and 1 teaspoon of vanilla.

Step 3
Whisk 3 tablespoons of water into brown butter mixture.
Step 4
Drizzle icing over cookies while icing is warm, and enjoy!


 Great coffee from a French press largely depends on water temperature.