You may have cranked up your food dehydrator to preserve apples and tomatoes, but less-common choices — cucumbers, for example — are also well worth drying. Eat chewy cucumber slices out of hand as a snack, or chop them and incorporate them into salads and sandwiches. Crisp cucumber chips can be lightly salted for a low-calorie alternative to potato chips, crumbled over your salads as a garnish, or powdered in your spice grinder and added to breading and seasoning mixtures for a subtle, summery note of flavor.
 Thin-sliced cucumbers can be dehydrated for long-term storage. Image Credit: tycoon751/iStock/Getty Images
Video of the Day
Things You\’ll Need
-
Sharp Knife Or Mandoline
-
Plastic Storage Bags
Dehydrator Method
Step 1
Slice your cucumbers into 1/8-inch rounds, using a sharp knife or a mandoline. The more uniform your slices, the more evenly and consistently the cucumbers will dry.
Step 2
Arrange the cucumber slices on your dehydrator's tray, spacing them evenly so they don't touch. Air must be able to circulate freely around the slices, or they won't dry properly.
Step 3
Load the trays into your dehydrator. If it offers variable temperature settings, any temperature between 120 and 140 degrees Fahrenheit is acceptable. Plug in the dehydrator and turn it on.
Step 4
Dry the cucumbers for 6 to 8 hours, until they reach the consistency you wish. Reaching a crispy, chip-like texture typically takes about two hours longer than for a leathery, chewy texture. Your actual time will vary with the efficiency of your dehydrator, the thickness of your slices, the ambient temperature and humidity, and many other factors.
Step 5
Remove the dried cucumbers from your dehydrator and let them cool on a wire rack until they reach room temperature. Package them in small quantities into airtight plastic bags and store them in a cool, dark place.
Oven Method
Step 1
Cut your cucumbers into 1/8-inch slices with a mandoline or sharp knife.
Step 2
Arrange the slices evenly on a parchment-lined baking sheet, taking care not to let them overlap. If they touch, they'll stick together after they're dried.
Step 3
Set your oven to the lowest temperature it can manage, ideally 150 F or less. If you're drying one sheet of cucumbers, place it in the middle of your oven, or if you're doing two sheets place them in the upper and lower thirds.
Step 4
Dry your cucumbers for 4 to 8 hours, depending how low a temperature your oven can manage. Turn the slices at least once to ensure the most even drying possible.
Step 5
Remove your dried cucumbers from the oven when they reach your desired degree of dryness and let them cool to room temperature before packaging them into airtight plastic bags for storage.
Tip
Choose perfectly ripe, firm, juicy, unblemished cucumbers for drying. Long English-style cucumbers can simply be sliced and dried, without further preparation. Waxy, warty, thick-skinned "field" cucumbers benefit from a bit of preparation. Peel the skin if it's thick and leathery, then cut the cuke in half lengthwise and scoop out the seeds. Slice the hollowed vegetable into half-moon shapes, then proceed as directed.
If your food dehydrator circulates air vertically, it's helpful to shuffle the trays at least once or twice during the drying process to ensure even dehydration. That step isn't usually necessary with dehydrators that circulate the air horizontally.
Cucumbers are technically a fruit, like tomatoes, and like other fruits they'll benefit from "conditioning" if you've dried them to a leathery texture. Pack them loosely into a sealer jar or large bag for seven to 10 days, so their moisture content can equalize between slices. Then divide and package them for long-term storage.


 How to Keep Mushrooms Fresh
  How to Keep Mushrooms Fresh
  How to Keep Mushrooms Fresh
 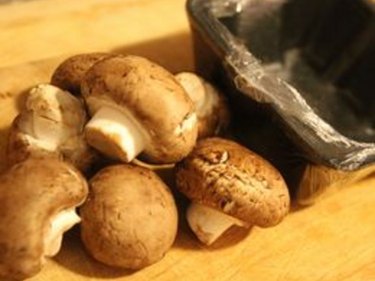 How to Keep Mushrooms Fresh
 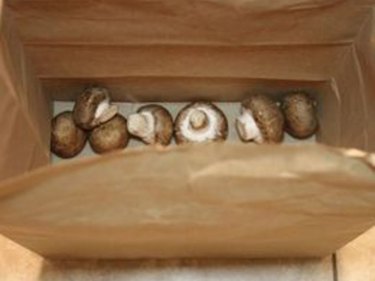 How to Keep Mushrooms Fresh
 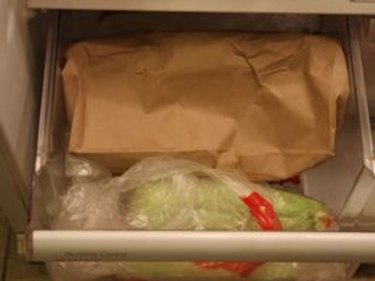 How to Keep Mushrooms Fresh
  How to Keep Mushrooms Fresh