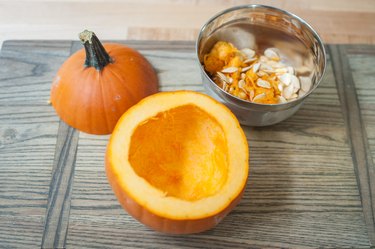
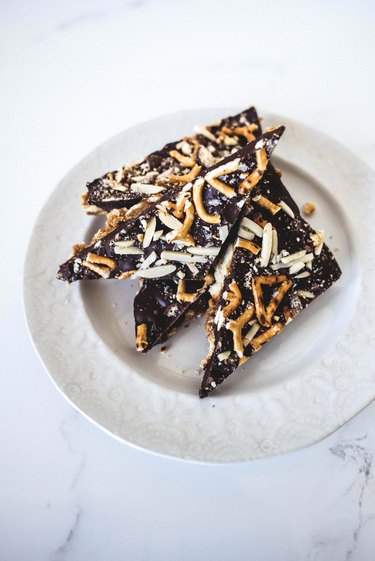
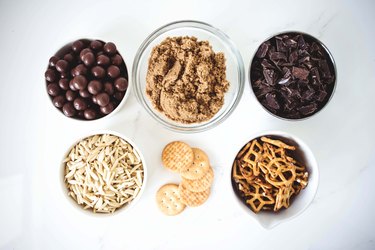
Coachella released its food offerings menu for the two-weekend festival, and while it's totally drool-worthy, trekking to the desert for three days may still be out of reach. But just like you can watch a live stream of the performances from the comfort of home, you also don't have to miss out on the festival's delicious food because you lack a coveted wristband. Create your own line-up of dishes using this comparative guide, and with a little prep, you can eat like you're right there in the crowd. You know, minus the whole weird, shirtless guy bumping into you while you dance.

Video of the Day
An Old Fashioned to Open the Festival
When people arrive on the polo fields, a plethora of alcoholic beverages are a given – including the whiskey cocktails that Seven Grand will be serving. Start your live stream and make this recipe for a timeless old fashioned to get in the spirit. Made with bourbon, bitters, orange peel and a basic simple syrup, this will quickly become your go-to drink for the next three days.

Hawaiian Poke for a Sunset View
While Sweetfin Poke will be on hand for hungry fans as the sun goes down, you can recreate the same raw fish dish at home with this recipe. Serve the marinated tuna in baked wonton cups for dance-friendly eating, and don't forget the toppings. Things like fresh cut pineapple, shredded carrots, green onions and avocado make all the difference – and you won't have to worry about a stranger accidentally knocking the finished dish out of your hands.

Mozzarella Stuffed Meatballs You Wouldn\’t Have to Search For
It goes without saying that friends stick together at Coachella, even if that means missing a set so that you can accompany your pal in a hunt for a meatball sandwich from Sotto. Join in that "ride or die" sentiment by making these meatballs yourself. Prepare them up to 24 hours in advance so they'll be ready whenever your bestie gets hungry.

Fried Chicken That Makes You Feel the Heat
Master the art of crispy fried chicken (as a nod to Free Range) as you get into a groove by paying attention to two key components: taking your time and watching the temperature. Season your bird with sweet paprika and cayenne pepper, and you can enjoy that spicy kick without breaking a desert sweat. And to get even more into it, devour your pieces with your fingers for the authentic festival experience.

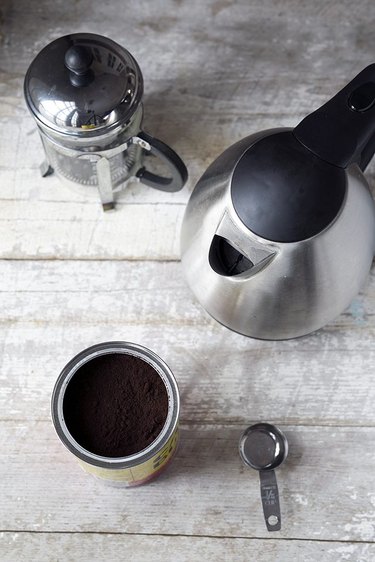
French Press Espresso to Welcome Saturday Morning
You're going to wake up more refreshed than if you had slept in a camping tent, but that doesn't mean you should miss out on a strong dose of coffee in the morning. Festival goers may have Blue Bottle Coffee, but you can whip out your trusty French press instead. Combine pre-ground espresso beans and hot water in your press and allow it to sit for 90 seconds before pushing down on the plunger. There's your cup of black gold, and you didn't even need mess with a tangled sleeping bag.
Stuffed French Toast as You Make a Day Plan
Like those who are starting their Saturday in the desert, you need your sustenance as you pick out which performances you'd like to see today. Take a hint from the Superba Food + Bread's brick-and-mortar menu, which serves croissant French toast, and make this stuffed version for breakfast. The hazelnut filling totally makes up for any feelings of FOMO about this pop-up near the stages.

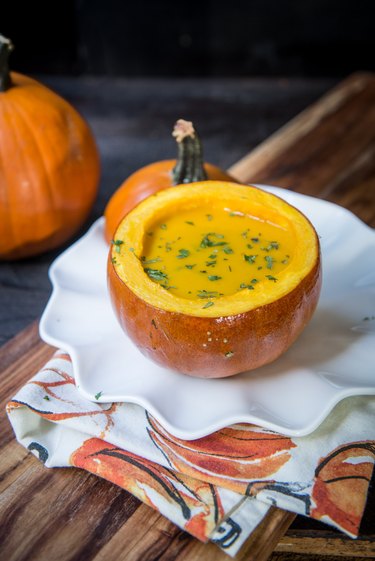
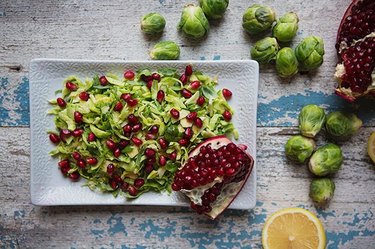
Brussels Sprouts with Pomegranates for When You Think of the Celebrities
O.K., so the collection of popular acts isn't the only reason why Coachella is such a hot ticket: the likelihood that you'll see an A-lister is also a worthwhile premise, too. Pretend you're sampling dishes from Joe Jonas' hip new restaurant, Hinterland, by recreating its brussels sprouts offering with pomegranate seeds and lemon dressing. You probably won't see a star in your living room, but at least this dish is (sorta) celeb-approved.
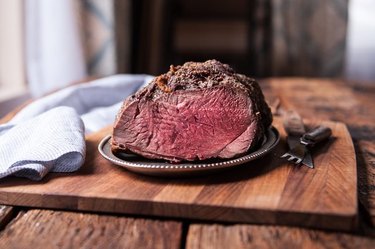
Beef Rib Eye Roast to Keep Your Energy High
Festival-goers will tell you that there's always a vital make-or-break moment that determines your level of fun for the day. For them, rallying for a slew of late-night parties means that an afternoon crash is inevitable. For you? Well, you're just hungry. As the crowds desperately wait in line for a Top Round Roast Beef sandwich, plan ahead and enjoy a beef rib eye roast without dealing with a hangry crew. And the very best part about making this at home: the leftovers!
Donut Holes That Will Keep the Beat
Anytime of the day is a good time for donuts, as Donut Farm would agree, and making them from pancake mix means you'll be able to satisfy your craving and get back to the dance party in your living room in no time. These do take a few minutes to fry up in a pan, but you can pause the live stream to make sure you don't miss a thing.

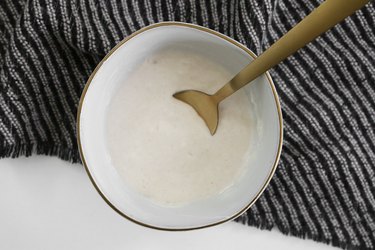
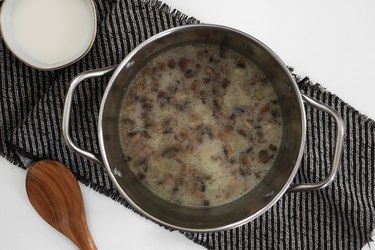
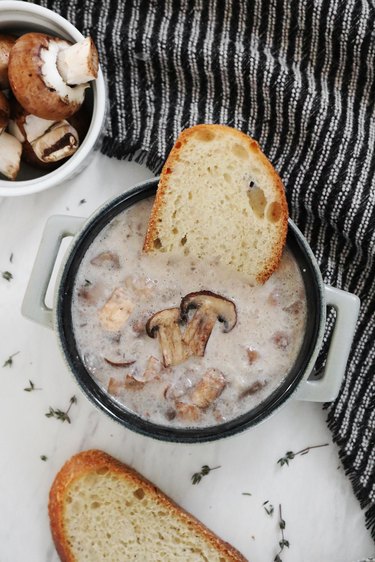
Ramen Soup You Can Savor Like a Favorite Song
Make this ramen recipe like Ramen Hood would, and you'll be able to savor every bite instead of trying to slurp it all down before finding a good spot for a must-see band. And unlike getting stuck behind some tall fans, there is really no way you can mess up this satisfying dish. Combine almost any seasonings with any vegetables, and the end result will be absolutely delicious.

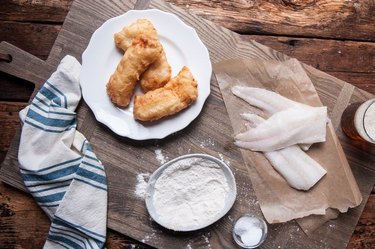
Your social media feed may be an endless stream of Coachella moments for the next two weekends, but this batch of beer battered fish will give you the perfect set-up for a #fromabove shot to break up the monotony. Add 12 ounces of pale ale to the batter, and serve up another 24 ounces for yourself. Your followers will appreciate the change of pace, and they'll be just as jealous about how your weekend is shaping up. You can thank Beer Belly's menu for the idea.
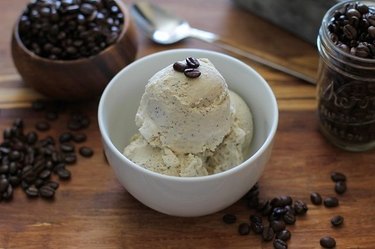
No Churn Coffee Flavored Ice Cream with a Side of AC
Between overpriced water, floppy hats and McConnell's Fine Ice Creams, wristband fans don't have many options when it comes to staying cool in the desert heat. But even if you're not exposed to the elements, that doesn't mean you won't want a cool treat come mid-afternoon. You only need five basic ingredients to make gourmet quality ice cream from your air-conditioned space.
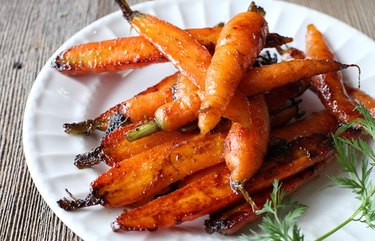
Garam Masala Glazed Baby Carrots for a Health-Conscious Moment
Munching on festival-inspired food isn't just about heavy offerings that leave you ready for a nap. You also need some substantial nutrition to give you enough energy to keep dancing, and that's where these glazed baby carrots come in. In keeping with the Commissary's healthy dishes, these veggies are covered in warm Indian spices and simmered in a skillet. They are so good you'll be eating them straight from the pan between songs.
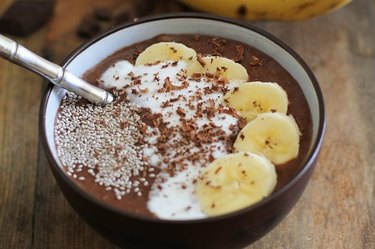
Acai Bowls for the Sunday Snooze Fest
By the third day of the weekend, fans may wake up with a sore back in a leaky tent. Phew, that's not you. Start your morning off with a bowl of antioxidant packed fruit, a la Backyard Bowls, and you'll be feeling just fine. Blend frozen acai with bananas, your choice of fresh or frozen fruit and milk. Pour the mixture into a bowl and dress it up with granola or shaved coconut. Perfection.
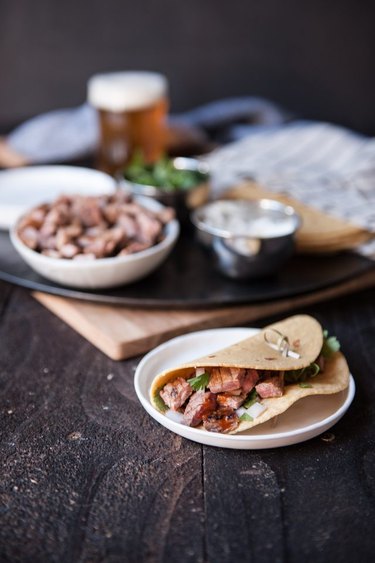
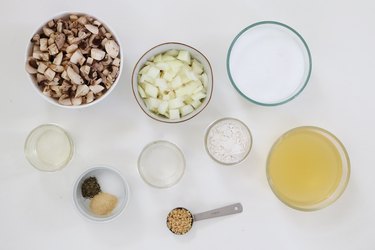
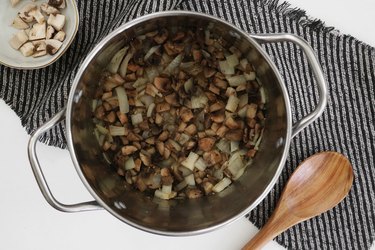
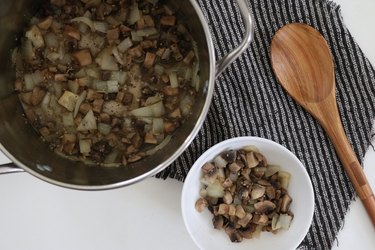
Steak Tacos To Stay in the Moment
By the third day, groups in the polo fields can start to get wary of the scene – and they may ditch the day's performances for a poolside party. Your equivalent may be an increasing desire to shut your laptop's screen. Don't get discouraged! Crank up the tunes and whip up a batch of juicy steak tacos, just like those served by Guerrilla Tacos. Add in all the fixings, and you'll be glad you powered through, just like the die-hards at the festival.
Tandoori Chicken to Eat With the Last Headliner
As the crowd is throwing on jackets for one final night of the desert's moonlight cool down, you can warm up from the inside out with this Indian spiced tandoori chicken recipe inspired by Badmaash. Squeeze on some lime juice and top with slices of red onion before taking a seat to watch Coachella's final performance. You deserve to take a bow, too.


 2 of 12
 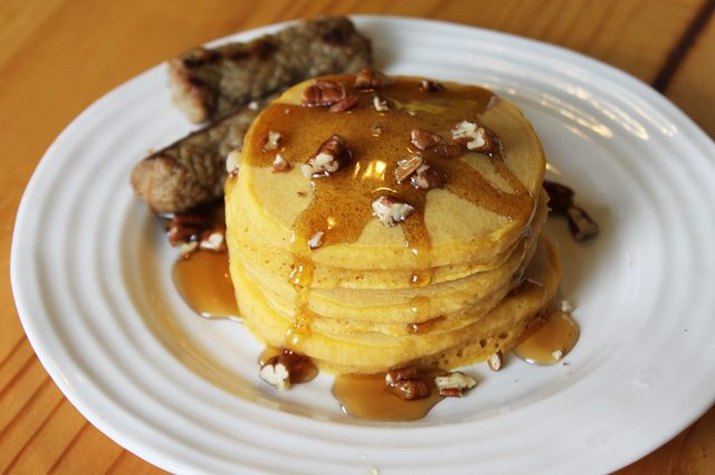 3 of 12
 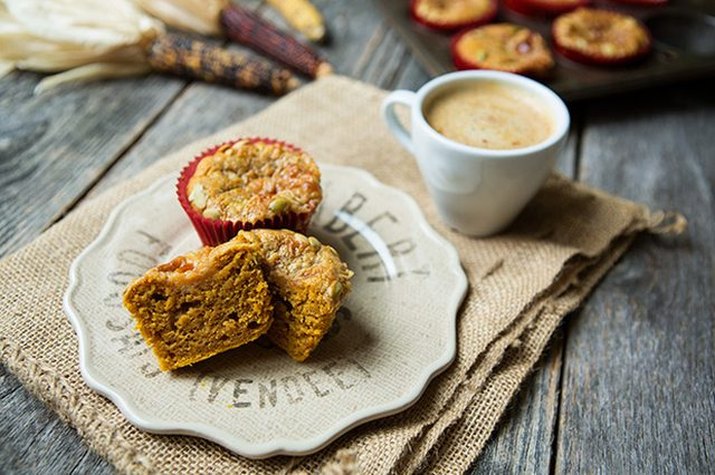 4 of 12
 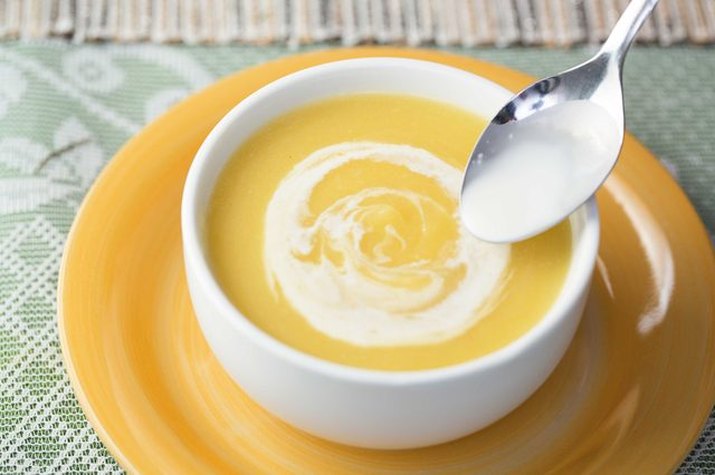 5 of 12
 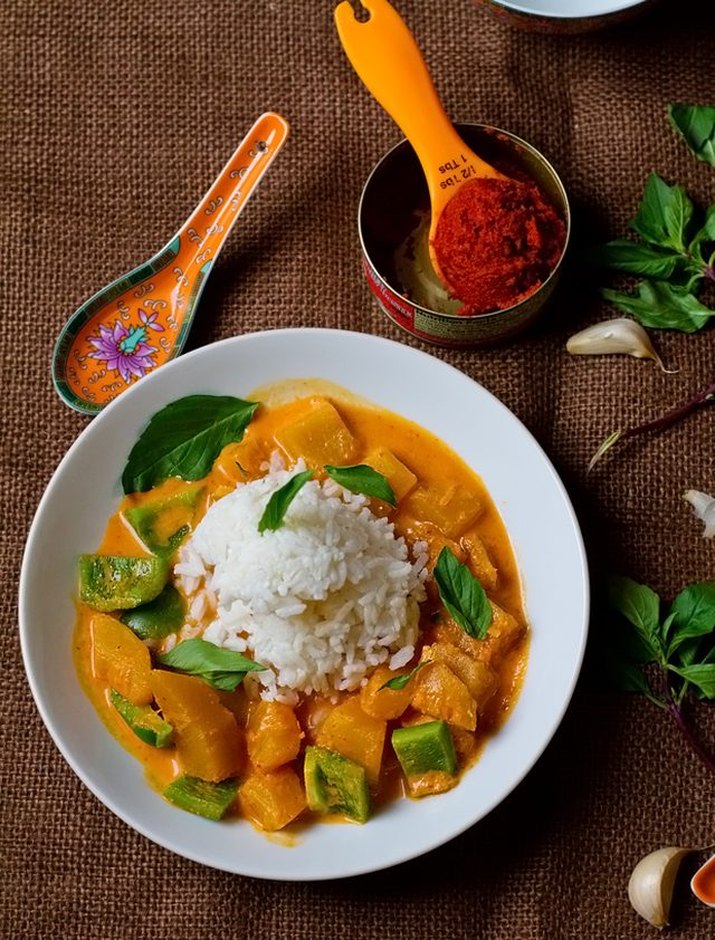 6 of 12
 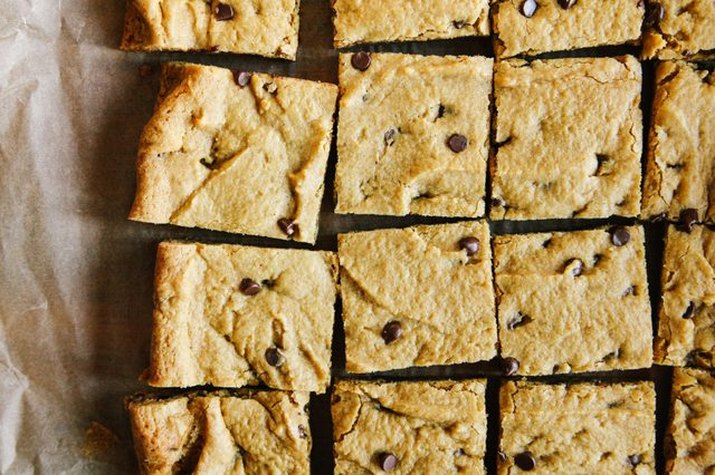 7 of 12
  8 of 12
  9 of 12
  10 of 12
  11 of 12
  12 of 12

 How to Make Pure Alcohol
  How to Make Pure Alcohol
  How to Make Pure Alcohol

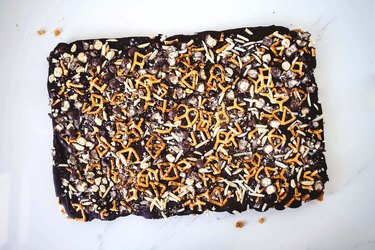
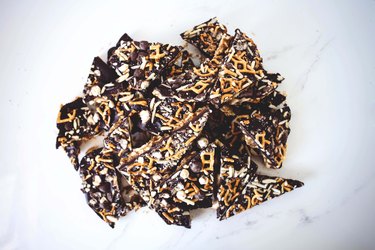
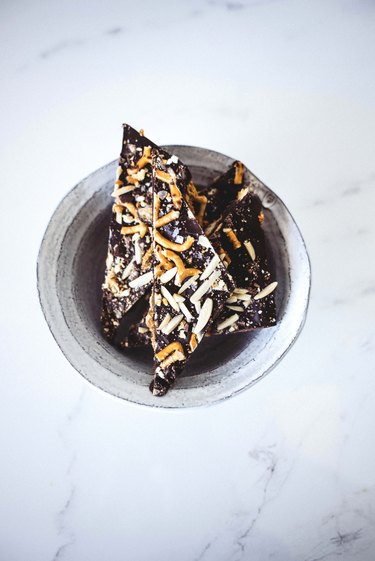
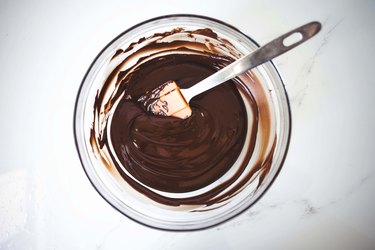 Melt the chocolate until smooth.


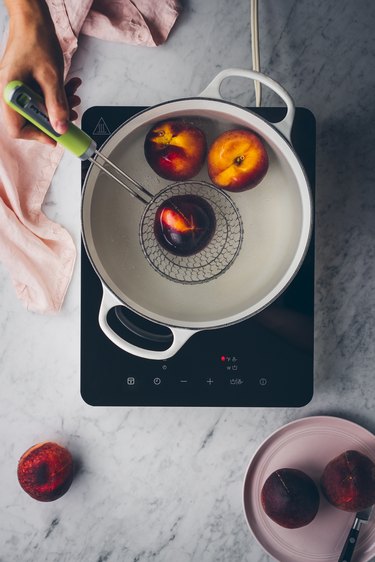 Soaking peaches in hot water
 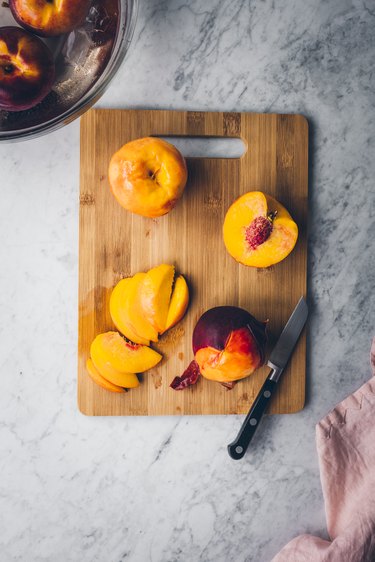 Slicing Peaches
  Poaching peaches
 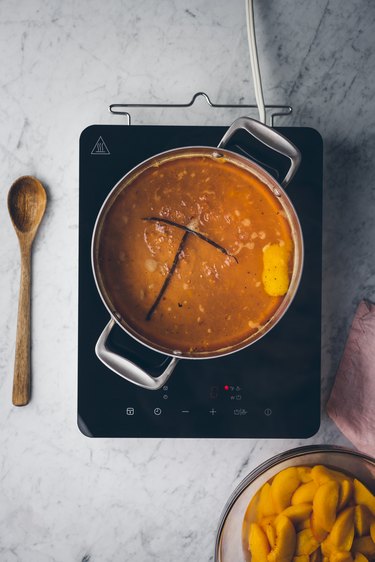 Reducing wine
 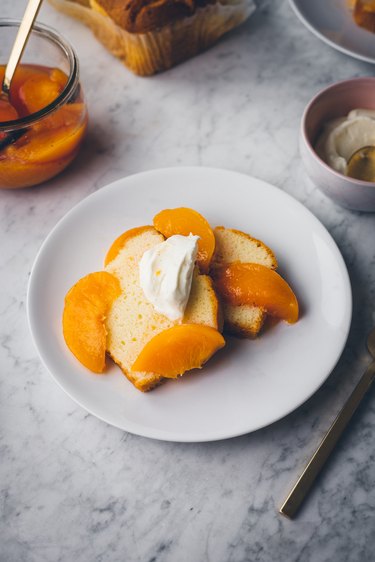 Peaches spooned over cake pound caked
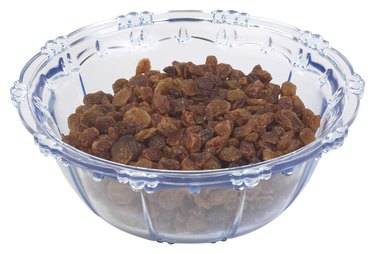 Glass bowls are ideal for plumping raisins in the microwave.
 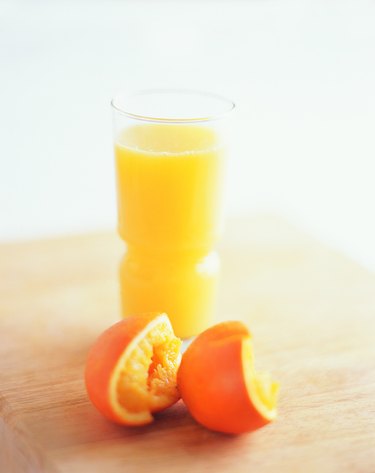 Substitute orange juice or apple juice for water, for a different taste.