There is something so comforting about the rich flavors of autumn. And thanks to these rosemary turkey meatballs with pumpkin cream sauce, you can taste the season in every bite. The fresh rosemary adds pine-like notes while canned pumpkin brings in a warm, squash-like sweetness. To top things off, this dish is extremely versatile. Toss it with pasta, serve it on top of rice, or stuff it in a sandwich. You can even just stick toothpicks in the meatballs and call it a day. Regardless of your style or preference, this recipe will be sure to please.

Video of the Day
Rosemary Turkey Meatballs
Things You\’ll Need
-
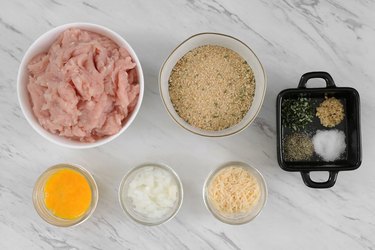
1 pound ground turkey
-
1/2 cup seasoned breadcrumbs
-
1 egg, lightly beaten
-
1/4 cup finely minced onion
-
1/3 cup grated Parmesan cheese
-
2 teaspoons fresh rosemary, finely chopped
-
1 teaspoon minced garlic
-
1/2 teaspoon ground black pepper
-
1/2 teaspoon salt
Tip
If you eat a gluten-free diet, use gluten-free breadcrumbs.
Step 1
Pre-heat the oven to 400 degrees Fahrenheit. Line a metal baking sheet with parchment paper.
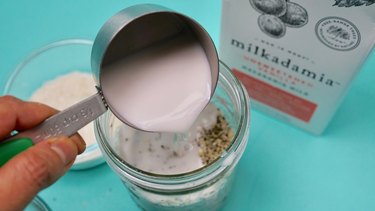
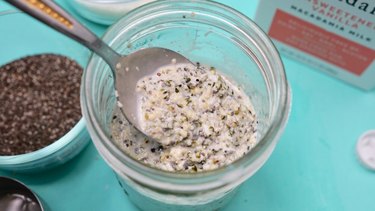
In a large bowl, combine all of the ingredients.
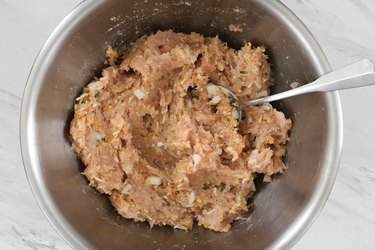
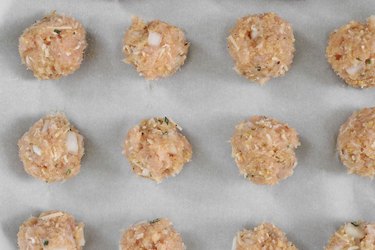
Step 2
With your hands, form the mixture into 1 1/2-inch meatballs. Place on the baking sheet. Bake for 23 to 25 minutes or until the meatballs are lightly golden brown.
Pumpkin Cream Sauce
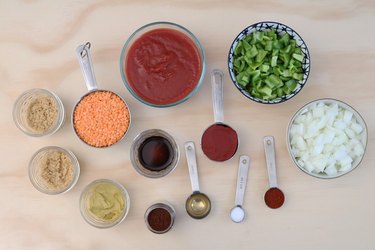
Things You\’ll Need
-
15 ounces pumpkin puree
-
1 cup half & half or heavy cream
-
2 tablespoons butter or olive oil
-
1/2 cup minced onion
-
1/2 cup grated Parmesan cheese
-
1 cup water or broth
-
Salt and pepper, to taste

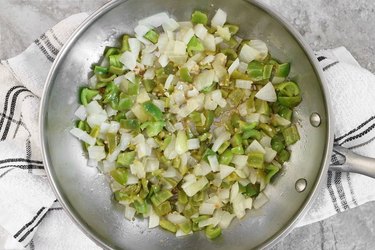
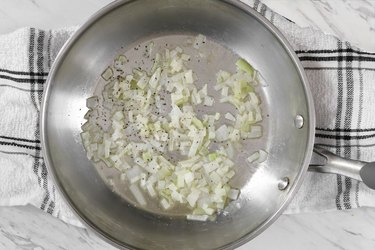
Step 1
Melt the butter in a pan over low-medium heat. Add the onion, salt, and pepper. Cook for 6 to 7 minutes or until soft.
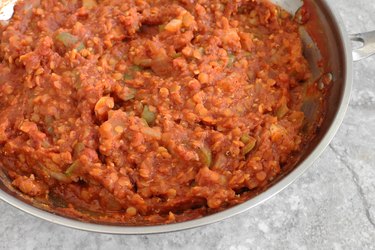
Step 2
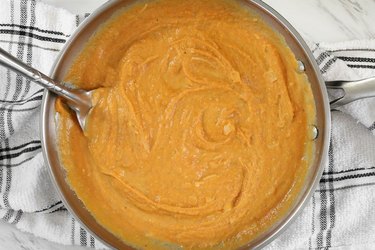
Add the pumpkin, half & half, and Parmesan over medium heat. Mix until smooth.
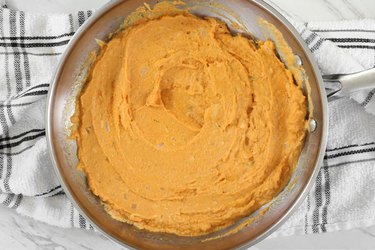
Step 3
Add water and mix. Cook for 8 to 10 minutes, making sure the sauce does not boil.
Tip
For a thinner sauce, add more water until it reaches your desired consistency.
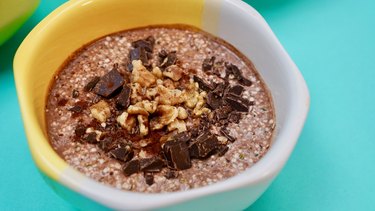
Toss the meatballs in the sauce. Top with extra Parmesan cheese and fresh rosemary. Serve with brown rice, quinoa, or pasta. You can even turn this dish into a sandwich or wrap!
If you're hosting a party, these rosemary turkey meatballs can double as an appetizer. Simply insert toothpicks into the meatballs and serve the pumpkin cream sauce as a dip.