 1 of 16
It is a universally acknowledged truth that a man in possession of a good appetite must be in want of a meal. Instead of going out to eat, you're going to show off your mad cooking skills and make a dish that he won't forget. New flame, long time flame, it doesn't matter: these 13 recipes will have him coming back for more.
eHow  2 of 16
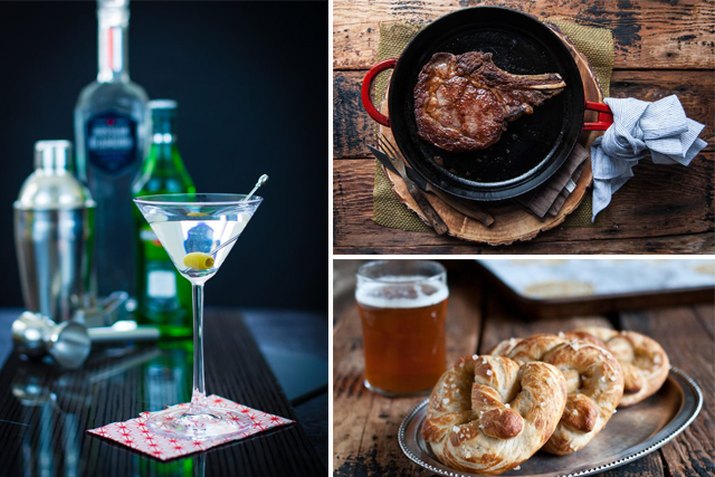
For the Classic Gentleman
Start off the night with a pair of martinis for you and the guy who takes his style inspiration from Old Hollywood stars. Shaken, not stirred.
Raul Zelaya  3 of 16
For the Fish Foodie
A man who appreciates a good seafood meal will be head over heels for this ahi poke appetizer. Follow up with a main meal of grilled fish or sushi.
Tieghan Gerard  4 of 16
For the Sports Superfan
If he loves the food served at a sports arena, he'll die for these beer-infused pretzels. After taking one buttery bite, he'll call these pretzels a home run.
Jackie Dodd  5 of 16
For the Brunch Bro
Make these Bloody Mary oyster shooters for the man who loves brunch as much as you do. Fun fact: oysters are a well-known aphrodisiac.
Jennifer Farley  6 of 16
For the Comfort Food Lover
You know he loves mac and cheese and buttermilk biscuits, but you're looking for a next-level side dish. Here's where this recipe comes in: he won't even know what hit him when he digs into twice-baked beer cheese red potatoes.
Jackie Dodd 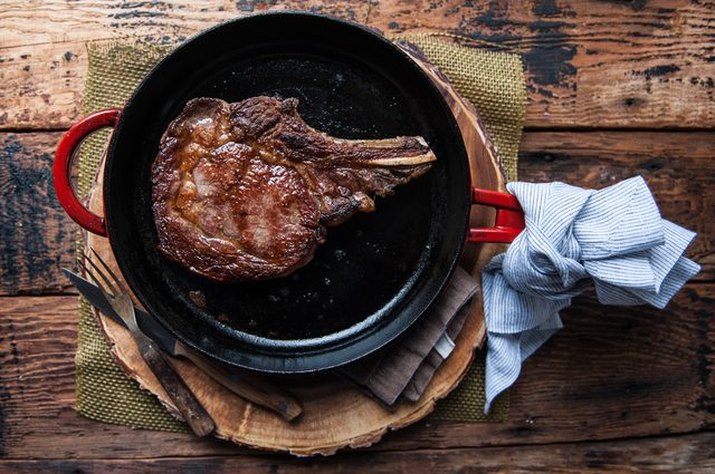 7 of 16
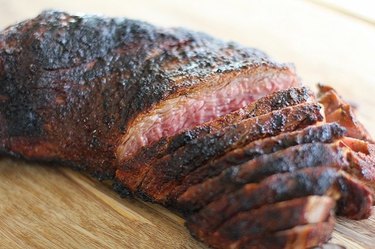
For the Cowboy
No fire pit to grill your lone ranger a BBQ spread? No worries — break out your iron skillet for a juicy steak. Pop some potatoes in the oven and crack open a few beers for the perfect country-inspired meal.
Jackie Dodd  8 of 16
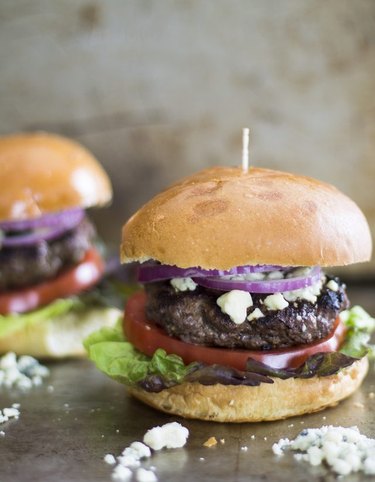
For the Romantic
For the man who is a hopeless romantic, make a big bowl of prosciutto carbonara pasta for the two of you to share. Cue your cute Lady and the Tramp moment.
Shaina Olmanson 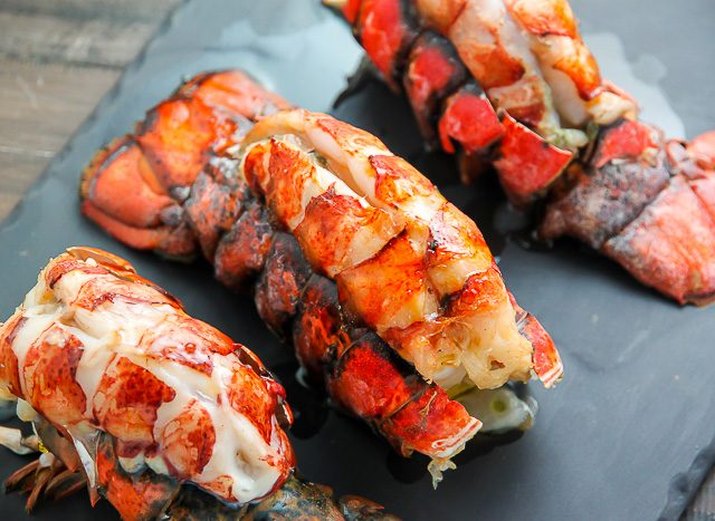 9 of 16
For the Culture Connoisseur
Go all out for the guy who enjoys the finer things in life. Lobster tails are easy to bake in the oven, and pair well with steamed mussels or risotto.
Ashley Manila  10 of 16
For the Culinary Adventurer
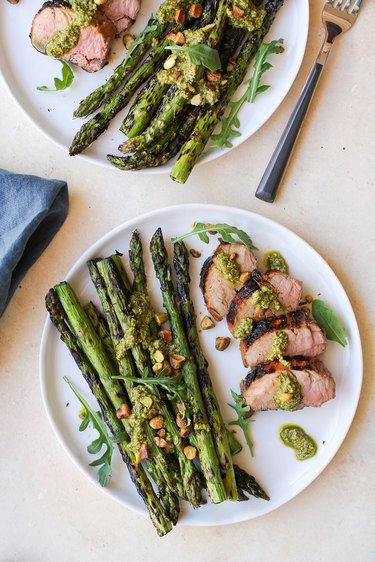
Whip up some stuffed salmon for a man who's down to try any cuisine. Pro tip: prep a few pieces with different flavor combinations to keep his taste buds guessing.
Julia Mueller 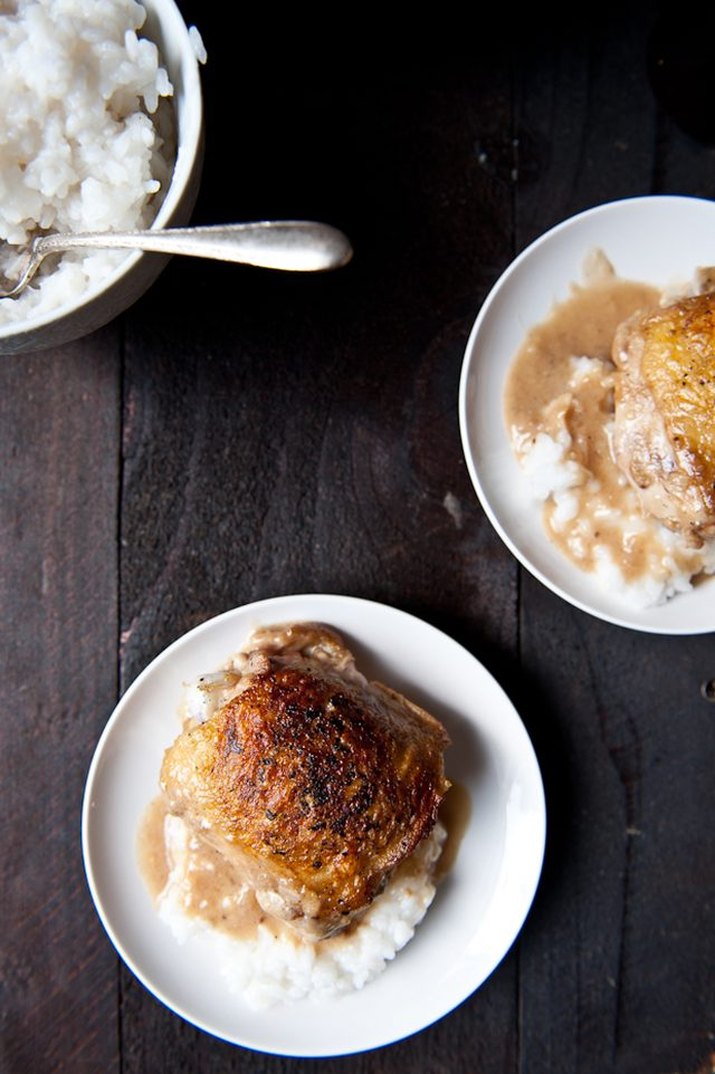 11 of 16
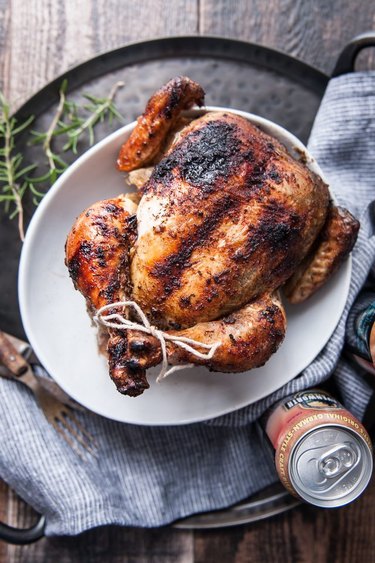
For the Down-to-Earth Dude
Some guys like to have a quiet dinner at home, and that's no problem for you — you're going to cook this skillet chicken that has cheese, mustard and beer. What's not to love about you and your cooking skills?
Jackie Dodd 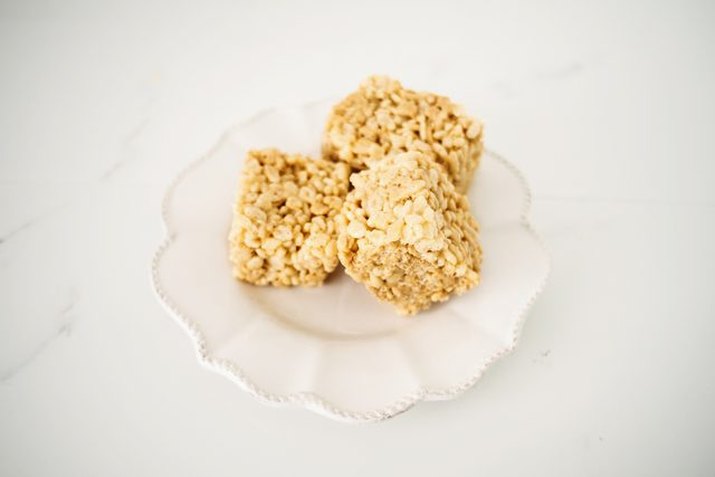 12 of 16
For the #TBT Tagger
A man who loves all things old school will appreciate classic rice krispie treats. After one look at this dessert, he'll post a photo all across social media praising your choice.
Thalia Ho  13 of 16
For the Chocolate Enthusiast
The saying goes that the way to a man's heart is through his stomach. If yours loves anything and everything chocolate, bake this dark chocolate and caramel crepe cake. Trust me.
Thalia Ho 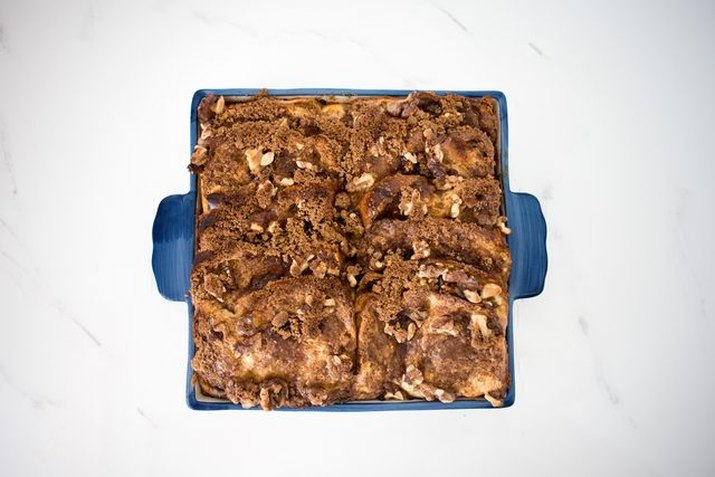 14 of 16
For the Sweet Tooth Sweetheart
And when dinner goes really well, you'll need an equally awesome breakfast dish for the next morning. Make this french toast casserole in advance and pop it in the oven when the time is right. When he sees how thoughtful you are by making the food he loves, you'll have his heart forever.
Thalia Ho  15 of 16
Other Dishes You Should Dig Into (We Think He\’ll Like These, Too!)
39 Surprisingly Delicious Boozy Recipes Featuring Beer
eHow  16 of 16
No-Bake Desserts and Sweets
No-Bake Desserts and Sweets
eHow


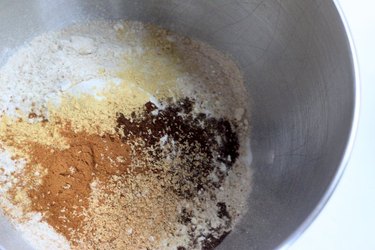


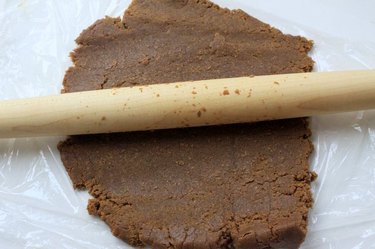
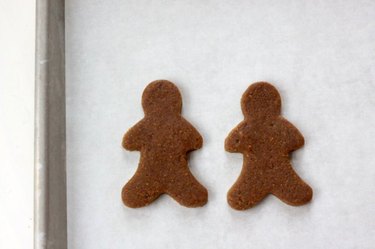


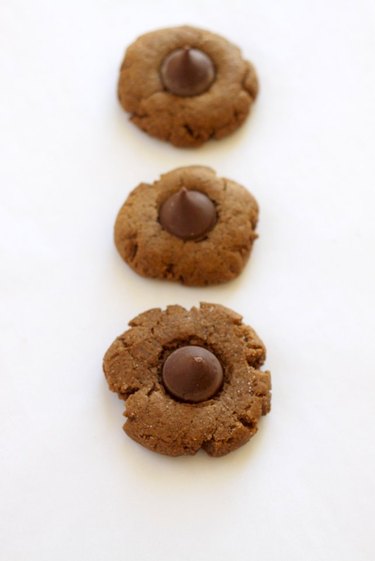 Gingerbread cookies with chocolate Kisses
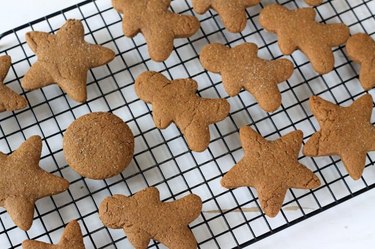
  Gingerbread cookies in all shapes & sizes


")