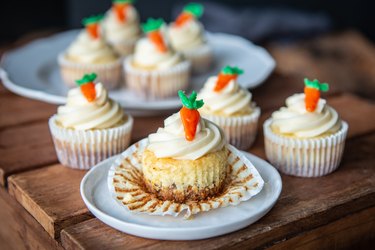
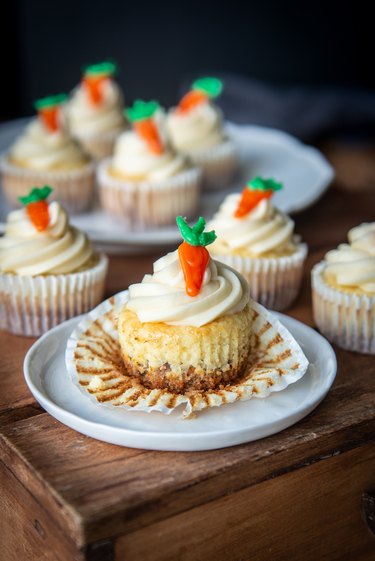
These cupcakes are an absolute necessity for Easter, or any Spring gathering. The cake layer comes together in one bowl with just a few steps, and the cheesecake is just as simple, creamy and delicious. It's equal parts favorite desserts, and new and exciting treat. These little cupcakes are perfect to make in advance and stay moist and fresh for several days. Plus, they're always a big hit!
Video of the Day
Tip
This recipe makes 24 cupcakes.
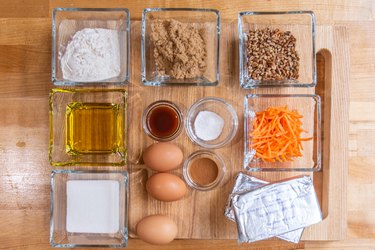
For the Cake Layer:
Things You\’ll Need
-
1 cup flour
-
1 cup packed brown sugar
-
2 teaspoons baking powder
-
1 teaspoon salt
-
1 teaspoon cinnamon
-
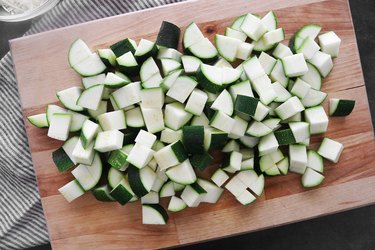
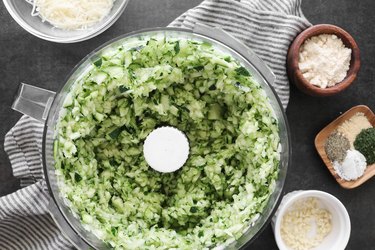
1 cup shredded carrots
-
1 cup chopped pecans
-
2 large eggs
-
2/3 cup vegetable oil
-
1 teaspoon vanilla extract
-
24 cupcake papers
For the Cheesecake Layer:
Things You\’ll Need
-
2 (8oz) ounce package cream cheese, room temperature
-
2/3 cup granulated sugar
-
1 teaspoon vanilla
-
2 large eggs room temperature
-
1 teaspoon salt
For the Frosting Layer:
Things You\’ll Need
-
8oz package cream cheese, room temperature
-
1/2 cup unsalted butter, room temperature
-
3 cups powdered sugar
-
1 teaspoon vanilla extract
-
Carrot candy decorations, optional
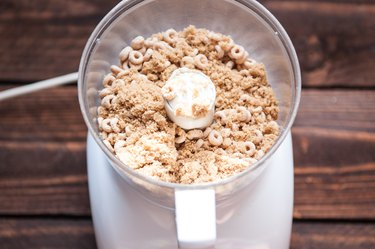
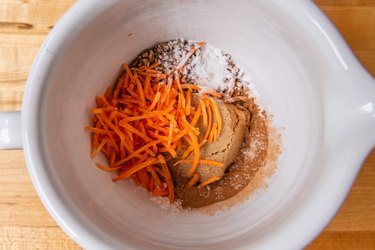
Step 1
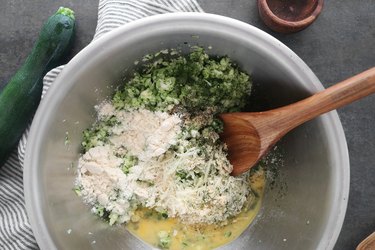
In a large bowl stir together the dry ingredient for the cake layer; flour, brown sugar, baking powder, salt, cinnamon, carrots and pecans.
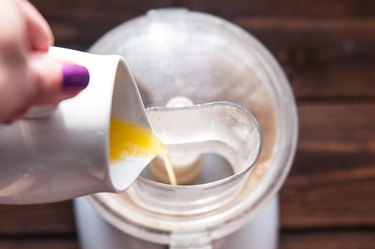
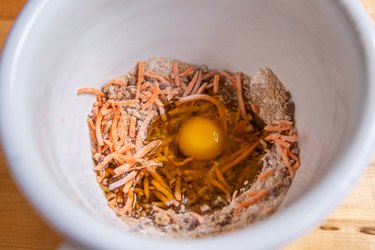
Step 2
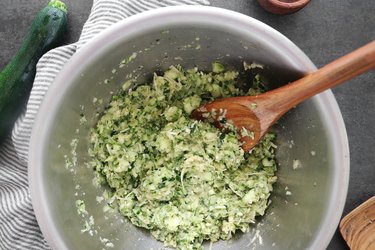
Stir in the egg, vegetable oil and vanilla extract.
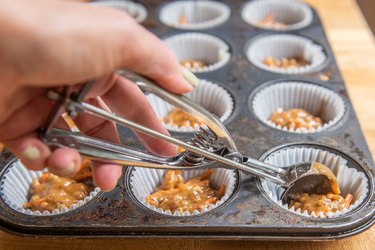
Step 3
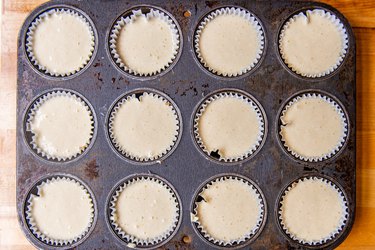
Line a muffin tin with 24 cupcake papers. Distribute the batter evenly between all 24 of the papers.
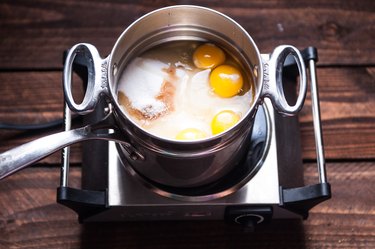
Step 4
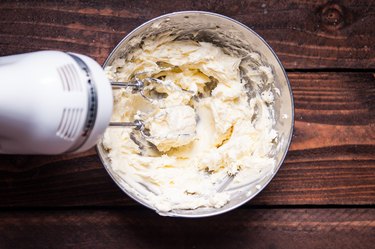
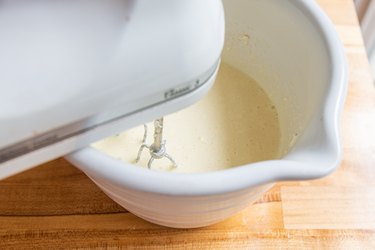
Using a handheld mixer, beat the cream cheese for two minutes, then add all the remaining cheesecake layer ingredients. Beat until well combined.
Step 5
Add the cheesecake layer on top of the cake layer, evenly distributing between the 24 cupcake papers.
Step 6
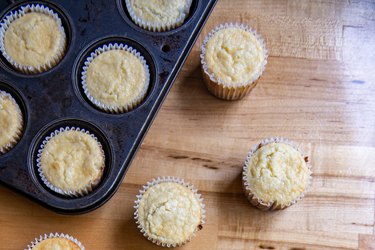
Bake for 18-25 minutes or until the top has puffed slightly and no longer jiggles when you shake the rack. Allow to cool completely before frosting.
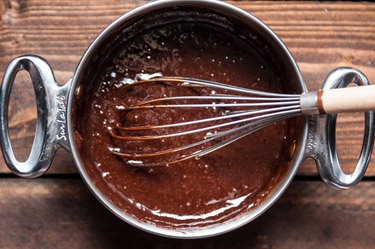
Step 7
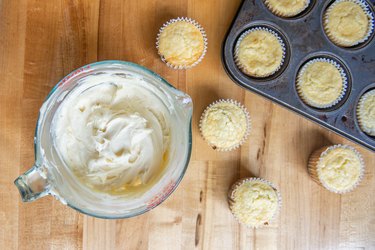
To make the frosting, use a handheld mixer to beat together the cream cheese and butter until well combined. Add the remaining ingredients (besides carrot candies, if using), beating until well combined. Frost all the cupcakes, adding a candy garnish if suing.
Step 8
Refrigerate until ready to serve, up to 4 days.

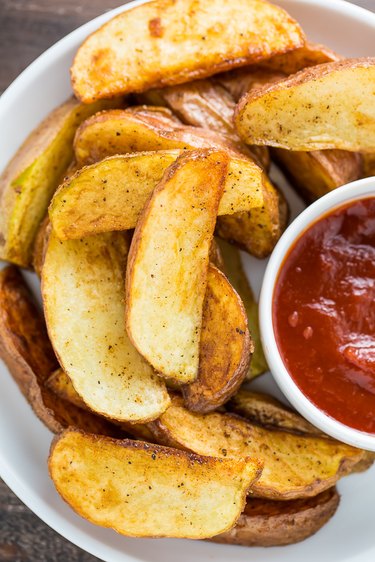 Pan fried potato wedges ready to be served
 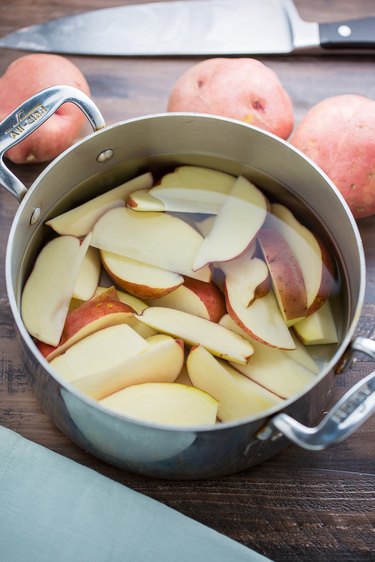 Potato wedges soaking in water
  Seasoned potato wedges
 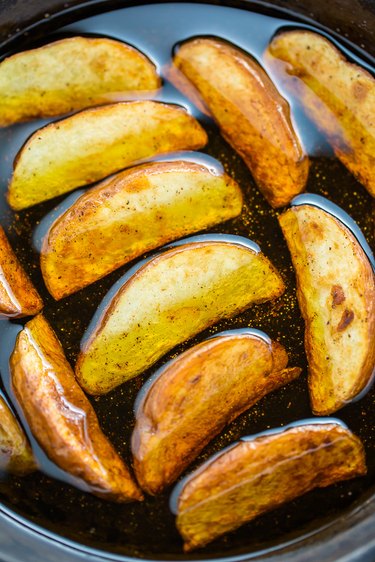 Pan frying the potato wedges in oil
 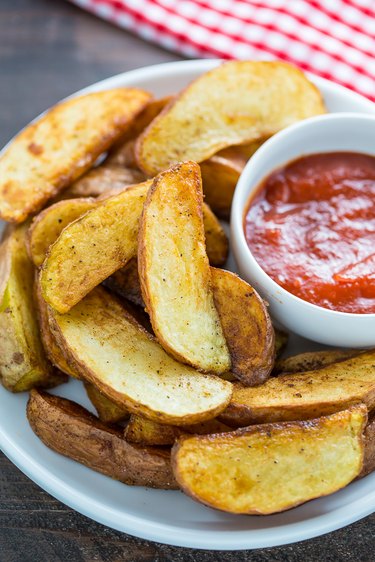 Pan fried potato wedges ready to be served
 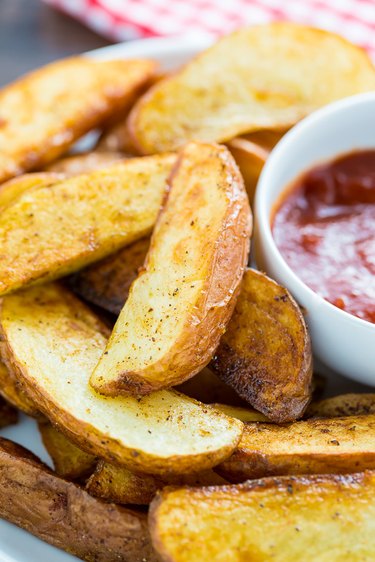 Pan fried potato wedges ready to be served