 1 of 15
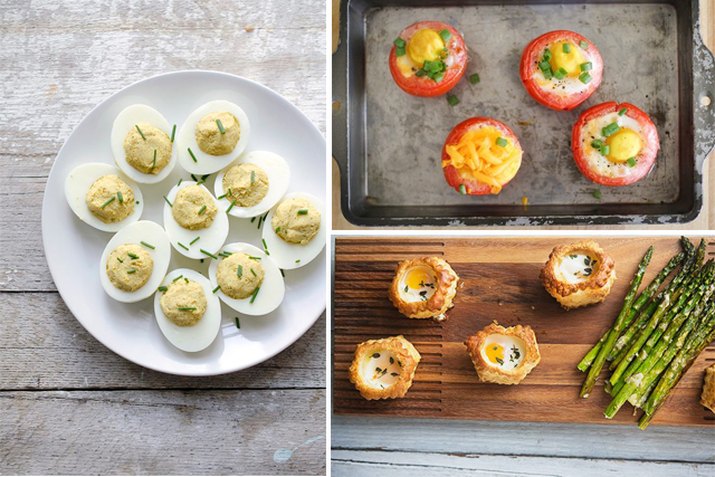
Delicious Egg Recipes
Eggs are a wonderfully versatile and delicious food. These little oval-shaped goodies are full of protein and other vitamins and minerals that are essential to your daily diet, and can be served up for any meal of the day. Whether you like your eggs deviled, scrambled or sunny-side up, you'll be sure to find a recipe you can't wait to try. Let's get cracking!
Image Credit: Jennifer Farley | Julia Mueller | Shaina Olmanson 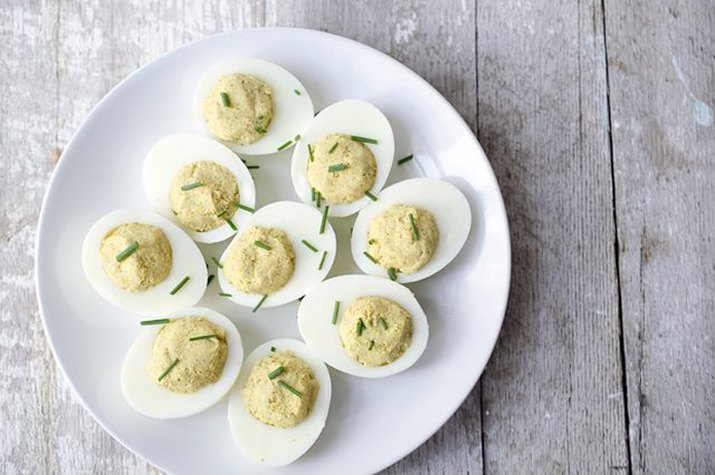 2 of 15
Curried Deviled Eggs
For an quick and impressive party appetizer, these curried deviled eggs are sure to be a hit. They make simple and quick hors d'oeuvres that are surprisingly easy to prepare.
Image Credit: Jennifer Farley 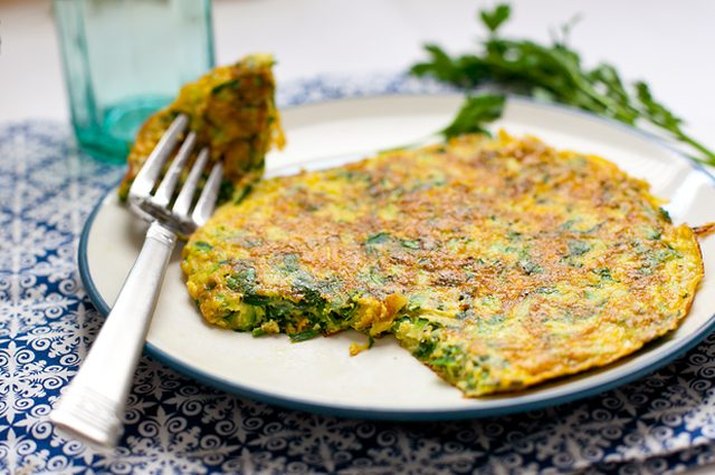 3 of 15
Herb and Zucchini Frittata
An herb and zucchini frittata is a tasty meal that is almost effortless to prepare. Simply combine the cheese, herbs and eggs and scramble together in a medium skillet (and then see how you can keep leftover herbs fresh).
Image Credit: Sala Kannan 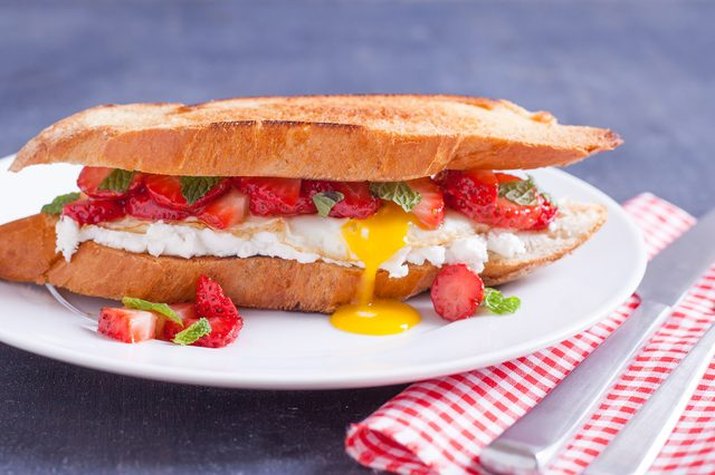 4 of 15
Fried Egg Sandwich
There are many unique ways to prepare a hearty fried egg sandwich, and we've put together 11 delicious ideas. Try it with creme fraiche and smoked salmon; serrano and manchego; or with ricotta and strawberries. Trust us—your taste buds will not be disappointed!
Image Credit: Kate Van Vleck 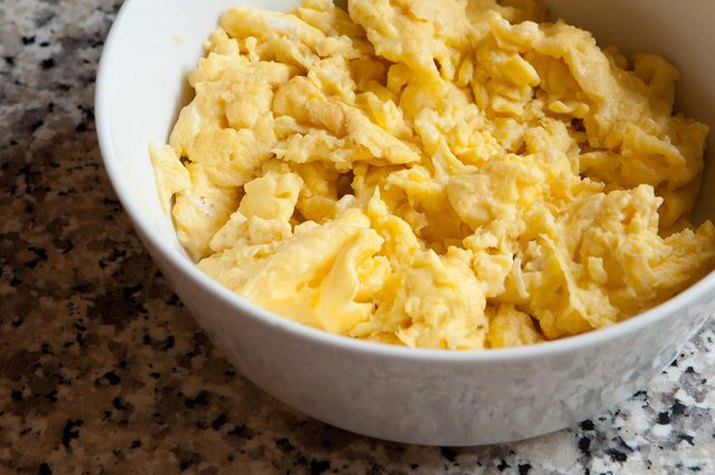 5 of 15
Scrambled Eggs
Scrambled eggs a classic breakfast staple, but to make them the "right" way (creamy in texture), there's one key move you need to master. We've laid it out for you.
Image Credit: Jeffrey Chen 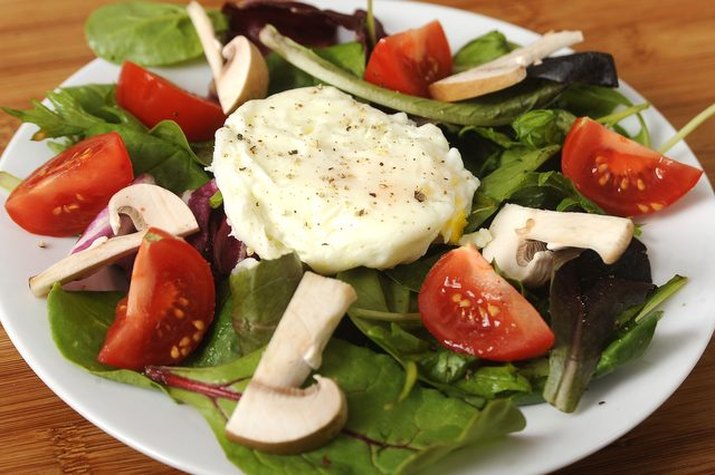 6 of 15
Poached Eggs
There are several way to create poached eggs, including using a stovetop or microwave. No matter what you choose, these methods will help deliver a delicately poached egg.
Image Credit: Ron Bennett 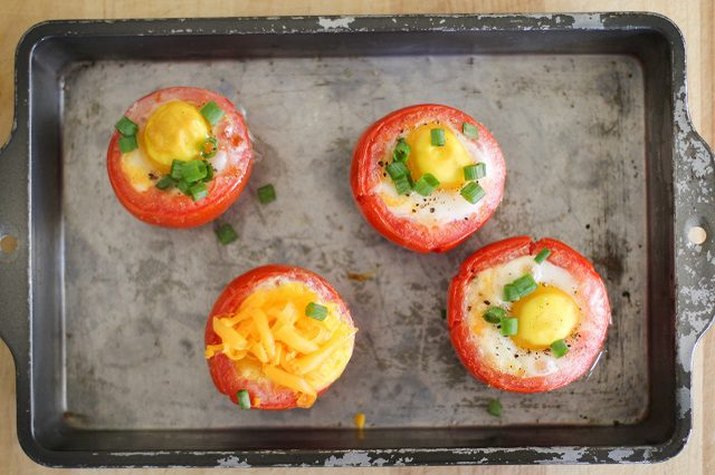 7 of 15
Eggs Baked in Tomatoes
Eggs baked in tomatoes are a healthy and low-carb breakfast food. All you need to do is hollow out a tomato, add an egg and bake for 20 to 30 minutes.
Image Credit: Julia Mueller 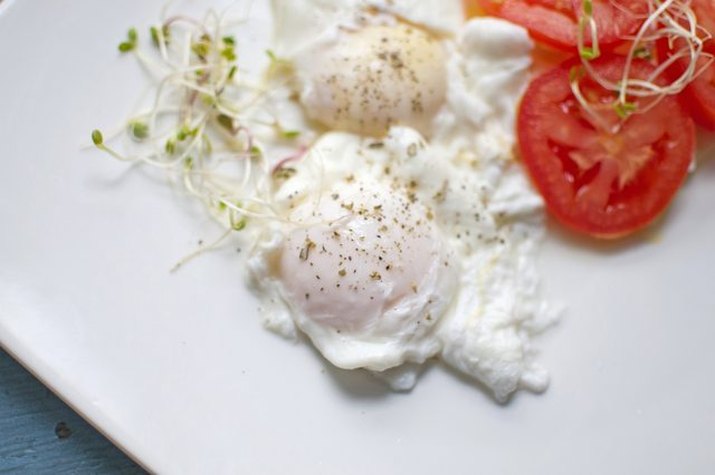 8 of 15
Poach an Egg Without a Poacher
Follow these instructions if you are looking to poach an egg without a poacher. Just bring a pot of water to a simmer and pour in the raw egg until it is cooked through to your liking.
Image Credit: Michelle Black 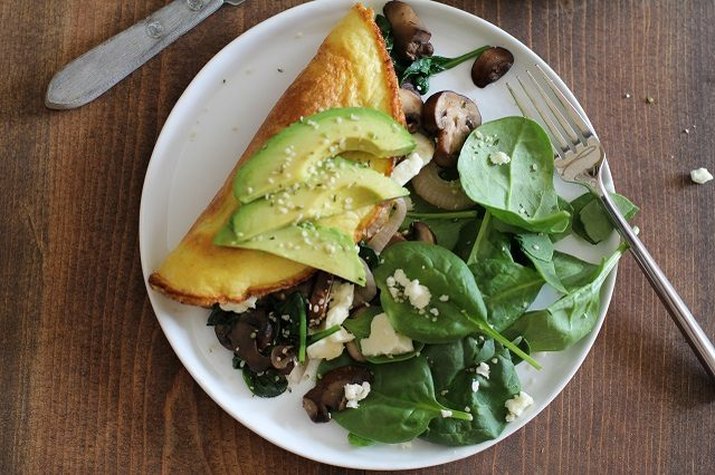 9 of 15
Omega-3 Vegetarian Omelet Recipe
This omega-3 vegetarian omelet recipe is a hearty meal option. Sauté mushrooms, onions and spinach together and fold into the egg mixture for a neat and flavorful omelet.
Image Credit: Julia Mueller 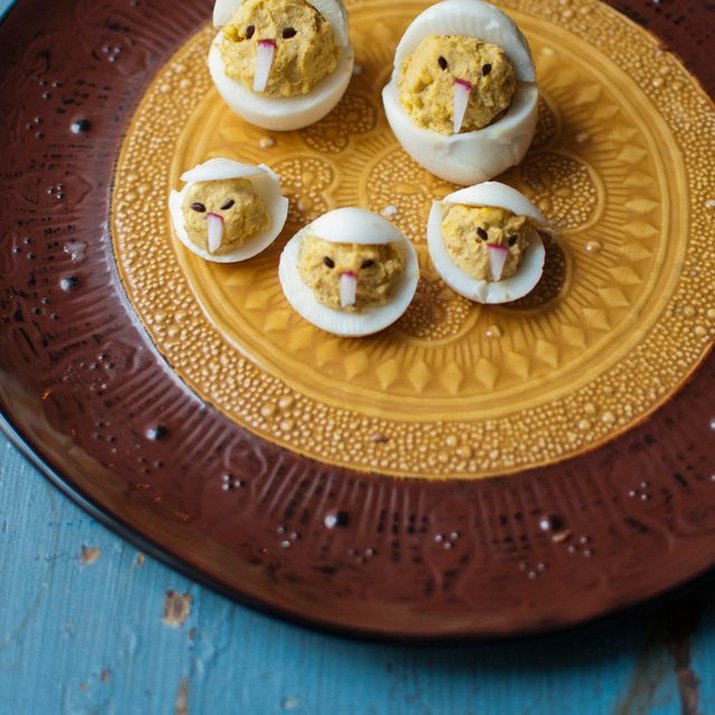 10 of 15
Chicken Deviled Eggs
For a fun and tasty way to prepare eggs, this chicken deviled eggs recipe fits the bill. After creating your deviled eggs, decorate each eggs with black sesame seeds and slivers of radish to create your chicks. If you haven't see this yet, here's how to peel hard boiled eggs fast.
Image Credit: Michelle Black 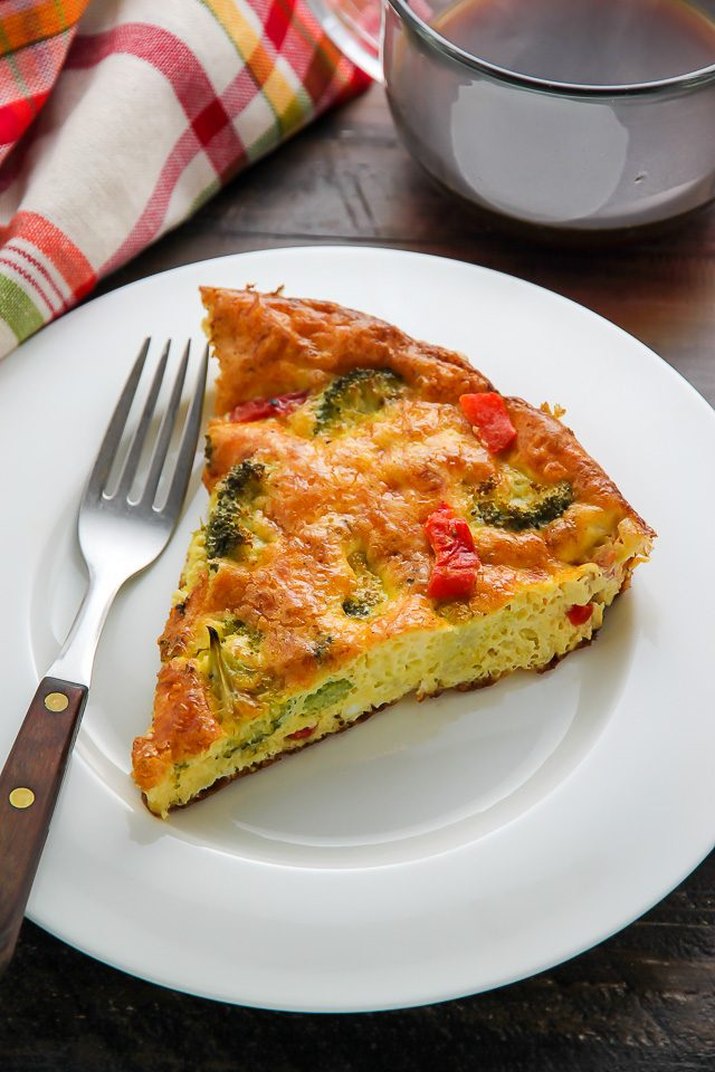 11 of 15
Broccoli Cheddar Frittata
Frittatas are a healthy and filling breakfast food filled with delicious vegetables and ingredients. This broccoli cheddar frittata combines generous servings of veggies and cheese to provide you with a well-rounded meal.
Image Credit: Ashley Manila  12 of 15
Parmesan and Thyme Pastry Baked Eggs
These parmesan and thyme pastry baked eggs are a fragrant and delicious finger food. They're bite sized yet so delicious — you'll find yourself coming back for seconds. Perfect for Sunday brunch!
Image Credit: Shaina Olmanson 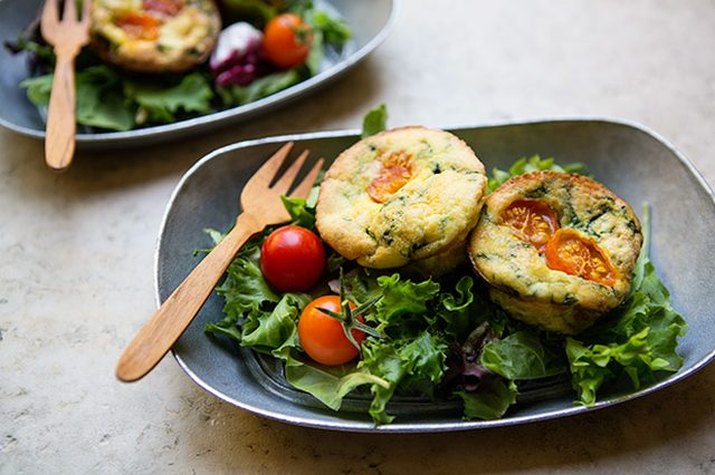 13 of 15
Spinach and Tomato Frittata
These spinach and tomato frittatas are baked inside individual muffin tins to make it perfectly portioned and packable.
Image Credit: Shaina Olmanson 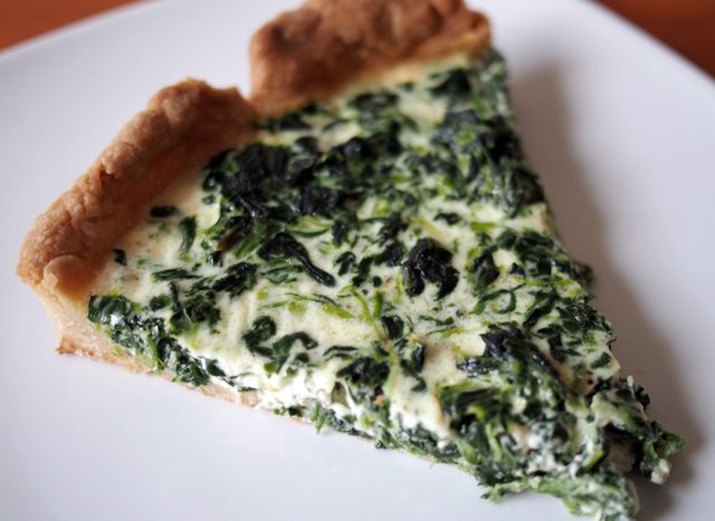 14 of 15
Easy Spinach Quiche
A creamy spinach quiche can be easily achieved with this simple, savory recipe. You can use store bought tart dough for the crust to save on prep time.
Image Credit: Quincy Surasmith 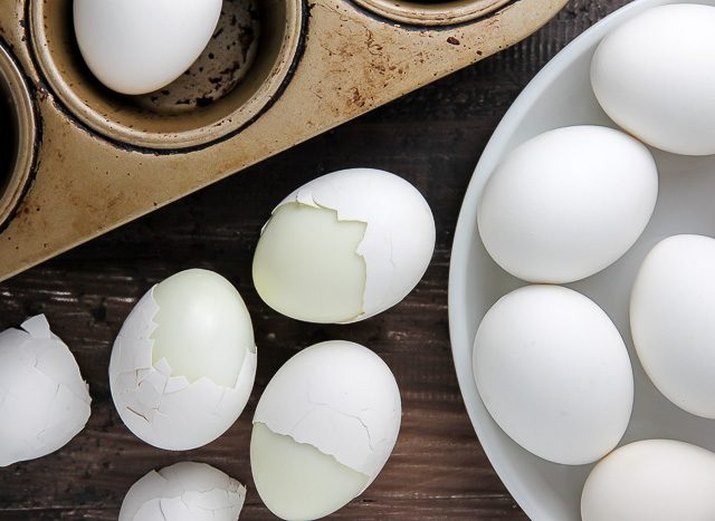 15 of 15
Cook Hard Boiled Eggs in a Muffin Pan
How about this for a genius egg hack: "hard boil" your eggs using a muffin pan. Just cook in the oven for about 30 minutes, and these eggs practically peel themselves!
Image Credit: Ashley Manila

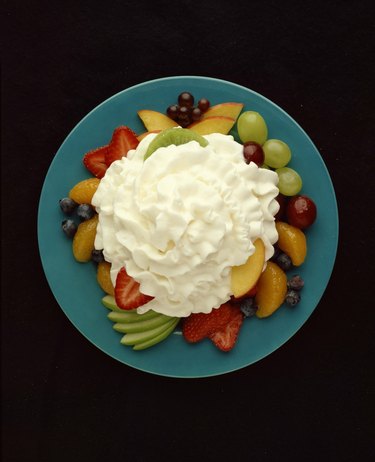 Squeeze out all remaining cream before disposing of whipped cream containers. Image Credit: Jupiterimages/Comstock/Getty Images
")


 2 of 11
  3 of 11
  4 of 11
  5 of 11
  6 of 11
  7 of 11
  8 of 11
  9 of 11
  10 of 11
  11 of 11