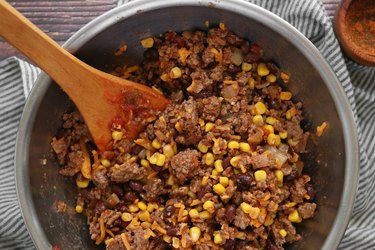
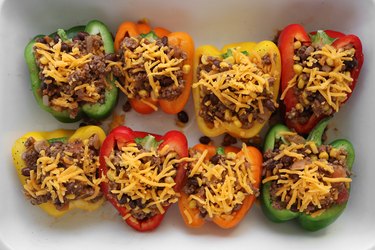
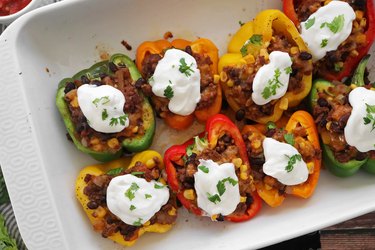
Inspired by the pure fabulous-ness of the infamous Black Tap, we bring you fall's greatest gift: a pumpkin spice milkshake. Of course, the milkshake is only the beginning — the foundation for garnish skyscrapers.
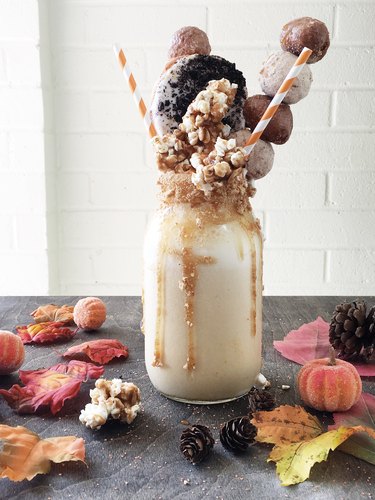 Pumpkin spice milkshake with festive garnishes Image Credit: Trisha Sprouse for Demand Media
Things You\’ll Need
-
Blender
-
Vanilla ice cream, 7 cups
-
1 cup milk
-
Pumpkin pie filling, 1 1/2 cups
-
Caramel sauce
-
Graham crackers
-
Whipped cream
-
Garnishes as desired
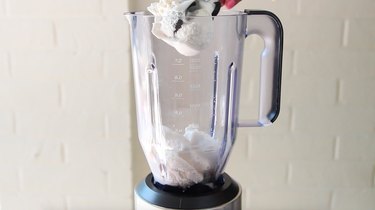
Place seven big scoops of ice cream into a blender jar.
 Place softened ice cream in blender jar. Image Credit: Trisha Sprouse for Demand Media
Tip
Set the ice cream out to soften about 5 minutes before you plan to make the milkshake. If you still have trouble, run the scoop under warm water until it's slightly warm to the touch.
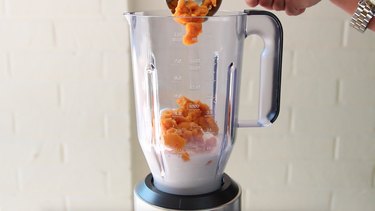
Add 1 1/2 cups of pumpkin pie filling and 1 cup of milk.
 Add pumpkin pie filling. Image Credit: Trisha Sprouse for Demand Media
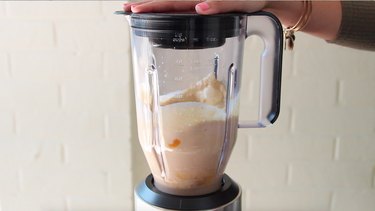
Blend well.
 Blend well. Image Credit: Trisha Sprouse for Demand Media
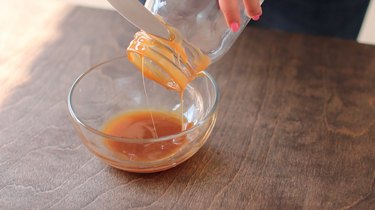
Now the fun begins! Dip the rim of the serving jar or glass in caramel sauce.
 Rim the jar or glass with caramel sauce. Image Credit: Trisha Sprouse for Demand Media
Crush a graham cracker (or two) and spoon the crumbs onto the caramel sauce.
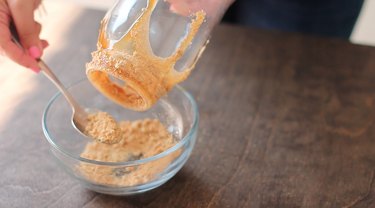 Sprinkle graham cracker crumbs onto the caramel sauce. Image Credit: Trisha Sprouse for Demand Media
Top milkshake with whipped cream. Spear donut holes and/or a donut with a straw or bamboo skewer.
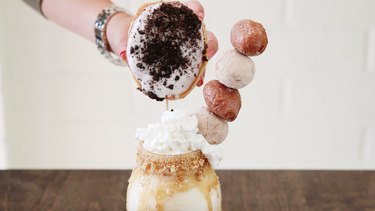 Garnish milkshake with whipped cream, donuts, and Image Credit: Trisha Sprouse for Demand Media
Add caramel corn and sprinkles. Drizzle with caramel sauce.
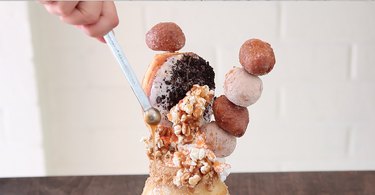 Add decadent finishing touches. Image Credit: Trisha Sprouse for Demand Media
Add straws and let the gluttony begin.
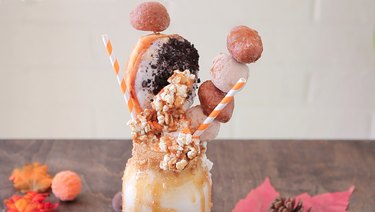 It\’s a masterpiece. Image Credit: Trisha Sprouse for Demand Media


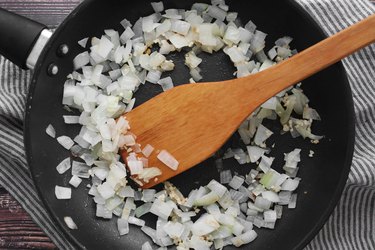
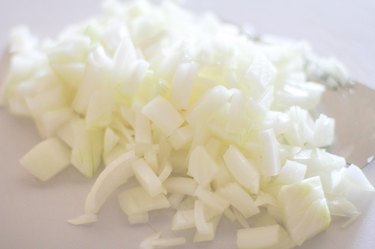 Use a sharp knife to chop the onion.
 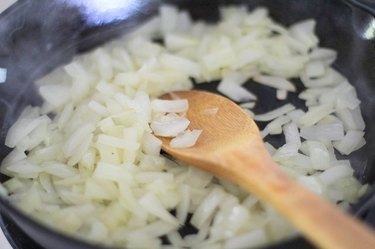 Saute the onion until browned.
 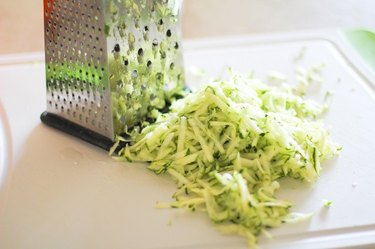 Grate the zucchini and then the cheese.
 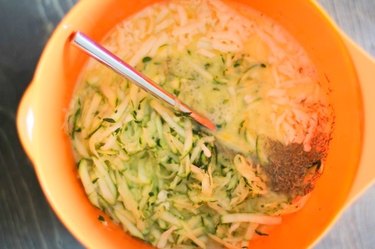 Mix the eggs, zucchini, cheese and seasonings well.
 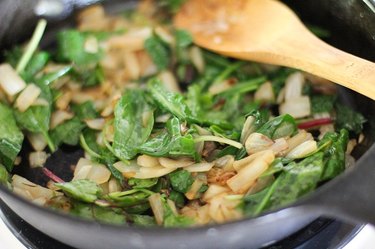 Add the kale to the onion.
 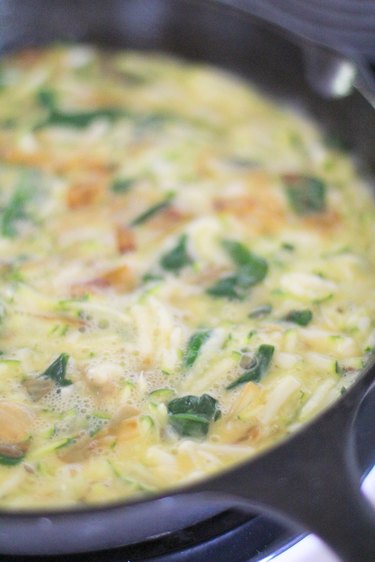 Combine everything well for even baking.
  Let the frittata cool 10 minutes before cutting.
 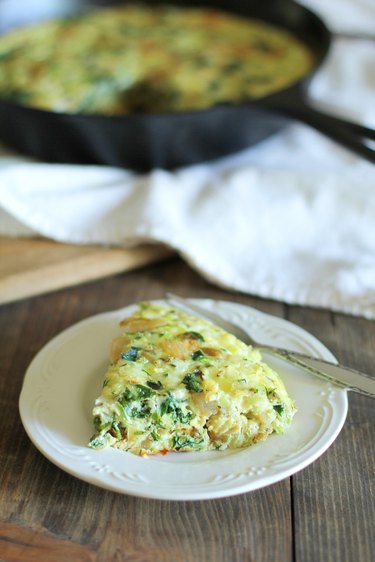 A simple recipe, a delightful meal.