On a sunny night, standing by a hot grill with a cold drink in your hand is a perfect place to be. Nothing ruins the good vibes faster than a burned burger or funky-tasting veggies. Grilling is a skill that takes practice to perfect, so there's no shame in having made some basic grilling errors – but you never need to make them again.

Video of the Day
1. Grilling on Dirty Grates
Tonight's barbecued chicken doesn't need remnants of last week's grilled salmon. Actually, baked-on food is the least of the potential ickiness lingering on the grates of your outdoor grill, so clean it before each use. Heat the grill enough to burn up any stuck food. Then, let it cool and scrub the grates with a clean grill brush. Follow this with a clean, wet cloth.

2. Using Lighter Fluid
It doesn't matter how much you paid for your meat or how perfectly you cooked it over the charcoal – if it has a chemical aftertaste, you're not going to enjoy your meal. This is sometimes a side effect of using lighter fluid to start a charcoal fire. While there's no shame in taking this shortcut when you have to do so, you may prefer the taste of your food when you light the coals with a chimney starter. It's an inexpensive tool that uses newspaper to quickly heat coals.

3. Grilling on Dry Grates
Oil plays an essential role in the grilling process. Skimp on it and half of your dinner may end up stuck to the grates. Plus, you won't get perfect grill marks. Don't go overboard, either. After the grill preheats, quickly dip a wadded paper towel in high-heat cooking oil, such as peanut oil. Pull on a long oven mitt and use tongs to brush the oiled paper towel over the grates.

4. Burning Skewers
You're aiming for smoky flavor, not burnt wood flavor – or a flaming shish kebab. Before grilling food on wooden skewers, soak the skewers in water for 30 minutes. They shouldn't burn or smoke as long as they're thoroughly wet.

5. Grilling Dense Veggies Without Precooking
Sliced zucchini, tomatoes and other delicate veggies can be grilled to perfection in just a few minutes. Denser vegetables, like potatoes, carrots and thick asparagus, may take so long to cook through that they burn on the outside before that happens. Parboil these veggies (cutting large potatoes into wedges or slices first) in simmering water for a few minutes or until they're fork tender before drying them and moving them to the grill.

6. Forgetting to Pat Meat Dry
Don't move a piece of meat straight from its marinade onto a hot grill. Leaving liquid on the surface will create steam rather than the charred sear you're after. Blot meat dry with a paper towel before putting it on the grill.

7. Cooking Everything in the Same Spot
You may always default to using the same burner on your stove every time you cook but don't make a habit of dropping food in the same spot each time you grill. Your grill probably has hot spots and cold spots where food cooks at different rates. Knowing where they are lets you control exactly how much heat you're using. To map your grill's hot spots, heat it up and cover the grates with a layer of sliced sandwich bread. When they start to burn, use tongs to flip each piece. The hottest parts of the grill are wherever the bread is darkest.

8. Adding Sugary Sauces Too Early
When barbecue sauce burns, bitterness overpowers that sweet and smoky tang. Don't brush meat with a sticky sauce, like teriyaki or barbecue, before grilling it, or the sugar may burn on the grill. Use a marinade to infuse the meat with flavor if you wish and then apply the sugary sauce during the last few minutes of grilling or after the meat comes off the heat.

9. Letting Small Food Slip
Grape tomatoes, stalks of asparagus, onion slices and other small items will often slip between the grill grates. There goes a delicious part of your meal. Next time, place smaller items in a grill basket or cheat a little by using a flat-top or grill pan to cook the veggies indoors.

10. Crowding the Grill
Even if you're feeding an army, resist the urge to cram food onto every square inch of the grill grates. If your burgers or steaks are all touching each other, they won't cook evenly, and you won't be able to flip and rearrange things as they cook. It's better to take twice as long and cook things in two batches than to overcrowd the grates.


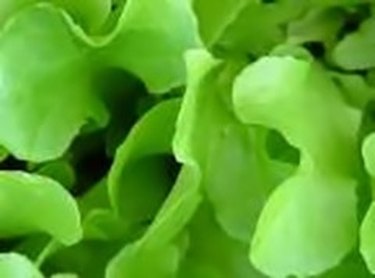 Fresh lettuce
 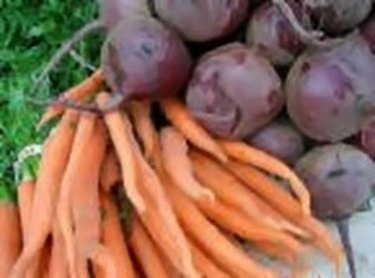 Carrots and beets
 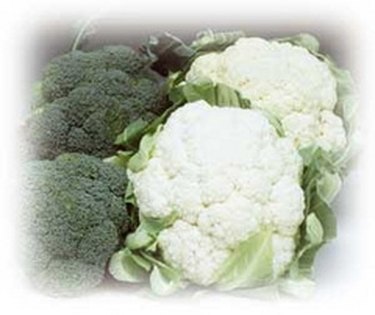 Broccoli and cauliflower
 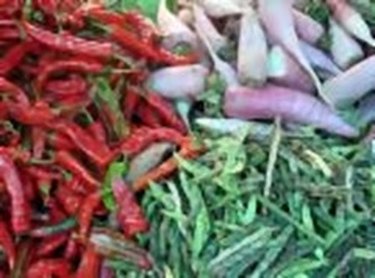 Peppers, beans and radishes
 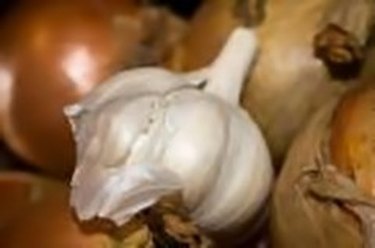 Garlic and onion
 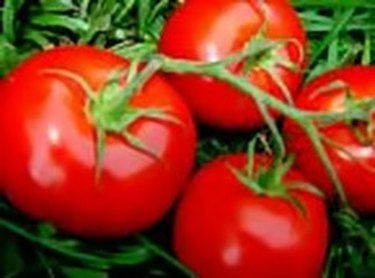 Fresh tomatoes
 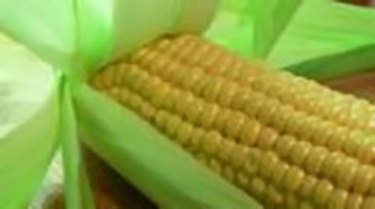 Sweet corn


 Pitaya
  Papaya
  Feijoa

 Peas are not only delicious, they\’re great for the body
  Spinach is a source of prebiotics and other vitamins
 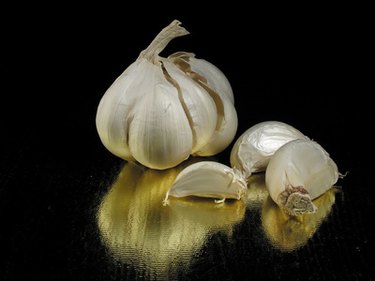 Garlic does more than cause bad breath.
  Carrots contain prebiotic properties and beta-carotene.