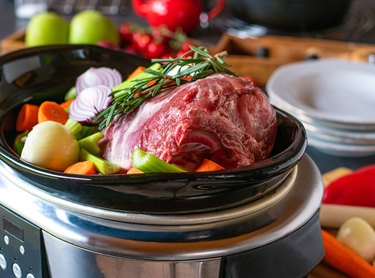
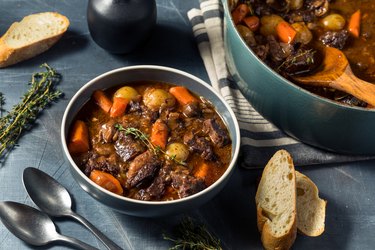
Slow cookers are one of the great convenience appliances for the kitchen. They're perfect if you don't mind waiting a while for delicious meals that require minimal effort on your part. Prep the ingredients, toss them in, set it, forget it and go about your life. These forgiving machines even let inexperienced cooks turn out culinary masterpieces. And you can easily make so many types of dishes in a slow cooker, you'll never get bored with the possibilities.
Video of the Day
There are lots of slow cookers available today at a wide range of prices. And the selection has grown exponentially with the rise of multi-cookers, which are popular because they slow cook, pressure cook, brown, sauté, steam and more, all in one. But be cautious and do your research if you're buying a multi-cooker to serve as your slow cooker; many are much better at pressure cooking than slow cooking.
When it comes to slow cooking, you want a machine that reliably holds a steady, evenly distributed low heat for a long time. While there are multi-cookers that do fine with slow cooking duties, in many cases, it's best to go with an appliance that just does one thing really well. For our purposes here, we've stuck to true slow cookers.
What to Consider When Purchasing a Slow Cooker
Settings: The most basic manual slow cookers simply let you cook on low or high. If you only want one for basic stuff like stews, chili and braising tough cuts of meat, this may be perfectly adequate, and you can choose from the most affordable models. More advanced slow cookers have additional temperature presets (e.g., medium, keep-warm mode) and give you the option to set the cook temperature. This adds more control and expands the sort of dishes you can prepare considerably. Others still have even more settings and programmability. And, if you opt for a multi-cooker, there will be many more settings and cooking methods than any slow cooker has.
Capacity: When considering a slow cooker purchase, think about how many people you usually cook for. Most of these appliances have between 1.5 to 8-quart capacities. If it's just you, or you and one other person, a smaller one will suffice. Although, one benefit of having a slow cooker is the ability to easily prepare food to last the week; if you want to do that, you'll want a larger capacity even if you're only cooking for one. Slow cookers with around 6-quart capacities are good for families, and larger ones are best suited to people who cook for groups. But with all that said, most slow cooker recipes call for at least a 6-quart appliance. So, if you have the space, consider getting one at least this big. Remember, you can always prepare smaller portions in a large slow cooker, but it's a lot harder to prepare meals that are too big for it.
Price: Prices for slow cookers range significantly. The low end for basic to slightly more advanced models is around $30 to $60. The mid-range for more versatile slow cookers is about $100 to $150. High-end slow cookers retail for around $250 and up, while high-end multi-cookers can go considerably higher. You don't have to splurge to get a reliable, durable slow cooker, but you tend to sacrifice some versatility and control when you stick to the low end of the spectrum. But if you only want simple slow cooker capabilities, that's no problem at all.
Ease of Cleanup: Food that's been cooked onto the side of a pot for hours and hours can be a nightmare at cleanup time. Consider the material of the removable pot, whether it has a nonstick surface and whether it's dishwasher safe. Note whether you can put the lid in the dishwasher, too.
These considerations give you plenty to go on when you're considering the many slow cookers available today and trying to choose the right one for your needs.
The Best Overall Slow Cooker
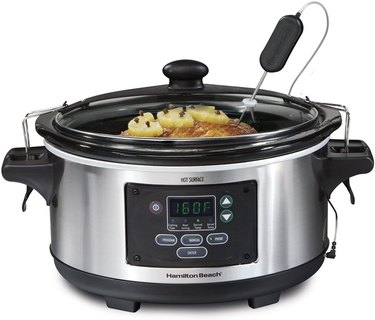
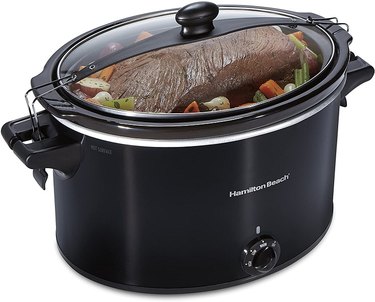
Hamilton Beach Portable 6-Quart Set & Forget Digital Programmable Slow Cooker
$64.99 at Amazon
If you're looking for a fully functional, consistently excellent, fairly priced slow cooker that easily handles all the basics and also offers a good deal of cooking control, this is a smart pick. Hamilton Beach is well known for its reliable, quality kitchen appliances at affordable prices. This one takes just a little bit longer to heat to temperature than many more expensive alternatives, but it's a small price to pay for the small price you pay. Besides, it's called slow cooking.
This programmable slow cooker has three modes: manual, for just cooking on low, warm or high; program, which lets you set the cook time and temperature; and probe, which lets you cook your food to a desired temperature and then have the machine switch to its warm function. This provides an unusual amount of versatility and control for such a budget-friendly option. And whether the slow cooker is monitoring the temperature or you are, the thermometer inserts through a small hole in the lid so you don't have to open it and let a bunch of heat out.
It's also a slow cooker designed for portability, in case you like to take your bounty to parties or tailgating sessions. The lid seals securely with latches and a gasket, and the handles stay cool. The removable pot and lid are dishwasher safe, and there's a cool interruption-protection feature that allows the slow cooker to keep cooking during a brief power outage—which is nice if you've invested hours in a meal and the electricity flickers off while you're running errands.
At a Glance:
- Manufacturer: Hamilton Beach
- Capacity: 6 quarts
- Size: 17.5 x 11.25" x 11.75"
- Exterior Material: Stainless steel
- Pot Material: Ceramic glaze
- Dishwasher-Safe Pot: Yes
The Best Budget-Friendly Slow Cooker
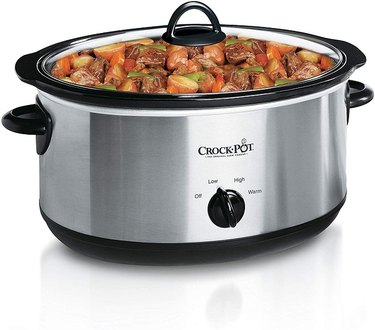
Crockpot 7-Quart Oval Manual Slow Cooker
$29.99 at Amazon
From a classic name in slow cookers—Crockpot—comes a particularly affordable option that still delivers quality, capacity, convenience, ease of use and durability. This one's really a bargain.
Make no mistake, it's a pretty basic model. But you get three temperature settings: low and high for cooking and warm for holding food. Plus, the removable stoneware insert is microwave safe and oven safe (up to 400 degrees Fahrenheit). So, you can conveniently execute some recipes that call for additional cooking methods without transferring food or making extra dishes. It's also dishwasher safe, as is the glass lid.
Often, buying the most budget-friendly kitchen appliances requires sacrificing size and/or capacity. But not in this case. The 7-quart oval pot is big enough to handle any standard slow cooker recipe and to prepare food for the whole family and more; in fact, it's enough to serve up to nine people and to cook a 7-pound roast.
At a Glance:
- Manufacturer: Crockpot
- Capacity: 7 quarts
- Size: 14.4" x 9.5" x 14.4"
- Exterior Material: Stainless steel
- Pot Material: Stoneware
- Dishwasher-Safe Pot: Yes
The Best High-End Slow Cooker
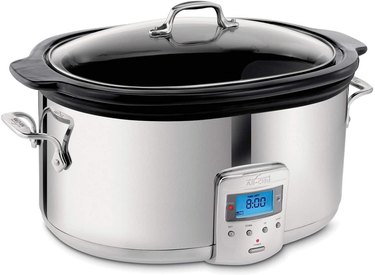
All-Clad Programmable 6.5-Quart Oval-Shaped Slow Cooker
$249.95 at Amazon
For home cooks willing to splurge on a slow cooker, forgoing multi-cooker capabilities even at this price point, this appliance won't disappoint. All-Clad has a reputation for high-quality luxury kitchen appliances, and this model lives up to it. And its elegant design and stainless steel exterior fit right in with any high-end kitchen environment.
This slow cooker heats up relatively quickly. It also holds its temperature remarkably consistently—a key factor in slow cooker performance—over a long period of time. And speaking of, this model has one of the longest runtimes available at 26 hours (up to 20 hours of cooking and 6 hours of keeping warm). Plus, it lets you set two temperatures for one cooking period, a very uncommon slow cooker feature. If a recipe calls for cooking at high and at low at different points, you can program this model to do that. Most others require changing the temperature manually when it's time. So, this means even greater set-it-and-forget-it convenience.
The ceramic insert and the glass lid are both dishwasher safe, facilitating easy cleanup. But one cautionary note: the stainless steel handle on the lid gets quite hot during cooking. Also, keep in mind that the insert is not safe for use on the stove or in the oven.
At a Glance:
- Manufacturer: All-Clad
- Capacity: 6.5 quarts
- Size: 19.87" x 14" x 11.38"
- Exterior Material: Stainless steel
- Pot Material: Ceramic
- Dishwasher-Safe Pot: Yes
The Best Large-Capacity Slow Cooker
Hamilton Beach Extra Large 10-Quart Stay or Go Slow Cooker
$74.99 at Amazon
For home cooks who prepare meals for larger groups, or who like to stock the freezer with ready-made meals, a large-capacity slow cooker is a great item to have on hand. This model can handle a 12-pound roast or a 10-pound turkey. It has the standard two cooking temperatures, low and high, plus a setting to keep food warm after it's done cooking. And you're getting the extra-large capacity at a price that would be good for a slow cooker half the size.
This slow cooker was also designed with an eye toward portability, with a clip-tight sealable lid, a strap for the lid and full-grip handles. This makes it easy to transport the feast you've prepared to the party. Cleanup isn't a problem either, thanks to the removable dishwasher-safe stoneware crock and glass lid.
At a Glance:
- Manufacturer: Hamilton Beach
- Capacity: 10 quarts
- Size: 15.75" x 12.5" x 11.5"
- Pot Material: Stoneware
- Dishwasher-Safe Pot: Yes


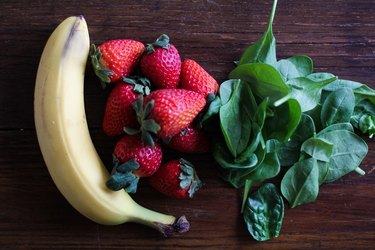
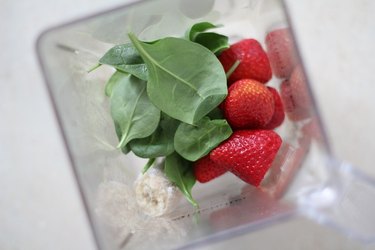

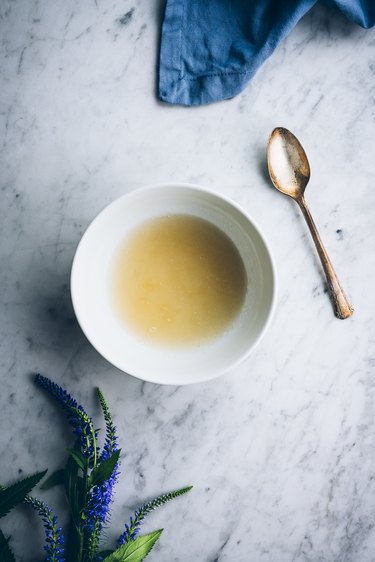 Gelatin blooming in water
 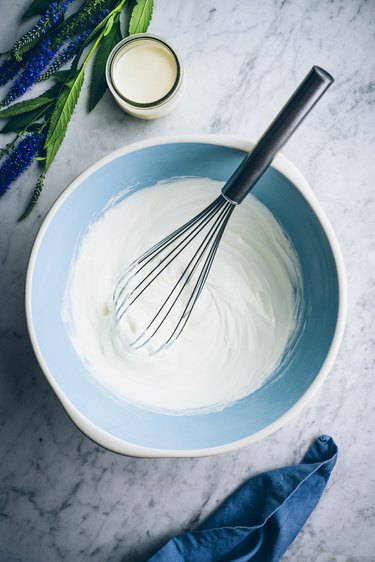 Whisking greek yogurt and heavy cream together.
 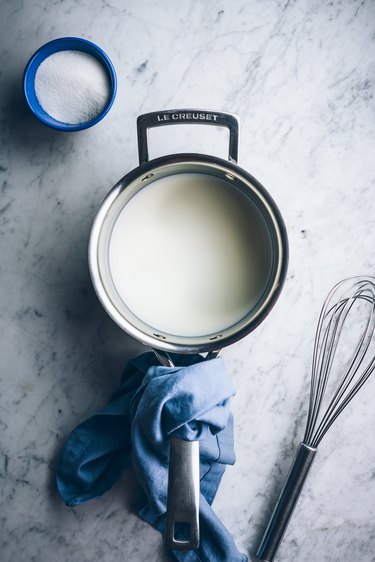 Milk and cream being added to saucepan
 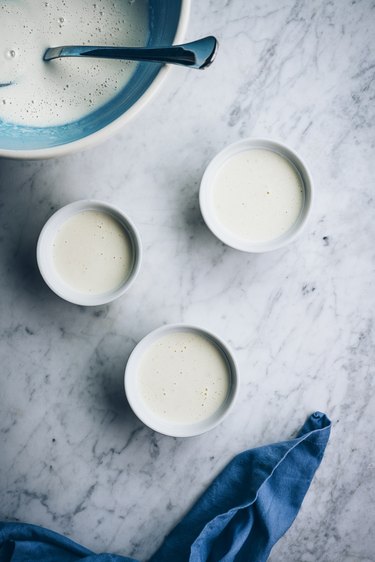 Filling ramekins
 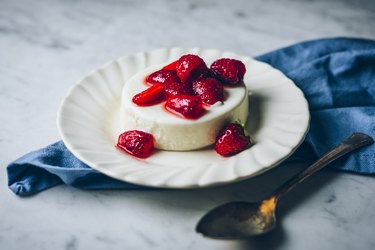 Final product