 1 of 19
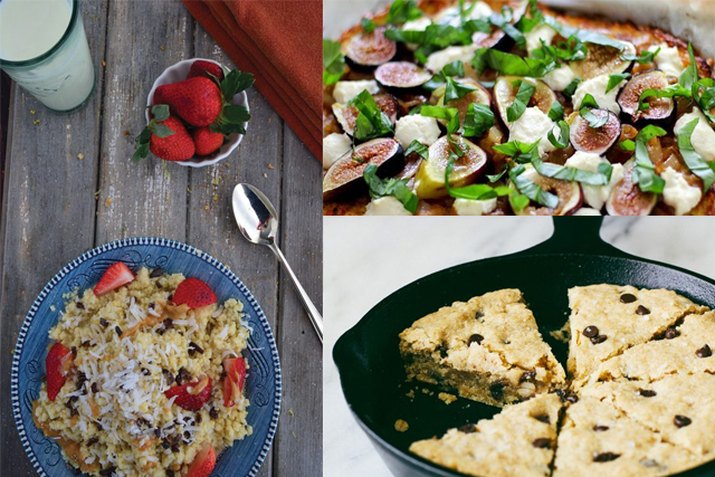
Whether you have celiac disease, a gluten sensitivity or just want to cut it out of your diet for other health-related reasons, there are many ways to prepare delicious meals free of gluten. Here are 18 recipes that will be sure to give you the food-spiration you need to successfully lead (or continue) a gluten-free lifestyle.
Image Credit: Amie Valpone | Julia Mueller | Ashlae Warner 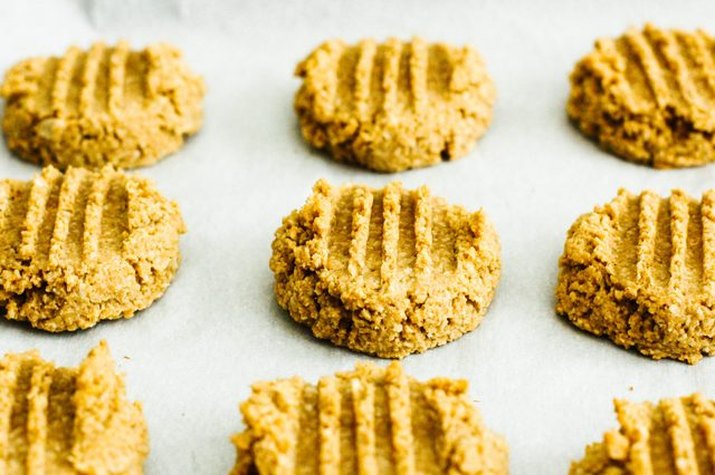 2 of 19
Peanut Butter Cookies (With Just Four Ingredients)
These crumbly peanut butter cookies are gluten-free friendly and only require four ingredients — peanut butter, maple syrup, non-dairy milk and oat flour. Even if you are not abstaining from gluten, you won't miss it with these delicious treats.
Image Credit: Ashlae Warner/Demand Media 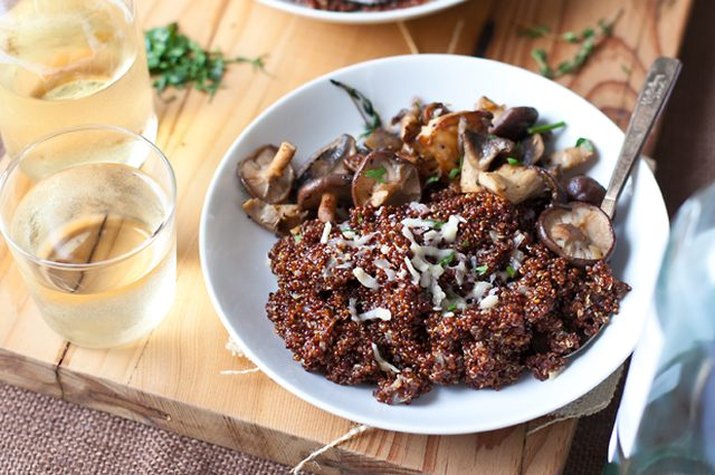 3 of 19
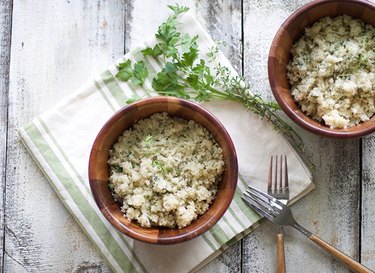
Wild Mushroom Quinoa Risotto
A bowl of this wild mushroom quinoa risotto is a tasty dinner option, especially during a cold night in. Cook the quinoa with white wine and vegetable stock and serve with the herbal mushroom mixture for a comforting meal.
Image Credit: Sala Kannan/Demand Media 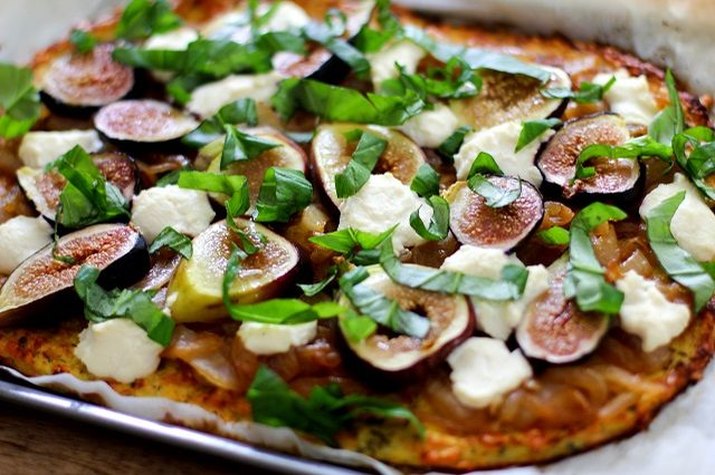 4 of 19
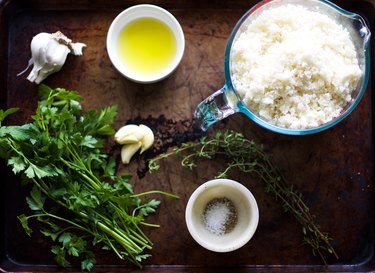
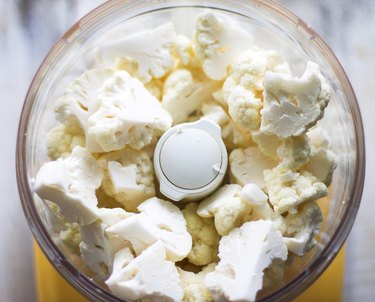
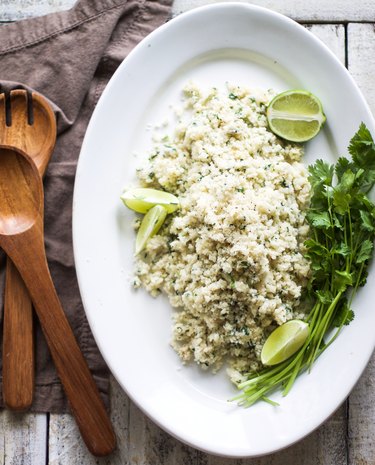
Cauliflower Pizza Crust
You don't need to swear off pizza completely when you're avoiding gluten. With this recipe, you can substitute wheat-based crusts with one made from cauliflower. Trust us — it's just as tasty and as chewy, if not more so.
Image Credit: Julia Mueller/Demand Media  5 of 19
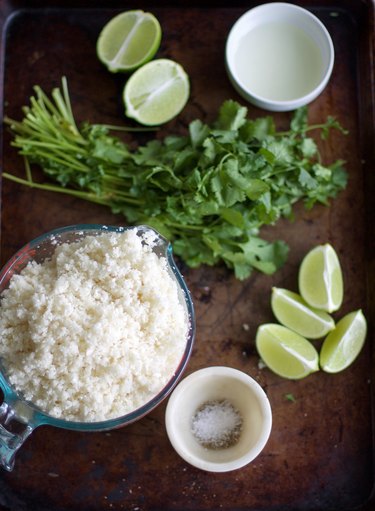
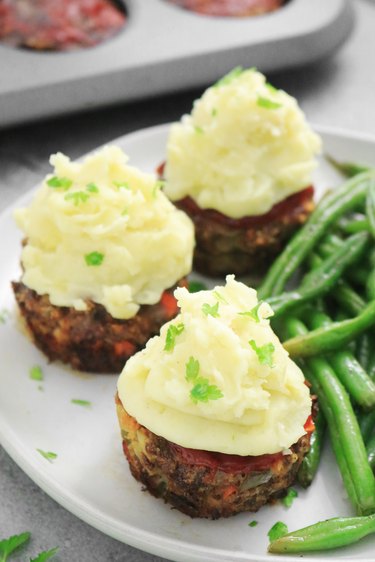
Sweet Potato Chipotle Quinoa Cakes With Cilantro Lime Crema
For a pleasantly spiced and flavorful meal option, try out these sweet potato chipotle quinoa cakes with cilantro lime crema. The patties are made from quinoa bound together with sweet potato when cooked. Top it off with some zesty lime crema for a delightfully fresh Mexican-inspired meal.
Image Credit: Sala Kannan/Demand Media 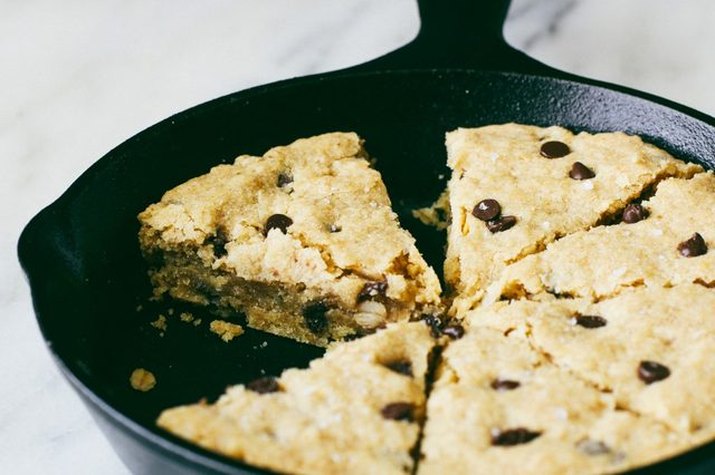 6 of 19
Oatmeal Chocolate Chip Skillet Cookie
Who says you can't have cookies on a GF diet? This one-skillet chocolate chip cookie uses gluten-free flour and rolled oats to create a chewy, chocolatey dessert.
Image Credit: Ashlae Warner/Demand Media 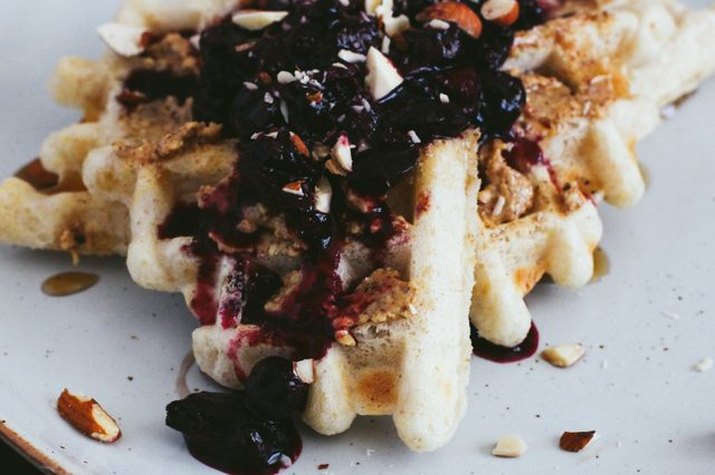 7 of 19
Waffles With Berry Compote
Start your mornings with some gluten-free waffles with berry compote. The batter combines a gluten-free flour blend, flax meal, unsweetened almond milk and other healthy ingredients to create several fluffy waffles.
Image Credit: Ashlae Warner/Demand Media 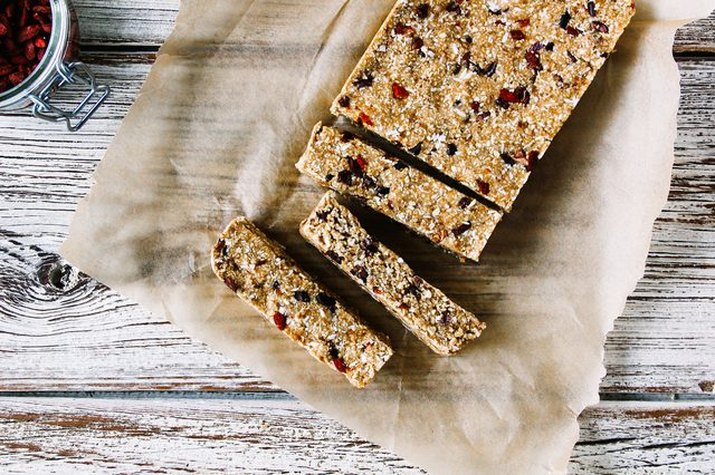 8 of 19
Goji Berry and Cacao Nib Oat Bars
If you're looking for a nutritious breakfast bar, these goji berry and cacao nib oat bars are for you. They are oat and nut-based bars and make perfect snacks to enjoy on-the-go. For those with celiac disease or an extreme sensitivity to gluten, it's recommended that you use "gluten-free oats" (check the label) since oats could be contaminated with gluten during processing.
Image Credit: Ashlee Warner/Demand Media 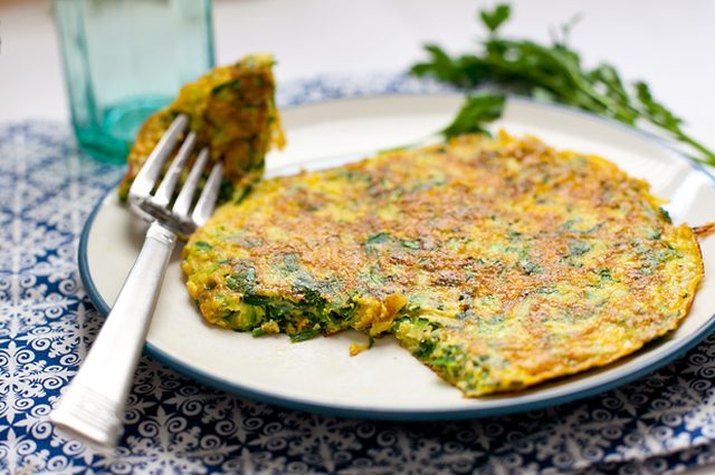 9 of 19
Herb and Zucchini Frittata
This recipe, inspired by the Persian dish kuku sabzi, incorporates green herbs and aromatic spices to produce a bright yellow herb and zucchini frittata. Combine eggs, fresh herbs and turmeric in a medium skillet and cook until the frittata is golden on both sides.
Image Credit: Sala Kannan/Demand Media 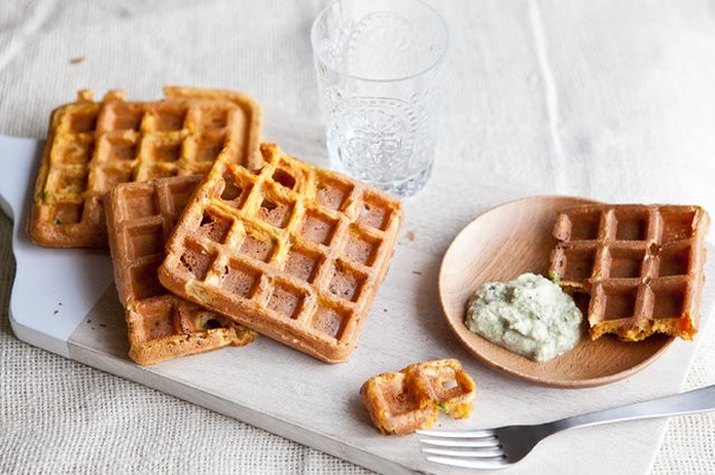 10 of 19
Spicy Garbanzo Waffles With Mint Cilantro Chutney
These spicy garbanzo waffles are a take on the traditional Indian chilla — a delectable crepe made with chickpea flour, onions and spices. You can add more leafy greens to the batter or top with a homemade mint cilantro chutney for a savory breakfast or snack.
Image Credit: Sala Kannan/Demand Media 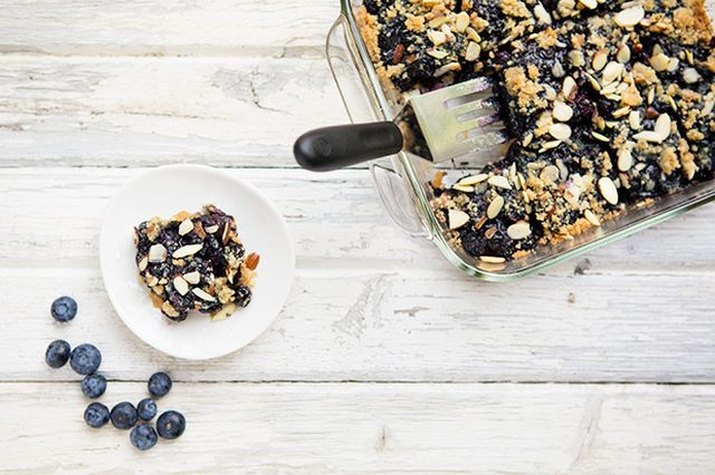 11 of 19
Coconut Almond Blueberry Crumb Bars
Satisfy your sweet tooth with these coconut almond blueberry crumb bars. The coconut and almonds complement the sweet blueberries to deliver a burst of fruity flavor in each bite.
Image Credit: Shaina Olmanson/Demand Media 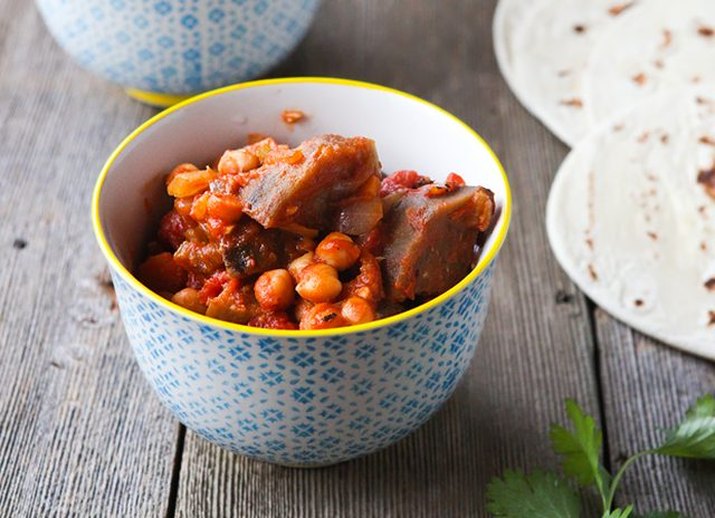 12 of 19
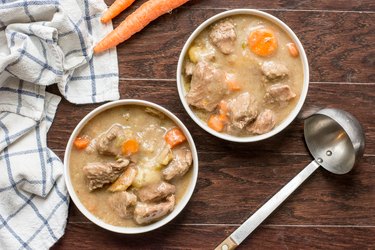
Smoky Chickpea and Eggplant Stew
This vegetable and chickpea-based stew includes a smoky and fragrant blend of spices. The eggplant, carrots and diced tomatoes tossed with chickpeas provide a robust stew that can be enjoyed for breakfast, lunch and dinner.
Image Credit: Sala Kannan/Demand Media  13 of 19
Vegan and Gluten-Free Stuffed Mushrooms
Enjoy some fun vegan and gluten-free baked stuffed mushrooms with your next family meal. The individual servings of large white button mushrooms are stuffed with a mash of flax seeds, shredded cheese, garlic, parsley and peppers, and make for a filling finger food.
Image Credit: Amie Valpone/Demand Media 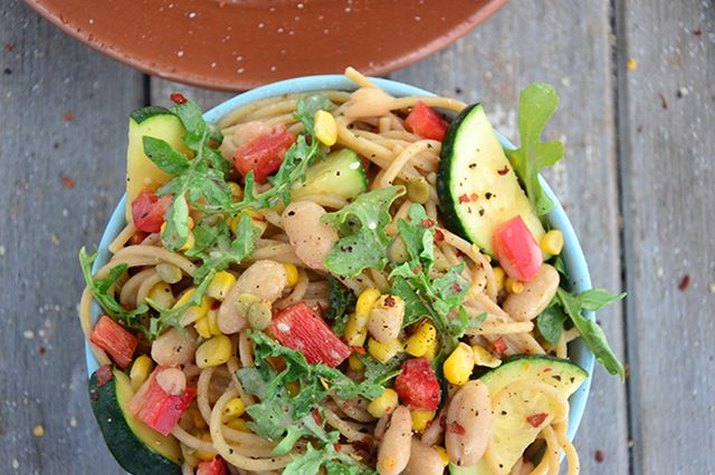 14 of 19
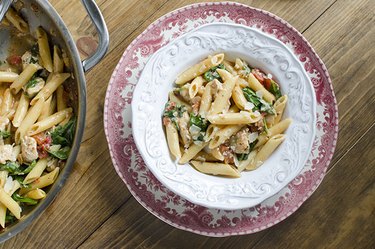
Spicy White Bean and Zucchini Spaghetti
You'll hardly miss the gluten in this stellar white bean and zucchini spaghetti dish. Gluten-free pasta combined with white beans, zucchini, red pepper flakes and a tangy sauce are what make this a hearty and scrumptious pasta meal.
Image Credit: Amie Valpone/Demand Media 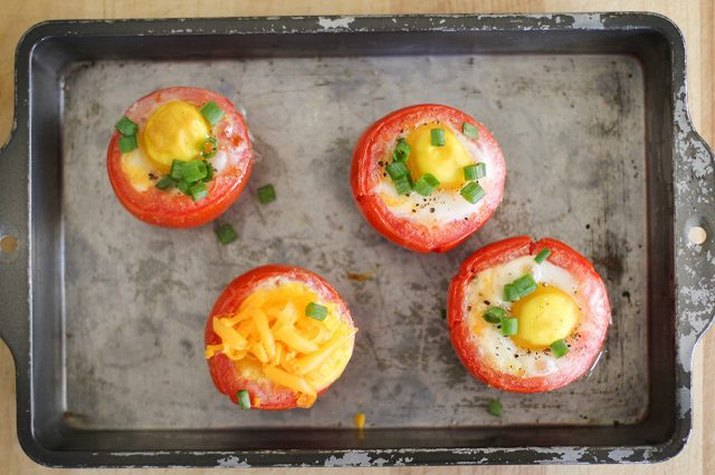 15 of 19
Eggs Baked in Tomatoes
Who knew eggs baked in tomatoes could be so delicious? It's an easy, low-carb breakfast food that can be enjoyed by those with a gluten intolerance.
Image Credit: Julia Mueller 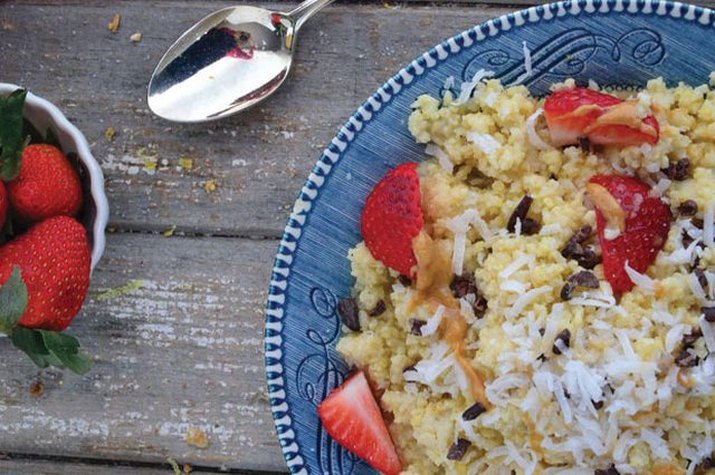 16 of 19
Coconut Cinnamon Millet Cereal
This coconut cinnamon millet cereal is a creamy twist on the traditional boxed cereal and oatmeal. The main ingredient is millet, a gluten-free grain, which gives the cereal its gritty texture.
Image Credit: Amy Valpone  17 of 19
Bacon-Wrapped Scallops
These bacon-wrapped scallops are an impressive finger food that require minimal effort. With just five ingredients, you can create these sinfully succulent treats in a matter of minutes. (Be sure to check the packaging on the bacon to make sure that brand is gluten-free.)
Image Credit: Ashley Manila 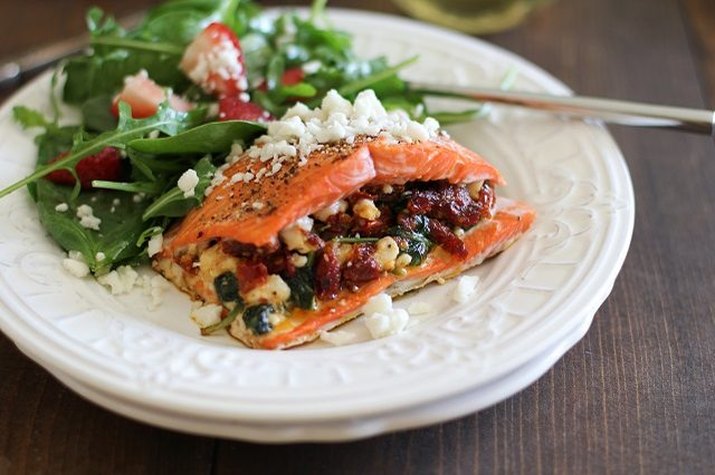 18 of 19
Stuffed Salmon
Stuffed salmon is always a nutritious meal choice because it's chock-full of omega-3 fatty acids and protein. Instead of grilling or cooking the fillet on a stove, this recipe opts for baking it to keep the meat moist and seal in the flavor.
Image Credit: Julia Mueller/Demand Media 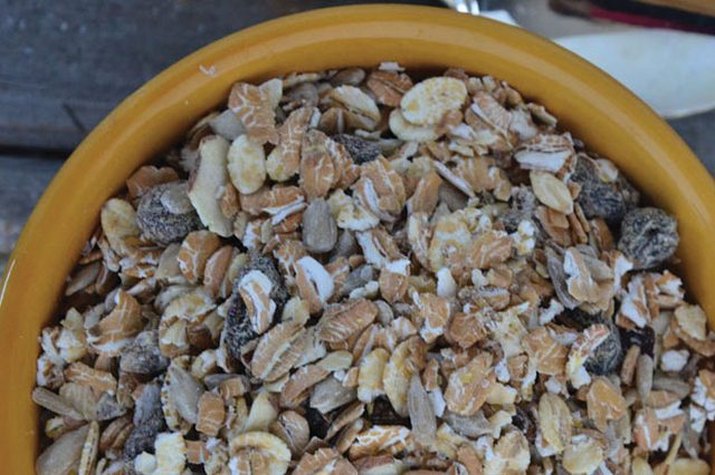 19 of 19
Homemade Muesli
Create a sweet and salty muesli from gluten-free oats, chocolate chips, dried fruits and more. You can reduce or increase the portions to create your own personal mixture that's right for you.
Image Credit: Amie Valpone/Demand Media