Amid $5 cups of coffee sold under long menus of Italian nomenclature, you could be forgiven for thinking that brewing the beloved beverage is in any way complicated. It's not. Regular coffee calls for coffee grounds, hot water and one of a number of gadgets that will combine the two into a steaming, aromatic mug of your favorite morning drink.
How Much Coffee?
The Specialty Coffee Association of America has established the standard measurement of 2 tablespoons of coffee per 6-ounce cup. Use this as a general guide regardless of the method you choose for brewing your coffee and the coarseness of the grind. You can, of course, adjust the amount of coffee you use to suit your personal tastes.
Video of the Day
Auto-Drip Coffee Makers
Auto-drip coffee makers are the "typical" coffee makers found in American homes, consisting of a glass carafe set on a hot plate underneath an internal brewing mechanism. The technology is simple: The machine heats cold water and releases it in drips over a basket of ground coffee. Gravity causes the coffee-infused hot water — or coffee — to drip through a valve and down into the carafe. The hot plate keeps the coffee warm. Some machines feature an insulated carafe instead of a hot plate.
How to Use an Auto-Drip Coffee Maker
It takes only a minute or two to set up an auto-drip coffee maker, after which the machine does all the work. Here's how:
Step 1
Lift the lid of the coffee maker and insert a filter inside the basket.
Step 2
Fill the carafe with cold water, then pour the water into the reservoir at the back of the coffee maker.
Step 3
Scoop coffee into the filter.
Step 4
Close the lid and turn the coffee maker on.
Step 5
The coffee is ready when the carafe is full.
Tip
If even the simple process of setting up the coffee maker is a bit much for you to do while bleary eyed first thing in the morning, find a model with a timer function. You can set everything up in the evening and wake up to a freshly brewed pot of coffee at your chosen time.
French Press
A French press, also known as a cafetiere or press pot, is a heatproof pot with a filter and a plunging mechanism attached to its lid. Coffee grounds and hot water are added together to the pot, allowed to brew then separated by plunging the filter slowly from the top to the bottom of the pot. The grounds should remain at the bottom of the pot, allowing you to pour the filtered coffee into a cup.
How to Use a French Press
Even with zero automation, a French press is just as simple to use as any machine, and you don't have to wait any longer for your coffee to brew.
- Boil water in a saucepan or kettle, then let the boiled water cool down for several minutes while you prepare the French press.
- Remove the lid and add coffee grounds to the pot.
- Fill the pot with hot water. Optionally stir the water and coffee together.
- Set the lid on the pot with the plunger part up and the filter flush with the lid.
- Let the coffee brew for two to four minutes, but no longer.
- Slowly press the plunger down to the bottom of the pot.
- Pour the coffee into a cup.
Tip
Keep the coffee in your French press hotter for longer by warming the pot before adding the coffee. Just fill the pot with hot water and let it sit for a minute or two. Pour the water out and then proceed with the previous steps.
Pour-Over Coffee Maker
A pour-over coffee maker is a very simple piece of equipment that works in a similar way to an auto-drip coffee maker, but without the "auto" part. Various versions are available, but the basic component is a ceramic cone that fits over a single cup or a carafe. Some models come with their own carafe, while others integrate a reusable cloth filter. You need a kettle — electric or stove top — from which to slowly pour hot water over coffee grounds set inside the cone. The water pours through the coffee and into the cup or carafe.
How to Use a Pour-Over Coffee Maker
There is something of an art to making coffee with a pour-over coffee maker. Expect to practice and experiment with the technique a few times before you get a perfect cup.
Step 1
Boil water in a kettle and let it cool for a minute or two.
Step 2
Place a paper filter inside the ceramic cone –unless the maker has its own cloth filter.
Step 3
Scoop coffee into the filter.
Step 4
Slowly trickle just enough hot water over the grounds to get them wet.
Step 5
Let the wet grounds sit undisturbed for about 30 seconds.
Step 6
Very slowly drizzle more hot water from the kettle over the grounds, directing the water around the cone to evenly wet all the grounds.
Step 7
Stop pouring water when the cup or carafe is full of coffee.
Tip
If you are grinding your own coffee beans for use with a French press or pour-over coffee maker, keep the grinds fairly coarse.
Single-Serve Machines
A relatively new form of coffee maker is the single-serve machine that uses purchased plastic pods of coffee. Each pod holds enough coffee to make 1 cup, so no measuring is needed. The machine has a reservoir for water and an interior cup in which to place the pod. The machine heats the water, pierces the foil top of the pod and forces water through the coffee grounds inside it. The coffee drips directly into your cup, which sits underneath the spout.
How to Use a Single-Serve Machine
Specific instructions vary from machine to machine, so consult your manual. The process is generally as follows:
- Fill the machine's reservoir with cold water.
- Lift the lever at the front of the machine to open up the top.
- Insert a coffee pod, foil-side up, into the pod-sized cup at the front of the machine.
- Push the lever down to close the machine.
- Place your coffee cup on the platform underneath the spout.
- Press the "Brew" button and wait for the machine to fill your cup with hot coffee.

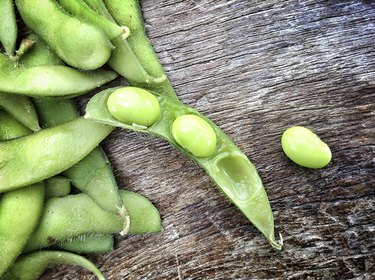 Edamame\’s high protein and fiber helps you feel full.
 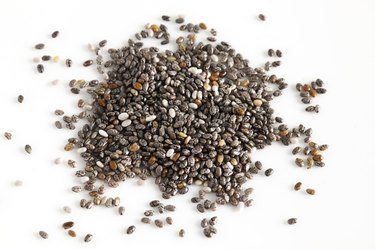 Chia prevents dehydration, which can leave you fatigued.
 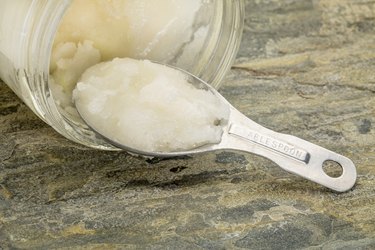 Coconut oil\’s unique fatty acid makeup boosts energy.
  Cashews offer lots of energizing magnesium.
 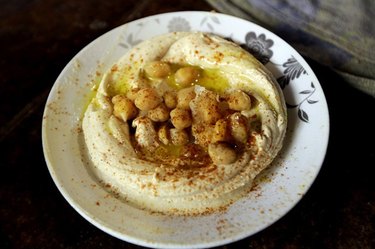 Snack on hummus and veggies for energy on the go.
 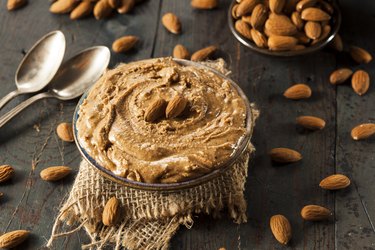 Almond butter on toast is a perfect pre-workout energy boost.
 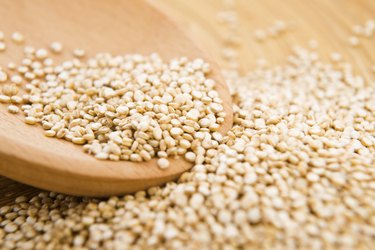 Quinoa offers high-quality muscle-building protein.
  The omega-3s in salmon fight fatigue.
 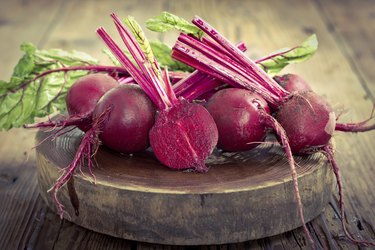 The nitrates in beets energize your cells.
  Staying hydrated keeps your energy up.
  Champagne fountains add a touch of elegance.
 ")


 2 of 27
  3 of 27
  4 of 27
  5 of 27
 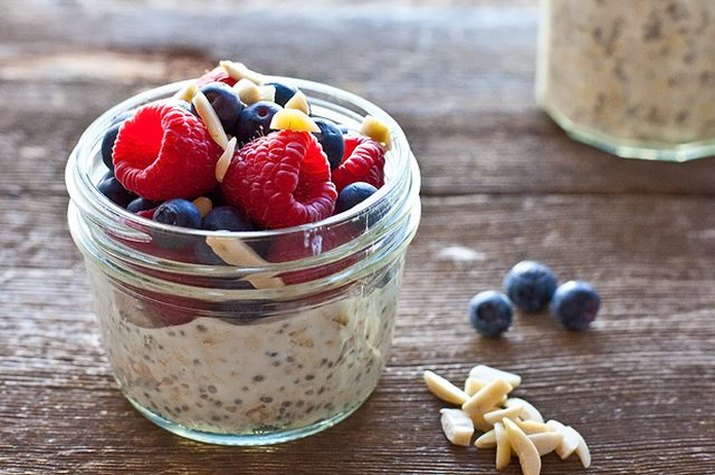 6 of 27
 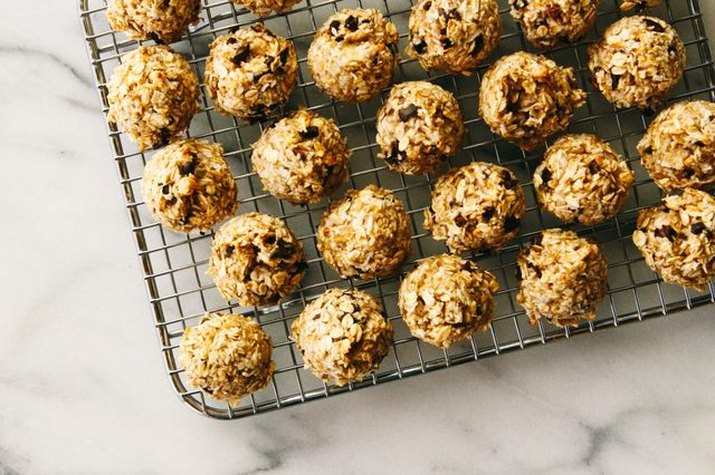 7 of 27
 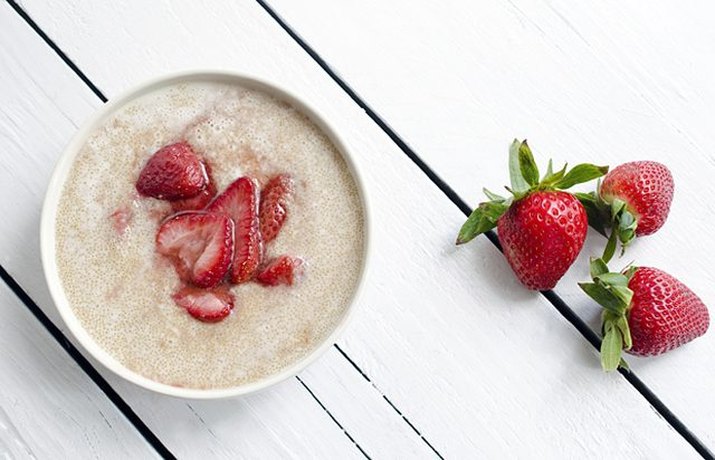 8 of 27
 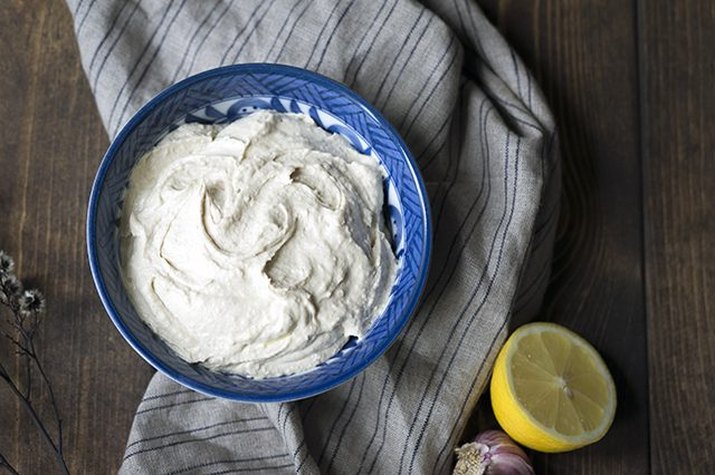 9 of 27
  10 of 27
  11 of 27
  12 of 27
  13 of 27
  14 of 27
  15 of 27
  16 of 27
  17 of 27
  18 of 27
  19 of 27
  20 of 27
  21 of 27
  22 of 27
  23 of 27
  24 of 27
  25 of 27
  26 of 27
  27 of 27