If you'd like to diversify your arsenal of food preparation tools in the kitchen, look no further than the immersion blender. Also known as a hand blender, this handheld tool has a motor inside the handle and blades on the other end. You might think of it as the more compact, sleeker cousin of the hand mixer. Immersion blenders are good for some bigger tasks like blending smoothies and puréeing soups (which you can do directly inside the pot), as well as smaller tasks like making pesto, dips, mayonnaise, dressing and whipped cream.
Video of the Day
While immersion blenders are equipped to blend and purée softer ingredients, just know that they won't work well with hard ingredients like nuts and seeds or with very fibrous foods like celery and carrots. You can still try, but the results won't be very smooth. Instead, for jobs that include tougher ingredients, opt for a food processor or blender. Also keep in mind that in order to function properly, the blades need to be fully submerged, so a hand blender may not work for very small, single-serve quantities. That said, the immersion blender is a useful and convenient tool that can save you time in the kitchen and doesn't take up a lot of drawer space.

Read More: The Best Food Processors in 2022
What to Consider When Purchasing an Immersion Blender
Handle and Grip: Immersion blenders are designed to be held with one hand so your other hand can secure the mixing bowl or pot containing your ingredients. Look for handles that are comfortable to grip and not too large, otherwise your hand may tire after continuous use. Well-designed handles will also feature conveniently-placed on/off or speed buttons that are easy to push with the same hand that's holding them. Non-slip rubber handles are generally the most comfortable to hold.
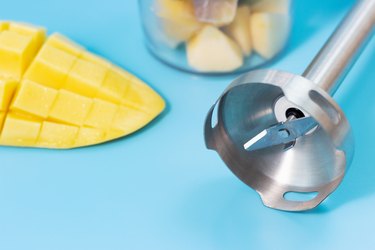
Blade Guard: This dome-shaped part of the blender covers the blades to help avoid injuries. Wide blade guards with large vents are more adept at circulating food around than smaller ones, resulting in faster blending. They're also easier to clean because there are fewer nooks and crannies where food particles could get stuck. Another thing to consider is whether or not the blade guard will fit into the cups and containers you plan on using most often. For pots and bowls, this shouldn't be a problem, but if you're blending small servings in similarly small containers, it's something to keep in mind.
Corded Versus Cordless: Corded immersion blenders offer constant power, but the electric cord may get in the way as you're working. Some cords may also run a little on the short side. Cordless immersion blenders are more convenient and portable, but are sometimes less powerful and may potentially run out of power before you finish your task.
Design: No immersion blender should be very bulky to begin with, but if possible, look for design features such as detachable parts that are dishwasher-friendly to make storage and cleaning even easier.
Attachments: Some immersion blenders also include interchangeable attachments for tasks like chopping, processing, frothing or whisking. If you already have these types of kitchen tools, you can save money by opting for a simpler model without any extras. Some hand blenders also come with a tall and narrow blending jar that reduces splashing and makes blending easier.
With these considerations in mind, we've selected the best immersion blenders in 2022.
The Best Overall Immersion Blender
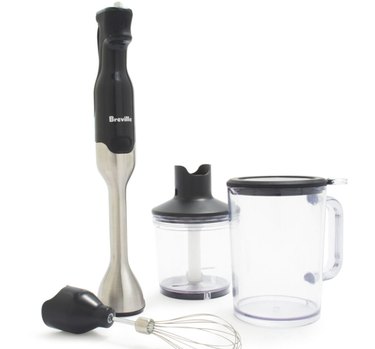
Breville Control Grip Immersion Blender
$119.95 at Sur La Table
Our top pick, the Breville Control Grip has many things going for it. It boasts 15 speeds with a trigger option for even more precise mixing and features an 8-inch stainless steel immersion shaft and ample 6-foot power cord for increased freedom of movement. Its ergonomic trigger grip allows for a very comfortable and natural holding position for your hand. Perhaps best of all, the innovative oval-shaped blade guard reduces suction for greater control and more thorough blending, something you don't see with other models. The blade guard's non-scratch edges also protect the surface of your pots, bowls and cups.
In addition to the hand blender, you get handy extras like a whisk attachment, 3-cup chopper bowl with a stainless steel blade, and a large 42-ounce mixing jar with a lid that doubles as an anti-slip mat—all of which are dishwasher-safe. If there's any point against the Breville Control Grip, it may be that it has more speed settings than you really need, which may get confusing. Overall, it's a smartly-designed and versatile immersion blender that produces superior results.
The Best Cordless Immersion Blender
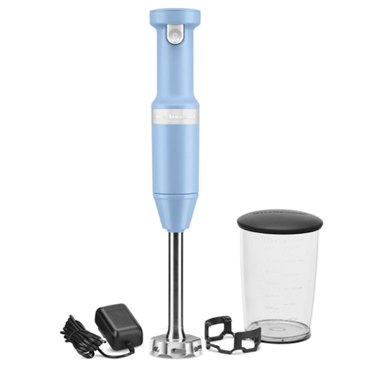
KitchenAid Cordless Hand Blender
$69.99 at Amazon
For even more freedom of movement and portability, you can't go wrong with the KitchenAid Cordless Hand Blender. Its lithium ion battery (included) charges fully in two hours, which provides enough runtime to mix 25 bowls of soup in a row. A quick 20-minute charge is enough to make a smoothie or tomato soup. The battery indicator light signals when it's time to charge the battery. The handle features a variable speed trigger that's easy to access and even includes a safety switch to prevent accidental trigger movement. The blender's removable 8-inch blending arm features a four-point stainless steel blade design that effectively blends foods like milkshakes, smoothies, hummus, dips and more. The blade guard also comes with a removable pan guard to prevent scratches on your pots and other cookware. Along with the hand blender, you get a 5-cup blending jar with a lid.
The Best Budget-Friendly Immersion Blender
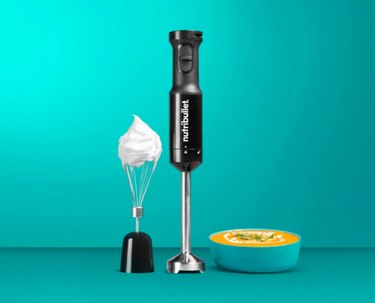
Nutribullet Immersion Blender
$25.99 at Amazon
If you're not looking to throw down lots of money for an immersion blender, the Nutribullet Immersion Blender is a competent and affordable option. It offers two speeds and comes with a whisk attachment in addition to its stainless steel blending arm. The soft-grip handle prevents it from slipping out of your hand. It's not cordless, but its 5 1/5-foot cord provides sufficient mobility so it's easy enough to use. The Nutribullet isn't fancy, but for anyone making their foray into the realm of immersion blenders, it's budget-friendly and practical.
The Most Efficient Immersion Blender
Braun MultiQuick 7 Immersion Hand Blender
$84.99 at Bed Bath & Beyond
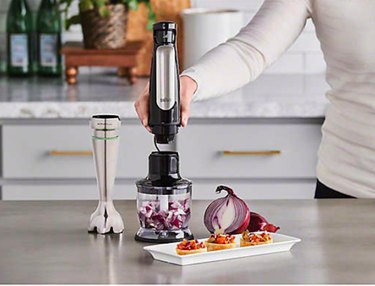
If you favor speed and versatility, the Braun MultiQuick 7 is sure to please. Unlike some other models that have various speed buttons, the MultiQuick 7 features one speed button that blends more powerfully the harder you press it. Braun's ACTIVEBlade technology enables the blades on the blender arm to move up and down, resulting in 250% more active cutting surface for finer blends. The blade guard's unique bell-shaped design decreases suction by up to 25%, producing faster and more even results than other models. It boasts an impressive 1,000 watts of power. The hand blender comes with a whisk attachment, as well as a 1 1/2-cup mini chopper and a 20-ounce blending cup, all of which are dishwasher-safe.
The Best Immersion Blender for Soups
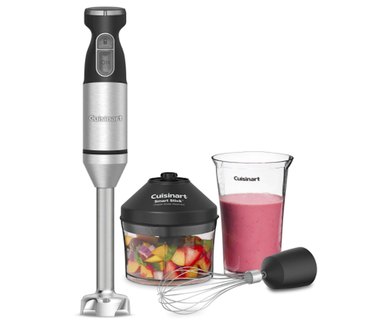
Cuisinart Smart Stick Hand Blender
$69.95 at Amazon
For purées and thick soups like bisques, we recommend Cuisinart's Smart Stick Hand Blender. It features a speed dial that makes it easy to control the intensity of your blending without making a mess. You can start slow and increase the speed throughout the process to get a smooth purée that won't splatter. Though the blade guard is on the narrow side and the motor offers just 300 watts of power, the Smart Stick is able to blend soup in around 60 seconds easily and minimizes unwanted suction. While the Smart Stick is ideal for making soups, it's less adept at blending smoothie ingredients like frozen fruit and ice and may leave some chunks remaining.
One plus is the safety feature that requires you to press the "unlock" button in order to activate the trigger on the handle, which isn't found on most models. The hand blender comes with a whisk attachment, a 3-cup mini chopper and a 2-cup mixing cup, all of which are dishwasher-safe. The main hand blender attachment itself, however, is not. It comes with a 5-foot power cord.
The Best Immersion Blender for Smoothies
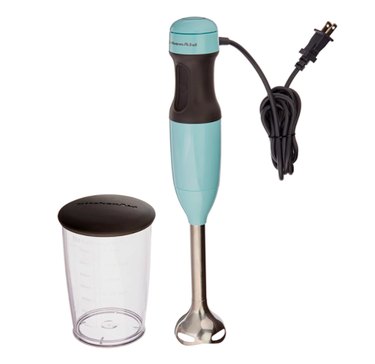
KitchenAid 2-Speed Hand Blender
$44.99 – $69.99 at Amazon
Where the Smart Stick excels in making soups, the KitchenAid 2-Speed Hand Blender succeeds in making smoothies and milkshakes. Despite its quiet operation, it's more than capable of blending ice, frozen fruit and even nuts into a smooth and creamy consistency, perfect for smoothie-making. The blender attachment also wins points for minimizing suction at the bottom of the blending container and for being dishwasher-safe. Another plus is the thick power cord that doesn't bunch up or tangle easily. The rubberized handle is comfortable to grip and its trigger is easy to press. While the hand blender doesn't come with any additional attachments, it does tout a 3-cup mixing jar that makes it easy to store any leftovers. However, the jar isn't lipped for easy pouring. The blender is available in a variety of colors which affect its price.


")
 2 of 10
  3 of 10
  4 of 10
  5 of 10
  6 of 10
  7 of 10
  8 of 10
  9 of 10
  10 of 10


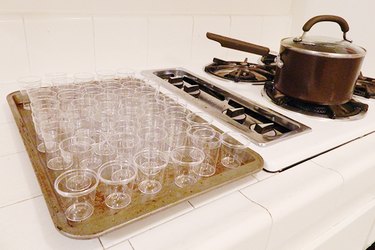 Set up the plastic shot glasses before you start cooking.
  Add the red layer.
  Add the white layer.
 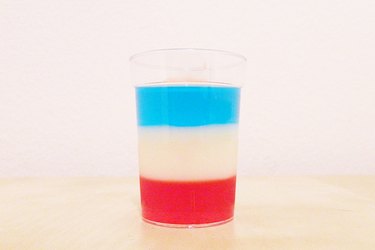 Add the blue layer.
 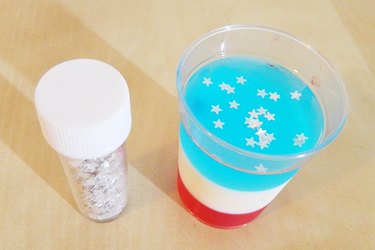 Sprinkle with edible stars.
 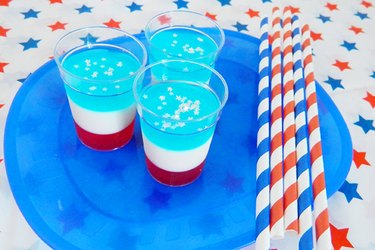 Serve with colorful straws.