1 of 17
No holiday dinner is complete without delicious side dishes, the more the merrier. Some might even go as far to say that side dishes are a highlight often far surpassing whatever main dish will be served in terms of flavor and favorability among guests. So, in turn we encourage you to peruse through our piping hot list of decadent, festive side dish recipes, from golden brown potato soufflé to delectably sweet caramelized leeks that are sure to elevate your meal from boring to full-blown holiday bonanza.
Image Credit: Gina Matsoukas – Runningtothekitchen.com 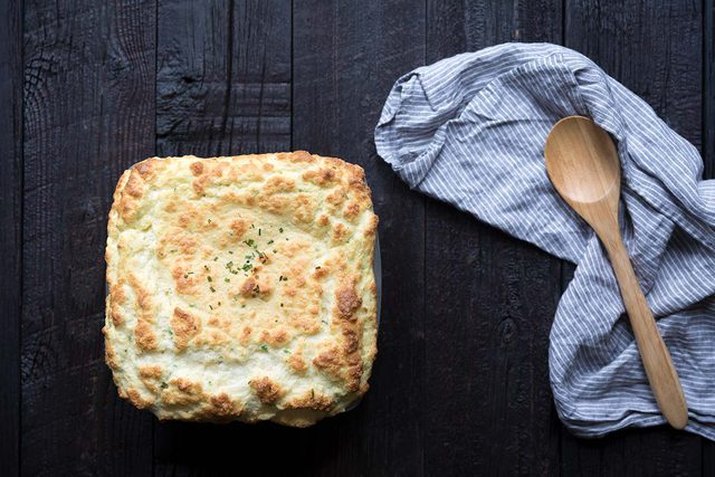 2 of 17
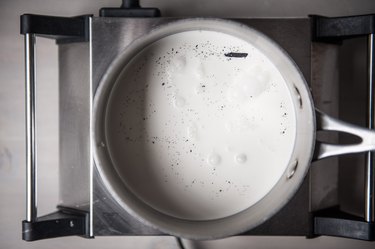
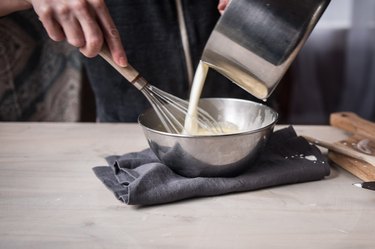
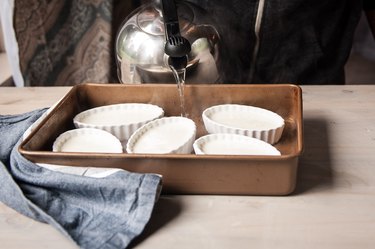
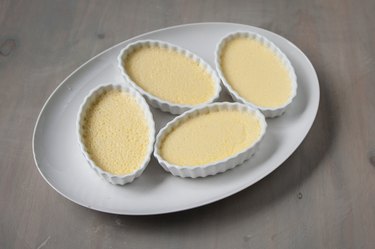
Potato Soufflé
Soufflés are not just for dessert, people. These lovely, fluffy treats make for a perfectly decadent side dish. We admit they can be intimidating at first, but knowing how to make a soufflé is a wonderful skill to have and our version is sure to impress holiday guests.
Image Credit: Jennifer Farley – SavorySimple.net 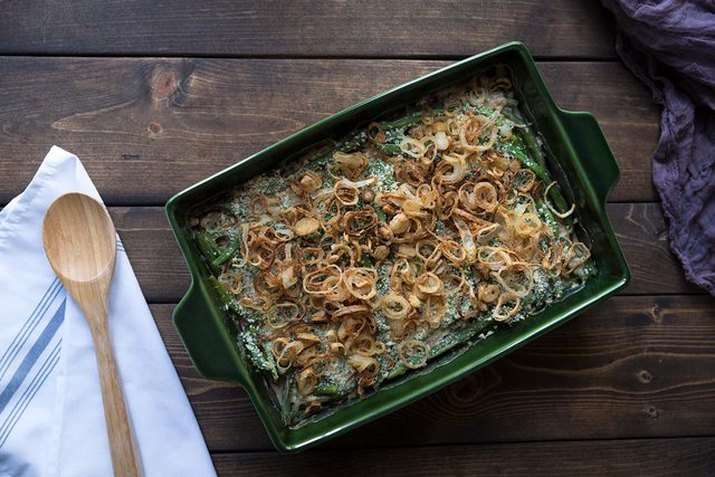 3 of 17
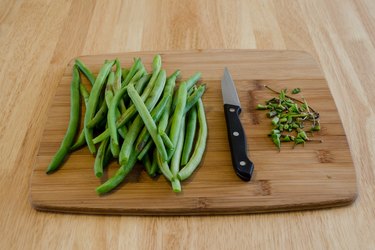
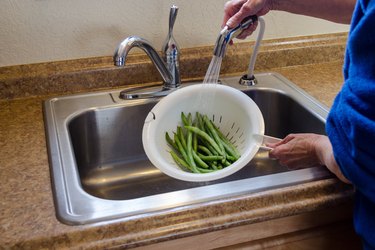
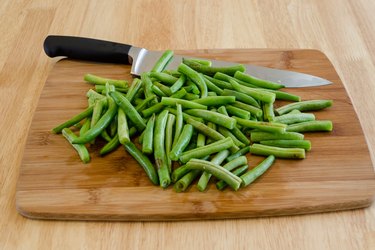
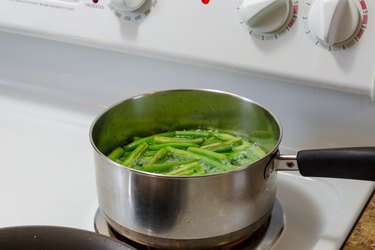
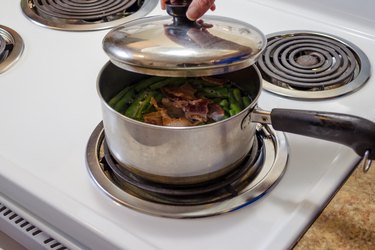
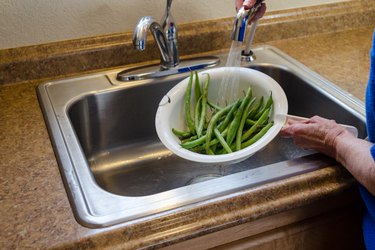
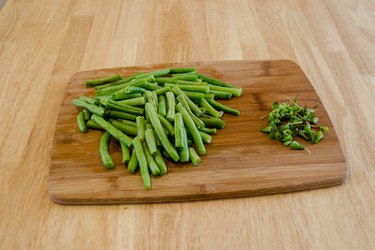
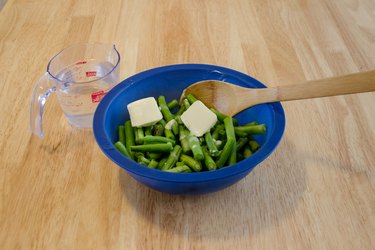
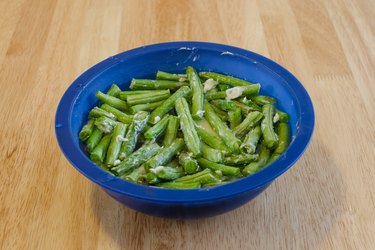
Green Bean Casserole
Forget the condensed soup for this recipe — this is the new, from scratch version of a classic you should bring to every holiday dinner for years to come. We smell a new tradition!
Image Credit: Jennifer Farley – SavorySimple.net  4 of 17
Slow Cooker Maple Glazed Carrots
These maple glazed carrots are a simple side dish with dependably delicious results every. Single. Time.
Image Credit: Charity Curley Mathews, founder of Foodlets.com 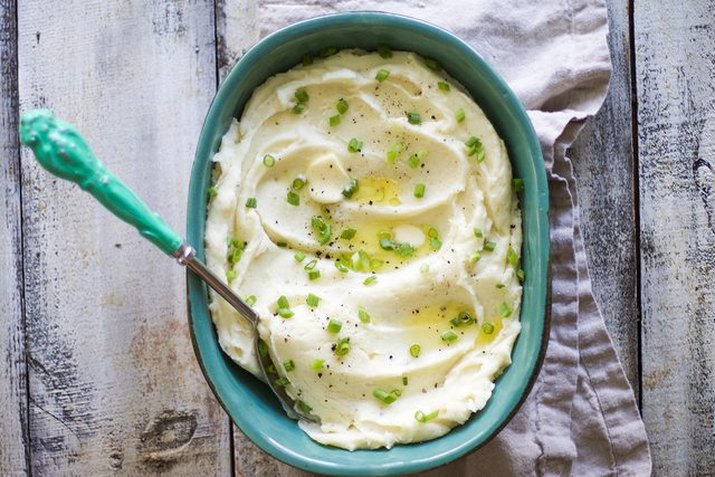 5 of 17
Creamy Mashed Potatoes
There is something so comforting about mashed potatoes that feels almost like a hug in a bowl–this recipe will come out just the way Grandma used to make them, using slightly less butter.
Image Credit: Leigh Ann Chatagnier  6 of 17
Roasted Brussels Sprouts
Brussels sprouts have a long-standing bad reputation, signaling they might need to hire a better PR team. These hearty fall treats can be prepared simply roasted in the oven with olive oil, salt and pepper, or a bit of sliced fresh garlic.
Image Credit: Jennifer Farley – SavorySimple.net 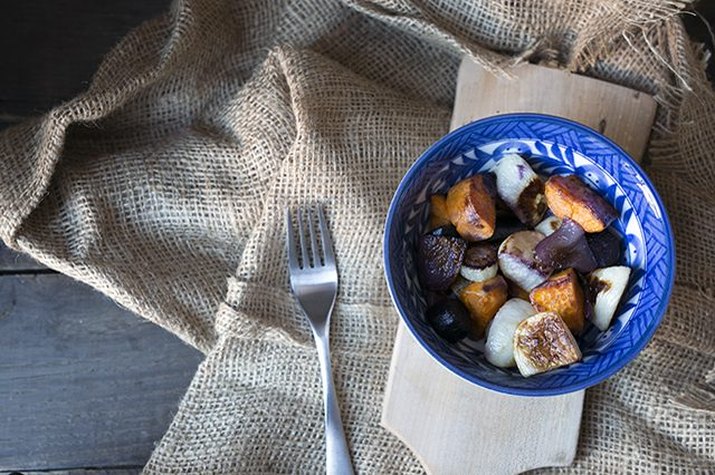 7 of 17
Oven-Roasted Root Vegetables
Root veggies are ideal for eating during the colder months when they are in season and there's simply no better way to enjoy them than roasting in a super hot oven.
Image Credit: Jennifer Farley – SavorySimple.net 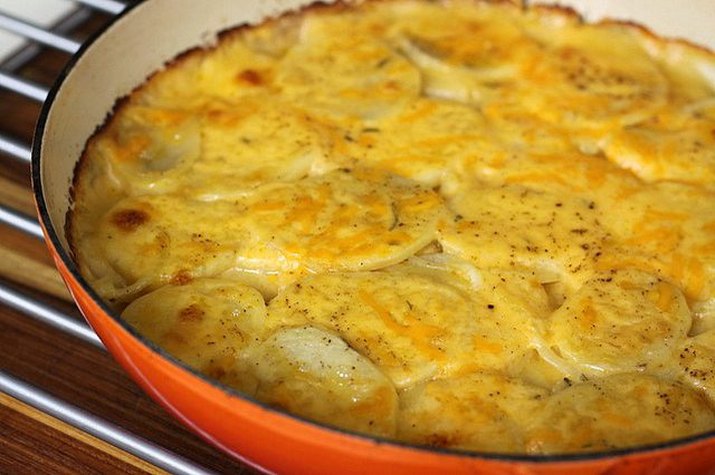 8 of 17
Scalloped Potatoes
This simple recipe for homemade scalloped potatoes takes the basic technique and turns this comfort food that everyone loves into an instant holiday side dish hit.
Image Credit: Charity Curley Mathews, founder of Foodlets.com 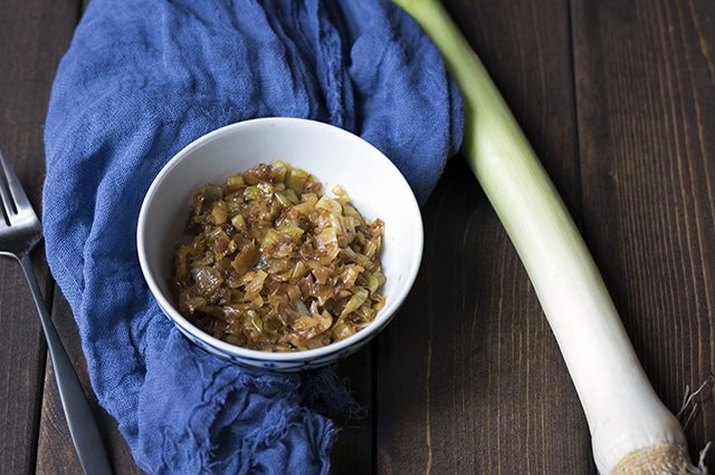 9 of 17
Caramelized Leeks
A close relative of onions and garlic, leeks have a mild flavor that makes for a wonderful addition to a variety of savory dishes and caramelizing them is an easy, healthy way to head straight to Flavortown.
Image Credit: Jennifer Farley – SavorySimple.net  10 of 17
Blue Cheese and Bacon Slow Cooker Mashed Potatoes
No holiday dinner table is complete without a bowl of creamy mashed potatoes to pass around, but this year, keep the stock pot in the cabinet and pull out the slow cooker instead. Grab the bacon and blue cheese while you're at it for this spin on a classic.
Image Credit: April Anderson 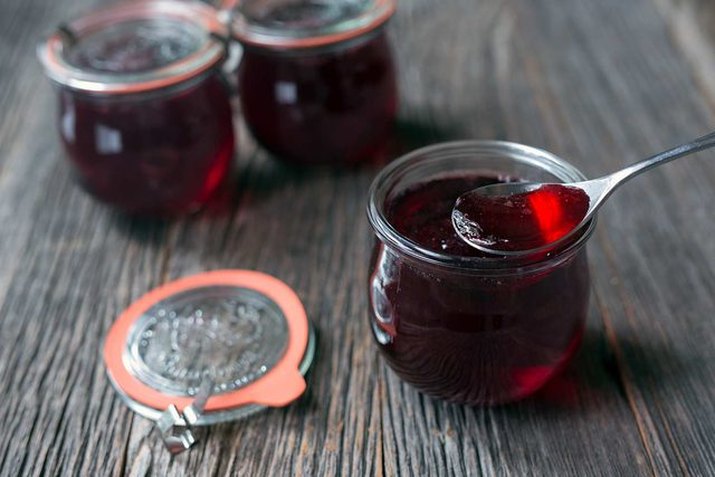 11 of 17
Pomegranate Champagne Jelly
This recipe for homemade pomegranate champagne jelly is not really a side dish, but still nice to have on hand if you love to entertain (or simply love cheese).
Image Credit: Jennifer Farley – SavorySimple.net 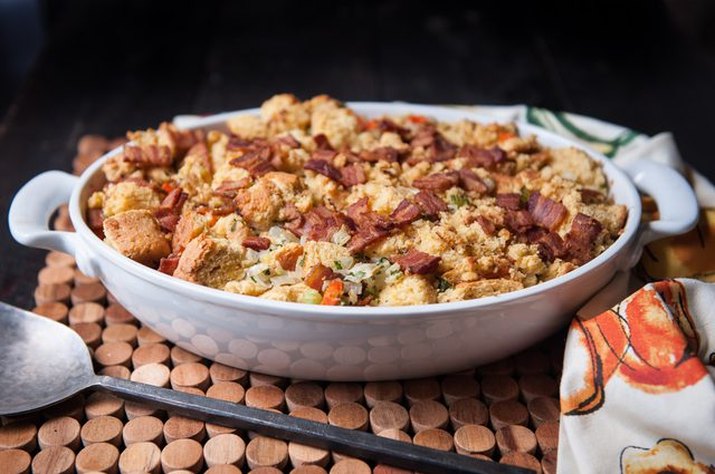 12 of 17
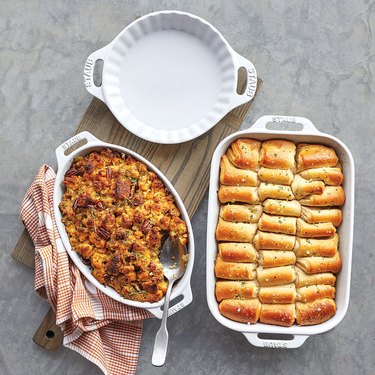
Gluten-Free Stuffing
This version of cornbread stuffing is so good even your bread eaters will ask for the recipe. And what you choose to do from there is none of our business.
Image Credit: Jackie Dodd 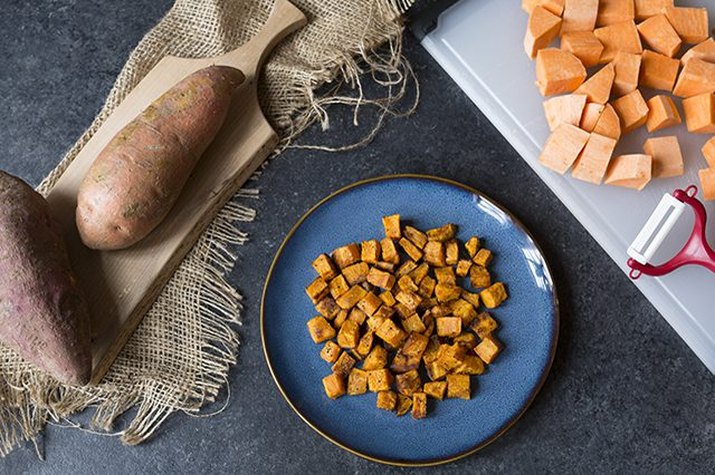 13 of 17
Sweet Potatoes
This tutorial will cover three basic sweet potato preparation methods: boiling, roasting and pan frying. We let you choose which one makes the most sense based on time and convenience purposes because freedom.
Image Credit: Jennifer Farley – SavorySimple.net  14 of 17
Cranberry Orange Relish with Pecans
This cranberry orange relish with pecans might just be the quintessential side dish to serve at holiday meals you've not yet heard of… Until now. Plus, practically speaking, it can be made several days in advance and freezes exceptionally well.
Image Credit: Jennifer Farley – SavorySimple.net 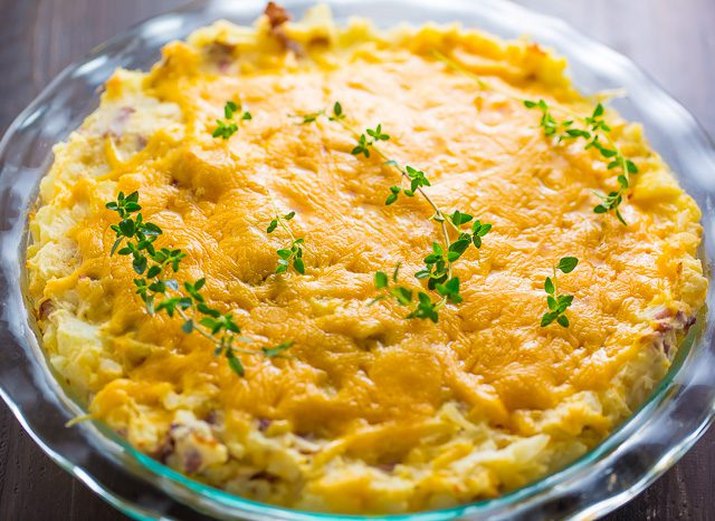 15 of 17
Cheese Potato Pie
This hearty Irish comfort food is the perfect cheap, easy, and highly adaptable holiday dinner party side dish. It's kind of like mashed potatoes and baked scalloped potatoes had a beautiful, cheesy baby.
Image Credit: Ashley Manila 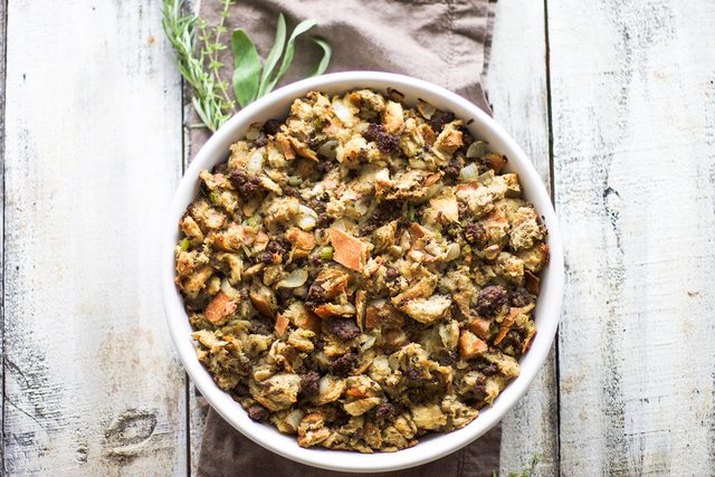 16 of 17
Stuffing with Sausage
Turkey stuffing that was never "stuffed" inside any turkey, alive or dead, is better for a couple of reasons: it is proven to be safer to cook in it's own dish and it also creates a delicious crust on top. We always aim for delicious crust, you should know this about us.
Image Credit: Leigh Ann Chatagnier 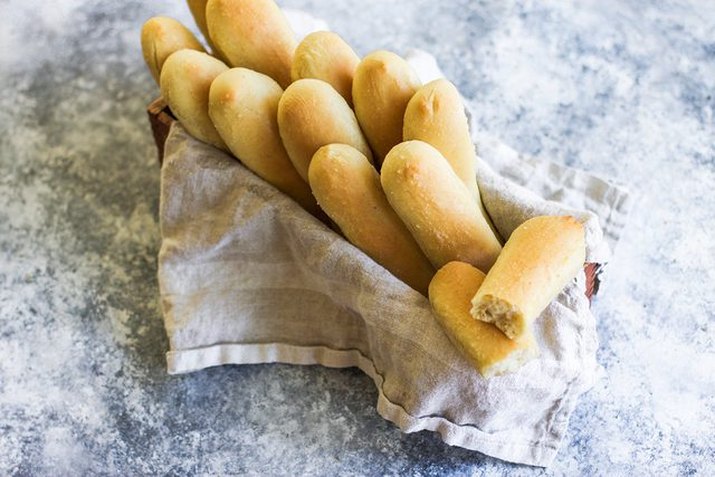 17 of 17
Olive Garden’s Breadsticks
The dough for these breadsticks is very easy to work with, making this a great recipe for beginners–but your dinner guests will never know (or care) what your bread-making skill level is once they see you've recreated this modern culinary masterpiece at home.
Image Credit: Leigh Ann Chatagnier


 An apple corer gets the center out in a single cut.

 2 of 7
  3 of 7
  4 of 7
  5 of 7
  6 of 7
  7 of 7


 Prepare fresh carrots for freezing by blanching them in a microwave.