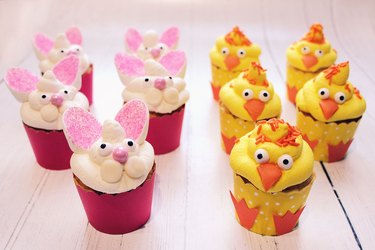
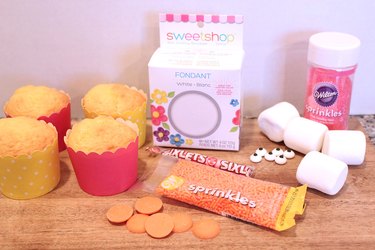
Look what's hatching! Spring is in the air — and in the kitchen — when you make these festive bunny and chick cupcakes. With their adorable little faces, they'll be the stars of your Easter parties and springtime gatherings. They're super sweet in more ways than one.
Video of the Day
-
Cupcakes
-
Baking cups
-
Frosting
-
Piping bag
-
Large round piping tip
-
Marshmallows
-
Scissors
-
Pink sanding sugar
-
White fondant
-
Fondant roller
-
Pink Sixlets candies
-
Candy eyeballs
-
Yellow icing color
-
Orange sprinkles
-
Orange candy melts
-
Orange paper
-
Double-sided tape
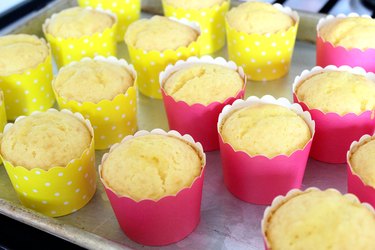
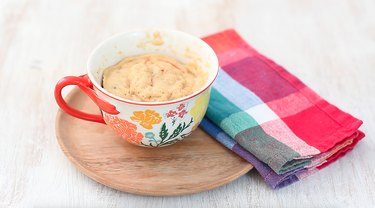
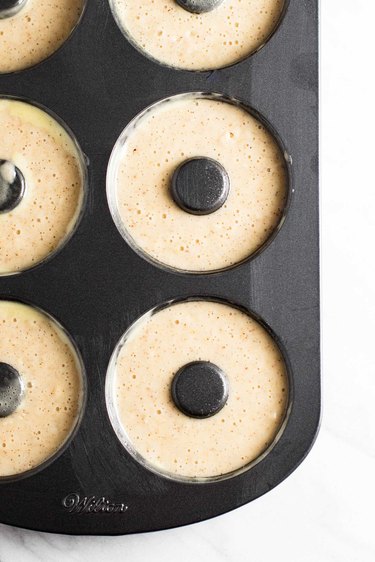
Step 1: Bake Cupcakes
Prepare cupcakes either from scratch or from a box mix. I used a box of yellow cake mix. Instead of baking the cupcakes in standard liners, I decided to use baking cups. Baking cups are narrower and taller than cupcake liners, and the thicker paper means that oils from the cupcakes do not bleed into the baking cups. They create a more polished look that's perfect for the bunnies and chicks. I got yellow baking cups for the chicks and pink ones for the bunnies.
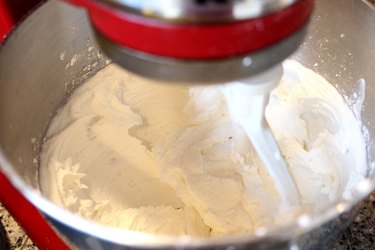
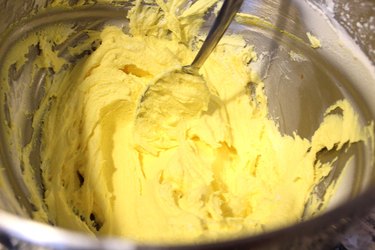
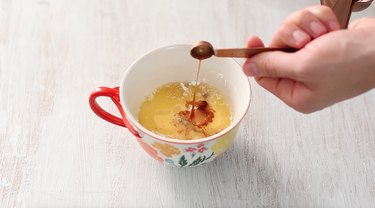
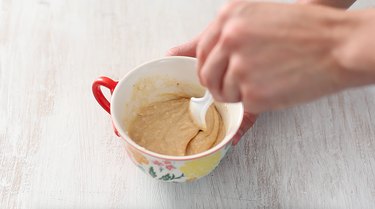
Step 2: Prepare the Frosting
Although I used a mix for the cupcakes, I made the frosting from scratch as homemade frosting will pipe better and maintain the height that's needed for the bunnies and chicks. You may already have a favorite icing recipe. Mine is to combine one stick of butter and one half cup of vegetable shortening, blending in a stand mixer on medium for 5 minutes. Gradually mix in 4 cups of sifted confectioner's sugar along with one teaspoon of vanilla extract and a half teaspoon of salt. Touch the frosting with your fingertip. If nothing sticks to your finger, add a teaspoon of water at a time until a little bit of frosting stays on your fingertip when you touch it.
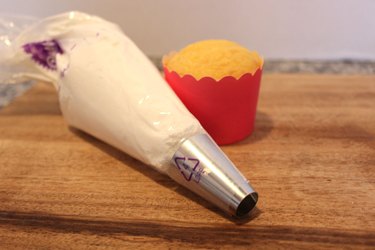
Step 3: Fill the Piping Bag
Cut a hole at the tip of a piping bag and insert a large round piping tip. Scoop half the prepared frosting into the bag, which will be for the bunnies. We'll save the other half of the frosting for the chicks.
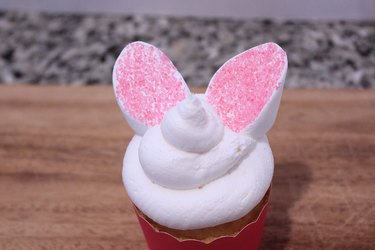
Decorating the Bunnies
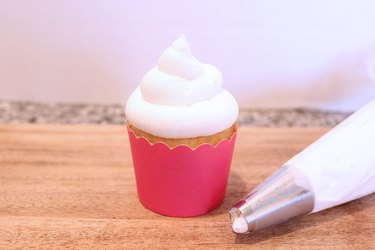
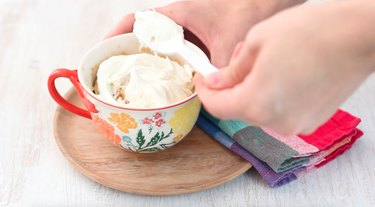
Step 1: Pipe the Frosting
Twist the open end of the piping bag to seal it and squeeze the piping bag in a circular motion from the outside in to create a swirl.
Tip
If you've never used a piping bag or are nervous about making a swirl, practice on some wax paper first. Then scoop the practice frosting back into the piping bag when you've got the hang of it.
Step 2: Make the Bunny Ears
Cut a large marshmallow diagonally with a pair of scissors.
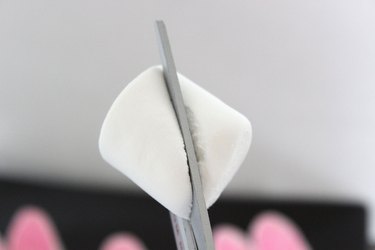
While the cut side is sticky, dip it in pink sanding sugar.
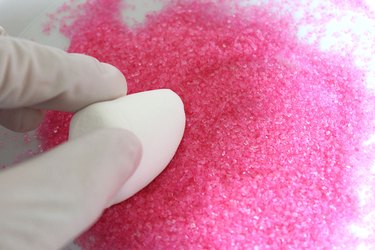
Do this twice and you'll have a pair of bunny ears.
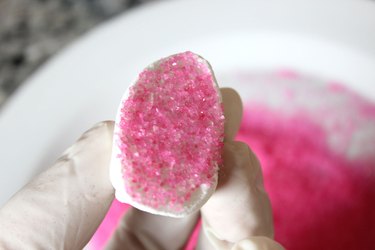
Position the marshmallow bunny ears in the back of the frosting swirl. The frosting will hold the ears in place.
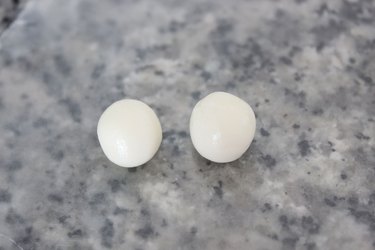
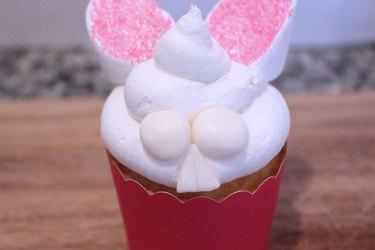
Step 3: Make the Bunny Cheeks and Teeth
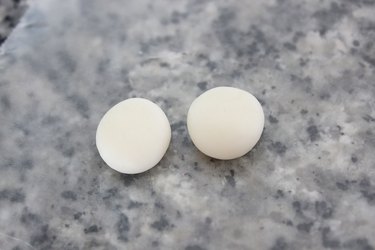
Roll a ball of white fondant between your fingers to create a half-inch ball. You'll need two of these per bunny.
Gently flatten each ball with your thumb to finish the cheeks.
Next, roll a piece of white fondant flat with a fondant rolling pin.
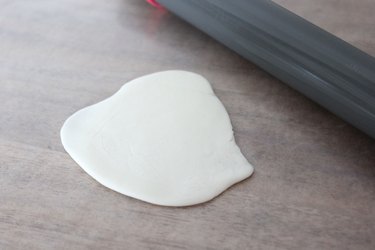
Cut triangles in the fondant with a knife. Bisect the triangles with a score line.
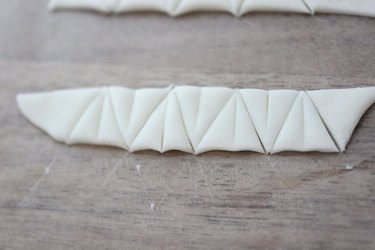
Separate the triangles and you'll have the bunny's buck teeth.

Position the teeth and the cheeks toward the bottom of the frosting swirl.
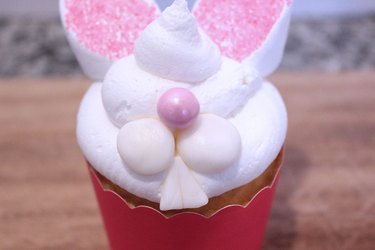
Step 4: Add the Nose
For the nose, you'll need a pink, round candy. I chose a pink Sixlet, but you can also use a jelly bean or something similar. Position the nose right above the cheeks, pressing it into the frosting.
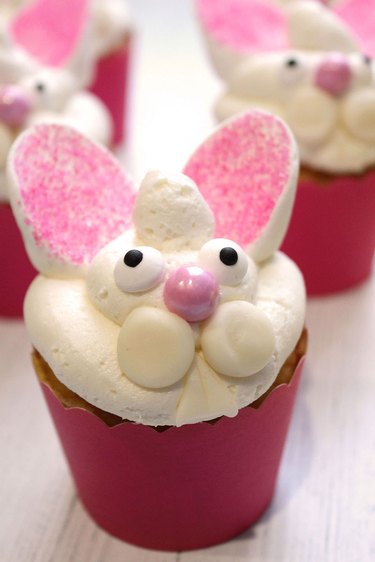
Step 5: Add Eyes
Place two candy eyeballs above the nose, again pressing them into the frosting. If you can't find candy eyeballs, you can also use miniature chocolate chips.
Decorating the Chicks
Step 1: Dye the Frosting
Add a few drops of yellow gel icing color to the frosting you saved for the chick cupcakes. Stir with a spoon, and add more yellow coloring until your desired shade of yellow is reached.
Step 2: Pipe a Yellow Swirl
Equip a piping bag with a large round piping tip. Fill the piping bag with the yellow frosting.
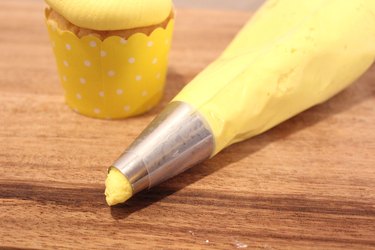
Pipe a swirl on the cupcake, starting from the outside in.

Step 3: Add Sprinkles
Chicks don't really have a crown like adult chickens do, but it's fun — and tasty — to add some orange sprinkles on top of the frosting to mimic one. If sprinkles tumble onto the body of the chick, that's fine. They add a nice pop of orange to all that yellow.

Step 4: Add a Beak
Trim two sides of an orange candy melt to create a triangular shape. Instead of candy melts, you can use other orange candies like Starburst.

Position the beak on the lower part of the frosting swirl.

Step 5: Add the Eyes
Place two candy eyeballs above the beak.

Step 6: Add Chicken Feet
While this step is optional, adding cute little feet to the chicken is the perfect finishing touch. First, cut some chicken feet shapes out of orange paper.

Then adhere two feet to the bottom of the baking cups with double-sided tape.

Together, these bunnies and chicks will put some spring in everyone's step.


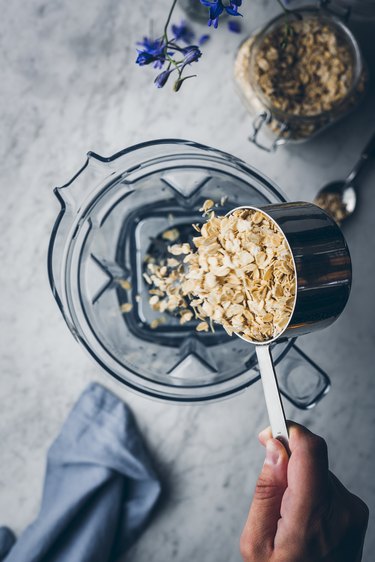 Oats being added to blender
 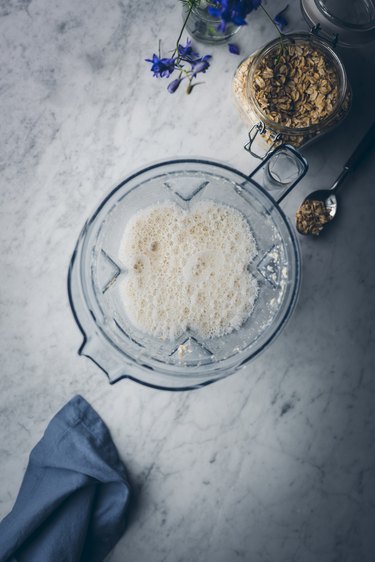 Blended oat milk
 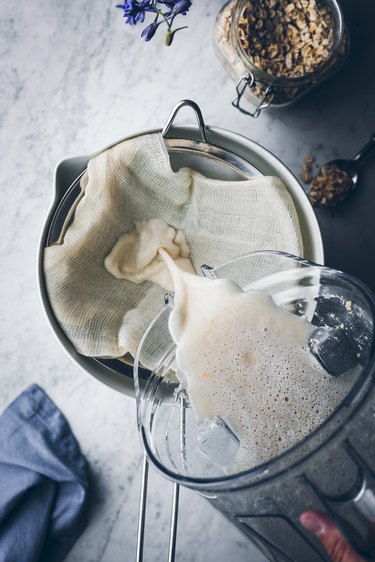 Straining oat milk
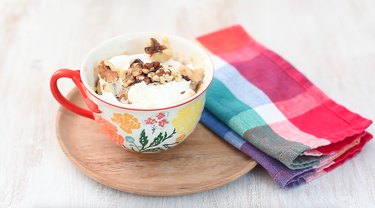
 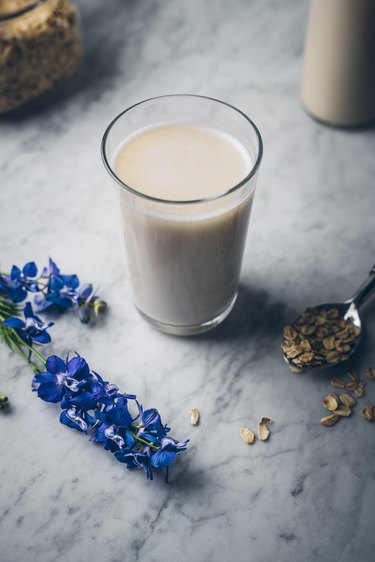 Final
Final 


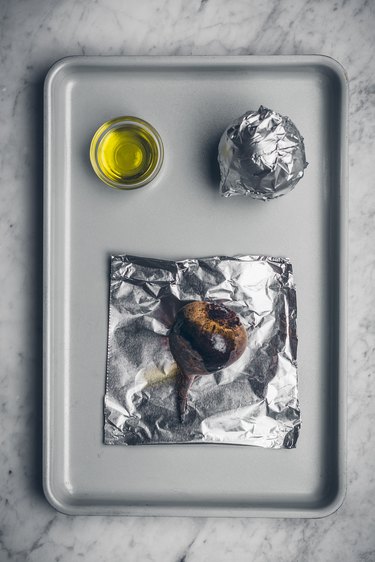 roasting beets
 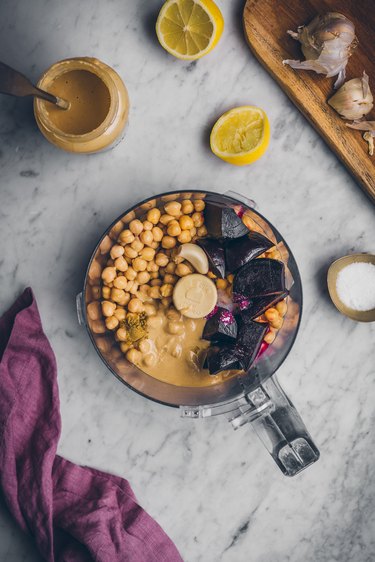 preparing beet hummus
 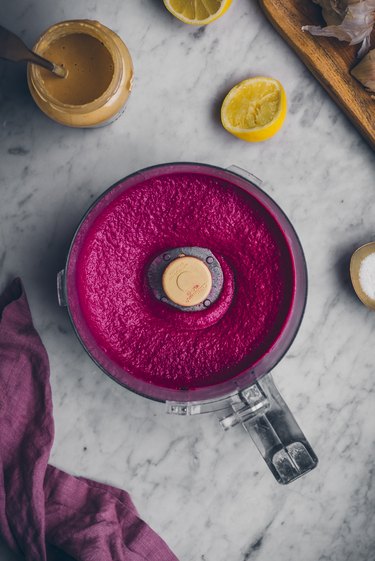 blending beet hummus
 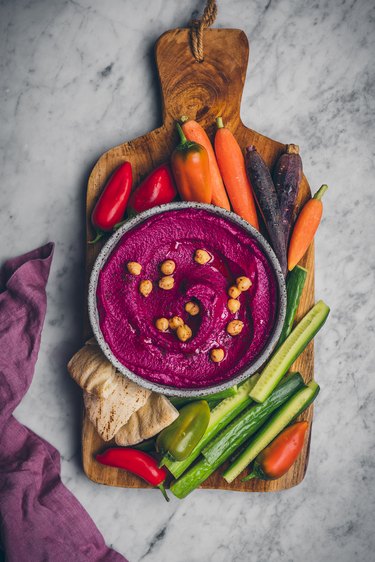 finished beet hummus