

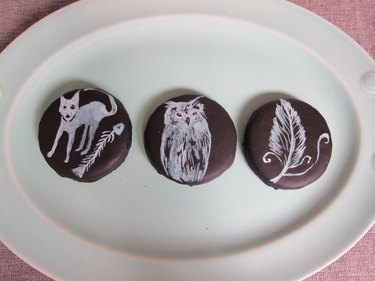
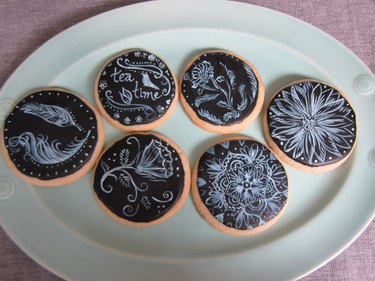
Transform traditional sugar cookies into tasty works of art with a personalized flair. Whether your designs are intricate, elegant or just plain cute, every bite really is worth a thousand words.
 Sweet images Image Credit: Sonya Nimri
Video of the Day
Making the Cookies
Things You\’ll Need
-
2 cups flour
-
1/8 teaspoon salt
-
1/4 teaspoon baking soda
-
1 stick butter
-
3/4 cup sugar
-
1 eggs
-
1/2 teaspoon vanilla extract
-
Cookie sheet lined with parchment paper
-
Plastic wrap
-
Cup
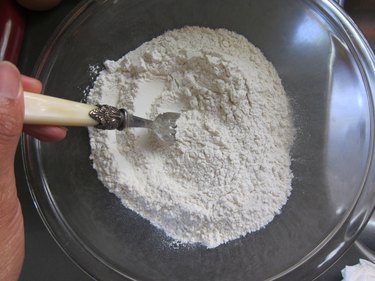
Step 1: Sift Dry Ingredients
Sift the flour, salt, baking soda in a bowl.
 Mix dry ingredients Image Credit: Sonya Nimri
Step 2: Combine Wet Ingredients
Cream room temperature butter and sugar until it is fluffy, then add egg and vanilla.
 Cream butter and sugar Image Credit: Sonya Nimri
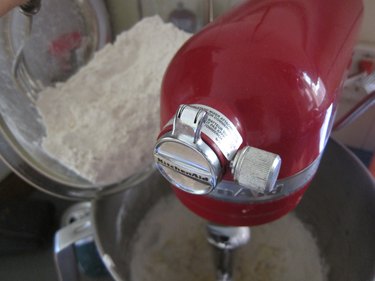
Step 3: Add Dry Ingredients
Add flour mixture until well combined. Form into a ball and wrap in plastic. Refrigerate for an hour until firm.
 Combine with flour mixture Image Credit: Sonya Nimri
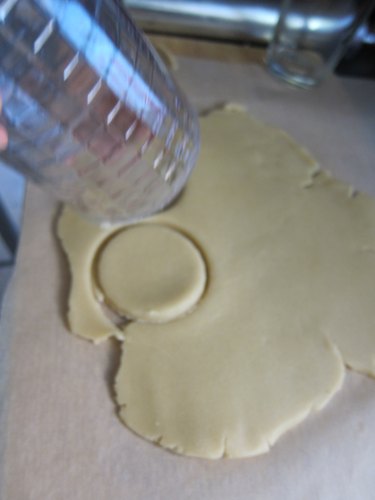
Preheat oven to 325 degrees. Refrigerate until firm, about 1 hour. Roll out with a rolling pin. Cut out shapes with a round cookie cutter or cup.
 Roll out and cut into shapes Image Credit: Sonya Nimri
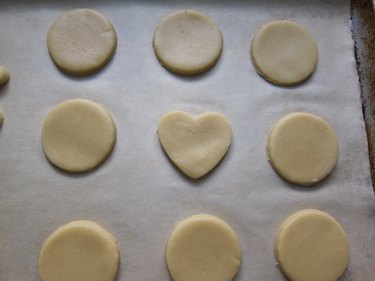
Step 4: Bake
Transfer to a cookie sheet lined with parchment paper placing 1" apart.
 Place on cookie sheet Image Credit: Sonya Nimri
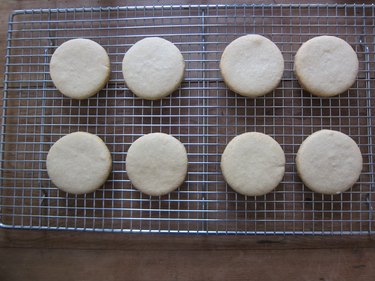
Step 5: Let Cool on a Rack
Bake for 10-13 minutes until slightly golden. Turn out onto a cooling rack. Let cool completely before icing.
 Bake 10-13 minutes Image Credit: Sonya Nimri
Making the Icing
Things You\’ll Need
-
2 cups powdered sugar
-
1 egg white
-
Black food coloring
-
White gel paste food coloring
-
2 tablespoons vodka (or water)
-
Various fine tipped brushes
-
Toothpick
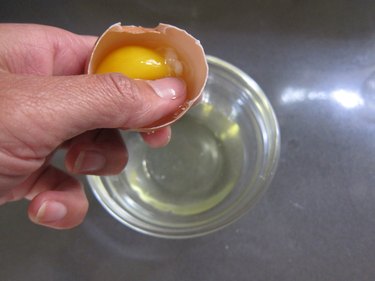
Step 1: Separate Egg White
Separate an egg. Put the white in a bowl making sure not to get any yolk in the white.
 Separate an egg Image Credit: Sonya Nimri
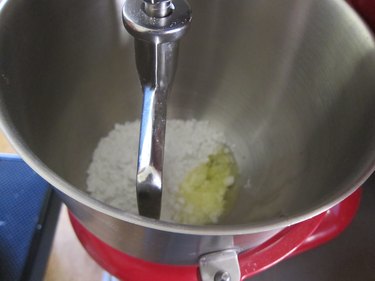
Step 2: Combine with Sugar
Combine the egg white with two cups powdered sugar in the stand up mixer with a paddle attachment on medium until thick yet runny like white glue.
 Combine in a mixer Image Credit: Sonya Nimri
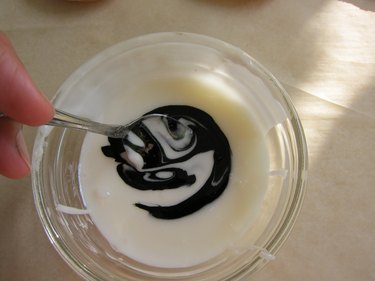
Step 3: Add Food Coloring
Add black food coloring. Mix well until all the icing is uniformly black.
 Add color Image Credit: Sonya Nimri
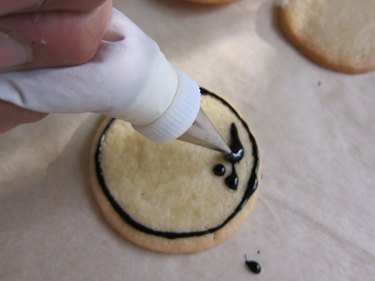
Step 4: Pipe onto Cookie
Pour icing into a piping bag with a #2 tip attachment. Pipe a circle 1/8" from the edge of the cookie then fill in the circle with icing.
 Pipe icing onto cookie Image Credit: Sonya Nimri
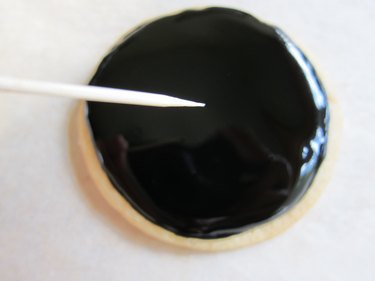
Step 5: Pop Air Bubbles
Pop air bubbles with a toothpick and let dry for at least 8 hours.
 Pop any air bubbles Image Credit: Sonya Nimri
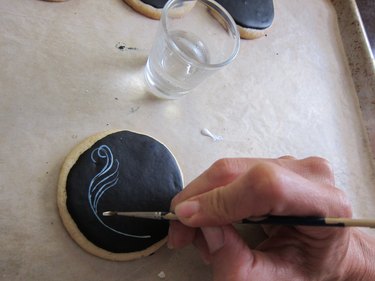
Step 6: Paint Your Cookie
Squeeze a little white gel paste onto the parchment paper and with a fine tipped brush, paint the cookie. It is a good idea to practice on some of the cookies that didn't turn out so well first so you can get the hang of it before painting the best ones.
 Paint cookie Image Credit: Sonya Nimri
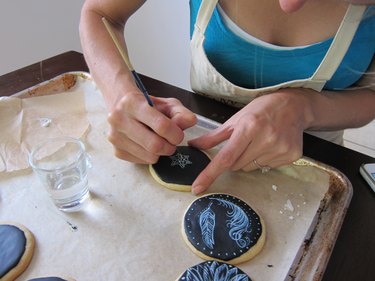
Step 7: Thin Paint with Vodka
Dip your paint brush in vodka to keep the consistency of the paint runny yet quick drying. You can also use water, but vodka dries faster, which sets your image quicker.
 Dip brush in vodka Image Credit: Sonya Nimri
Step 8: Display and Serve
Let the cookies dry for a few hours before serving. Keep for up to two weeks in an airtight container.

