

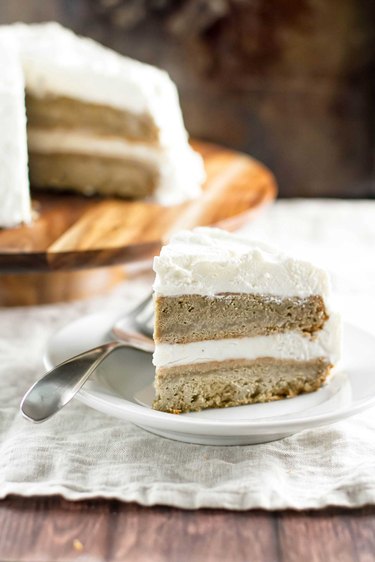
Ice cream cakes, staples of so many childhood birthday parties, don't just have to be for the little ones. This vanilla latte ice cream cake is a grown-up version you can make and enjoy at home. Vanilla bean ice cream is sandwiched between layers of coffee-flavored cake, and then concealed under a sweet and creamy whipped cream frosting. It's just like your favorite coffee shop order, only in ice cream cake form! So, gather up the kids or make this an adults-only indulgence: when you can open your freezer and see this creation, you might as well celebrate like it's your birthday.
Video of the Day
Things You\’ll Need
-
1 1/4 cup butter, at room temperature, divided
-
2 1/2 cups, plus 2 tablespoons all-purpose flour, divided
-
1 3/4 cups granulated sugar, divided
-
1/2 tablespoon vanilla extract
-
3 large eggs
-
3 2/3 cups heavy cream, divided
-
1 cup strong-brewed coffee, at room temperature
-
1 teaspoon baking soda
-
1/4 teaspoon salt
-
3 cups store-bought vanilla bean ice cream
-
2 8-inch cake pans
-
Parchment paper
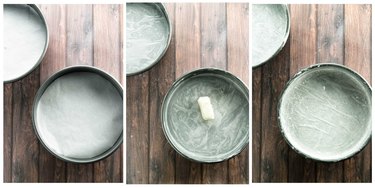
Step 1: Prepare the Cake Pans
Trace around the outside of the pans with a pencil on parchment paper and cut out two circles. Fit the parchment paper circles into the bottom of each pan. Butter each pan with 1/4 cup of the softened butter. Use your fingers to smooth out the butter to ensure each pan is fully coated. Flour each pan with a heaping tablespoon of flour. Lightly tap and rotate the pans around to evenly distribute the flour. Tap out any excess.
Step 2: Prepare the Cake Batter
Preheat the oven to 350 degrees. Cream 1 cup of butter with 1 1/2 cups of sugar on medium speed in a stand mixer fitted with a paddle attachment. Cream them until the mixture is pale yellow and fluffy, or for about 10 minutes. While the butter and sugar are creaming, whisk 2 1/2 cups of flour, baking soda and salt together in a medium bowl. Add the vanilla and continue mixing. Then, pour in the eggs one at a time until they're fully incorporated. Drop in the cream and coffee and continue mixing. Turn the mixer off, scrape down the sides and hand mix with a rubber spatula until it's all completely combined.
Turn the mixer on a medium-low speed. Slowly add the dry ingredients to the wet ingredients in two to three batches, mixing until just combined before adding the next batch. After the last batch is added, turn off the mixer and scrape the sides and bottom of the bowl with a rubber spatula to fully incorporate all of the flour. Stir until it's just combined.
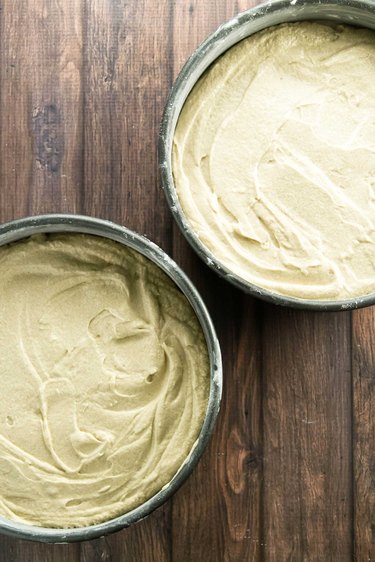
Divide the batter evenly between the two bake pans. Smooth the tops of the batter and gently tap the bottom of each pan a few times against the counter to remove any air bubbles. Bake the cakes at 350 degrees for 30 minutes, or until an inserted toothpick comes out clean.
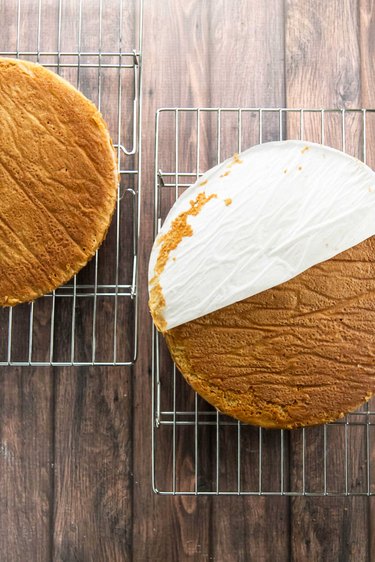
Step 3: Cool the Cakes
Let the cakes cool in the pans for at least 30 minutes. Run a knife around the edges to loosen the cakes before turning them out onto cooling racks. Peel off the parchment paper and let the cakes cool for another 30 minutes. Wrap the cakes in plastic wrap and place them in the refrigerator to chill for at least an hour, ideally overnight.
Tip
At this point, the cakes can be frozen for several weeks. Wrap each tightly in plastic wrap, cover with foil and place them in a freezer bag for longer storage.
Step 4: Build the Ice Cream Cake Layers
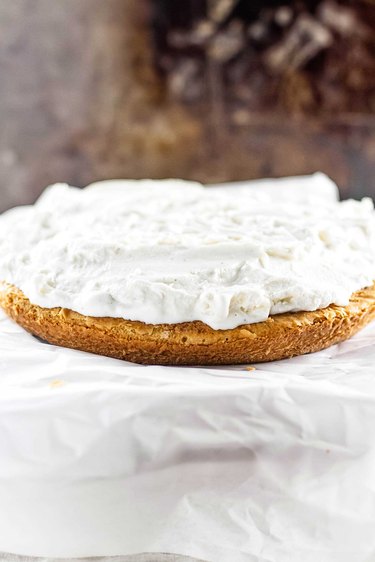
Place one of the cakes, flat side up, on a plate or cake stand. Place sheets of parchment just under the edge of the cake. This will catch crumbs and keep the plate or stand clean as the cake is being built. Remove the ice cream from the freezer and let it stand at room temperature until it's easy to scoop, or for about 5 to 10 minutes. Scoop 3 cups of the ice cream into a medium bowl. Stir it with a rubber spatula until it's softened and easy to spread.
Gently spread about half of the ice cream on the cake using a rubber spatula. Add the rest of of the ice cream and smooth it out until it's in an even layer.
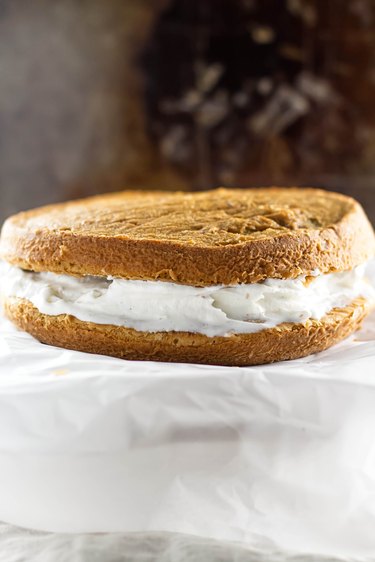
Top the ice cream layer with the other cake placed flat-side down. Gently press down on the top cake. Smooth out the edges of the ice cream layer with the spatula. Place the cake in the freezer for at least one hour. There's no need to cover it if serving within a few hours.
Tip
Planning ahead? Skip the parchment, and place the first cake layer on a large piece of plastic wrap. Once the layers are assembled, wrap the cake tightly with the plastic wrap (it should be air-tight), cover it in foil and place it in the freezer. It should keep for a week or two. When it's time to frost it, unwrap the cake and place it on the stand with parchment. Then, proceed with the frosting step.
Step 5: Frost the Cake
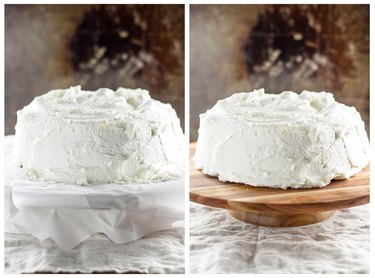
In a stand mixer fitted with a whisk attachment, whip 3 cups of heavy cream for a couple of minutes or until soft peaks form. Add 1/4 cup of sugar and continue whipping until the cream holds stiff peaks, or for about 1 to 2 minutes more.
Remove the cake from the freezer and scoop about a third of the whipped cream. Starting on the side of the cake, spread the whipped cream in an even layer using a spatula. Continue until the sides are covered with the whipped cream. Scoop the remaining whipped cream onto the top of the cake and spread it out in an even layer. Then, carefully pull the parchment paper pieces out from under the cake.
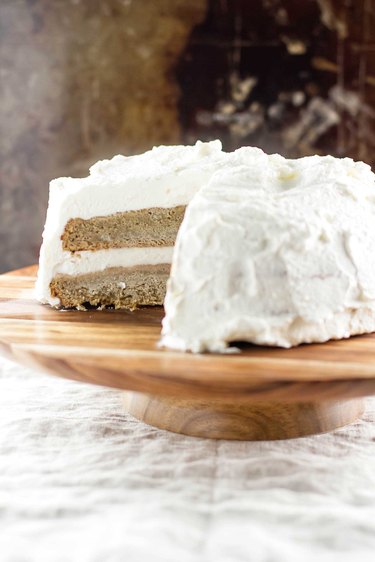
Step 6: Slice the Cake
Run hot water over the blade of a large sharp knife. Dry the blade and then carefully slice into the cake using one fluid motion. Place a generous slice onto a plate and enjoy!

