Making mint jelly at home using fresh mint is fun and fairly straight-forward. If you're new to canning, be sure to read the instructions in this post all the way through a few times to avoid any confusion during the process. If you don't use food coloring at home, feel free to skip it! The jelly will turn out a nice golden color without the use of green food coloring. Enjoy your mint jelly for months on end, or give it away as gifts to friends and family.
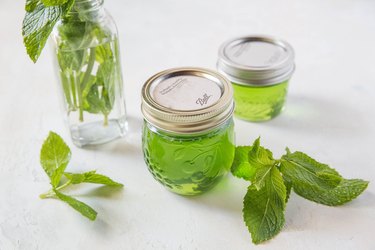 Homemade Mint Jelly with Fresh Mint Image Credit: Julia Mueller
Video of the Day
Things You\’ll Need
-
1 1/2 cups fresh mint, packed
-
2 1/4 cups boiling water
-
2 tbsp fresh lemon juice
-
1 – 2 drops green food coloring, optional
-
3 1/2 cups cane sugar
-
1 (6-oz.) pouch liquid pectin
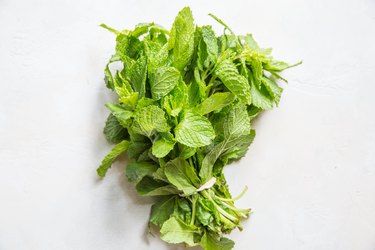 Use fresh mint for homemade mint jelly Image Credit: Julia Mueller
Step 1: Sanitize the Jars
Sanitize four 8-ounce canning jars with lids. There are a few options for doing so. You can place the jars in a large pot of water on top of a steaming rack (be sure to use a rack so that the jars don't touch the bottom of the pot) and boil for 10 minutes.
You can wash the jars, dry the jars, then place just the glass portions (no lids) on a baking sheet in the oven and bake at 200° F for 10 minutes.
You can also run the jars through the dishwasher.
Step 2: Rinse the Mint
Wash the mint well under cool water.
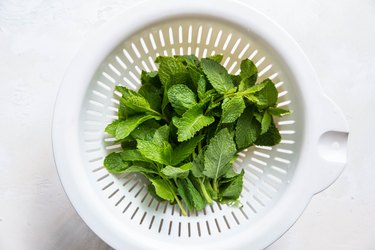 Rinse the fresh mint leaves well. Image Credit: Julia Mueller
Step 3: Muddle the Mint
Measure out 1 1/2 cups of mint leaves (including stems), packed. Transfer the mint to a saucepan and muddle with a wood muddler or mash with a potato masher.
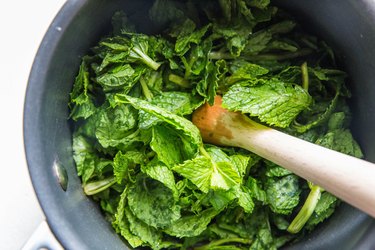 Muddle or mash mint with a wood muddler or potato masher. Image Credit: Julia Mueller
Step 4: Add Boiling Water
Pour 2 1/4 cups boiling water into the saucepan and cover. Bring mixture to a full boil on the stove top, then remove from the heat. Allow mixture to sit for 10 minutes.
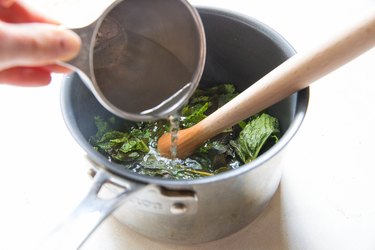 Add boiling water Image Credit: Julia Mueller
Step 5: Strain the Water
Strain the water from the mint leaves and discard the mint leaves. To do so, you can use a strainer or simply pour the liquid into a jar to separate it from the leaves. You will be using the mint-infused water to proceed.
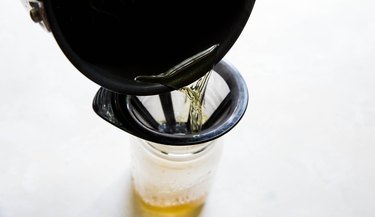 Strain the water from the leaves and discard the leaves Image Credit: Julia Mueller
Step 6: Transfer Mint-Infused Water to Saucepan
Measure out 1 2/3 cups of the mint-infused water and transfer it to a clean sauce pan.
Note: you can use the same saucepan you used to boil the mint—just be sure there are no mint leaves left in the saucepan.
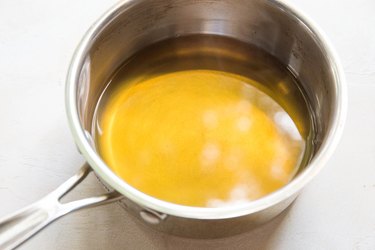 Transfer mint-infused water to a clean saucepan Image Credit: Julia Mueller
Step 7: Add Food Coloring (Optional)
If you want your mint jelly to be green, add a small amount of green food coloring. If using water-based food coloring, you'll only need 1 drop. If using gel food coloring, you'll need between 1/8 and 1/4 tsp.
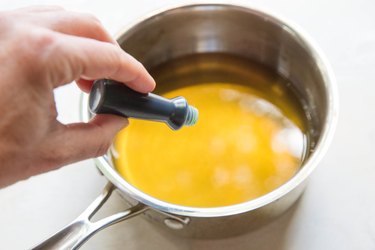 Add green food coloring if you\’d like. Image Credit: Julia Mueller
Step 8: Stir in the Sugar
Add the cane sugar and stir well. Place the pot back on the stove top and cover it with a lid. Bring to a full boil.
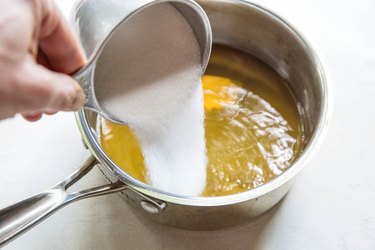 Stir in the sugar. Image Credit: Julia Mueller
Step 9: Add the Liquid Pectin
Once the mixture has reached a full boil, remove it from the heat and stir in the full 6-ounce pouch of liquid pectin.
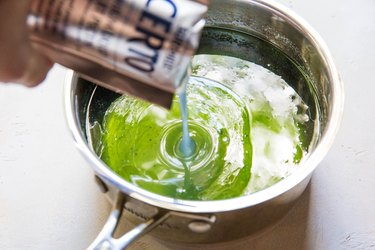 Add in the liquid pectin Image Credit: Julia Mueller
Step 10: Transfer to Sanitized Jars
Once the liquid pectin is well-mixed in, immediately transfer the mixture to the sanitized jars, filling them up to the lip (leaving about 1/4 to 1/2 inch of space between the jelly and the very top of the jar). Seal the jars securely.
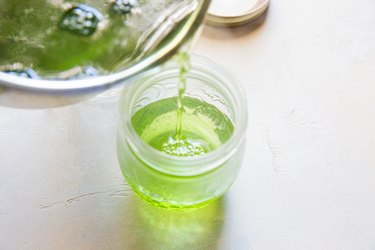 Pour mint jelly mixture into sanitized jars. Image Credit: Julia Mueller
Step 11: Process the Jelly
Place a rack in the bottom of a large pot and fill the pot halfway with water. Bring it to a full boil. Use a jar holder or steady tongs to carefully lower the jars into the pot, leaving a couple inches of space between the jars. If needed, pour in more boiling water until the water is at least 1 inch above the tops of the jars. If the water isn't already boiling, bring it back to a full boil. Cover the pot and process for 10 minutes.
Remove the jars from the pot and set them on the counter or on a towel to cool. Once the jars are cooled, test that they are completely sealed by poking the center of the lid. If the lid springs back, that means the jar is not fully sealed and will need to be refrigerated in order to stay fresh. As long as the jars are fully sealed, they can be stored at room temperature in the pantry.
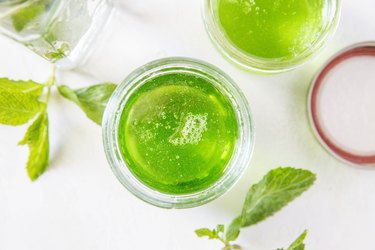 Use mint jelly with lamb Image Credit: Julia Mueller


