

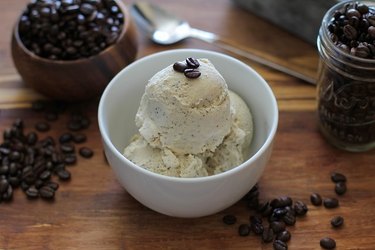
 You don\’t need to churn all day for this coffee ice cream treat. Image Credit: Julia Mueller
Homemade ice cream hits the spot in the summertime, and you don't need an ice cream maker to make it. Using a variety of milks, sweeteners and fresh ingredients, you can make ice cream to please your own personal taste and to fit your dietary restrictions. This no-churn coffee ice cream turns out sweet and creamy, with plenty of coffee flavor, and the best part: It requires only 5 ingredients and no more than 10 minutes of prep time!
Video of the Day
Things You\’ll Need
-
2 cups heavy whipping cream
-
1 (14-ounce) can sweetened condensed milk
-
1/2 cup strong brewed coffee, cooled (or 2 tablespoons dry instant coffee)
-
2 tablespoons coffee grinds (optional)
-
1/4 teaspoon sea salt
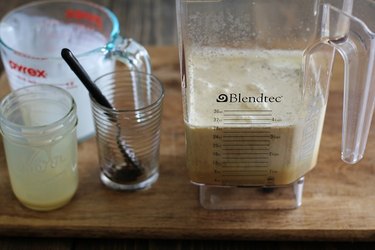
 Measure out all of your ingredients before you begin. Image Credit: Julia Mueller
Prepare for the recipe by measuring out your ingredients. You will need 1/2 cup of strong-brewed coffee, which can be saved from your morning pot of coffee. If you do not have brewed coffee on hand, you can use 2 tablespoons of dry instant coffee.
Tip
Coffee grinds are coffee grounds that have been brewed. You may omit these from the recipe altogether if you don't have a brewed pot of coffee on hand.
Step 1: Blend Ingredients
 Combine all of your ice cream ingredients. Image Credit: Julia Mueller
Pour all of the ingredients for the coffee ice cream into a blender. Blend the ice cream base until well-combined.
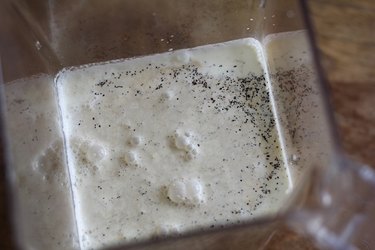 Blend the ingredients until smooth. Image Credit: Julia Mueller
Step 2: Pour Into Freezer-Safe Container
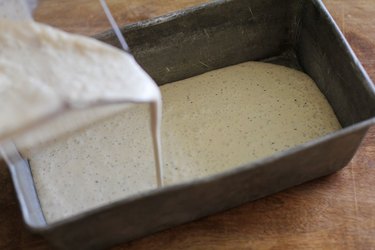 Transfer to a freezer-safe container. Image Credit: Julia Mueller
Transfer the ice cream base to a freezer-safe container, such as a loaf pan. If you'd like, you can line the pan with parchment paper.
Step 3: Cover and Freeze
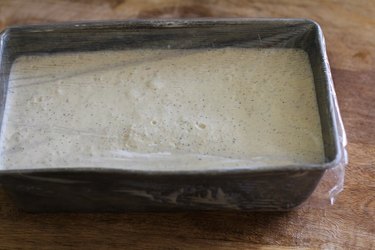 Freeze the ice cream until solid. Image Credit: Julia Mueller
Cover the container with a lid or plastic wrap. Place in the freezer and freeze for 5 to 6 hours, or until ice cream is solid.
Step 4: Thaw and Serve
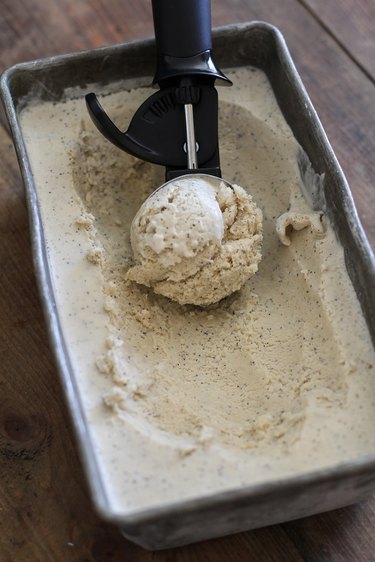 Scoop up your coffee ice cream and enjoy. Image Credit: Julia Mueller
When ready to serve, remove the container of ice cream from the freezer and allow it to thaw 5 to 8 minutes. Use an ice cream scoop to scoop and serve ice cream.
Tip
For a lower fat recipe, substitute a portion of the heavy whipping cream with half and half. Note: The ice cream will not turn out as rich and creamy.
To make this recipe dairy-free, replace the heavy whipping cream with full-fat canned coconut milk and the condensed milk with canned coconut cream. Note: The ice cream will turn out much harder with this method, so using an ice cream maker rather than a blender is recommended. You also can replace the dairy with 2 cups of soaked cashews and 1 cup of full-fat coconut milk: Blend these ingredients well to a completely creamy consistency.
Make this recipe refined sugar-free by replacing the sweetened condensed milk with another 1 1/2 cups heavy whipping cream (or 1 14-ounce can of coconut cream) and add 1/2 cup of a natural liquid sweetener, such as agave or pure maple syrup.

